The ability to claim own an in-game asset, such as an NFT, is one of the many benefits of Web3 gaming. However, if a user wants to take possession of an NFT within a game, the player must have the ability to claim it first. Moreover, if NFTs within a Web3 game could unlock special levels, serve as NFT power-ups, represent usable items, etc., users will want to claim such in-game NFTs even more. Therefore, it’s imperative to integrate a “claim” functionality into your dapps. While implementing this feature might seem tricky, we want to assure you that it can easily be done using the right tools. Let’s see how we can accomplish this herein in our “how to claim an in-game NFT” guide!
In this article, we will tackle another Unity Web3 example project. You’ll get to see how to use Moralis’ Metaverse SDK to cover your blockchain-related backend needs. For those of you joining us for the first time, we’ll start with a quick introduction to Moralis. As such, you’ll be able to learn why this “Firebase for crypto” operating system is the best Web3 backend platform. As we move forward, we’ll quickly do a demo of our example Web3 game with the “claim an in-game NFT” feature. That demo should help you decide if you want to roll up your sleeves and join us as we develop this example game. If so, you’ll start by connecting Unity to the Moralis SDK. Next, you’ll learn how to implement Web3 login with ease. Nonetheless, you’ll get a detailed code walkthrough by a Moralis expert.
Claim an In-Game NFT with Moralis
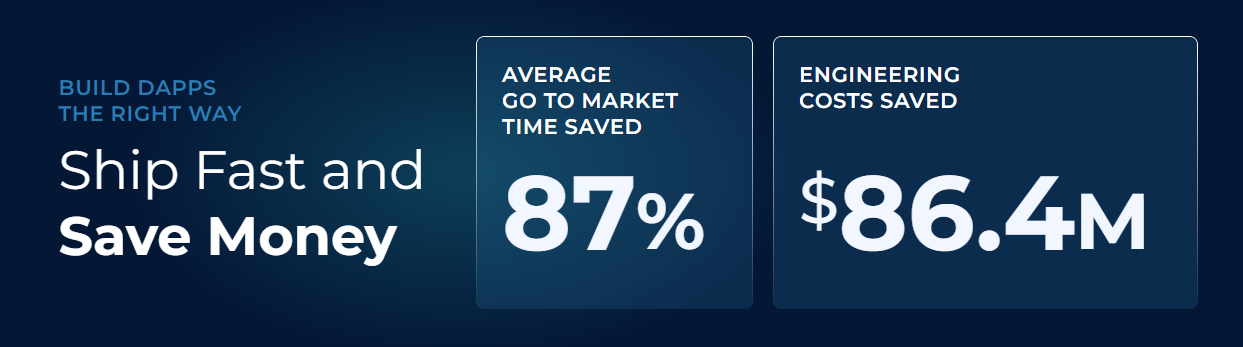
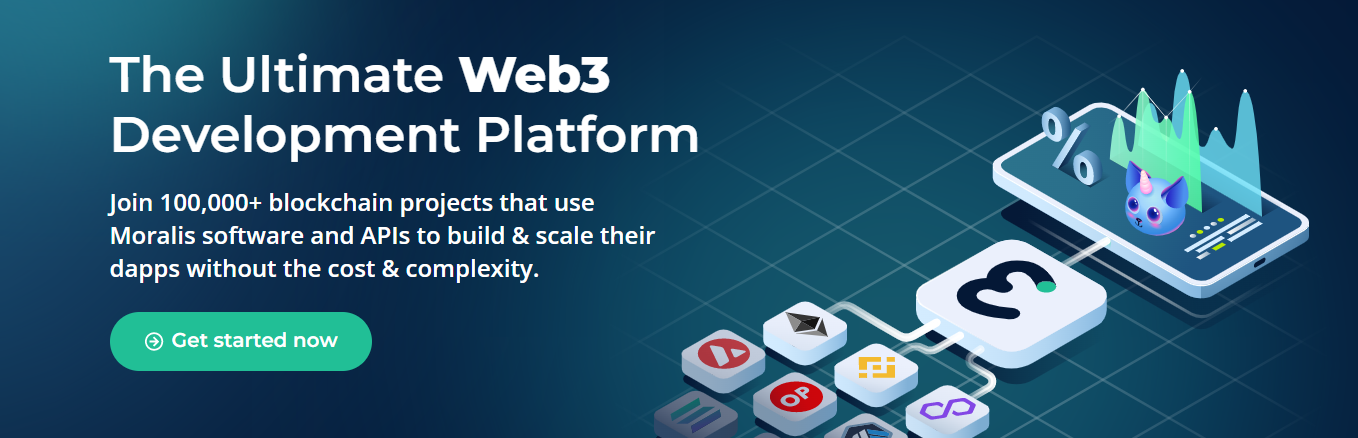
Before focusing on our example project, we need to make sure you know what tools we’ll be using. Since we assume you are Unity proficient, we’ll focus on the ultimate Web3 development platform – Moralis. This pinnacle of the current Web3 tech stack makes the transition from Web2 to Web3 game development pretty smooth. Moralis also enables JavaScript-proficient developers to dive into the realm of blockchain development markedly quicker. Ultimately, Moralis is the greatest tool for building dapps (decentralized applications). It comes with an extensive Web3 API that includes the Ethereum API and NFT API. When using Moralis, you get to focus on creating a phenomenal Web3 UI. What’s more, Moralis helps dapp creators save 87% on development time on average. Hence, this tool lets you ship your Web3 apps in record time.
You’ll usually start with Web3 authentication when building with Moralis since this is an essential part of all dapps. Fortunately, this is one of Moralis’ specialties. Further, it offers you several options. For example, when crypto-savvy users are your focus, MetaMask or WalletConnect are the ways to go. However, if you want to boost Web3 user onboarding, go with Web3 social login or Web3 authentication via email.
We must also point out that Moralis offers cross-chain and cross-platform interoperability. Accordingly, you can work with the same code to deploy excellent dapps on several blockchains. That increases your reach and helps you future-proof your work. Currently, Moralis supports Ethereum, Avalanche, Polygon, BNB Chain, Fantom, and Solana. Moreover, other EVM-compatible chains are in the pipeline. With Moralis, you can create NFT marketplaces and DeFi exchanges. Also, you could build a Web3 Spotify clone, Web3 Netflix clone, and much more. So, create your free Moralis account and start building today!
Using Moralis’ Metaverse SDK to Claim an In-Game NFT with Unity
So far, we’ve covered quite a few Unity Web3 example projects throughout the Moralis blog. Thus, if you need a reminder on Unity Web3 programming, we recommend reading our beginner’s guide to Unity Web3 programming before moving further. There, you can also learn the basics about the metaverse. However, if you need some motivation, check out the benefits of Web3 gaming. There is where you can learn about GameFi and play-to-earn (P2E) concepts. To wrap things up, put the theory into practice by creating a GameFi game.

Our past tutorials can help you execute blockchain game transactions, connect a Unity game with Web3 login, and connect a Unity app to a Web3 wallet. Also, some of our guides help you to build a Web3 MMORPG or a medieval metaverse game. However, if this is not your first rodeo with us, you should already be familiar with the basics. Hence, you can complete the initial Moralis setup and connect Unity with Moralis’ SDK without our help. If that applies to you, feel free to jump over to the code walkthrough of our “how to claim an in-game NFT” tutorial by watching the video. Now, let’s look at our example project for our “how to claim an in-game NFT” quest!
How to Claim an In-Game NFT – Example Project
Let’s start with a quick demo of our Web3 space game. As expected, it starts with a login screen:
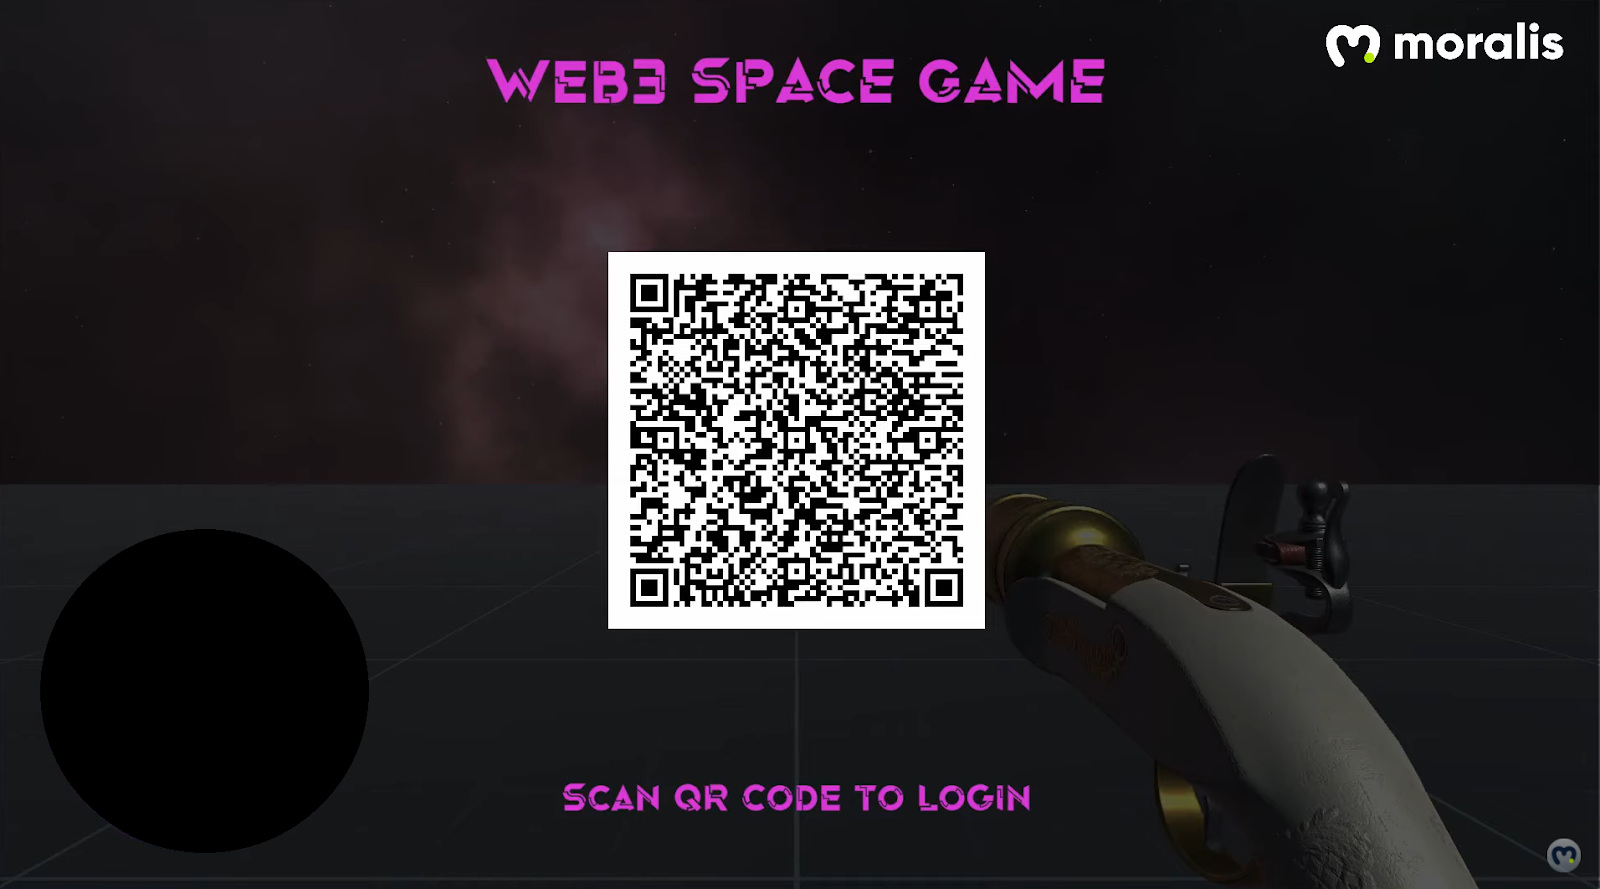
As you can see in the screenshot above, we are using a QR code to increase user-friendliness. Once users scan the code using their favorite Web3 wallet, they must sign the authentication message displayed in their wallets. Then, the game begins right away. Moreover, as you can see in the image below, it is a first-person shooter game:
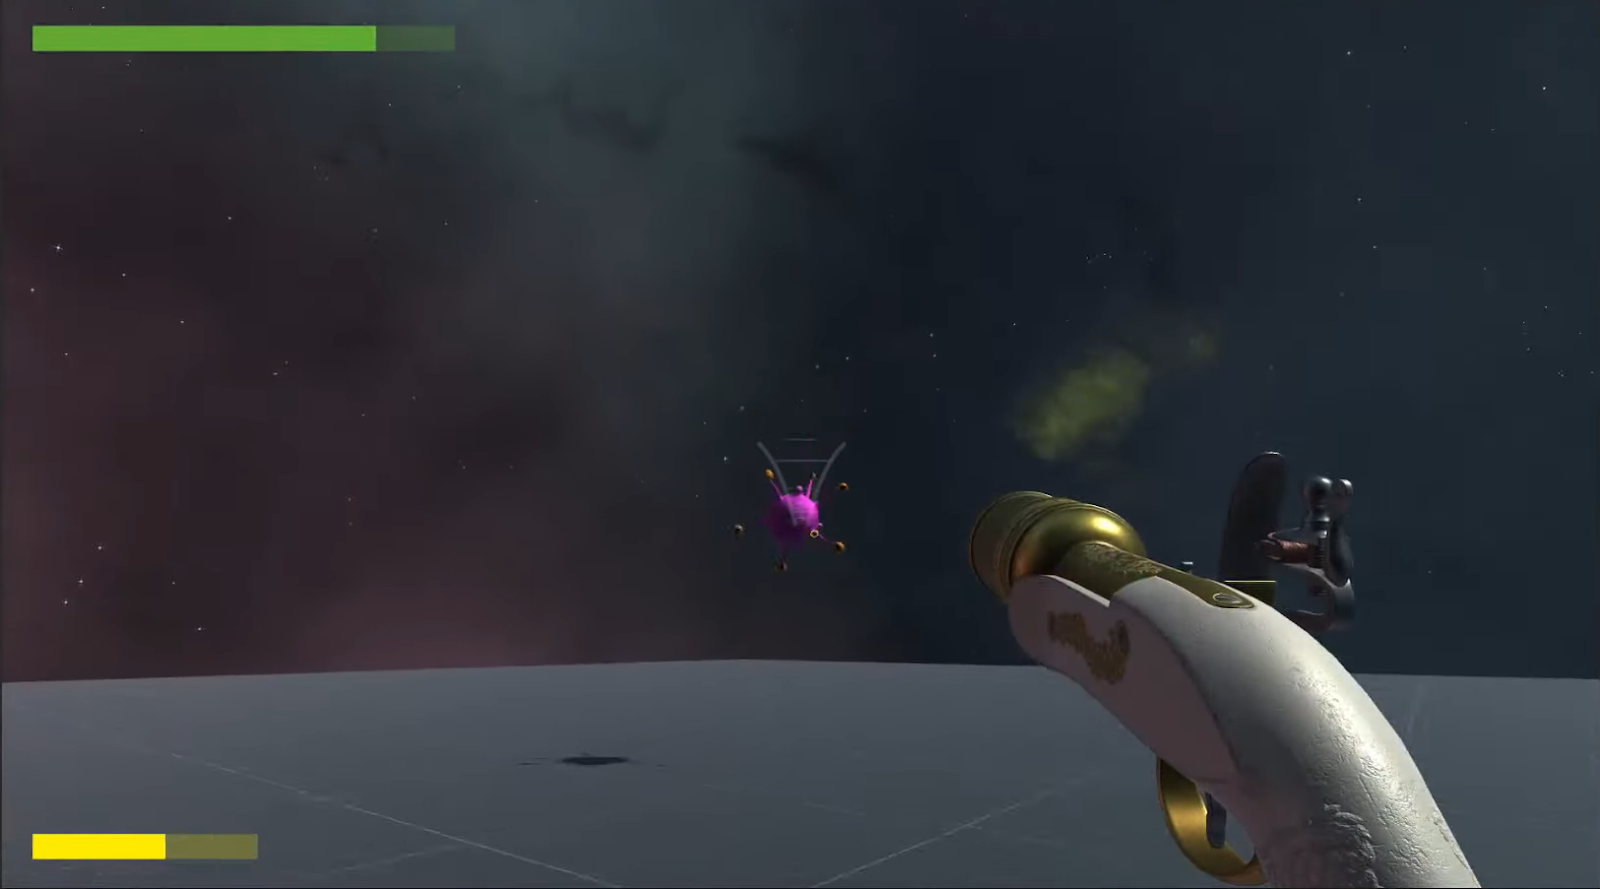
Players can see their gun and its aim cursor (light gray lines in the middle of the screen). They can also see the life or health bar (green) in the top-left corner. In the bottom-left corner, players can see their gun’s loading progress (yellow). Moreover, the ordinary enemies are some sort of flying purple aliens. Once players kill all the aliens, the boss will appear.
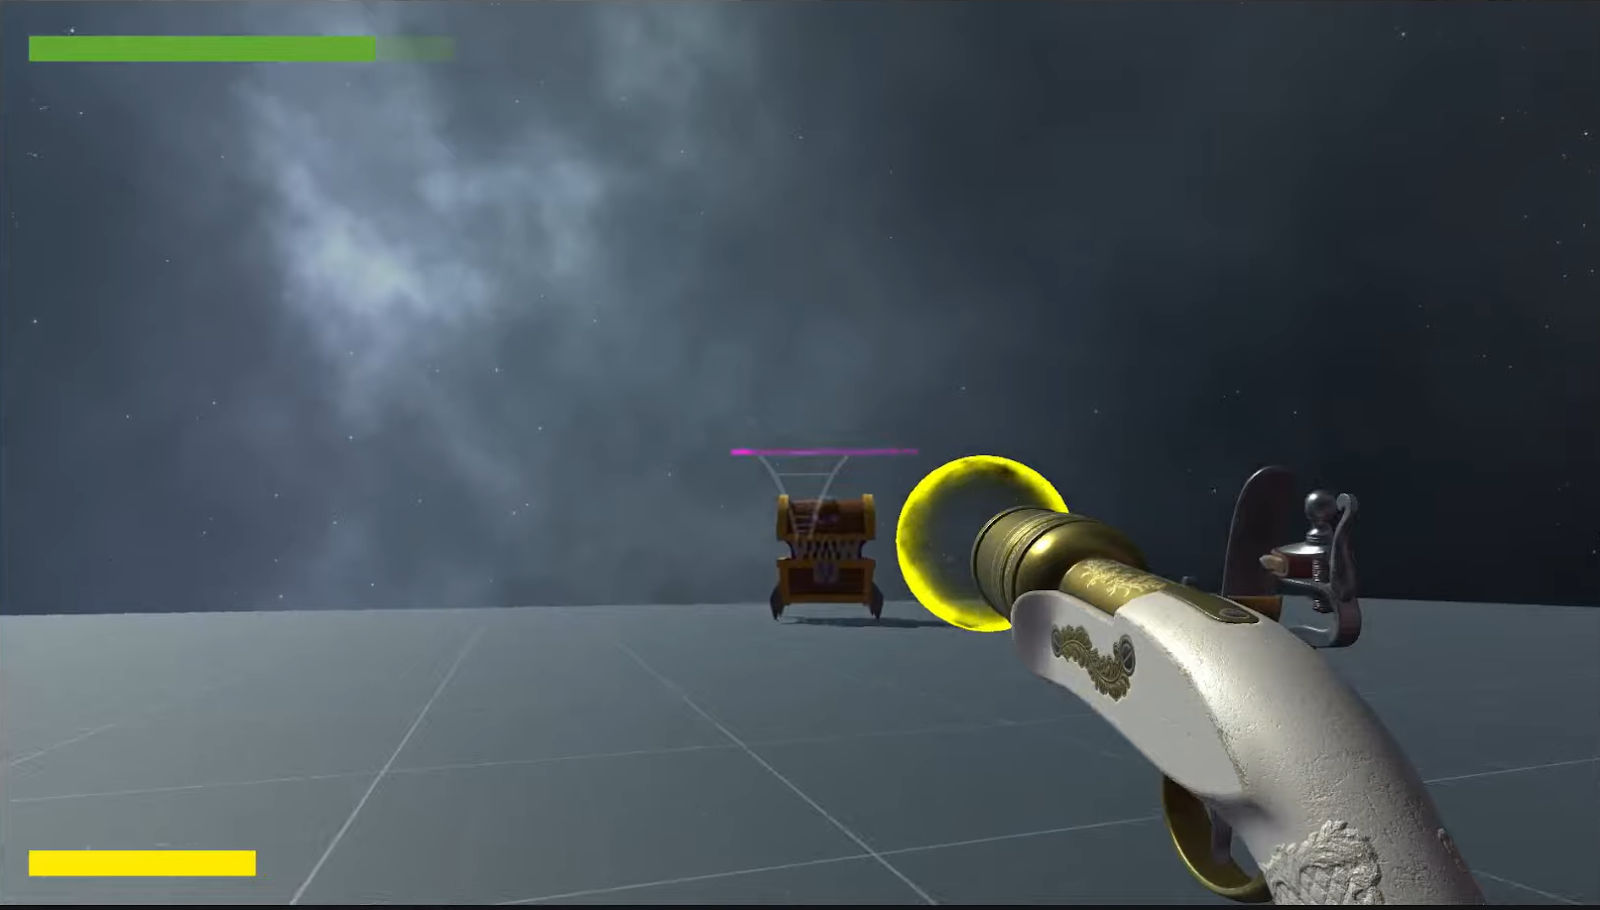
As you can see in the image above, the boss also has its health bar on top (purple). The game’s mission is pretty obvious – players need to shoot the bad guys and avoid being shot or touched by the enemies. They achieve this by moving around and using their gun to shoot. Finally, as soon as they manage to kill the boss, they get a chance to claim an in-game NFT:
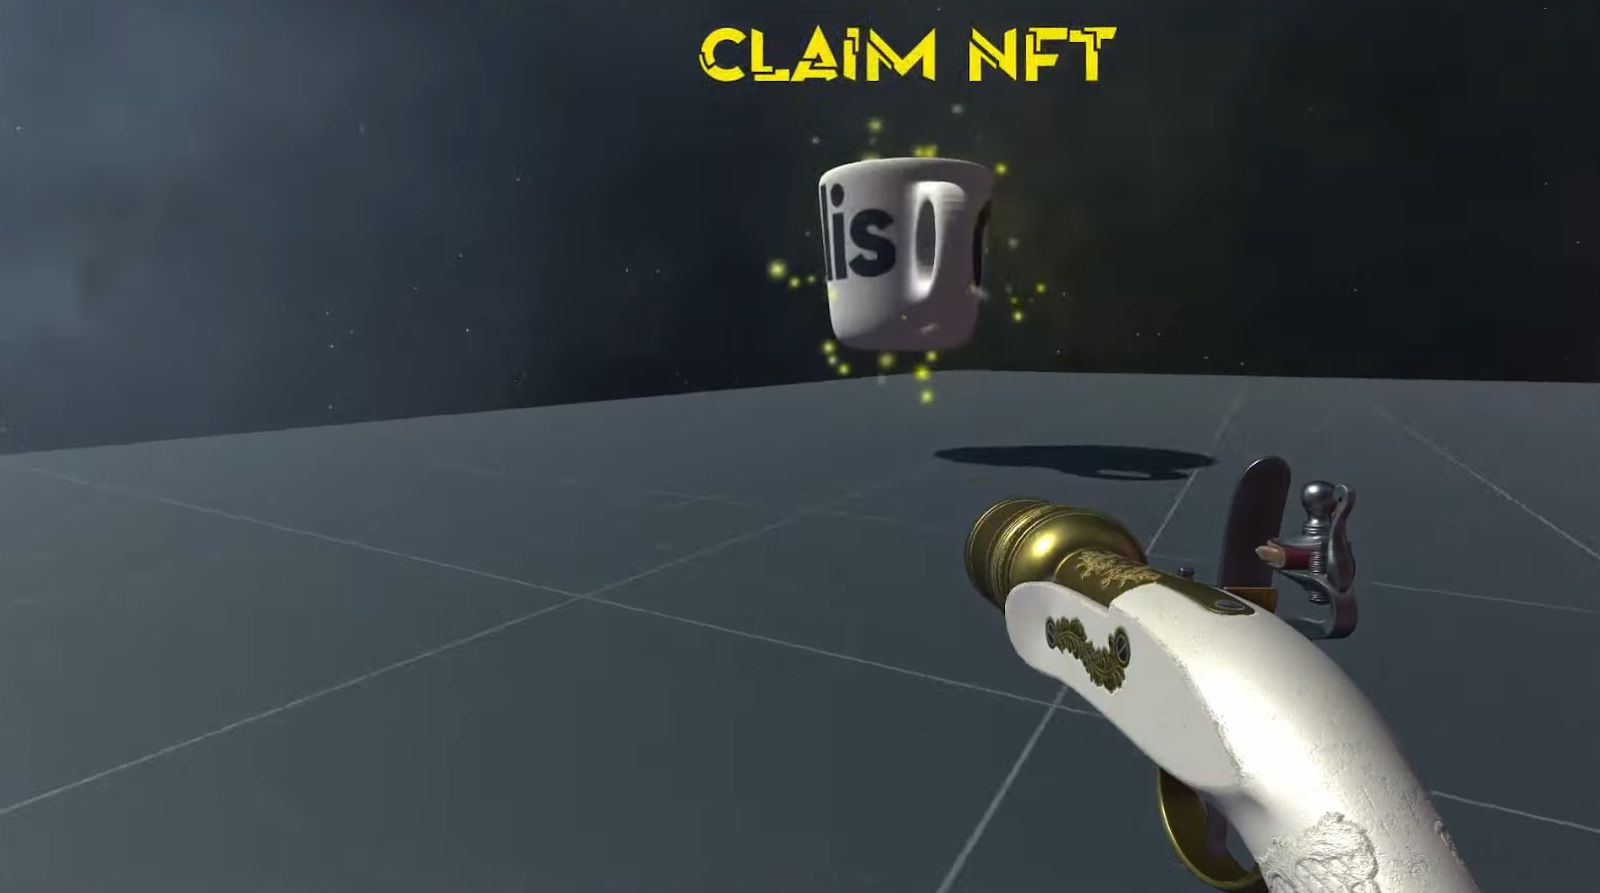
In order to claim the above-shown NFT, players need to get close enough. As soon as the players are in the collision zone of the NFT, they get a chance to claim it:
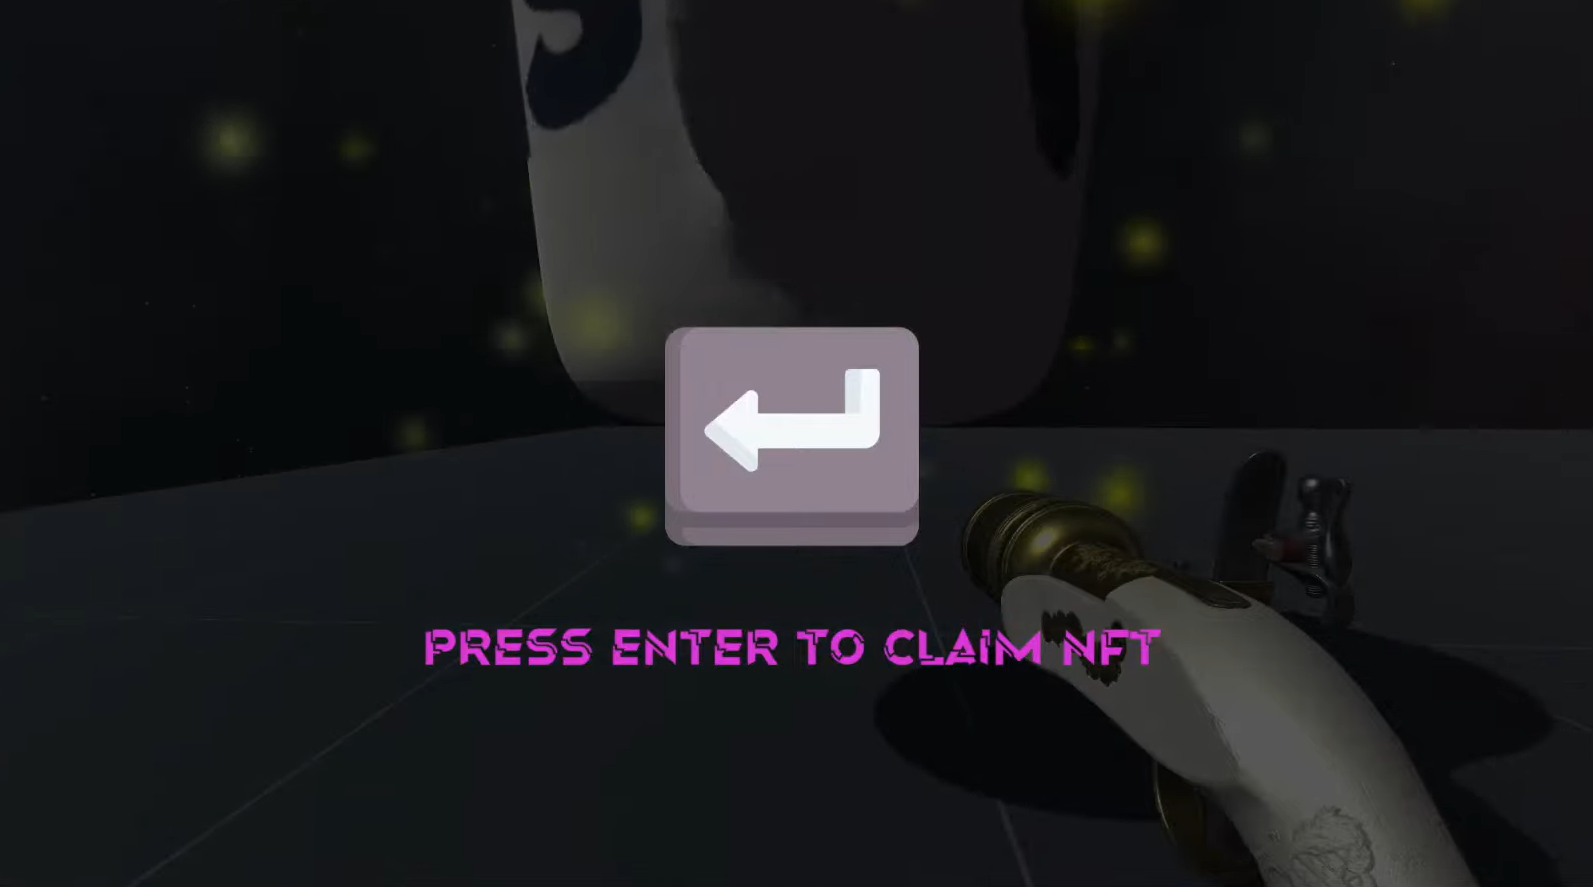
If they decide to press enter, the claiming will initiate. Since NFTs are on-chain assets, a blockchain transaction is behind the transfers. As such, users need to sign a message in their wallets:
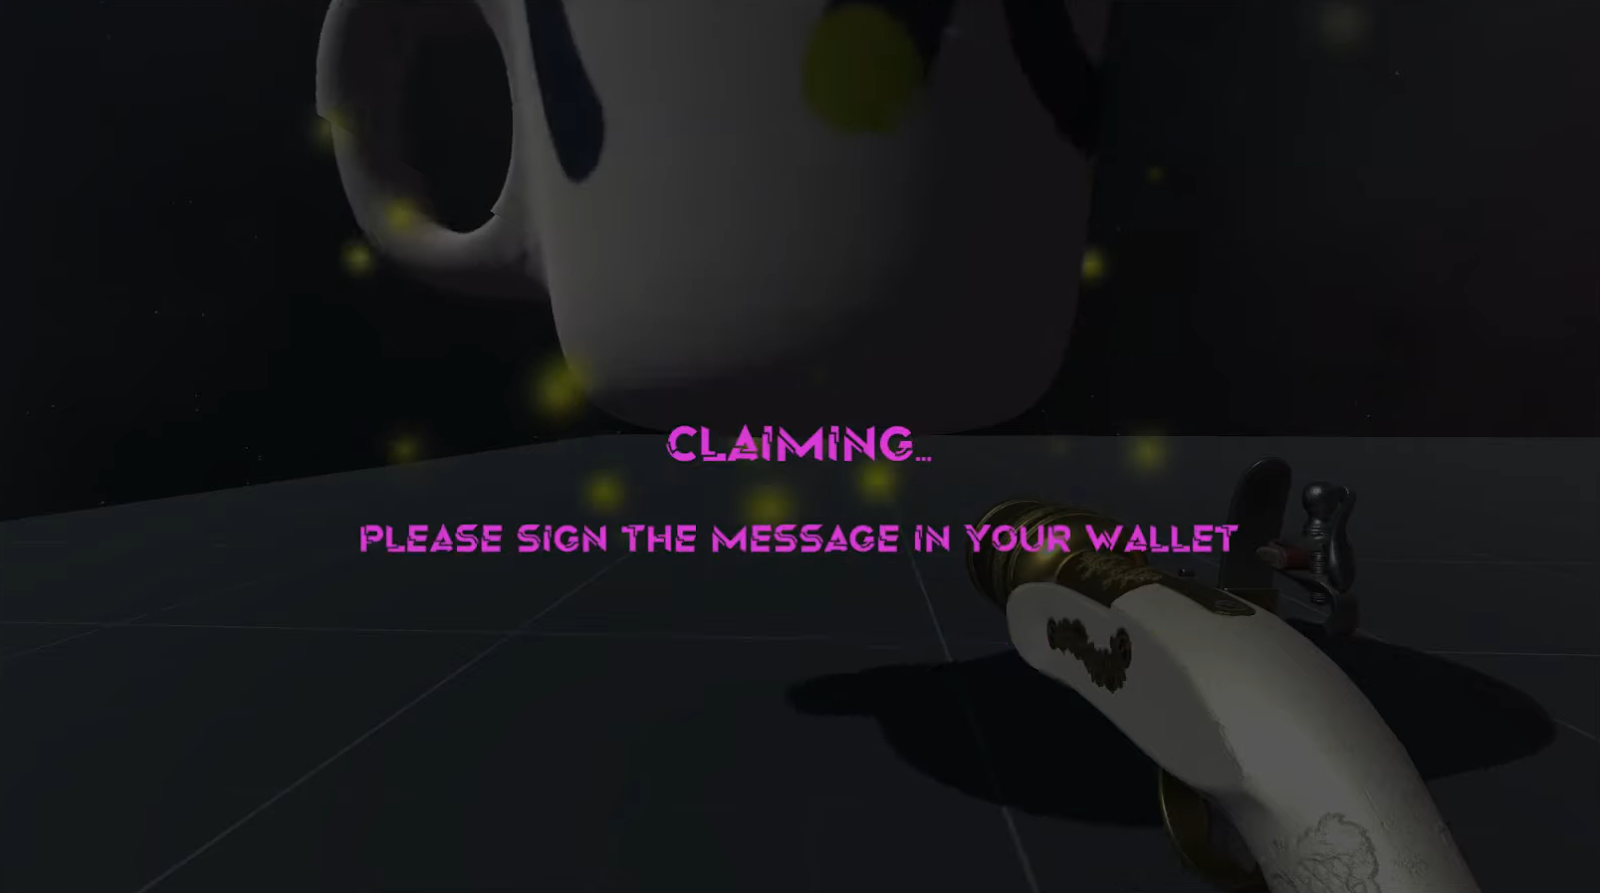
Once they confirm the message in their crypto wallets, they will own that NFT.
Download and Setup a Unity Project
Now that you know how to claim an in-game NFT inside our example Web3 game, you are probably eager to test it yourself. If that’s the case, it’s time to download and set up your Unity project. Start by opening our project’s ZIP file that waits for you on GitHub. Once there, click on “unity-web3-spaceFPS.zip”:
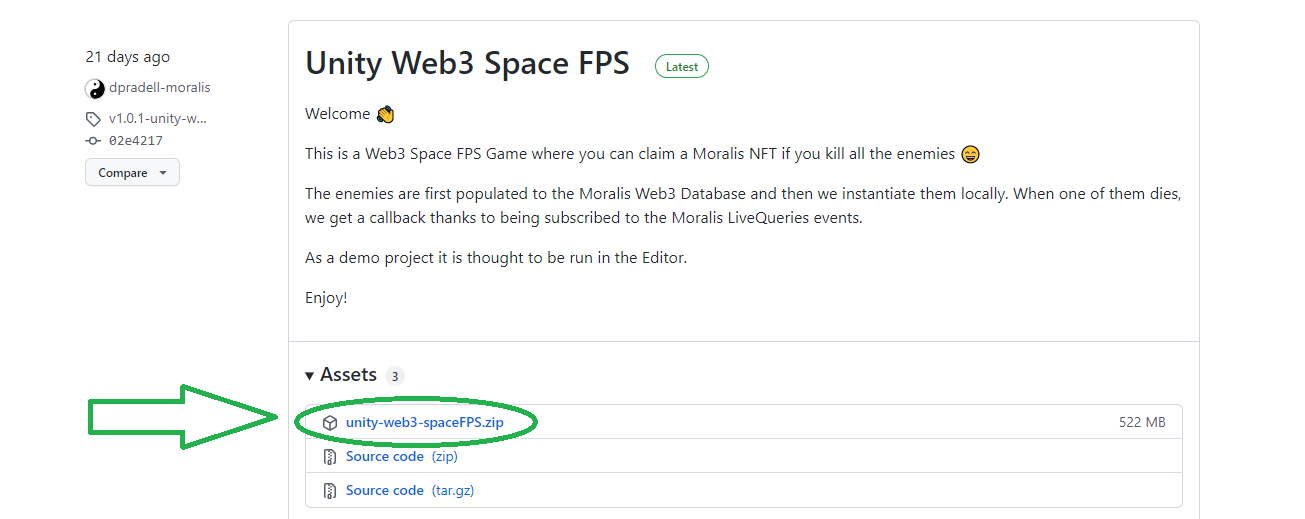
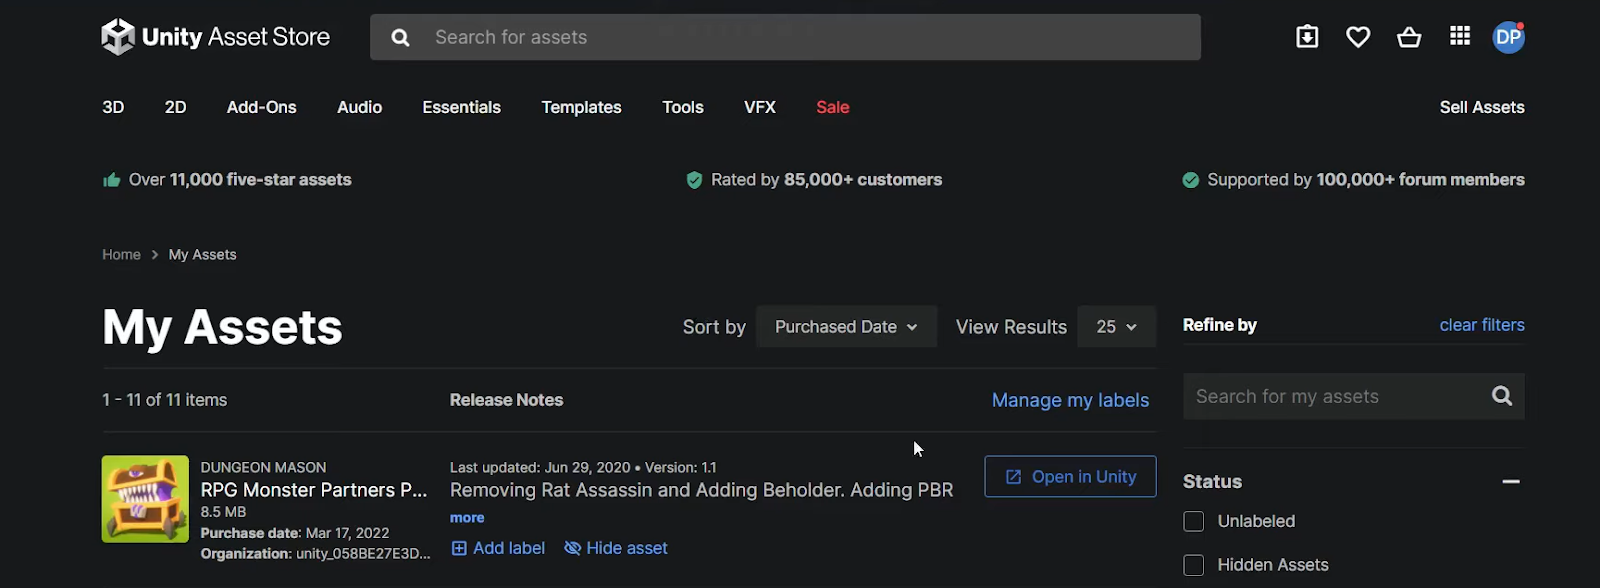
Next, unzip the above file and open it with Unity. Before moving forward, we must point out that we used Unity Asset Store to get the assets you saw in the above demo.
Once you’re inside Unity, open the “Main” scene from the “Scenes” folder:
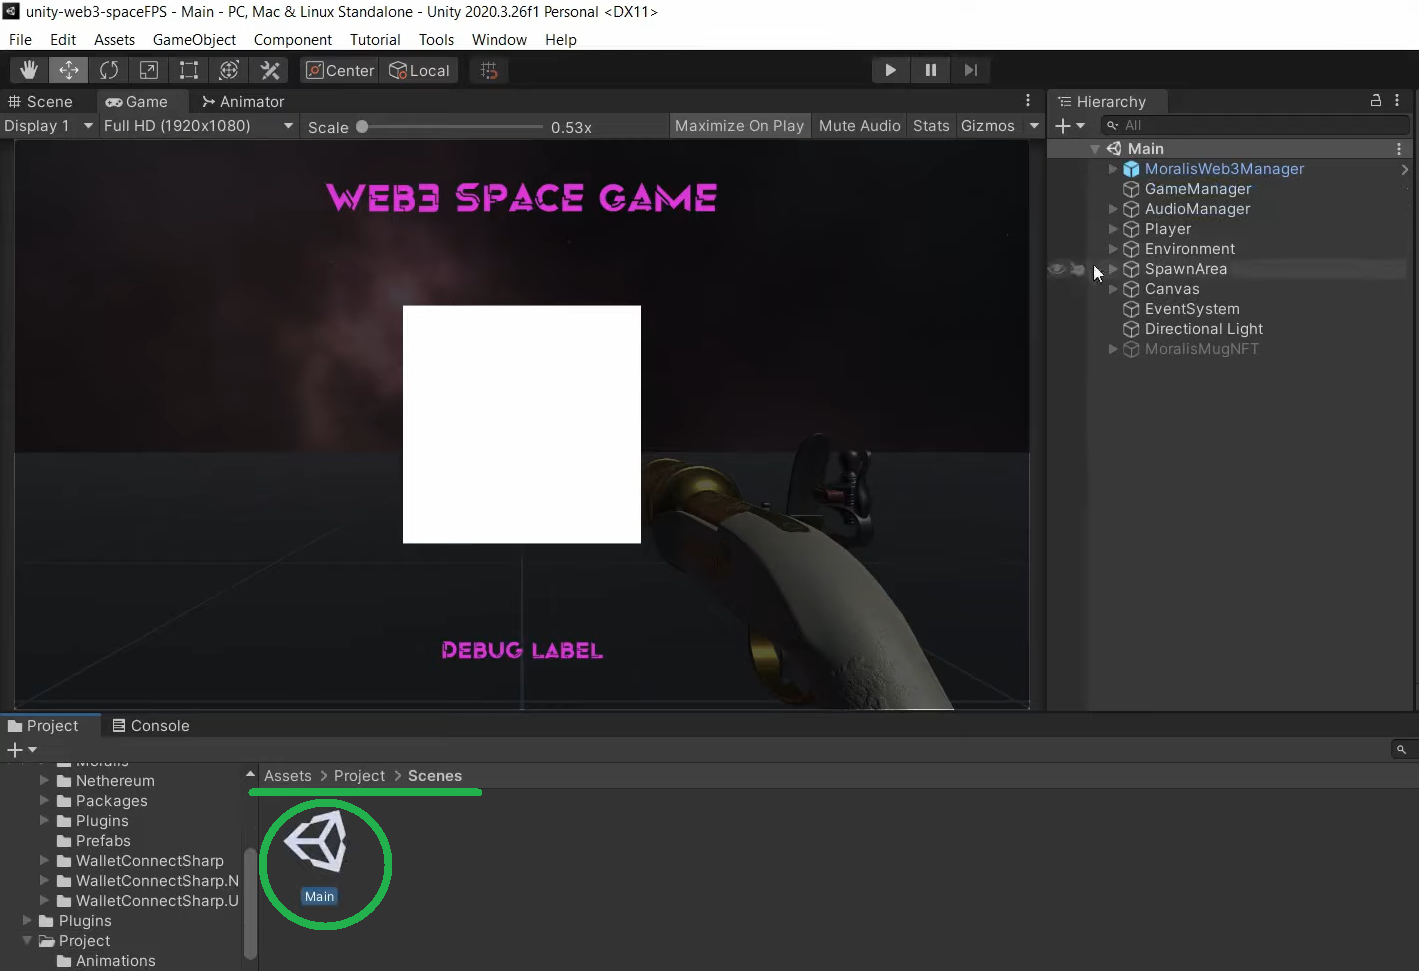
For starters, we need to cover Web3 login. This is done inside the “MoralisSetup” prefab, which is located inside “MoralisWeb3Manager”:
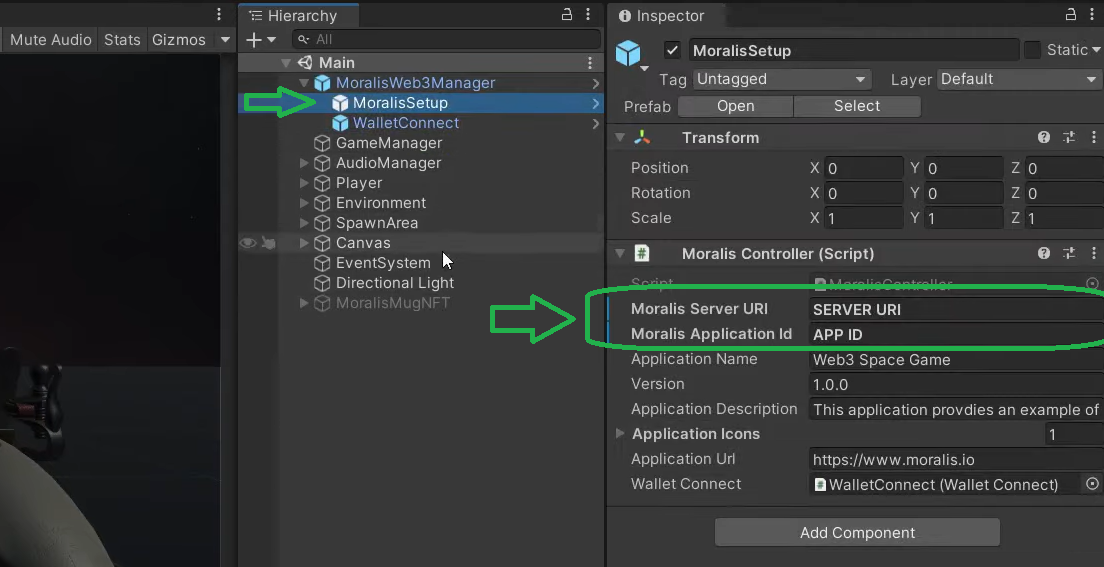
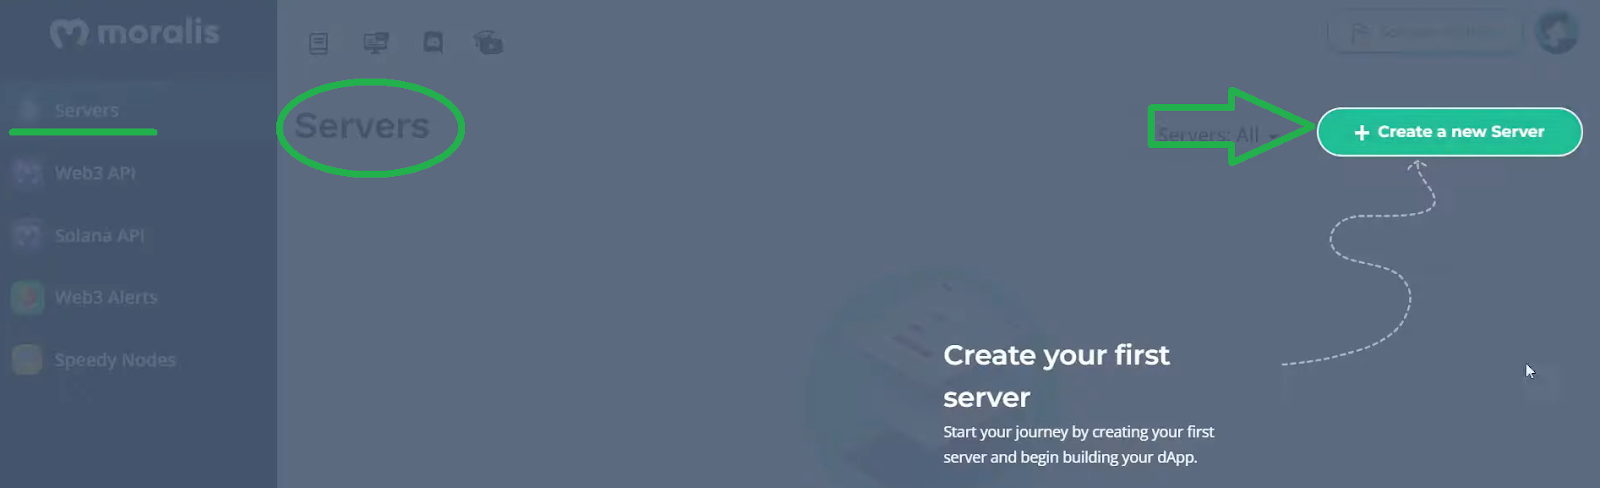
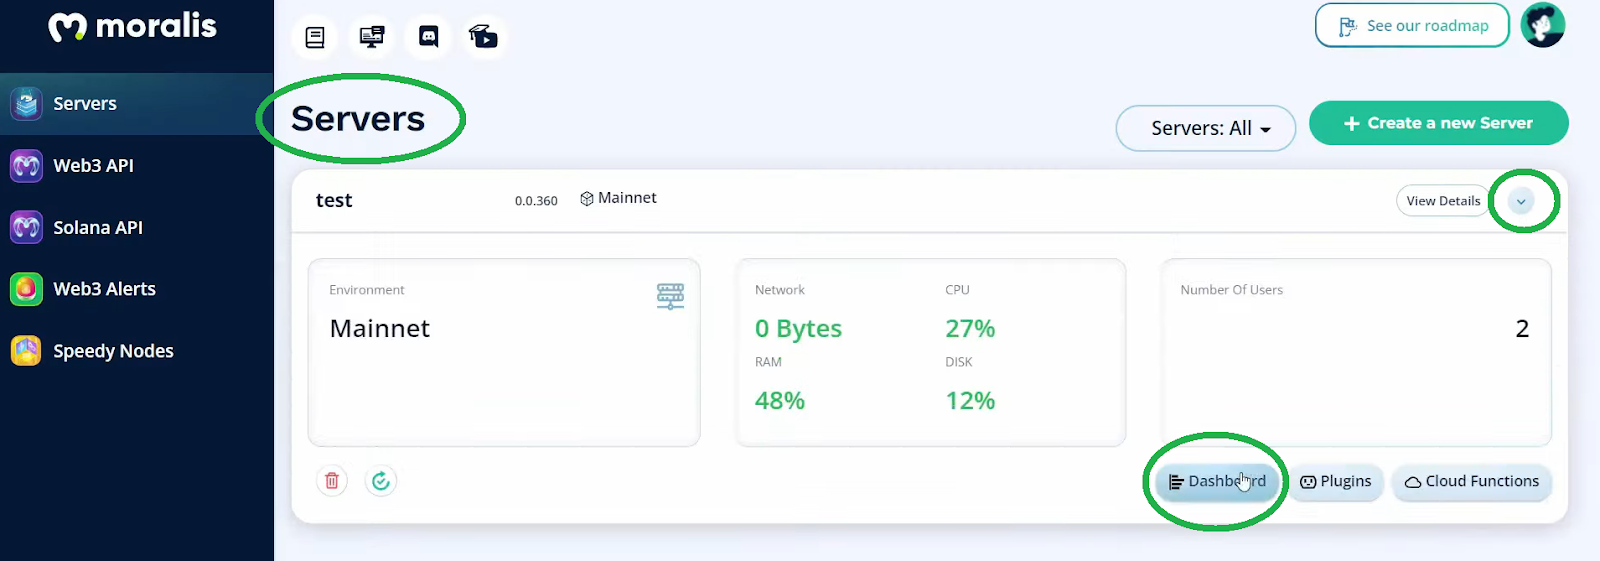
As you can see in the screenshot above, you need to obtain your Moralis server’s details – server URL and application ID. Fortunately, Moralis lets you create servers with your free Moralis account. You just need to log in to your Moralis admin area. There, you’ll be able to create a Moralis server inside the “Servers” tab:
Next, you’ll need to select your server type and enter your server details. Once your server is up and running, you’ll be able to access its details via the “View Details” button:
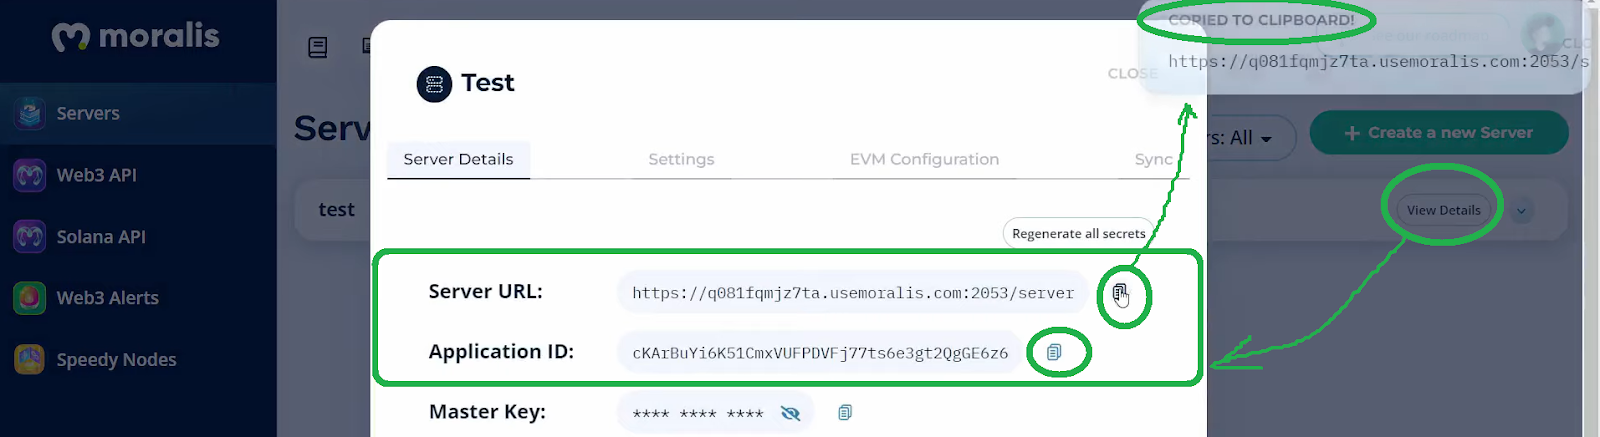
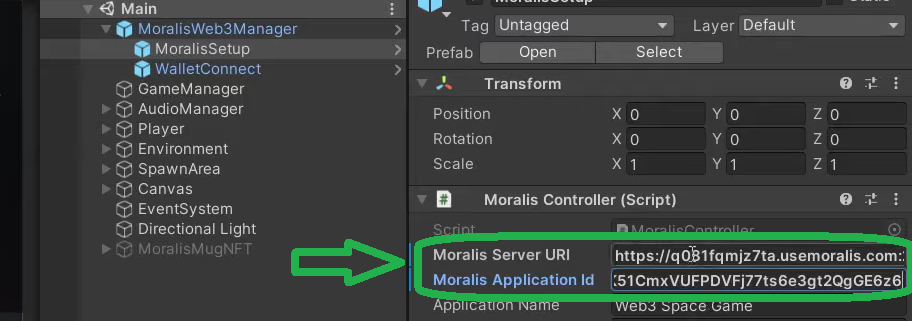
From there, you’ll be able to copy your server URL and application ID and paste them into Unity:
Note: In case you need more guidance with the Moralis server creation process, use the video at the end of this article, starting at 5:55.
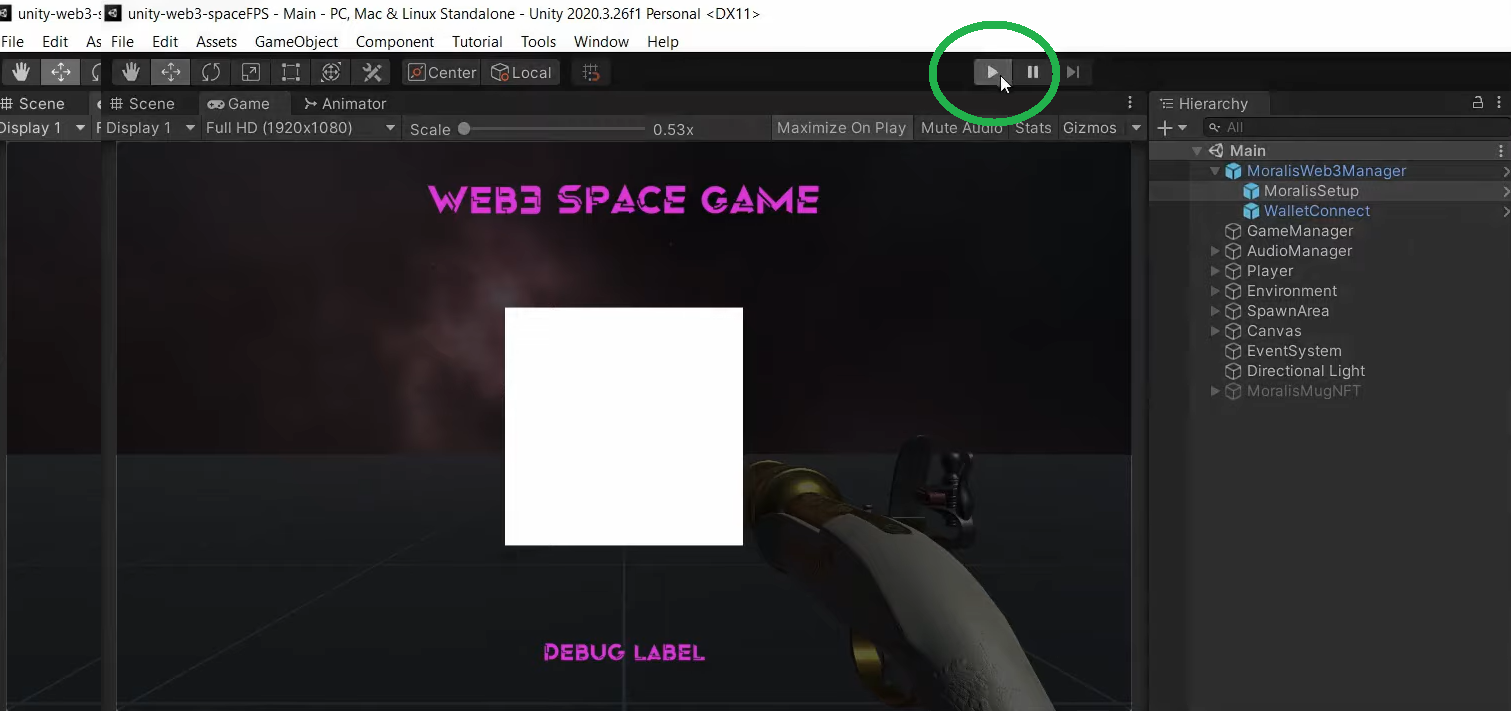
With the initial setup completed, your Web3 game’s login method is already functional. If you want, you can test it for yourself by clicking on the “play” icon in Unity. However, you’ll need to have your own Web3 wallet on your smartphone ready:
How to Claim an In-Game NFT – Code Walkthrough
Now that you’ve completed the initial setup, you can play around with the game. However, to properly understand how all aspects of our example Web3 game work, we recommend watching the video below. There, a Moralis expert will walk you through the scripts.
Web3 Login and the Enemies
You can start watching the video below at 7:33 to learn how a C# script ensures our Web3 login is done properly. This is where you will learn about the “LoggedInSuccessfully” event. Also, you will learn how “GameManager” listens to that event. At 8:18, you can watch closely and see how “GameManager” handles our game’s enemies’ actions. For starters, you’ll see that a successful login automatically starts our game loop, as noticed in our demo. This loop also queries all the enemy data (the “EnemyData” class). To index this class, we’ll use the Moralis dashboard, which you can access in your Moralis admin area:
This is where you’ll be indexing all the details about the in-game enemies:

What’s more, the above details are always present for alive enemies only. As soon as players shoot an enemy, it is no longer displayed inside the database (16:41).
The Boss and the Claim an In-Game NFT Feature
With the code that covers enemies under your belt, you will take a closer look at how to program the boss’ behavior (20:22) in our game. As presented in the demo above, you will also look at the code ensuring that the boss appears when the last enemy is killed. If you remember, the boss’ death is the event that triggers the option to claim an in-game NFT. This is where “moralisMug” does the trick via the “MoralisMugNFT” prefab. The latter also contains the “Claim NFT controller” script, which activates proper NFT panels. For more details regarding the code that enables users to claim an in-game NFT, use the video below at 23:00. This is also the part where we use a rather simple smart contract to ensure that the NFT ownership is transferred properly.
How to Claim an In-Game NFT – Summary
In this article, you had a chance to learn how to claim an in-game NFT. We’ve covered that by taking on an example Web3 game. The latter was created by a Unity expert using Moralis’ Metaverse SDK. By accessing the game’s zip file, you had a chance to create your own version of this game. You only had to create a Moralis server and paste its details into Unity. Furthermore, you had a chance to use the video above to go through the code that makes the game function properly. Hopefully, this simple game with the “claim an in-game NFT” feature inspires you to take things to the next level. As such, feel free to upgrade our game or create your own Web3 game from scratch.
On the other hand, in case you are not familiar with Unity but know JavaScript, you might want to build a 2D Web3 game. Furthermore, please explore other blockchain development topics using the Moralis YouTube channel and the Moralis blog. Both of these outlets cover all sorts of example projects and crypto topics. For example, some of the latest articles focus on Web3 contracts, connecting Web3 wallet to Twitter account, how to connect a Web3 wallet to a website, Web3 video streaming service, how to set up a BNB wallet, NFT utility, and much more. Exploring Moralis’ free content is also a great way to get educated about the possibilities of blockchain development.
However, if you want to become a Web3 developer as soon as possible, you should take a more professional approach. Hence, you might want to consider enrolling in Moralis Academy. Aside from pro-grade blockchain courses, you will get a personalized study path, expert mentors, and become a member of an amazing community.
