For many developers, building a webpage is a walk in the park. But, when converting to or implementing Web3, many get confused. That is especially true when a traditional programmer tries to tackle the initial step of implementing Web3 authentication, which can enable users to connect a Web3 wallet to a website. If you are one of those finding this process cumbersome, don’t worry, we have a solution just for you. In fact, with your JavaScript proficiency, you can utilize Moralis to implement Web3 login easily. Thus, for those wanting an answer to the “how to connect to Web3 website?” question, this “how to connect wallet to website” guide will be highly beneficial.
We will show how you can easily connect a Web3 wallet to a website (a.k.a. authenticate with MetaMask) in the following sections. We’ll present you with a nice alternative to React as we’ll create a simple dapp using Next.js. The latter is an open-source web development framework that includes neat features. However, other powerful tools also enable us to connect to Web3 website. Hence, we will exploit the power of MetaMask – the most popular Web3 wallet. Furthermore, we will use the best Web3 backend platform, Moralis, to implement the “connect wallet to website” feature. This “Firebase for crypto” platform enables us to include this essential functionality with a single line of code. To do so, you must first complete some initial setup steps, which we will guide you through herein. So, to make sure you are ready for today’s challenge, create your free Moralis account before moving any further.
Connect Wallet to Website – Web3 Login Explained
When it comes to Web3 login or Web3 signup, we usually refer to it as “Web3 authentication”. As the title of this article suggests, we use crypto wallets or Web3 wallets for that purpose. If you are new to the crypto realm, this might sound complicated. However, it is pretty simple when you use the right tools.
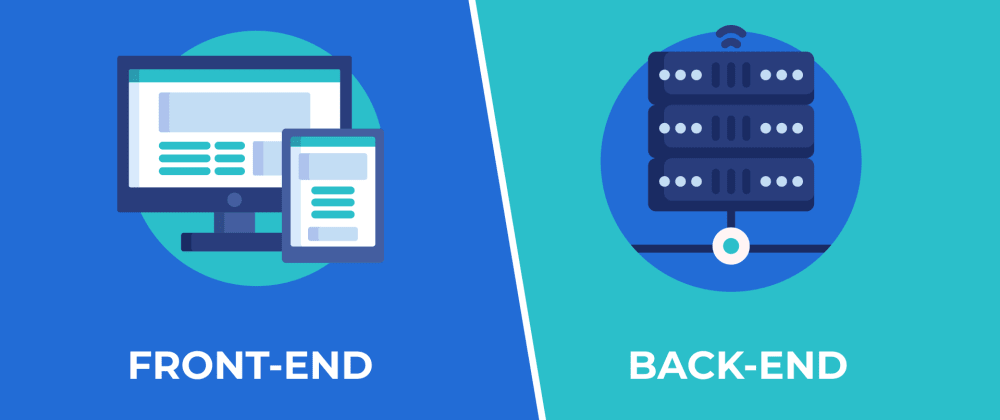
As the image above shows, it is usually a matter of clicking a single button. In addition, users also need to confirm their login inside their wallets (also a single-click action). As such, things are pretty straightforward on the frontend. Although, that doesn’t necessarily mean that the backend is easy to implement. In fact, there are still many devs that go about dapp development by building directly on top of Ethereum RPC nodes. As such, they face all of the limitations of RPC nodes. Hence, they either fail to get proper results or spend a lot of time just to include the “connect to Web3” feature.
Unlike most Web2 websites where users use their email and password combos or social accounts to log in, in Web3, users’ crypto addresses serve as keys. Of course, using some neat tools, Web3 authentication via email, or even Web3 social login, are also possible. However, in the core of Web3 login, users need to have their blockchain addresses to interact with the chain. In addition, you should know that cryptography is a rather “tricky” thing. As such, it would be completely impractical and all but user-friendly to expect users to enter their crypto addresses manually. Fortunately, as we mentioned in the intro, we can rely on existing tools to make Web3 authentication a lot simpler. That is what we will do in our example project herein.
Why Connect Wallet to Website?
By covering the above explanation, you understand what it entails when users connect wallet to website – they essentially connect to Web3 website. This enables them to interact with the chain that the website is based on. Once connected, users can send, receive, and store fungible and non-fungible tokens (NFTs). Furthermore, using the “connect wallet to website” method, users get to access NFT marketplaces, GameFi or NFT games, DeFi platforms, and other crypto websites. Ultimately, you can’t be a Web3 user or become a blockchain developer without a crypto wallet.
As mentioned, you can take the ultimate shortcut – Moralis. This pinnacle of the current Web3 tech stack comes with MetaMask and WalletConnect integrations. Hence, you can get your users to connect to Web3 website without any fuss.
Connect to Web3 Website Using a Crypto Wallet
Moving forward, we’ll show you how to connect a Web3 wallet to a website and how to implement that option for your users. Along the way, we will use our preferred IDE – Visual Studio Code (VSC), Next.js, Moralis’ SDK, and MetaMask for developers. Moreover, unlike some other methods incorporating Web3 login, by using the above tools, you can completely customize your Web3 UI. However, this is not the fastest way to connect to Web3 website. In case you want to implement the “connect wallet to website” feature in a couple of minutes, you ought to exploit the ultimate Ethereum dapp boilerplate.
As we take on our example project, we will first complete the Next.js project setups. Then, we will build our example frontend. Following this, we will complete the initial Moralis setup and Moralis integration. After completing both the frontend and backend, we will also check out how to handle errors. However, let’s start with a quick demo to get a better picture of what we are going to build.

Connect Wallet to Website – Demo
As with all of our example projects, simplicity is where it’s at for our dapp. So, here’s what our example Web3 login looks like:

As you can see, the initial screen has a logo and the “Login With Moralis” button. Once the users click on the above button, MetaMask prompts them to confirm their action:

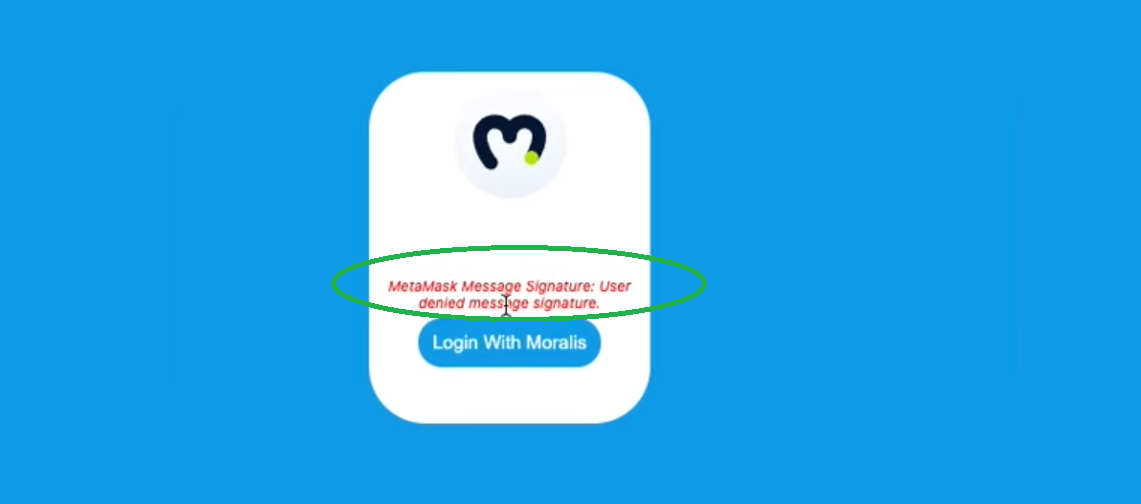
As mentioned earlier, we will ensure that our “connect to Web3 website” dapp is also able to handle various errors. For instance, let’s say users click on the “Cancel” button instead of “Sign” when prompted by MetaMask, then this is the message we want them to see in that case:
Of course, we also need to offer users some indication that they’ve successfully logged in. As such, this is the page authenticated users land on:

The above-presented page also includes the “Sign Out” button. Hence, users don’t have to stay logged in. Furthermore, looking at the above screenshot, you can see that we’ve focused on the login page. The latter is a proper “dev-level” login page. So, now it’s time to roll up your sleeves and join us as we create a “connect to Web3 website” dapp.
How to Connect to Web3 Website Using Next.js – Project Setup
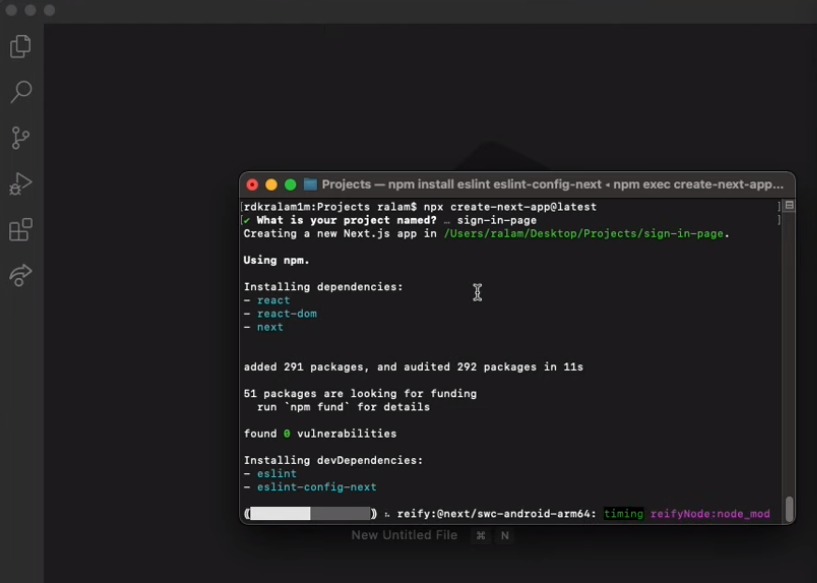
First, use your terminal to navigate to the folder that you want to use for today’s example project. Next, make sure that you are running the latest version of the node. When working with Next.js, you start with the “npx create-next-app@latest” command. The latter will prompt the terminal to ask you to enter the name of your project. Feel free to be creative or use the same name as ours – “sign-in-page”. Then, wait for a few seconds while the new project is being created:
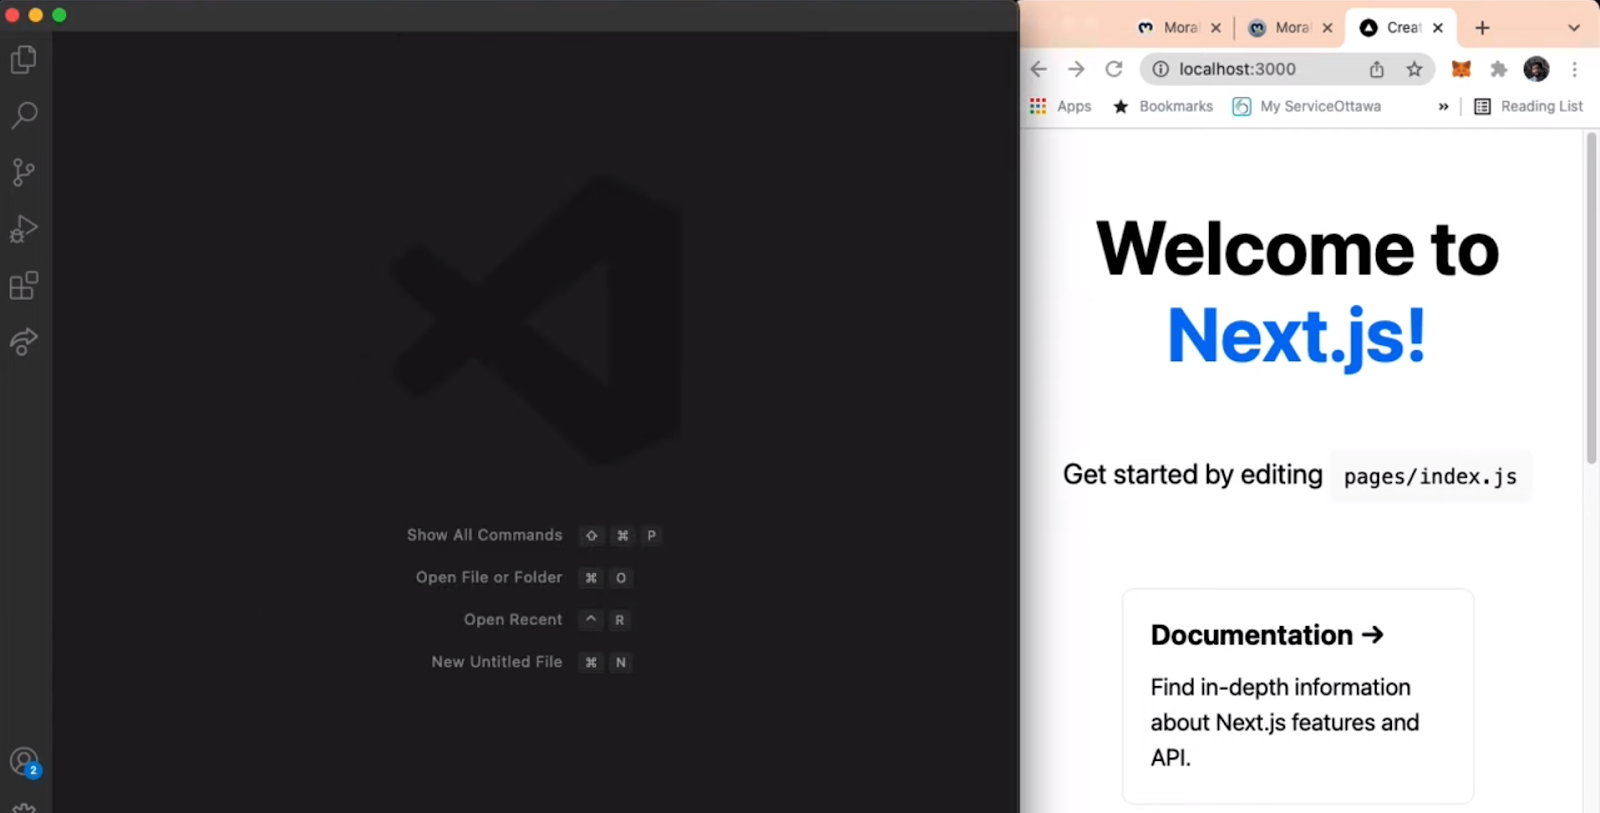
After the installation is finished, you need to enter “cd sign-in-page”. Next, you can run your clean slate app with the “npm run dev” command. If you’ve completed all of the above steps as instructed, you should be looking at this:
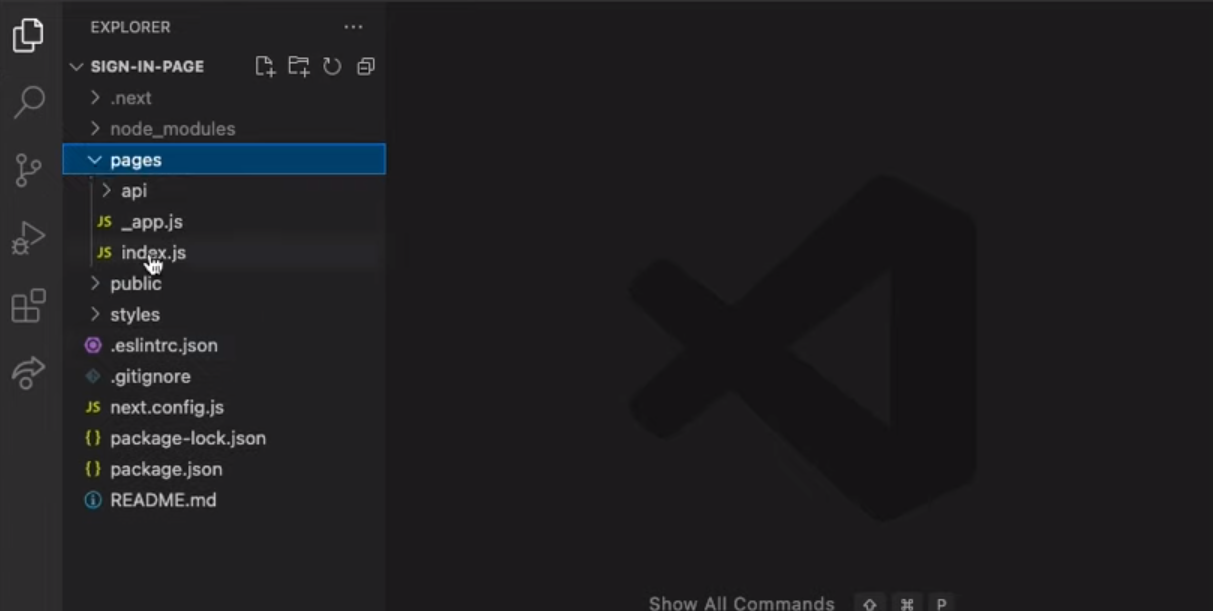
Now, open the above-created project in VSC (or your preferred code editor). For your convenience, the clean slate application comes with several default folders and files:
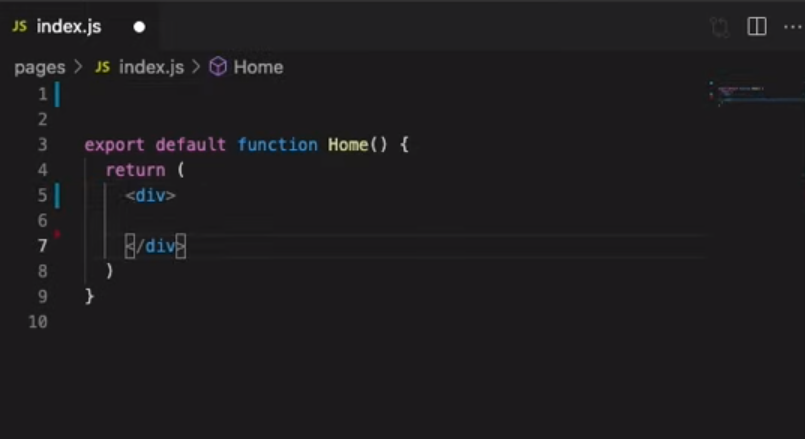
Furthermore, there is some template content that our initial app contains. Since we don’t need that, we want to delete it. Hence, open your “index.js” file and delete everything between the “<head>” and “<footer>” tags. Also, delete all the “import” lines and the “className” within “<div>”. This is what you should be looking at after tidying up the “index.js” file:
Also, if this is your first time working with Next.js, we recommend watching the video below at 0:52. There, a Moralis expert will quickly compare Next.js with ReactJS.
Frontend to Connect Wallet to Website
As mentioned above, combining JavaScript skills with MetaMask and Moralis can get you far. So, if you are JavaScript-proficient, use the video below (starting at 5:12) as a guide through the frontend development process. A Moralis expert will first show you how to use the “global.css” file to make your “connect wallet to website” page neat. Then, he’ll show you how to create a new login component with its own CSS file. Along the way, you’ll find out the basics of flexboxes. In about 17 minutes, you will have the frontend part finished, as presented in the above demo. Nonetheless, in case you don’t want to code the frontend, you can access the entire code on GitHub.
Connect to Web3 Website Using Moralis – Cover the Backend
When you decide to use Moralis for your backend needs, you need to complete some initial Moralis setup steps. Below are the steps you must go through to connect to Web3 website with Moralis’ SDK.
- Log In to Your Moralis Account – At this point, you most likely already have your Moralis account ready. Hence, log in using your credentials. However, if you haven’t created it yet, use the earlier link at the beginning of this article and create an account.
- Create a Moralis Server – Inside your Moralis admin area, you’ll need to create a new server. This includes choosing a server type and entering your server’s details. You can access pretty detailed instructions by clicking on the “Create a Moralis Server” link.

- Install the Moralis SDK – Install the Moralis SDK using your terminal by entering “npm install moralis” followed by “npm install react-moralis”. Finally, enter the “npm run dev” command.
Connect Wallet to Website by Integrating Moralis
With your Moralis server up and running, you get to integrate Moralis into your code. This will take care of the backend needs and will enable users to connect wallet to website easily. Start by accessing the “_app.js” file inside VSC. You’ll need to add a few lines of code before pasting your Moralis server’s details. For details, use the above video tutorial starting at 24:02.
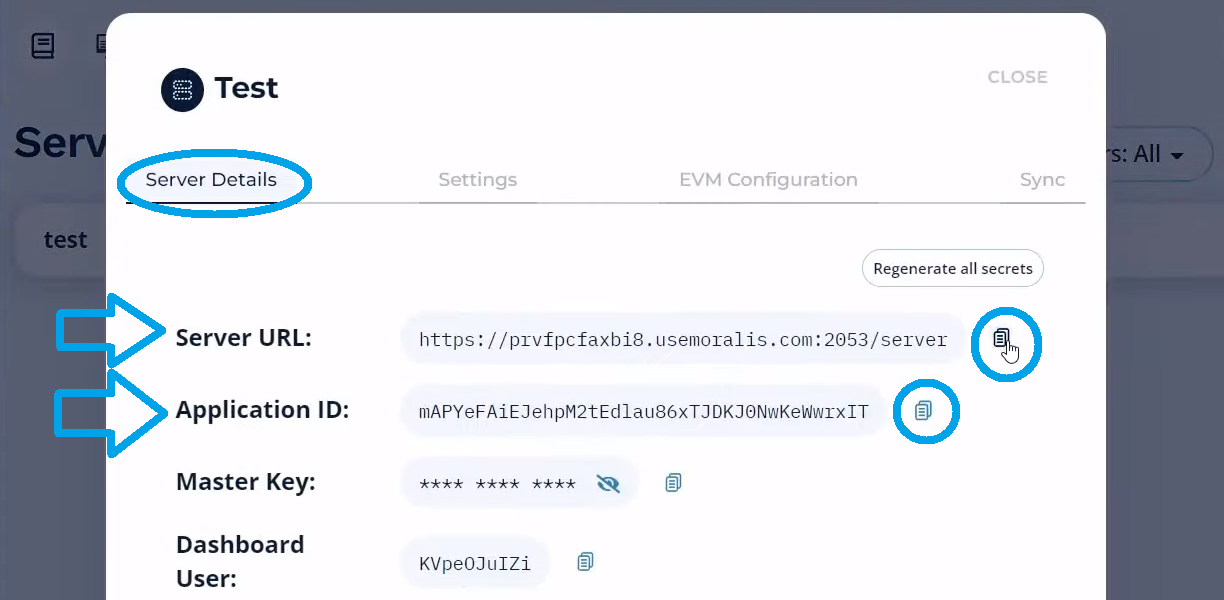
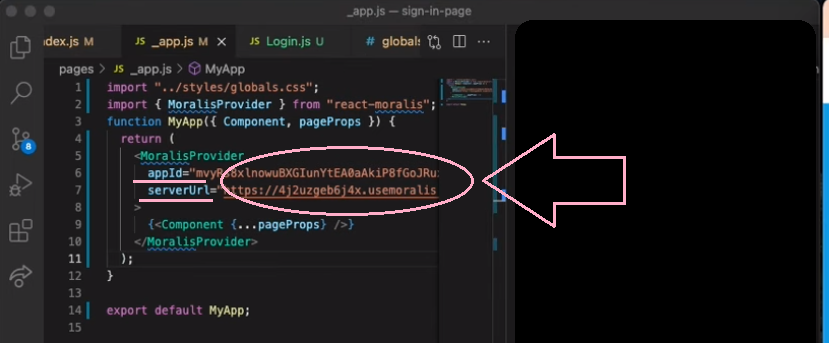
- Obtain Your Moralis Server’s Details – You need your server URL and app ID, which you can view by clicking on “View Details” on the “Servers” page inside your Moralis admin area:

Use the copy icons next to the details you need:
- Initialize Moralis – Paste the above-copied details inside “_app.js”:
- Adding the “Connect to Web3 Website” Functionality – This is the part where you get to offer your example dapp’s users to easily connect wallet to website. Start by accessing the “Login.js” file and let the above video (26:08) guide you. You will add a couple of lines of code; however, “onClick=(authenticate)” will do the heavy lifting.
Connect to Web3 Website – Handling Errors
At this point, you have a fully functional dapp that enables your user to connect to Web3 website. However, as mentioned in our demo, being able to handle errors properly is also quite important. As such, we recommend you also cover this aspect of our example project. Hence, use the video above starting at 28:00. By completing this final part of our “connect wallet to website” quest, you’ll ensure a smoother UX.
How to Connect a Web3 Wallet to a Website – Summary
We’ve covered quite a distance in this article. At this point, you know how to connect to Web3 website using crypto wallets. You also know how to offer users a way to connect wallet to website dapps. Furthermore, aside from covering the theory about Web3 authentication and Web3 wallets, we’ve also completed a pretty helpful example project. As such, you’ve had a chance to create your own version of a simple dapp that includes Web3 login. In addition, you had a chance to get familiar with Next.js.
If you enjoyed this tutorial, you should check out the Moralis YouTube channel and the Moralis blog. These outlets cover the full range of blockchain development, from creating Ethereum tokens to Unity Web3 programming and everything in between. Moreover, some of the latest topics lets you explore NFT use cases, “what is Solana?”, a BNB wallet guide, a Web3 video streaming service and a Web3 Netfily clone tutorial, a guide to help you create an ETH wallet or a multi-chain wallet, the benefits of Web3 gaming, Web3 metaverse, and much more. Aside from countless example projects, these are also the places where you can find various crypto aspects explained in a simple manner. Hence, you may use these platforms for your free ongoing blockchain education.
However, if you want to go full-time crypto sooner rather than later, you ought to take a more professional approach. In that case, you may want to consider enrolling in Moralis Academy. There, you’ll get to attend professional-grade courses, make use of a personalized study path, be a part of an incredible community, and get expert mentorship.