The decentralized web is growing, and new Web3 apps are continuously developed to expand the ecosystems of various chains. Developers create new decentralized exchanges (DEXs), NFTs, fungible tokens, games, etc., each and every day, providing further functionality to the Web3 realm. At first glance, it might seem like Web3 development is a daunting task; however, it doesn’t have to be with the proper tools, platforms, and operating systems. One of the most well-established tools used by developers is MetaMask – a crypto wallet providing access to the Web3 ecosystem. As such, we’ll use this article to look closer at how to launch Web3 apps with MetaMask and Moralis.
We will, in this tutorial, take a closer look at how to create a dApp from scratch, and to do so, we’ll be utilizing Moralis. Moralis is the best operating system for dApp development, and the platform makes Web3 development significantly more accessible. From a traditional perspective, it has been backend development that’s been most challenging when it comes to Web3 development. However, Moralis’ Web3 platform provides an already developed backend infrastructure that makes the utilization of MetaMask and launching Web3 apps for developers a simplified process.
Moreover, Moralis also provides a set of excellent development tools that can be utilized throughout the complete development process of Web3 applications. Some examples are native support for IPFS, cross-chain compatibility, the Price API, and NFT API. So, if you want to get started in blockchain development, the next step in your journey is to sign up with Moralis. Doing so is free, and you’ll be provided with immediate access to the benefits of the platform!
What is MetaMask?
Before we get into the process of launching Web3 apps with MetaMask, let’s touch briefly on the subject of what MetaMask is. MetaMask comes in two forms: a mobile application or a web browser extension. In this tutorial, we’ll be using MetaMask as a web browser extension because doing so makes Web3 development with MetaMask more accessible.
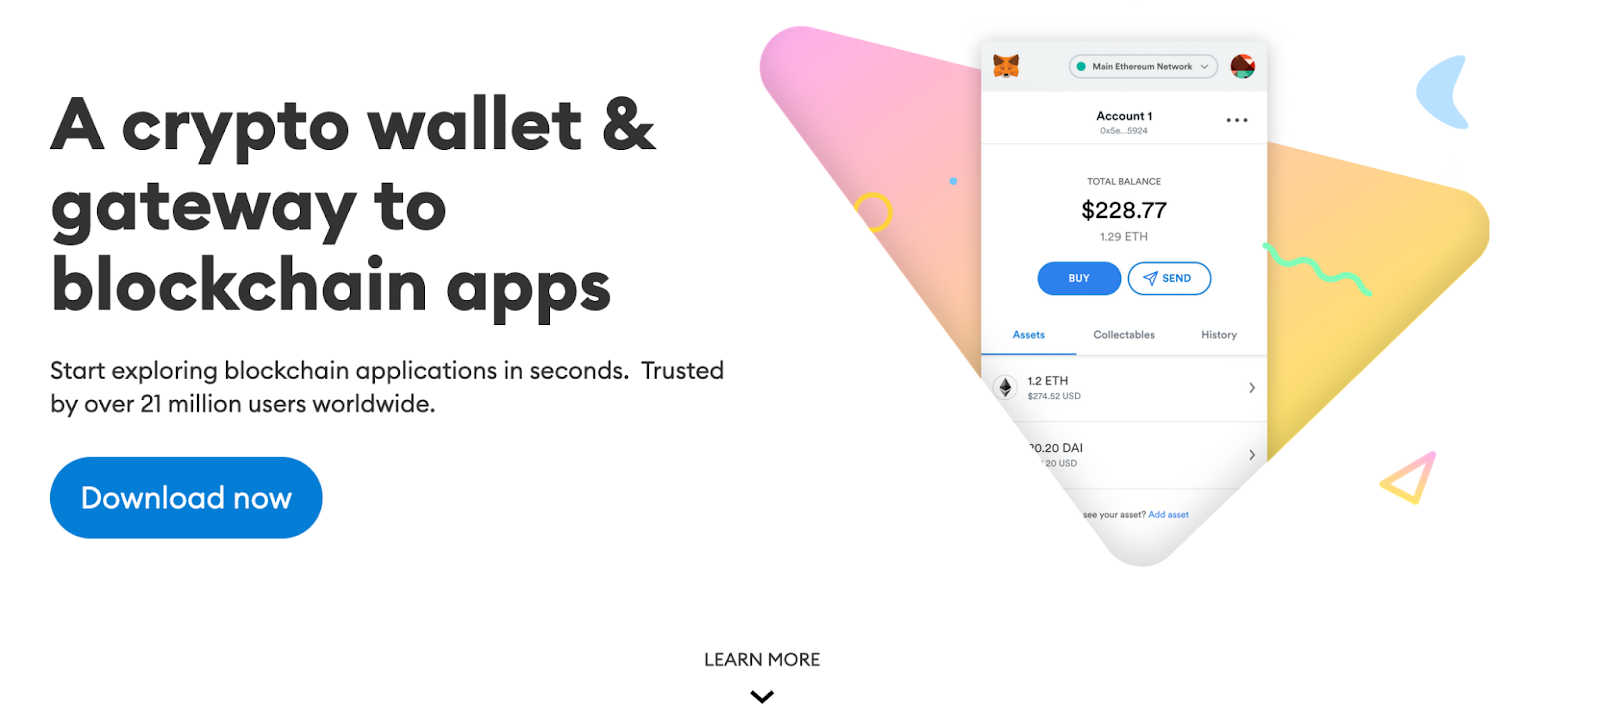
The functionality of MetaMask is two-fold; first, it can be used as a cryptocurrency wallet to hold, trade, and buy cryptocurrencies. Plus, as a wallet, the extension provides most of the necessary functionalities to manage all your crypto assets. Second, MetaMask also acts as a gateway to the extensive Ethereum ecosystem of dApps (decentralized applications). Moreover, there are several layer-2 scaling solutions to Ethereum, such as Polygon, where MetaMask is also used. As such, MetaMask isn’t solely restricted to the Ethereum network.
MetaMask is currently in use by more than 21 million users worldwide, and the extension/application provides secure access to blockchain-based applications. MetaMask is also proud of its data management as the users are in full control of their information. This means that only the users have access to their data, and they decide themselves what to share and what they would like to keep private.
So, if you’d like access to blockchain-based Web3 apps such as Compound, Maker (MKR), OpenSea, Uniswap, and many more, then you’ll definitely benefit from downloading MetaMask. Acquiring MetaMask is relatively straightforward; however, we’ll take the following section to break down the downloading process and take a closer look at how MetaMask works as a wallet.
How to Setup MetaMask
To get going with MetaMask, the first thing you’ll need to do is visit the official website and download the extension. To do so, simply click on the ”Download now” button and install the extension to your desired web browser.
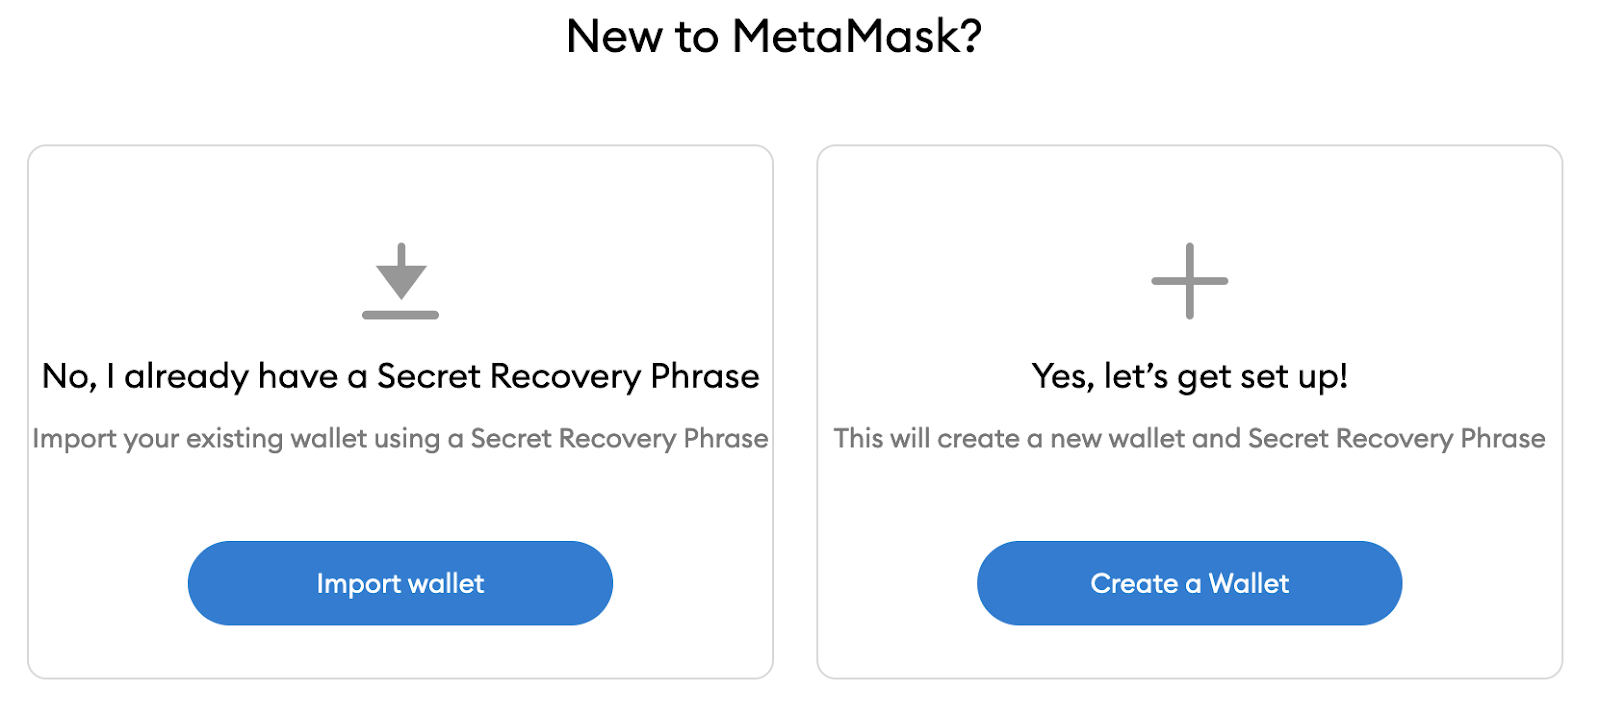
With the extension in place, you can get the process going by clicking on ”Get Started”. This will provide you with two alternatives; 1) import a wallet and 2) create a wallet. So, if you already have a crypto wallet, it is possible to import your existing one with the secret recovery phrase and add a password. However, if you are entirely new to the crypto realm and don’t have a wallet, you can select the second alternative to create a new one from scratch. To do so, all you need to do is input a password of your choice, and you’ll receive a seed phrase in return. You’ll then be asked to confirm the secret recovery phrase, and once this is done, you’ll receive your first MetaMask wallet.
Note: Make sure to write down the seed phrase and store it safely, as this will be your only chance of retrieving the MetaMask wallet if so needed in the future.
Using MetaMask
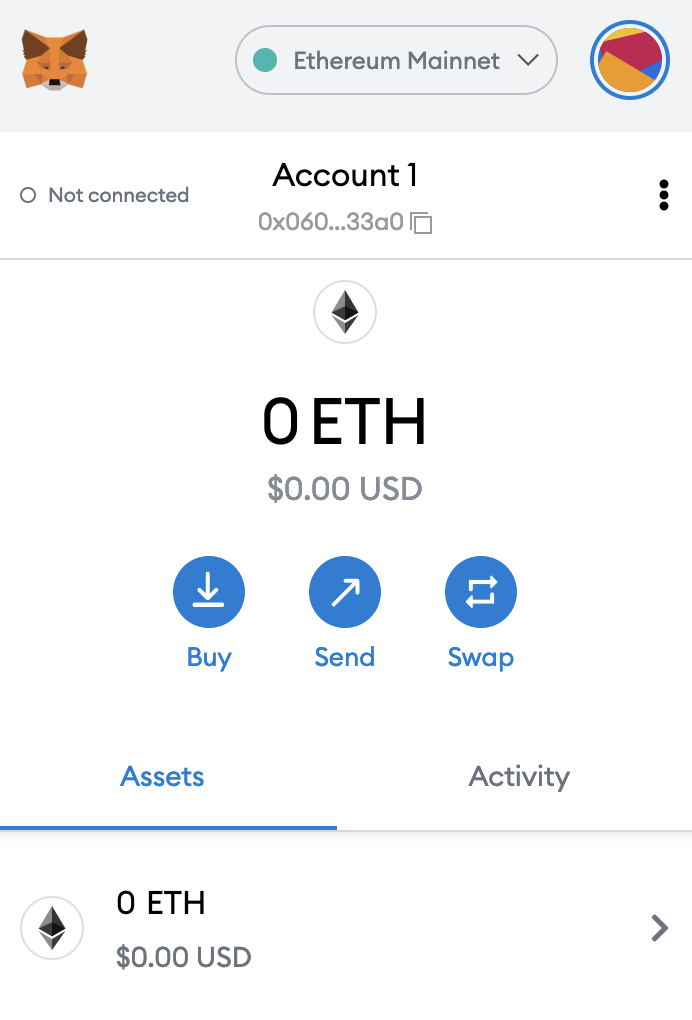
With an account at hand, you’ll be able to manage all of your cryptocurrencies fully. Moreover, you can find an address at the top of the interface. This will be the address for your wallet, meaning that this is used when someone sends you crypto assets.
Further down on the interface, you’ll also find three “action” buttons, one for buying, one for sending, and one for swapping. Moreover, there are also two separate tabs; ”Assets” and ”Activity”. Under the ”Assets” tab, you’ll find all assets added to your account, and under the ”Activity” tab, you’ll find the complete history of all transactions of your account.
Finally, you’ll also find a ”Networks” drop-down menu at the top of the MetaMask extension. Here you’ll be able to change and add additional networks to your wallet.
MetaMask for Developers
Not only is MetaMask great when it comes to managing crypto assets, but it’s also an excellent tool for developers. In order for someone to interact with our Web3 apps, it is essential to allow users to authenticate themselves. There are several different alternatives for this process; however, the most commonly used option is MetaMask. Moreover, when working with Moralis, it’s possible to authenticate users with MetaMask relatively easily. Actually, it is possible to authenticate users with a single line of code thanks to the Moralis SDK (software development kit).

However, MetaMask for developers is just one of many alternative ways to authenticate users. There are other solutions, such as WalletConnect, that developers can implement into their dApp. Suppose you’d like to learn more about this process; then check out the following guide from the Moralis blog on how to connect users with WalletConnect. The process does not differ significantly from authenticating users with MetaMask, but it is worth checking out to see the difference and learn more about WalletConnect.
How to Launch Web3 Apps with MetaMask
MetaMask as a tool for developers is highly beneficial and provides a more accessible development process. Integrating MetaMask into dApps isn’t always easy, but with Moralis, it is possible to do so through a single line of code. Moreover, in this tutorial, we’ll be creating a complete Web3 app from scratch where it is possible to send, swap, transfer, view balances, and much more. Since we’ll be using Moralis, this process becomes quite easy. In fact, we’re simply going to create a new project in Visual Studio Code (VSC) and import a boilerplate.
However, if you’d prefer to watch a YouTube video explaining the process of how to launch Web3 apps with MetaMask, check out the following video from the Moralis YouTube channel:
The video starts by explaining what MetaMask is and how to get a wallet, followed by an illustration of the potential for developers using MetaMask. Nonetheless, you also have the option to read on as we’ll take you through the complete process here in the article.
MetaMask for Developers – Creating a Moralis Server
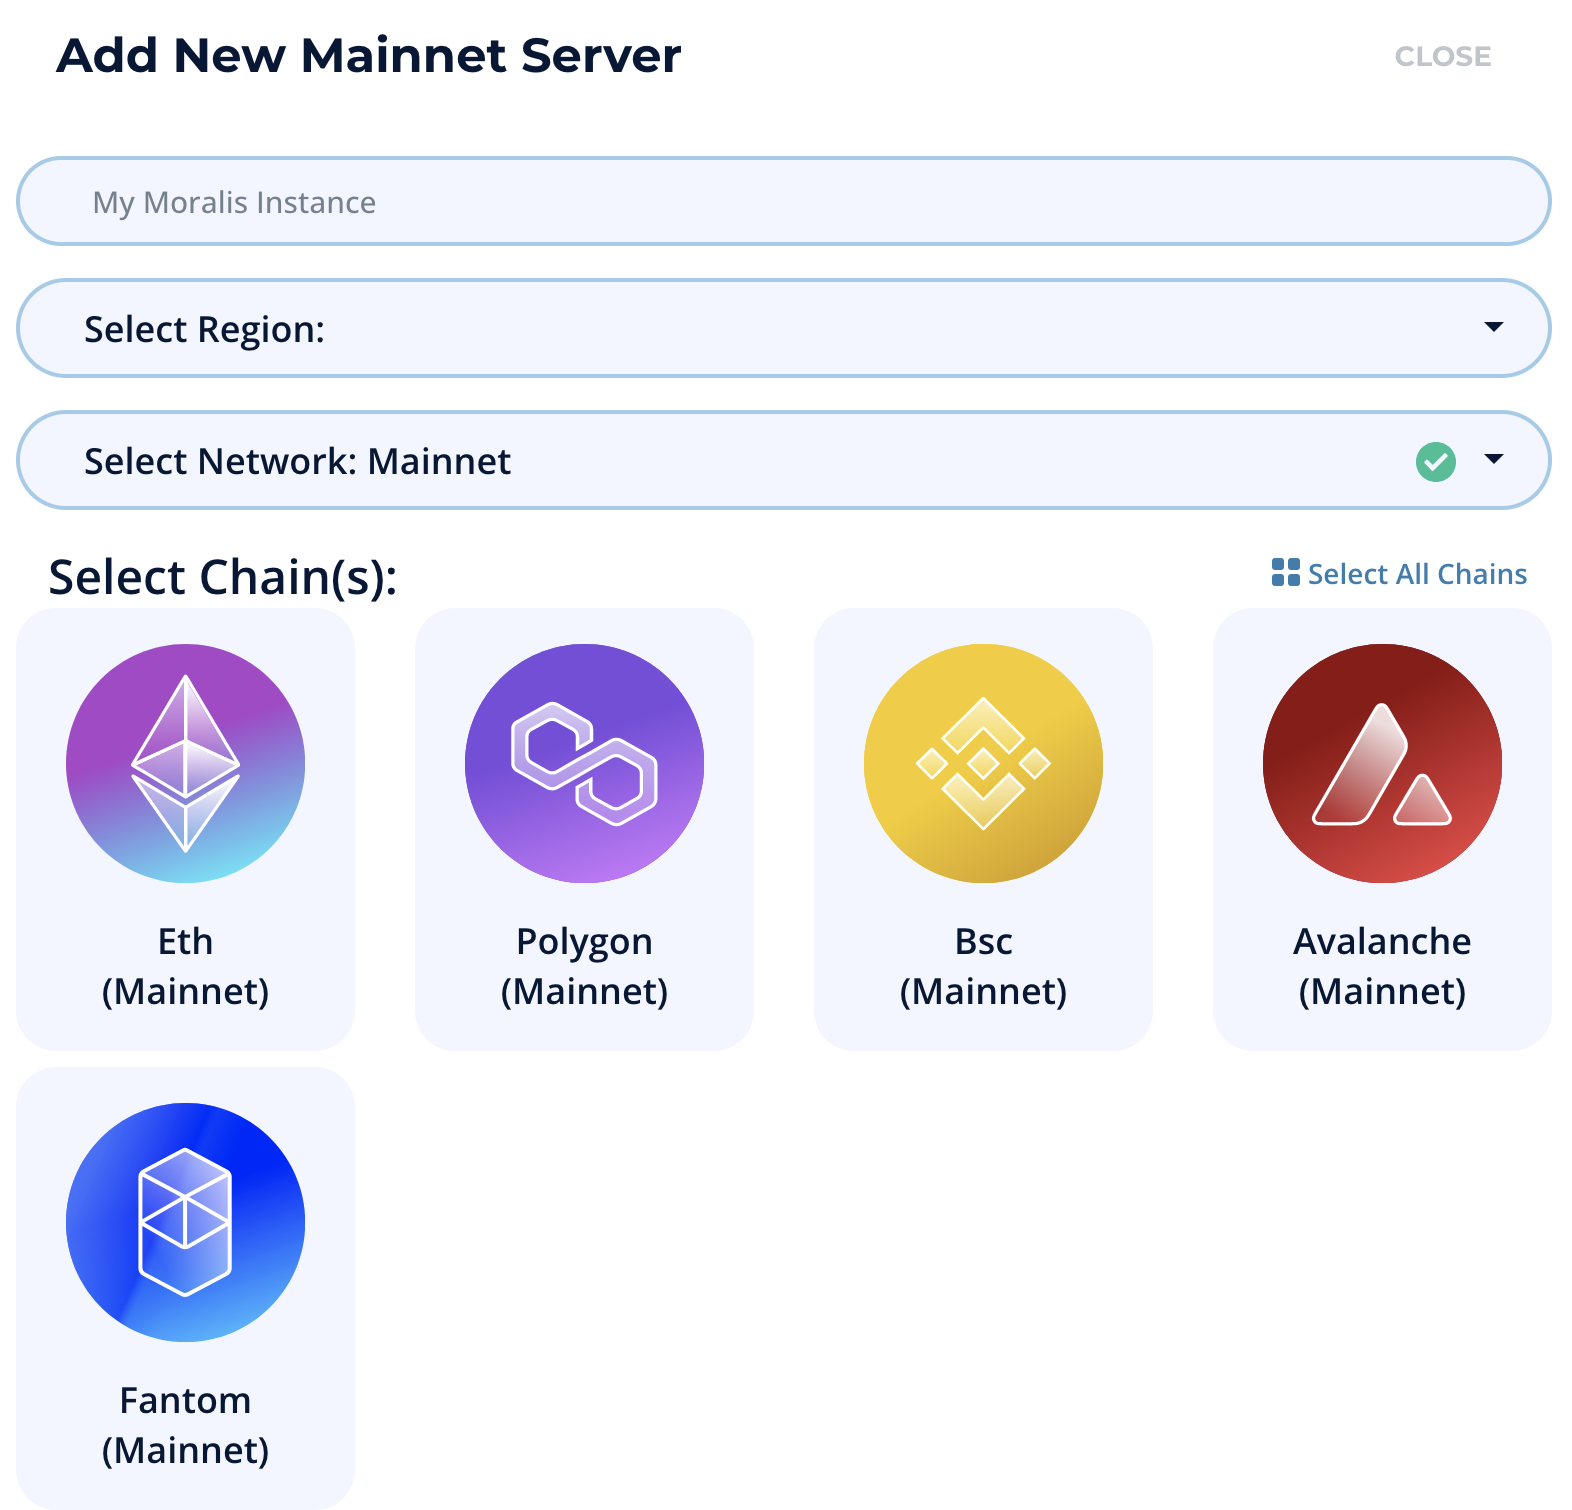
If you haven’t already, the first step in the process is to sign up with Moralis. Signing up is completely free, and it only takes a couple of seconds. Once you have an account, we can go ahead and create a server by clicking on ”Create a new Server” at the top of the Moralis admin panel. Doing so will provide a drop-down menu with a few alternatives; however, we will select the ”Mainnet Server” alternative.
Once we click this button, we’ll need to input a name, select a region, and choose networks. For this tutorial, we will choose all available networks since Moralis is cross-chain compatible. Moreover, with all of the selections done, we can go ahead and launch the server by clicking on the ”Add Instance” button at the bottom right.
Creating the server might take a while; however, the instance will spin up in just a couple of minutes. Now, with a server at hand, we can continue on to the next step in the process, which involves creating a Web3 app by importing boilerplate code.
MetaMask for Developers – Installing the Ethereum Boilerplate
First of all, you can find the Ethereum boilerplate code on the Moralis GitHub page. Once opened, you need to click on the green ”Code” button. This will open up a small drop-down menu with a link to the boilerplate. You can go ahead and copy this link and open Visual Studio Code afterward.
Once inside Visual Studio Code, you can open up a new terminal and “Git Bash” and input the following command:
git clone https://github.com/ethereum-boilerplate/ethereum-boilerplate.git
The link in the command above is the boilerplate link that you copied from the GitHub page. This will clone the GitHub repository so that we can install the boilerplate. So, with the boilerplate cloned, we can move into the correct directory by inputting the following:
cd ethereum-boilerplate/
Once we are in the correct directory, we can simply install it through the next command:
yarn install
This command will install all dependencies. While it’s installing, we can go to the menu at the left-hand side of Visual Studio Code and change the name of the ”.env.example” file by simply removing ”.example”. Moreover, in the ”.env” file, you’ll see two essential lines:
REACT_APP_MORALIS_APPLICATION_ID =
REACT_APP_MORALIS_SERVER_URL =
Both these are currently equal to nothing, meaning that we need to assign the application ID and server URL. To find this information, you’ll need to navigate yourself back to the Moralis admin panel. Once there, you can click on the ”Servers” tab and then click the ”View Details” button for the server in question. You’ll then simply copy and paste the URL and ID information into the boilerplate code. That’s it; you have a complete dApp developed in only a couple of minutes!
MetaMask for Developers – Starting the dApp
Now, with the Web3 app completed, we can go ahead and start the dApp by inputting the following command into the terminal:
yarn run start
This will launch the Web3 app with MetaMask, and the final result should look something like this:
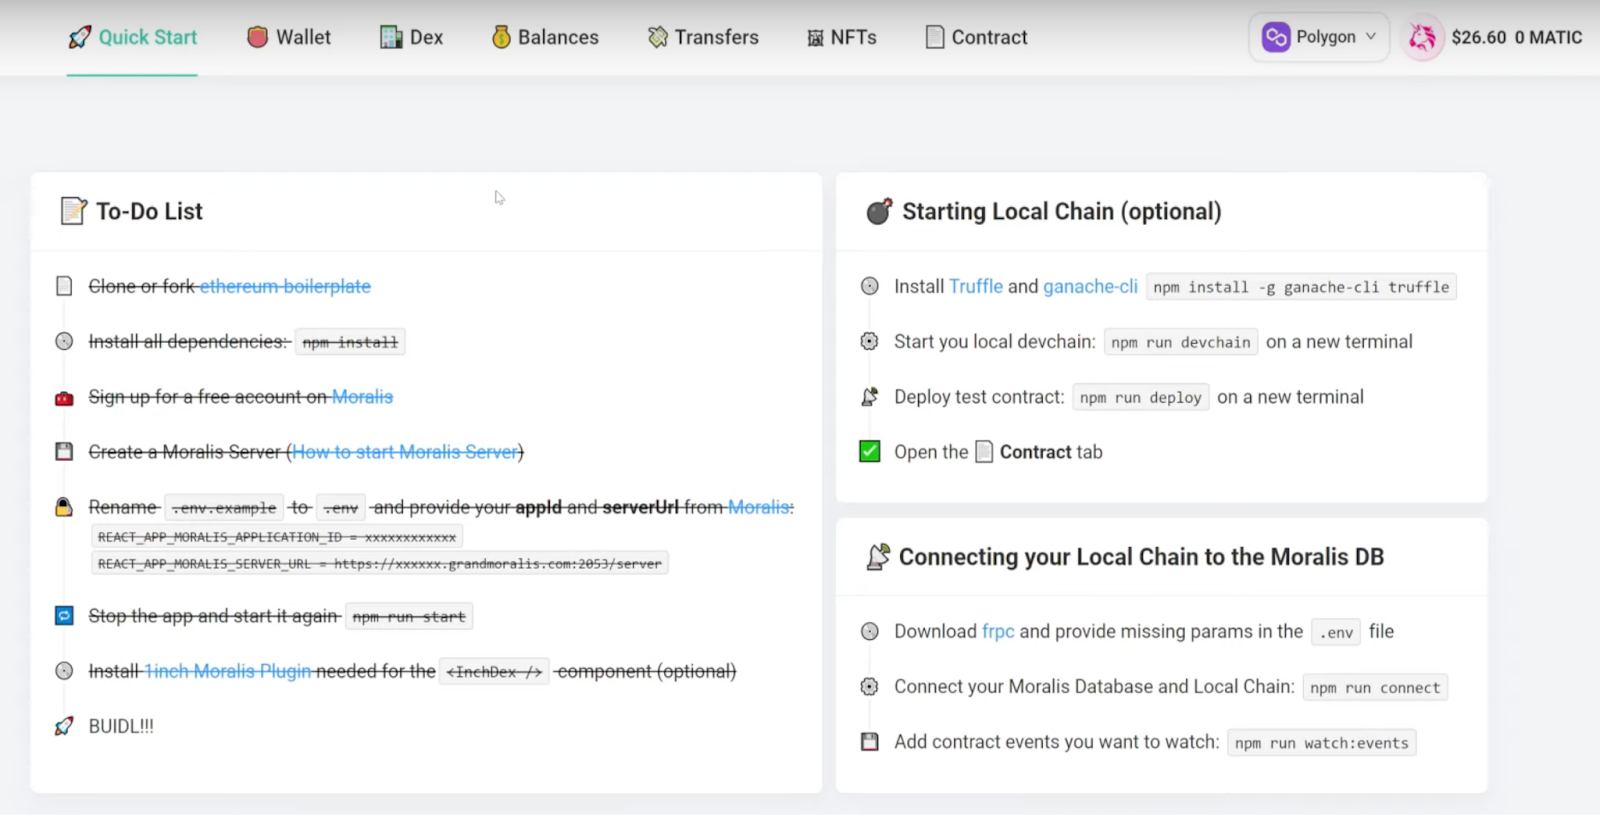
As you can see, there is a navigation bar at the top of the Web3 application with several different alternatives. At the top right, there will also be an authenticate button. If a user clicks this button, they’ll be asked to authenticate with MetaMask.
Moreover, there are additional tabs for ”Wallet”, ”DEX”, ”Balances”, etc., and these are all fully functional out of the box. As such, this demonstrates how easy it is to work with Moralis. All of this is already added to the dApp, meaning that you don’t need advanced development experience when it comes to, for example, blockchain languages such as JavaScript or Solidity.
All that remains now is for you to customize the Web3 app according to your own preferences. You can, for example, remove elements, add new ones, or modify the already existing alternatives. So, if you’d like to become a blockchain developer and tweak this boilerplate, you can take a closer look at the Moralis blog for some additional inspiration!
How to Launch Web3 Apps with MetaMask – Summary
Building dApps doesn’t have to be difficult when working with Moralis. In this article, we showed how to launch simple Web3 apps with MetaMask in just a couple of minutes, thanks to the tools of the platform and the Ethereum boilerplate code. All we needed to do was create a Moralis server, install the boilerplate, and initialize Moralis. However, this only scratches the surface of what is possible with Moralis. To illustrate the power of Moralis further, check out the following articles on how to mint NFTs for free, how to build cross-chain dApps, or how to host a dApp.
So, if you want to save both time and resources on your next blockchain project, sign up with Moralis right away. It is completely free, and you can begin developing in a matter of minutes, so don’t hesitate!
