Why would someone want to create a Web3 video streaming service? Well, why wouldn’t they? With the surge of breached privacy data, flaws in Web2 platforms are apparent, and it all boils down to the very nature of popular streaming services: centralization. Consequently, Web3 is becoming increasingly attractive among the masses as the decentralization aspect offers a way to reform many industries. Thus, creating a decentralized Web3 streaming service for video-based content is a skill you ought to have under your belt. If that sounds interesting, follow along herein as we demonstrate how to create a Web3 video streaming service in just over one hour.
Moving forward, we will take on an example project with the goal to develop a Web3 Netflix clone. Using some excellent tools, we are going to demonstrate that Web3 development is a lot simpler than you might think. In fact, with the best Web3 backend platform, Moralis, you can start creating dapps (decentralized applications) right away. As long as you are JavaScript-proficient and know how to work with React, you are all set. Further, with Moralis (a.k.a. Firebase for crypto), you can cover your blockchain-related backend needs effortlessly. In addition, this pinnacle of the current Web3 tech stack offers you an impressive Web3UI kit to easily deliver a great Web3 UI. Nonetheless, Moralis is cross-chain and cross-platform interoperable, which means you have maximum flexibility and potential reach. So, create your free Moralis account, and let’s build a phenomenal Web3 video streaming service together!

Demo of Our Web3 Video Streaming Service
We believe that it will be easier for you to decide whether or not you want to create your Web3 video streaming service if you see the end results first. Hence, we want to start with a quick demonstration of our finished dapp. As such, let’s take a look at the following screenshot, which captures the essence of our Web3 video streaming service:

Focusing on the top-left corner of the above image, you can see the “Netflix” logo. It seemed fitting to go with the latter since it is the most popular provider for video streaming. Moving to the right, we have the top menu, which includes the “Movies”, “Series”, and “My List” links. Moreover, all the way to the right-hand side, we have the “notifications” icon and the “Connect Wallet” button. The latter is in charge of the Web3 authentication process. With the “Movies” page selected, we are on the homepage of our Web3 video streaming service dapp. As such, you can see a neat example of a movie, including a banner image and the “Play” and “Add to My List” buttons. In our case, we chose “Titanic”. Further down, we have thumbnails for various movies. Users can select any of those movies by clicking on their thumbnails. Here’s an example:
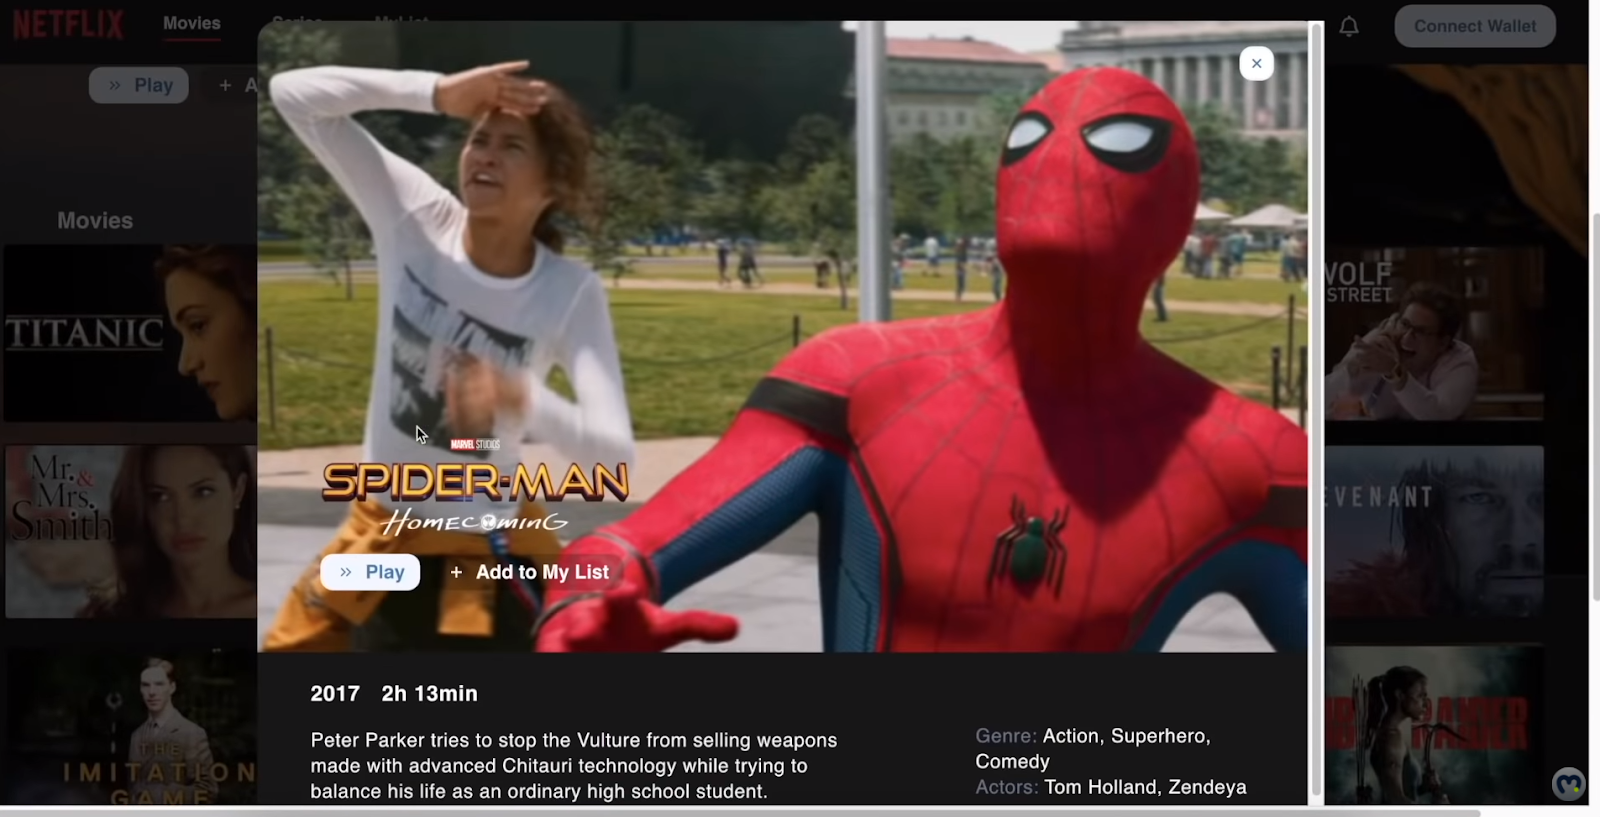
The above screenshot shows you what users would see if they clicked on the “Spider-Man” thumbnail. The details of the selected movie will appear in a pop-up window. The details include the movie’s release year, its length, basic plot, genre, and actors. Above the details section, there’s an image with the movie’s title, the “Play” button, and the “Add to My List” button.
Web3 Video Streaming Dapp and Authentication
We must point out that the buttons mentioned above don’t work for users not yet logged in. So, users who try to click on any of the two buttons that don’t authenticate with MetaMask or some other Web3 wallet will receive the following notification:

It is now clear that users who want to use our Web3 video streaming service dapp need to log in first. Fortunately, Moralis makes Web3 authentication super easy. Users just need to click on the “Connect Wallet” button and select their preferred Web3 login method. To access the button, users need to close the pop-up window:

After selecting their preferred Web3 wallet, users normally need to confirm their actions. For instance, in the case of MetaMask, users need to click on the “Sign” button to complete the authentication:

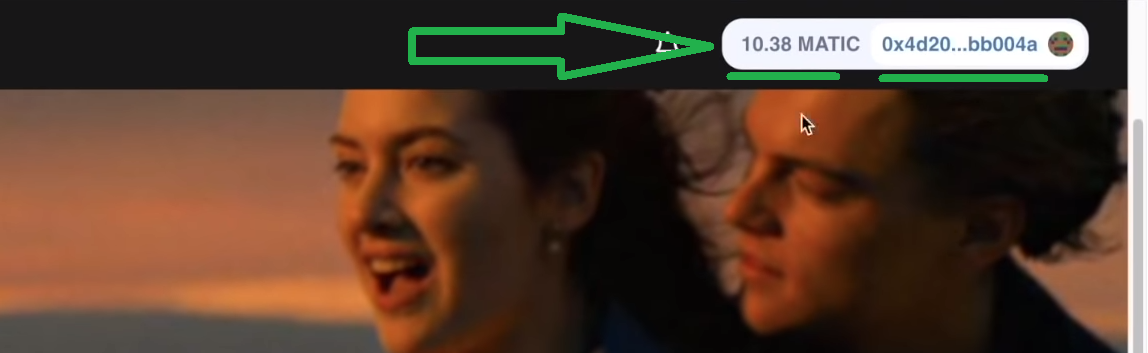
When the login is successful, a user can see their balance and their wallet’s address in the top-right corner:
Watching Movies with Our Web3 Video Streaming Dapp
Now that users have connected to our Web3 video streaming service with their crypto wallets, they can watch movies. If they now select any movie by clicking on its thumbnail, they can click on the “Play” button. By doing so, our example dapp will open up the movie in a movie player:
The movie player that we incorporated includes all the standard features as shown here:

Looking at the above screenshot, you can see all standard commands the movie player contains at the bottom. Moreover, if users want to exit the movie player, they need to click on the “back” arrow in the top-left corner. Nonetheless, users can now also add movies to their “My List” pages:

To view the added movies, users need to click on the “My List” link in the top menu:

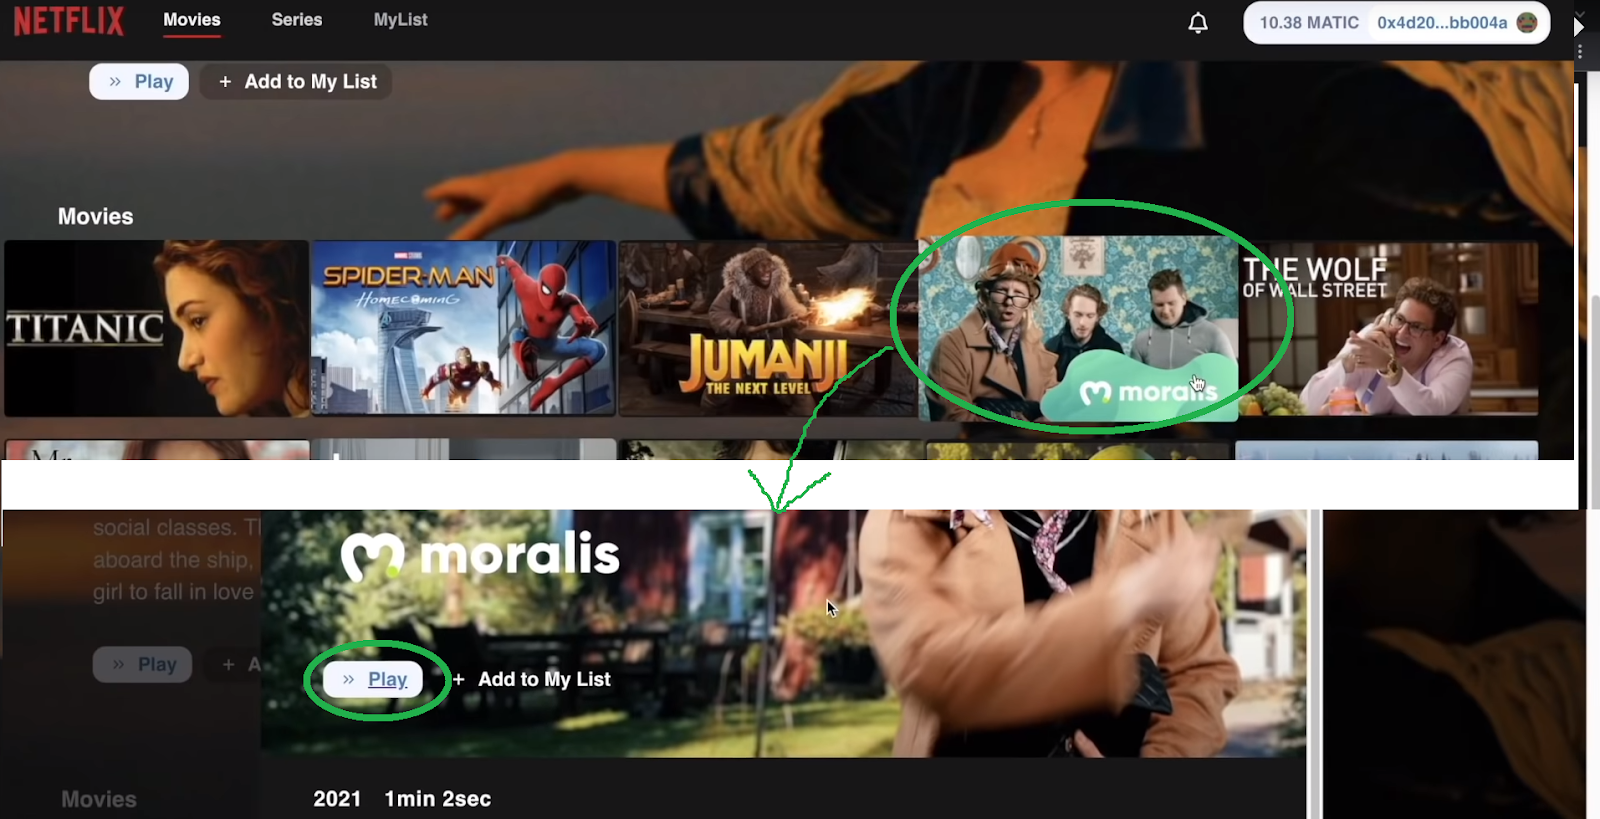
The thumbnails located on a user’s “My List” page work in the same way as the thumbnails on the “Movies” page. Hence, to access details and the “Play” button of a movie, the user must click on the thumbnail.
We believe that the above-presented results impressed you enough to be interested in rolling up your sleeves and getting down to coding. We now invite you to join us as we create a Web3 video streaming service dapp. However, in case you’d like to see the video version of our demo first, check out the video at the end of this article, starting at 0:40.

Create a Web3 Video Streaming Service Using Moralis
As mentioned in the introduction, we will use the Moralis SDK and ReactJS to create a neat Web3 video streaming service dapp. The following sections will initially help you cover the project’s setup steps. Moreover, you’ll get to understand what steps you’ll need to complete to get to the finish line. However, for more detailed guidance, we will introduce you to a video tutorial.
Moving forward, we will first complete the initial project setup where we will use the code available on GitHub and an IDE of our choice – Visual Studio Code (VSC). Next, we will create our application’s top banner, followed by the homepage. Then, we will add the modal for the thumbnails, and we’ll track on-click events to ensure that the pop-up window contains the details for the selected movie. For the last piece of the frontend, we will make sure that our Web3 video streaming service includes a movie player.
Next, we will start covering the backend features. This is where we will rely on Moralis. Hence, we will create a Moralis server and connect it with our app. We will first use the power of Moralis’ Web3UI kit to easily implement Web3 authentication. Then, we will add the above demonstrated pop-up notification for non-authenticated users. Moving forward, we’ll use the Moralis dashboard (database) and cloud functions to partly cover the logic. In addition, we will add content to “My List”. In the final stage of this tutorial, you’ll learn how to upload to IPFS using Moralis’ IPFS integration.
While the finished code is available on GitHub, we recommend using our starter code (“Netflix-Starter”). That way, you’ll get the most out of this example project. Thus, the following instructions are designed for those starting with the “Netflix-Starter” code.
The Initial Setup
First, copy the starter code from GitHub and open VSC. Then open your VSC’s terminal and enter the “git clone” command. Also, paste the code repository’s URL and hit enter:

To target the right folder, “cd” into “Netflix-Starter”. Moreover, you also need to install all dependencies:

By completing the above steps, you can access the “src” folder. This is where you can find the initial coding files:
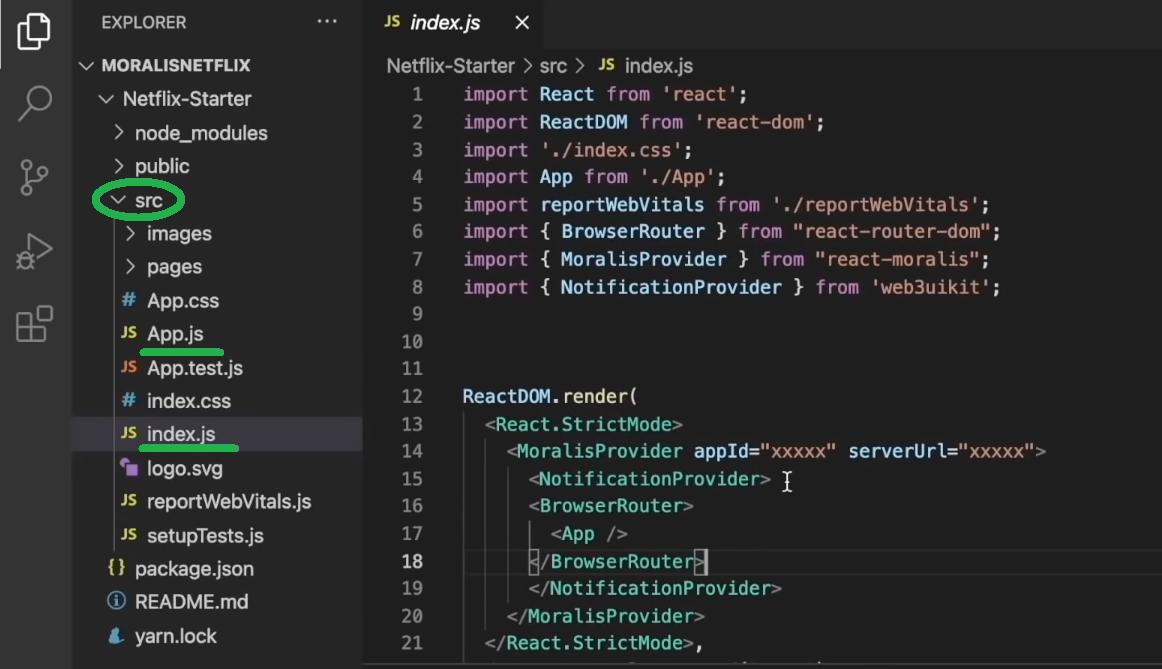
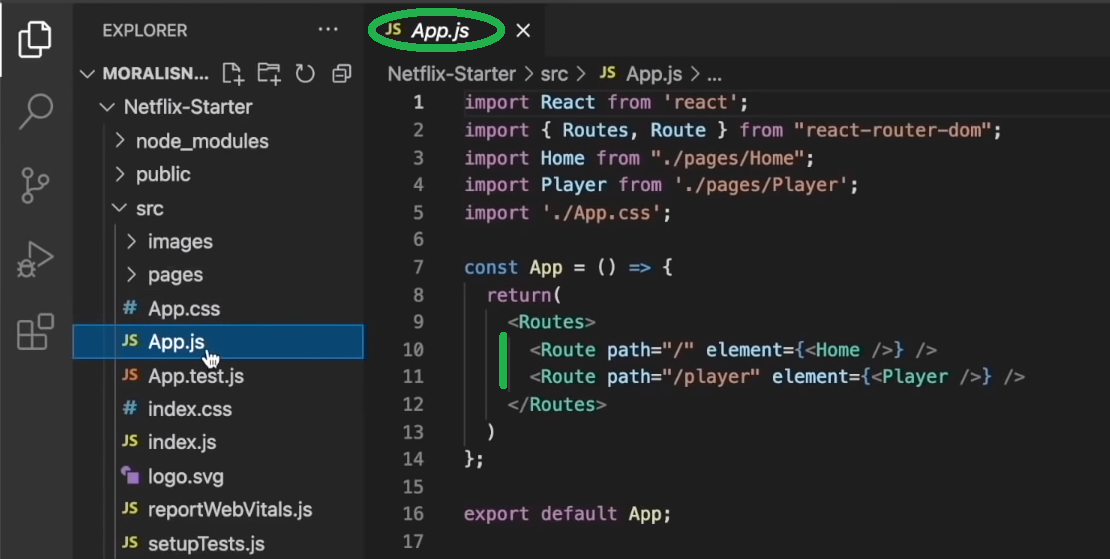
The core of our “Web3 video streaming service” quest will be covered by the “index.js” and “App.js” files. Furthermore, when the time comes, you’ll be pasting your Moralis server’s details in the “index.js” file:

As far as “App.js” goes, it includes two initial routes – one to the “Player” page and one to the “Home” page:
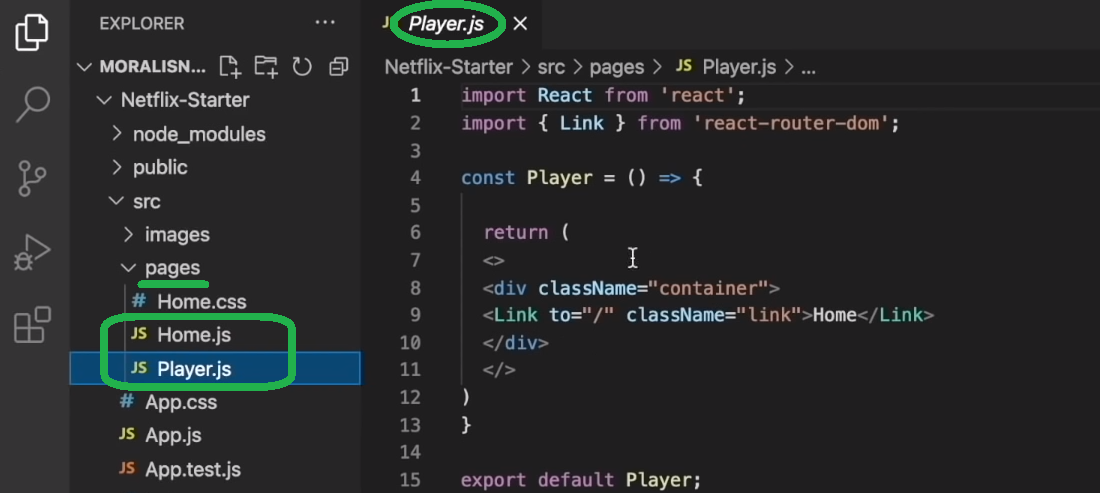
In addition, inside the “pages” folder, there are the “Home.js” and “Player.js” files. We will use these two files to build these two pages. However, at the moment, they are only linking the two pages together:
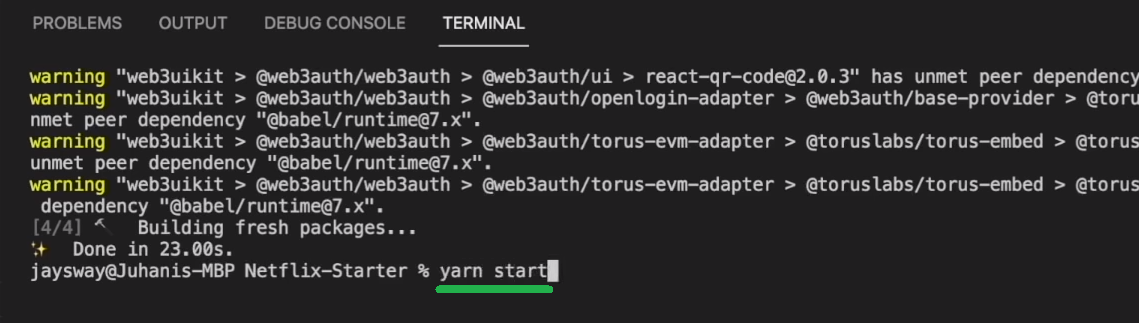
As such, your clean slate is all set. However, you can take a look at what you are starting with. If that interests you, enter the “yarn start” command:
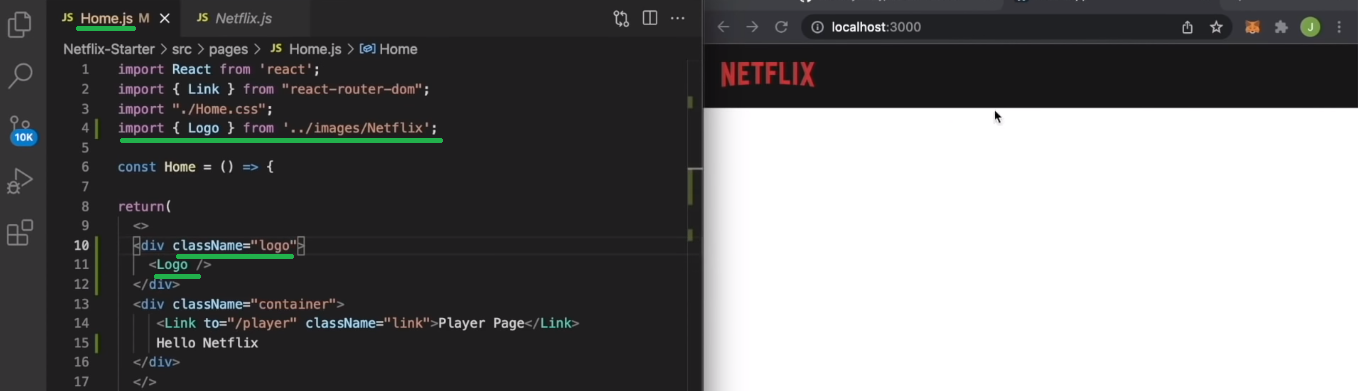
By entering the above command, you’ll see two blank pages that link to each other:

Create a Web3 Video Streaming Service – Frontend
A Moralis expert will show you how to create the top banner in the video below starting at 04:03. As such, you will find out how to set the logo in place and add other top menu elements. Along the way, you’ll get to use the content of the “images” folder. This is also where you’ll find the “Netflix.js” file. Nonetheless, you will also see how “home.css” ensures an attractive design:
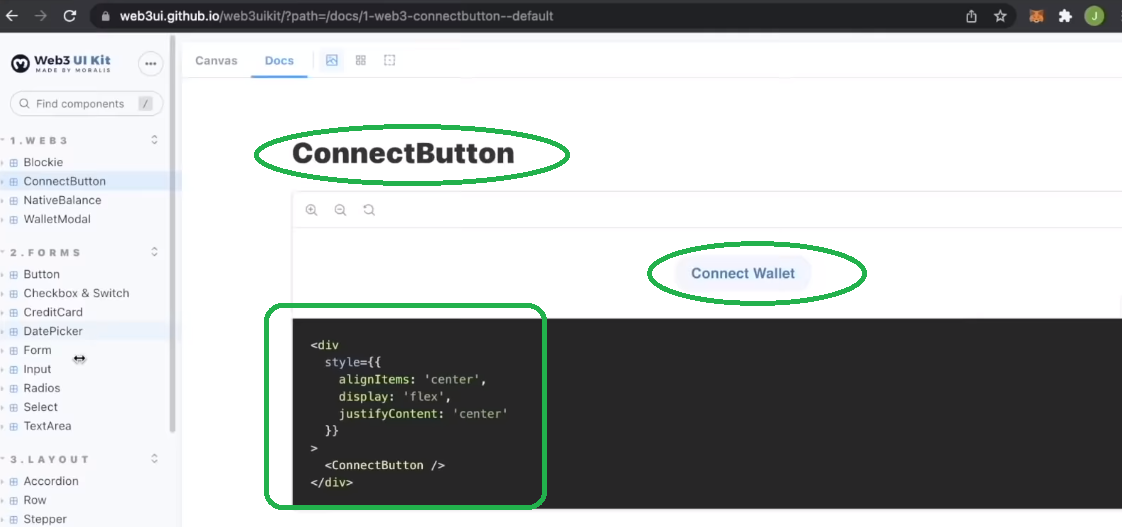
As far as the “Connect Wallet” button goes, you’ll be using Moralis’ Web3UI kit:
Next, you are going to add content for the “Movies” page (homepage). As such, you’ll create the ”library.js” file, where you will properly script links to the thumbnails, descriptions, and other movies’ details. As you’ll see, the movie files are the only thing that should be stored in a decentralized manner. This is where Moralis’ IPFS integration will come into play. Essentially, you’ll be pulling the details about the movies from “library.js” to “home.js”:

Once you finish the homepage, you’ll need to add a modal to the thumbnails (19:57). If you remember, you want a pop-up window to appear when users click on the thumbnails. Moreover, the content in the pop-up window must match the clicked thumbnail. You will achieve this by creating on-click events. Also, you’ll want to make the “Play” button function properly. Hence, you’ll need to link it to the “Player” page (27:13).

Create a Web3 Video Streaming Dapp – Backend
Starting at 32:18 in the video below, you will learn how to create a Moralis server. By completing those steps, you will get the server URL and application ID. You’ll use these details to connect to the ultimate Web3 SDK. Along the way, you will also set the pop-up notification for “authentication” in place. However, probably the greatest “aha” moment awaits you at 39:51. This is where you’ll access your Moralis dashboard and find out how to work with cloud functions. To complete the features of your example Web3 video streaming service, you will also add content to the “My List” page (49:30). To wrap up this example project, you will learn to properly upload files to IPFS starting at 56:56.
This is the video tutorial that all of the above timestamps reference:
How to Create a Web3 Video Streaming Service – Summary
We’ve covered quite a lot of ground in this article. With our guidance and the above video tutorial, you had a chance to create your own Web3 video streaming service. The most impressive part is that you could have done it in 65 minutes or so. At this point, you know that such fast results are possible thanks to Moralis’ SDK. Of course, our code repository also serves as quite a shortcut. Along the way, you learned how to use React to cover your frontend needs, plus how to use Moralis’ features (such as the Moralis dashboard and cloud functions) to cover your backend needs. Nonetheless, you’ve also learned how to upload files to IPFS.
If you enjoyed this tutorial, you could also learn how to create a Coinbase clone, a Reddit clone for Web3, an OpenSea clone, and a Web3 Spotify clone. However, with gaming development being all the rage, learning Web3 Unity programming offers countless opportunities. Hence, you ought to learn how to build a Web3 MMORPG or a medieval metaverse game in minutes. Moreover, make sure to explore other blockchain development topics on the Moralis blog and the Moralis YouTube channel. Some of the latest topics focus on the benefits of Web3 gaming. Plus, it answers the “why is Web3 important?” question and explores how to communicate with a Web3 database, how to build a metaverse game, DeFi staking, Web3 metaverse, and how to create a multi-chain wallet or an ETH wallet, and much more. All this valuable content makes the above two outlets great sources for free ongoing crypto education.
However, if you are eager to become a Web3 developer markedly quicker, you should consider taking a more professional approach. Hence, enrolling in Moralis Academy might be the path for you!
