Massively multiplayer online role-playing games (MMORPGs) such as World of Warcraft and RuneScape are extremely popular among different age groups. Moreover, since Web3 and blockchain gaming is becoming increasingly popular, we need to talk about Web3 MMORPG’s advancement. As you may know, mainstream adoption of Web3 is expected within the next five years or so. Thus, now is the best time to learn how to build a blockchain MMORPG game with Unity. Of course, some large players are already joining the Web3 MMORPG realm. However, brave developers that aspire to create a Web3 MMORPG have numerous opportunities waiting for them.
As you will learn in this article, phenomenal tools are at your disposal that can give you that extra edge when you want to quickly build a Web3 MMORPG with Unity. Aside from Unity, we will show you how to take advantage of the Photon engine and Moralis. The first one makes multiplayer simple, while the second covers all of your Web3 backend needs.
In our effort to inspire and educate you, we’ve created a simple Web3 MMORPG. As we move forward, you will have a chance to see a preview of that blockchain game. Also, by using our code available at GitHub, you will have a chance to build a blockchain MMORPG game with Unity yourself in as little as ten minutes. As such, you will learn how to combine Unity with the power of the Photon engine and Moralis. The latter will enable you to use these irreplaceable tools to tackle your own Web3 MMORPG projects with confidence.
Whether you want to create dApps (decentralized applications) or tokens, Moralis (a.k.a. “Firebase for crypto”) has your back. Speed, reliability, the ultimate Web3 API, including Moralis’ NFT API, and cross-chain interoperability make Moralis the best Web3 backend platform.
Build a Web3 MMORPG with Unity, Moralis, and Photon
In the following sections, we will provide all of the necessary guidance you need to build a blockchain MMORPG game with Unity. Of course, the fact that you can use our code makes it possible to do so in no more than ten minutes. Moreover, before we show you how to complete the Moralis and Photon setup, we want to do a quick preview of our Web3 MMORPG example. Please keep in mind that we kept things as simple as possible. However, with the tools mentioned above in your corner, it should be enough for you to see the potential available at your disposal.
Our Web3 MMORPG Example Demo
Let’s first take a look at the login screen:
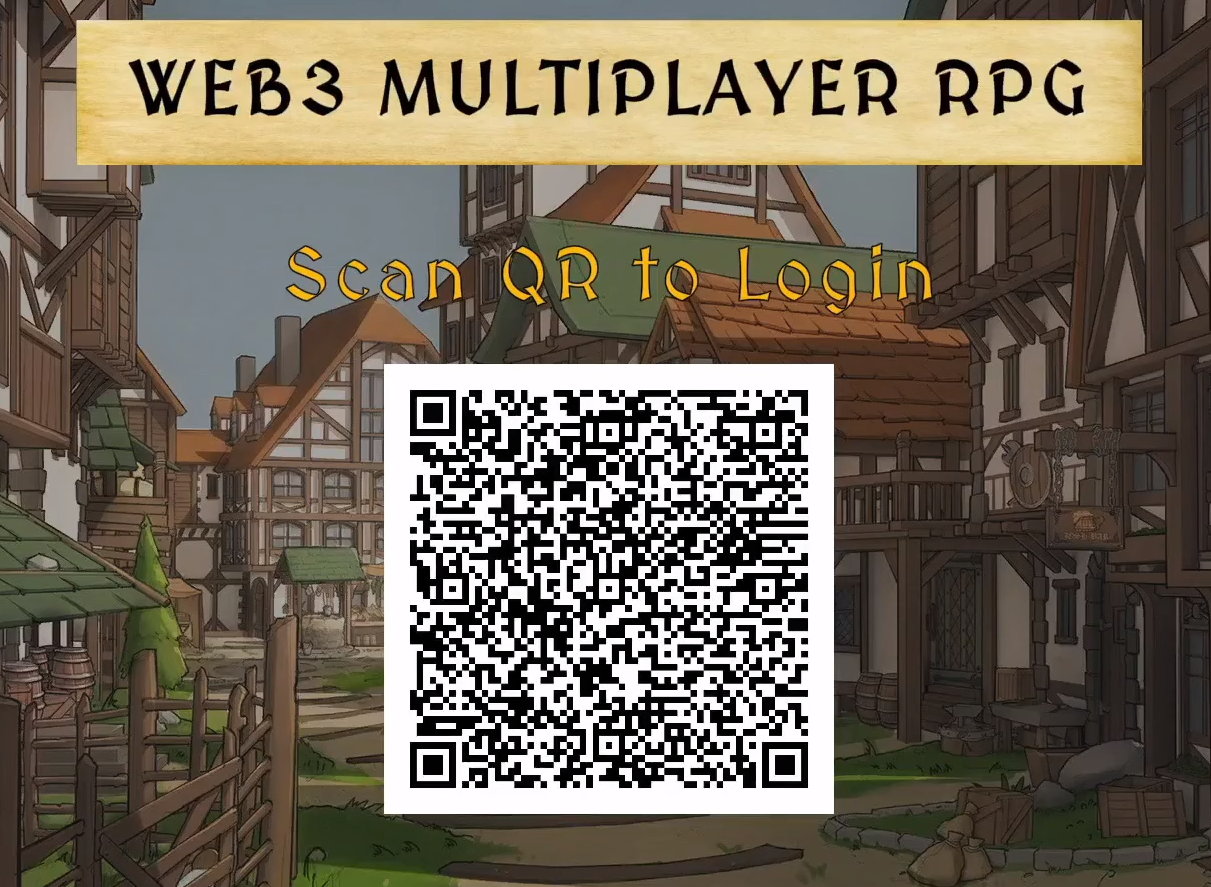
Looking at the screenshot above, you can see that our example Web3 game first requires users to log in. To make this as user-friendly as possible, we decided to use a QR code. As such, users can simply scan this code using their devices and perform Web3 authentication with their Web3 wallets. In this aspect, Moralis offers you several options. An option to authentication with MetaMask is the best alternative for web users with some crypto experience. On the other hand, WalletConnect serves best for Web3 login on mobile. However, if you are looking to boost Web3 user onboarding, sticking with Web2 methods might be the way to go. Fortunately, Moralis enables you to easily do Web3 authentication via email or use a Web3 social login.
Once new users scan the QR code and sign the confirmation message using their hot wallets, they’re logged in. Then they have a chance to join the game by clicking on the “JOIN ROOM” button:
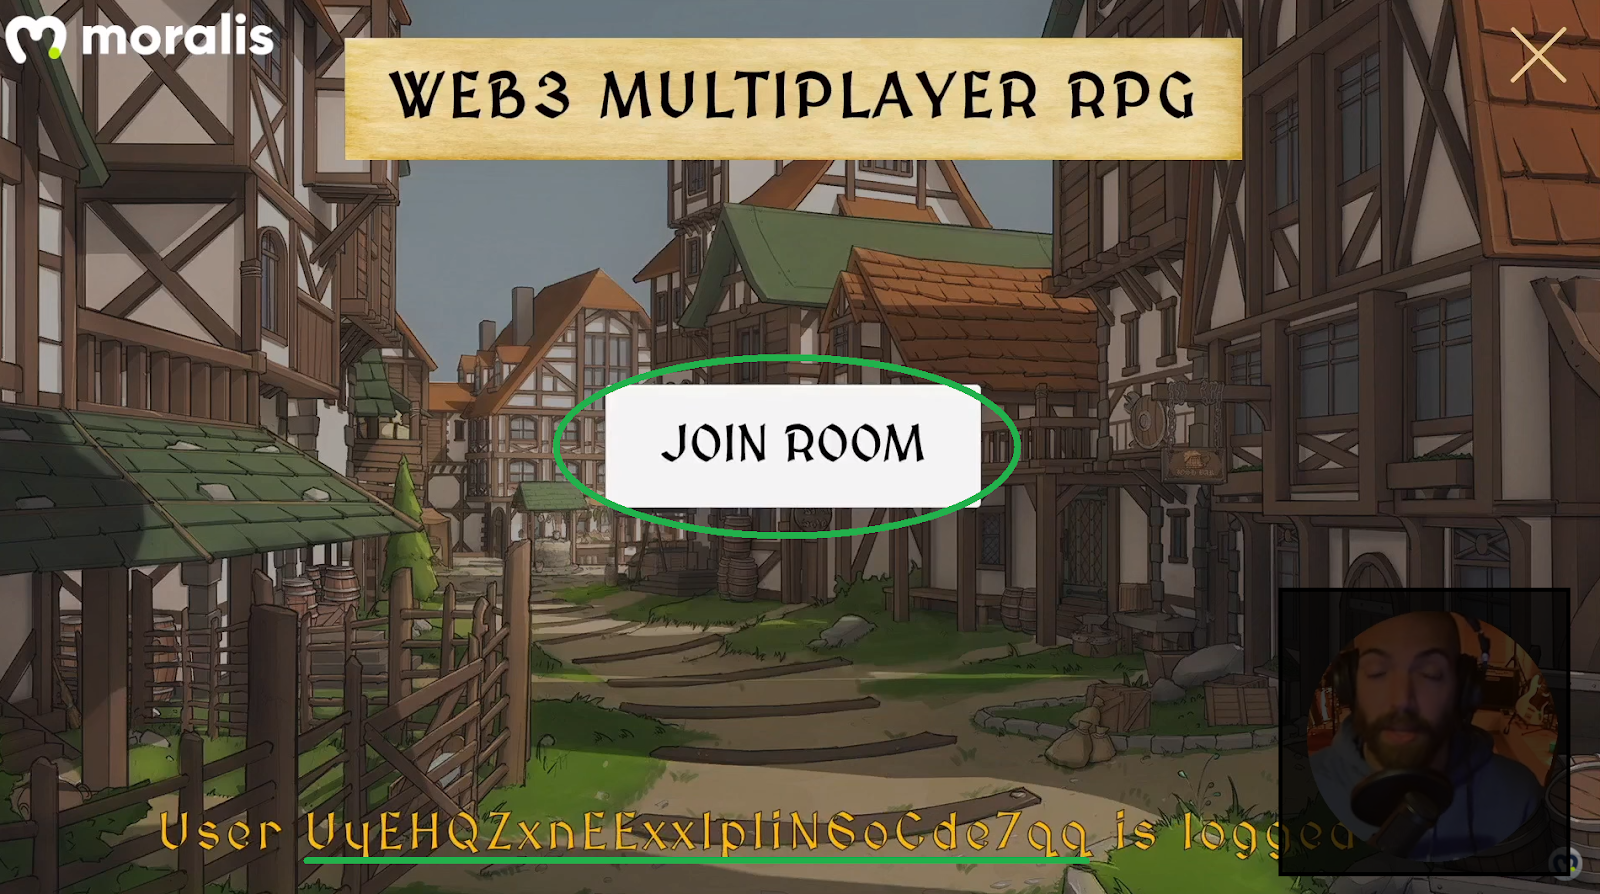
Moreover, a message will appear at the bottom of the screen after successful login. It lets users know that their wallet address is logged in. After clicking on the “JOIN ROOM” button, the game loads the scene:

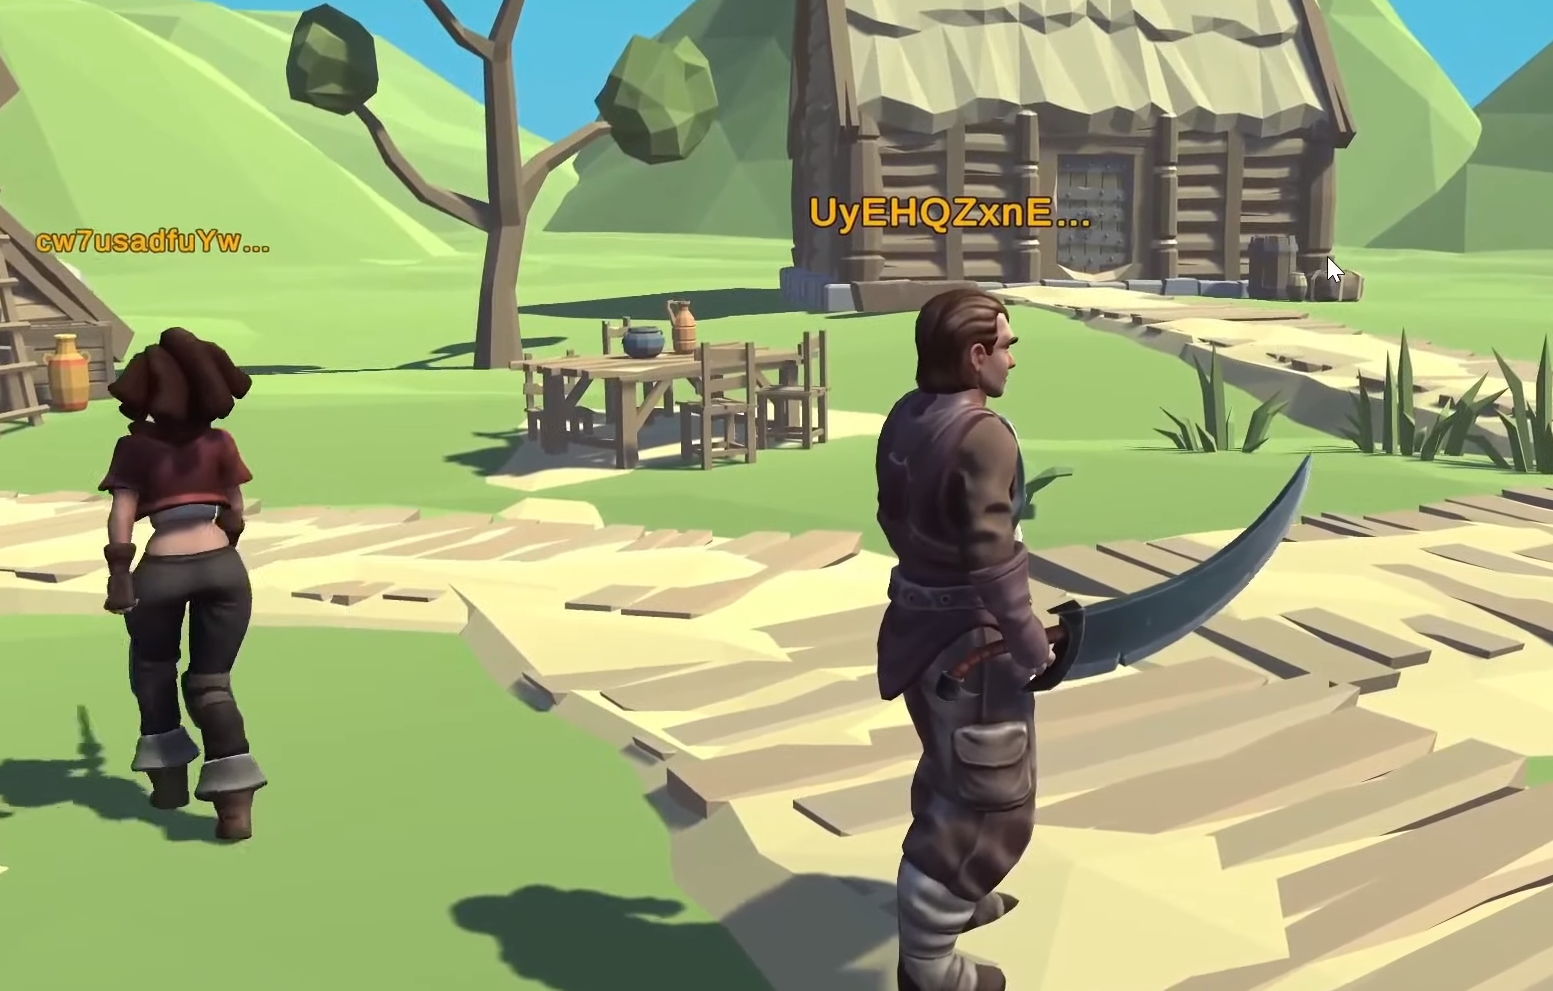
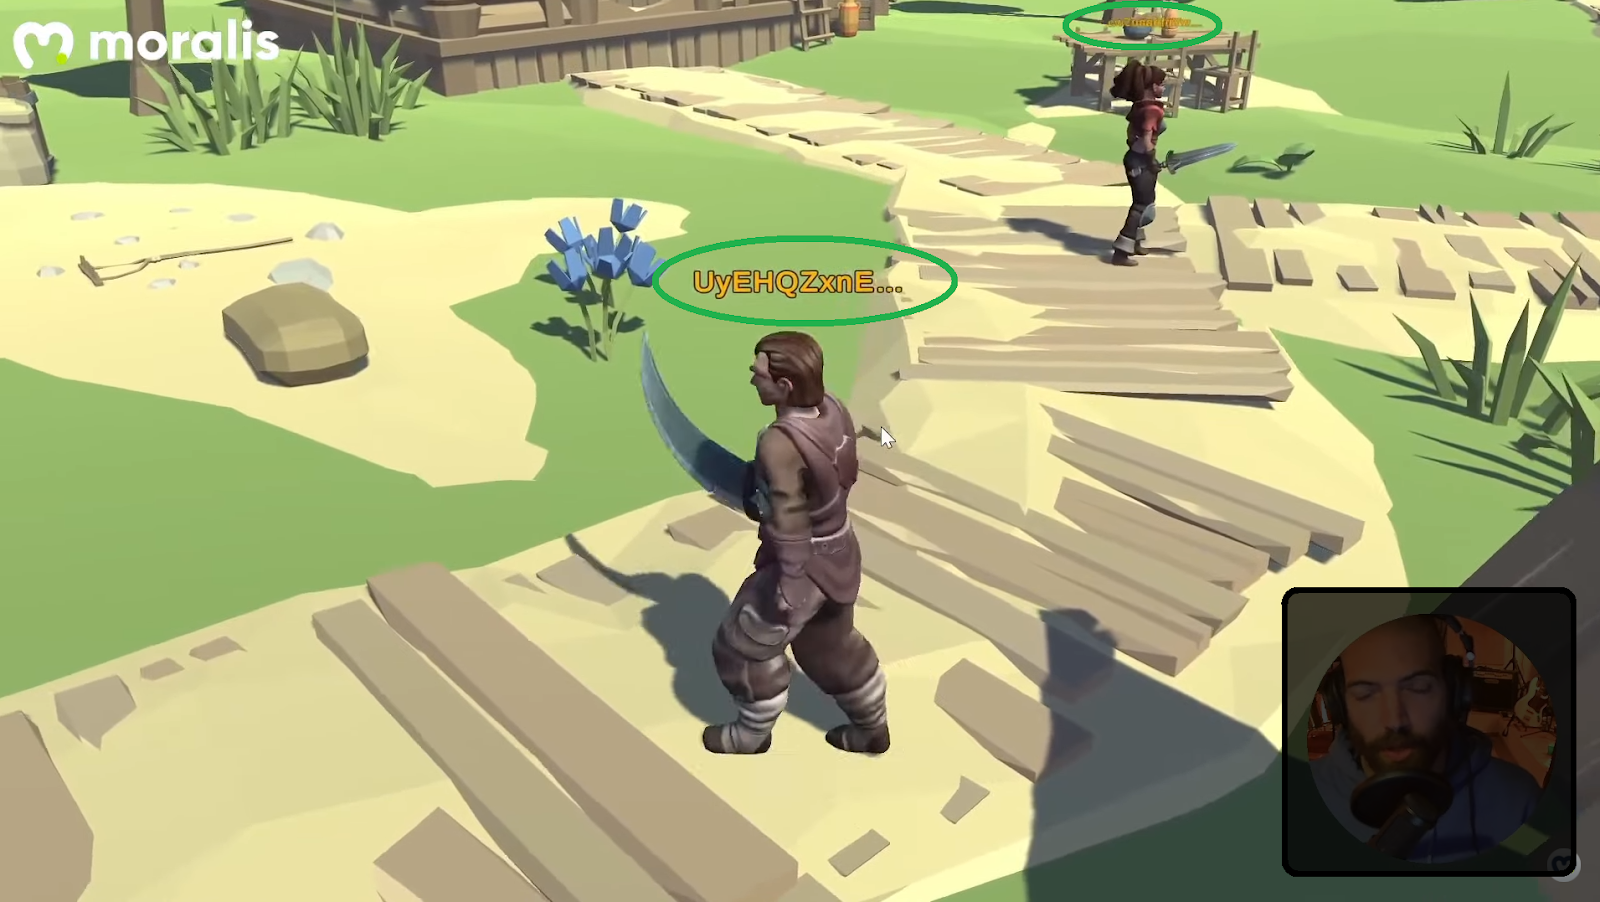
Once the scene is loaded, users can move their characters around. Moreover, there are parts of users’ addresses displayed above the characters:
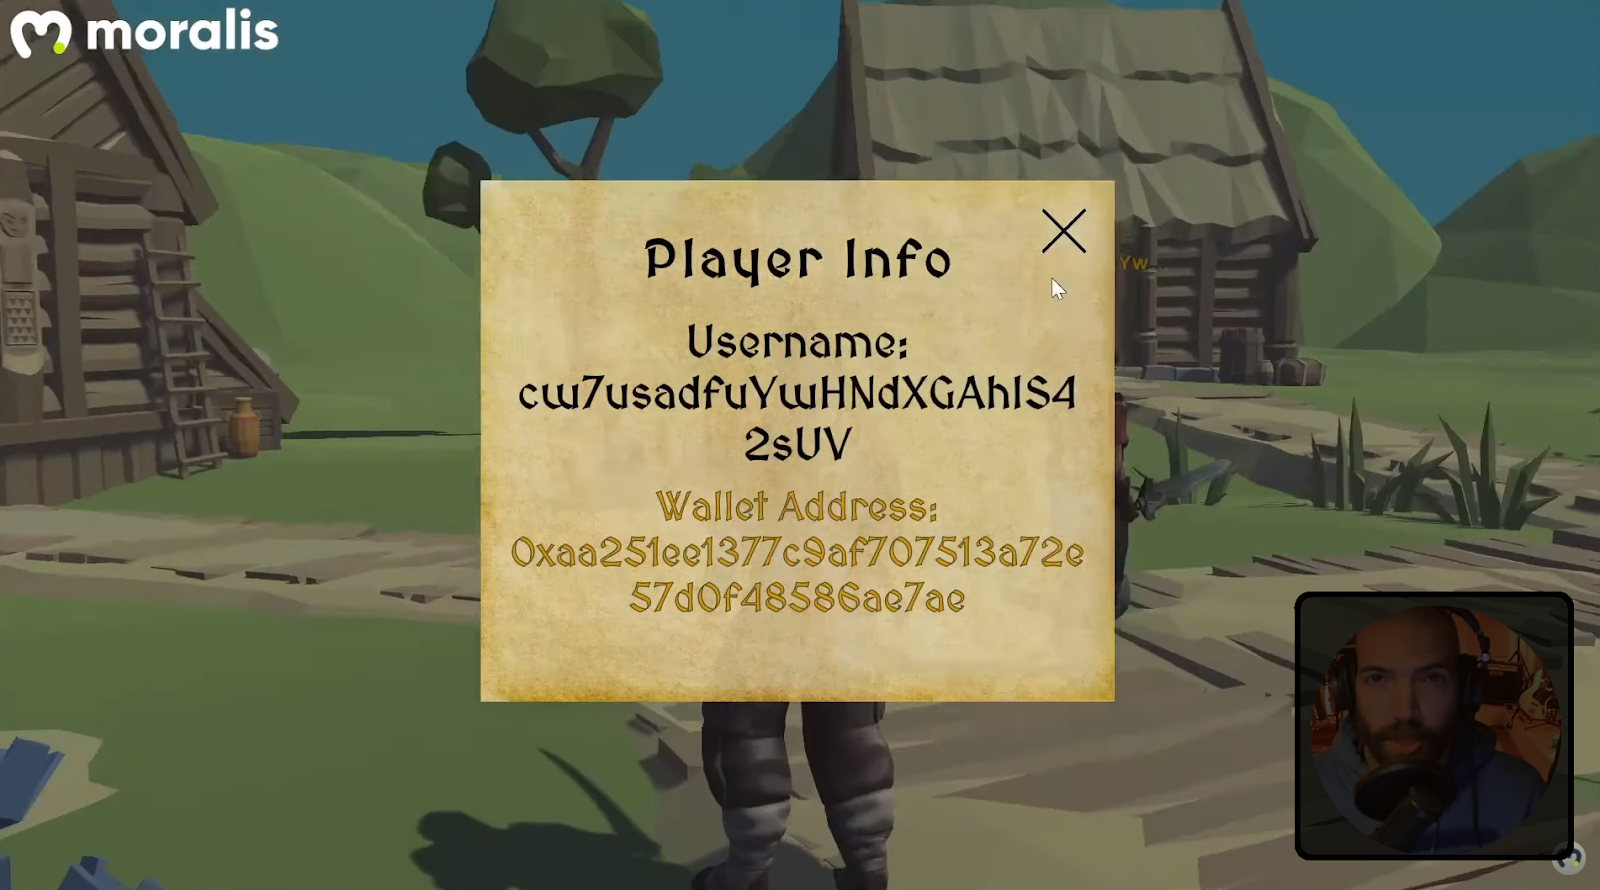
When approaching other players, users can check their usernames and wallet addresses:
Build a Blockchain MMORPG Game with Unity – Tools Overview
Now that you have a clear understanding of what we’re going to build, let’s take a closer look at the tools we’ll be using. As mentioned earlier, we’ll use Unity, Moralis, and the Photon engine.
- Unity is a cross-platform game engine. In our opinion, it’s the most complete solution for game creation. Moreover, it is great to be able to use Web2 tools that we are familiar with for Web3 development.
- Photon is a game engine specialized in multiplayer game development. As such, it provides us with an app ID, which we can use inside Unity to cover most of our multiplayer needs. Another great thing about Photon is that it offers you to get started for free.
- Moralis is the ultimate Web3 development platform. When considering the current Web3 tech stack, Moralis is the tool to use. All things aside, it enables you to save 87% of development time. As such, Moralis makes the deployment of dApps across multiple programmable chains incredibly straightforward. Also, Moralis enables you to avoid dealing with all of the limitations of RPC nodes. That way, you get to devote your maximum attention to the frontend. Hence, you get to offer your customers a great Web3 UI.
In addition, Moralis’ free version provides everything you need to get started. It enables you to create your Moralis server and access its database (Moralis dashboard). The latter, in combination with Moralis’ “sync” feature, enables you to sync and index smart contract events. Essentially, this is the best tool to index the blockchain without breaking a sweat. On top of all that, the Moralis Metaverse SDK also enables you to create a metaverse easily.
Build a Blockchain MMORPG Game with Unity in 10 Minutes
As mentioned above, we made the entire code for the Web3 MMORPG presented earlier available at GitHub. As such, you can start by cloning the code or downloading the project ZIP file:
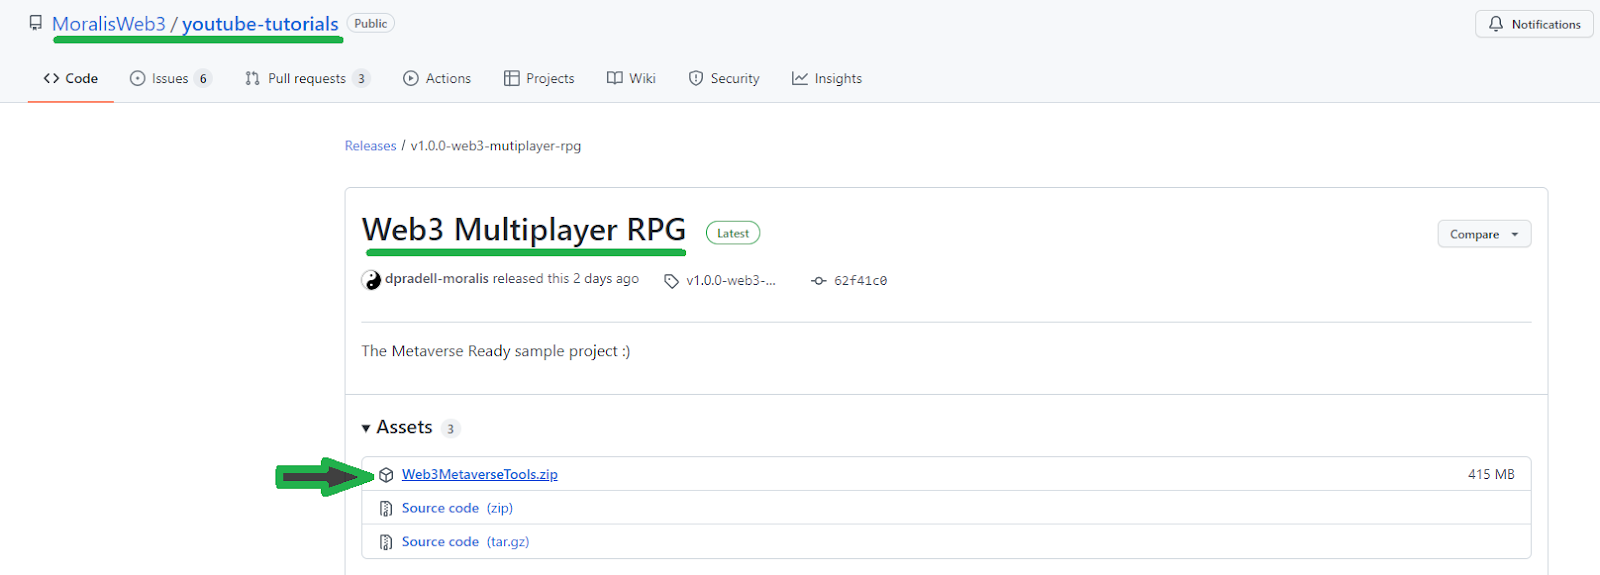
Once you’ve downloaded the ZIP file, unzip it, and then open the main folder with Unity. Next, inside Unity, locate the “Login” scene:
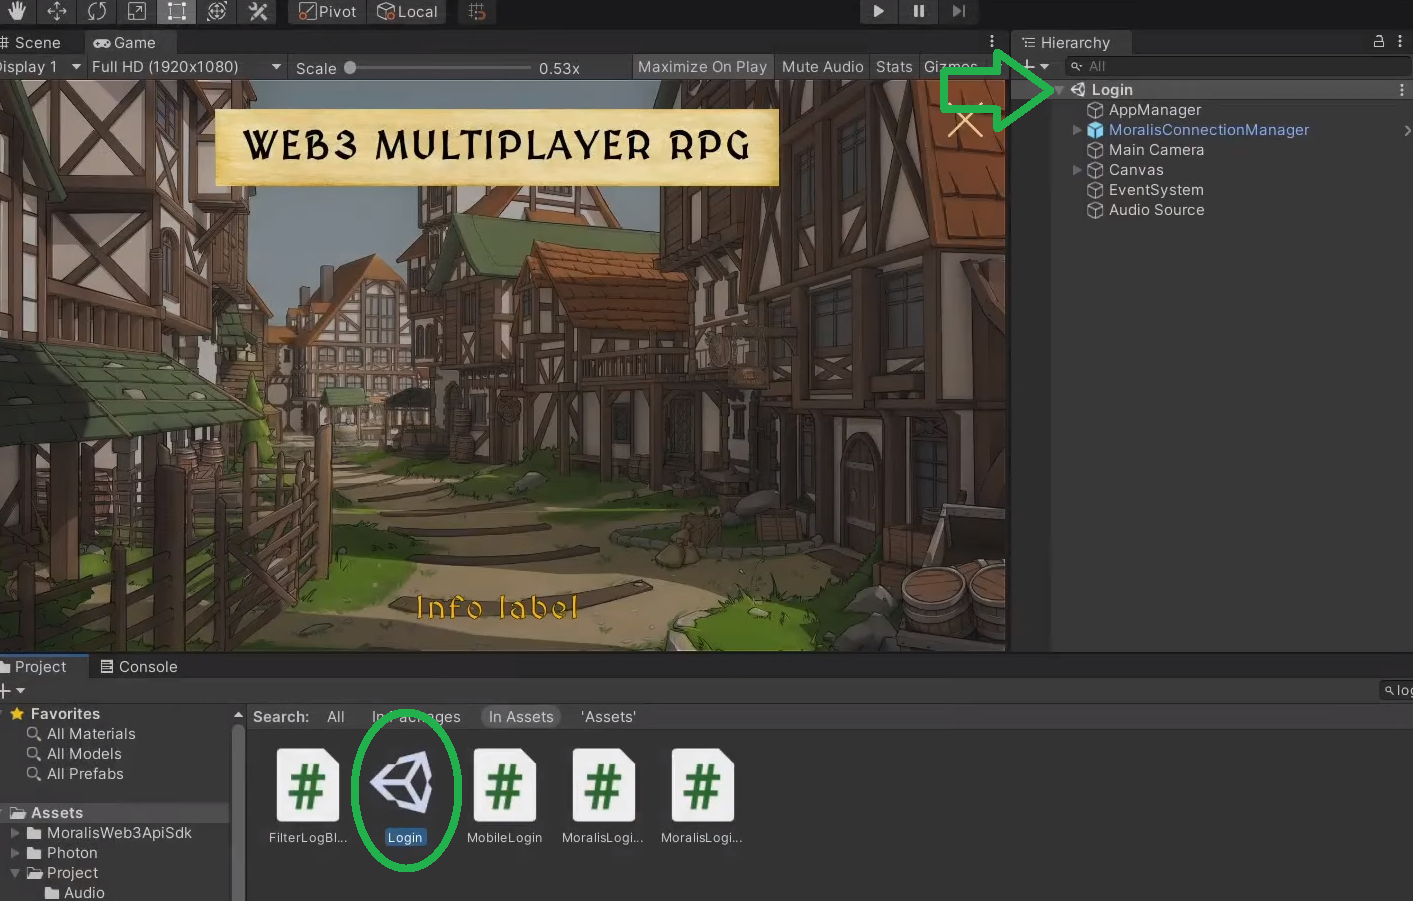
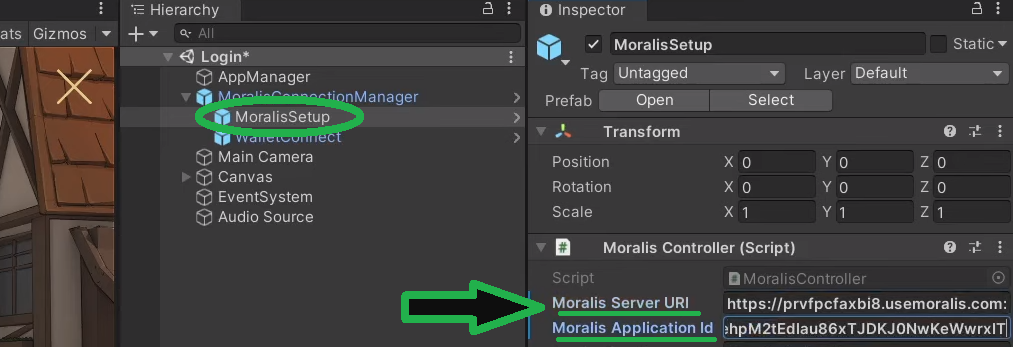
When it comes to the login tools on the users’ side, we recommend using Trust Wallet. Based on our experience, it is one of the most reliable ones available. Fortunately, Moralis’ SDK makes login implementation pretty simple. It provides us with two “prefabs”:
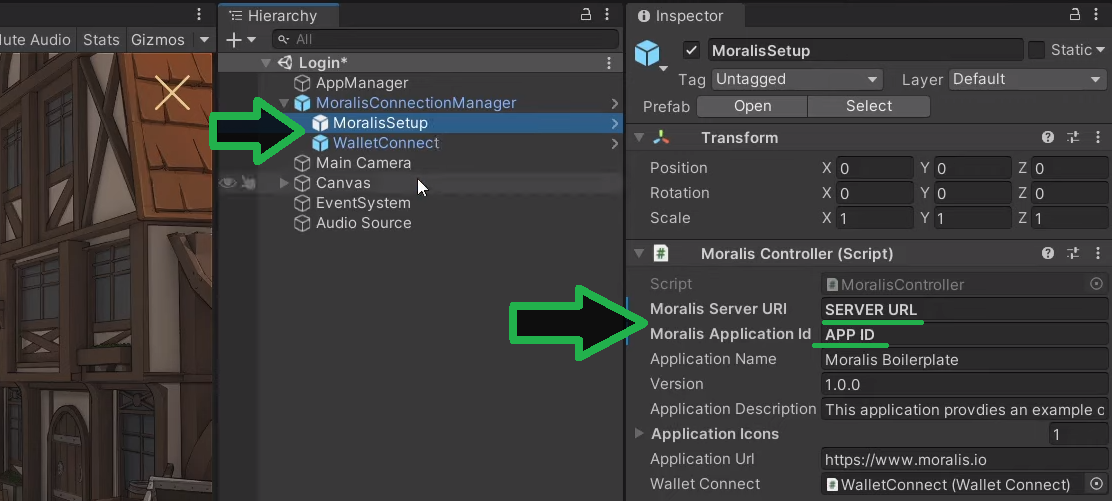
When you select the “MoralisSetup” prefab, you’ll see that it asks for your Moralis server URL and Moralis application ID. As such, you need to create your own Moralis server to obtain these details. That said, it is time to complete the initial Moralis setup.
Initial Moralis Setup
Whether you are building a Web3 MMORPG with Unity or creating dApps using the ultimate Ethereum dApp boilerplate, you must first complete the initial Moralis setup. The goal of this setup is to create your Moralis server and access its details. As such, follow the steps below.
Accessing Your Moralis Admin Area and Creating Your Moralis Server
- Log In to Your Moralis Account – We assume that you already have an active Moralis account; hence, just log in. On the other hand, in case you don’t have a Moralis account yet, use this link. It will take you to the signup page. There, enter your email, create your password, and click on the confirmation link that will be sent to your email’s inbox.
- Create a Moralis Server – After logging in to your Moralis admin area, click on the “+ Create a new Server” button located in the top-right corner inside the “Servers” tab. The on-page tutorial will guide you as well:
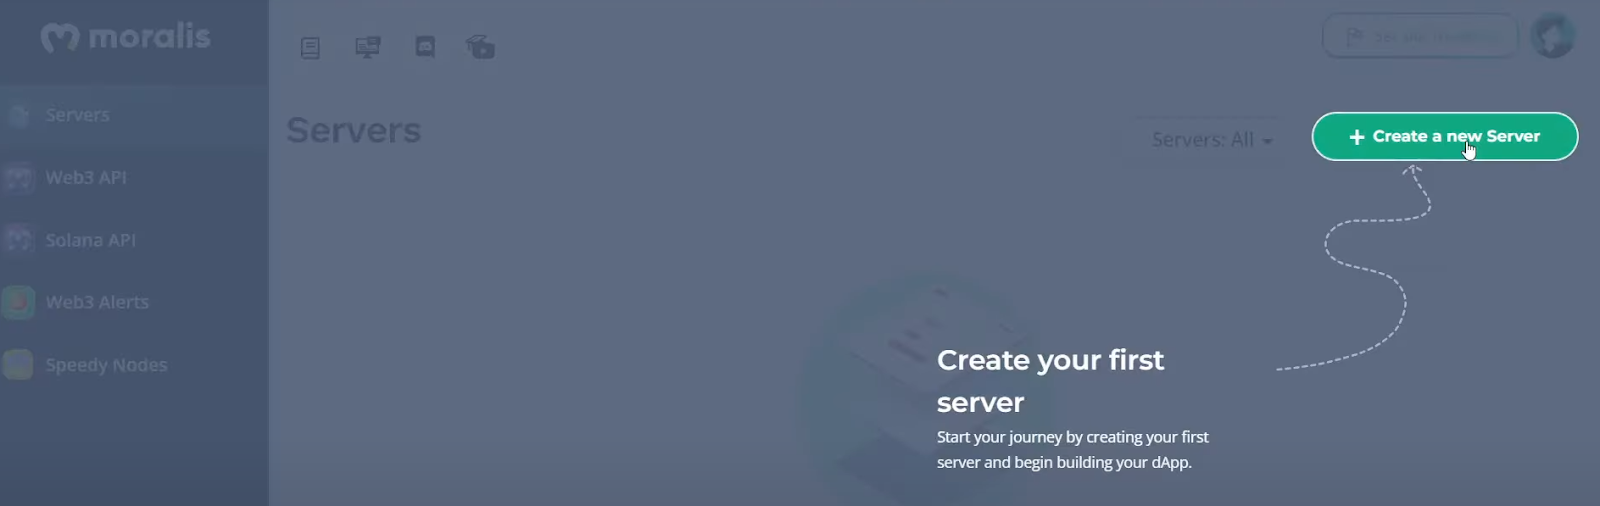
Once you click on the “Create a new Server” button, you’ll need to select the network type that best suits your project (see the screenshot below). When dealing with example projects or when testing dApps, “Testnet Server” or “Local Devchain Server” are the best ways to go. Though, when it’s time to go live, you’ll need to click on “Mainnet Server”.

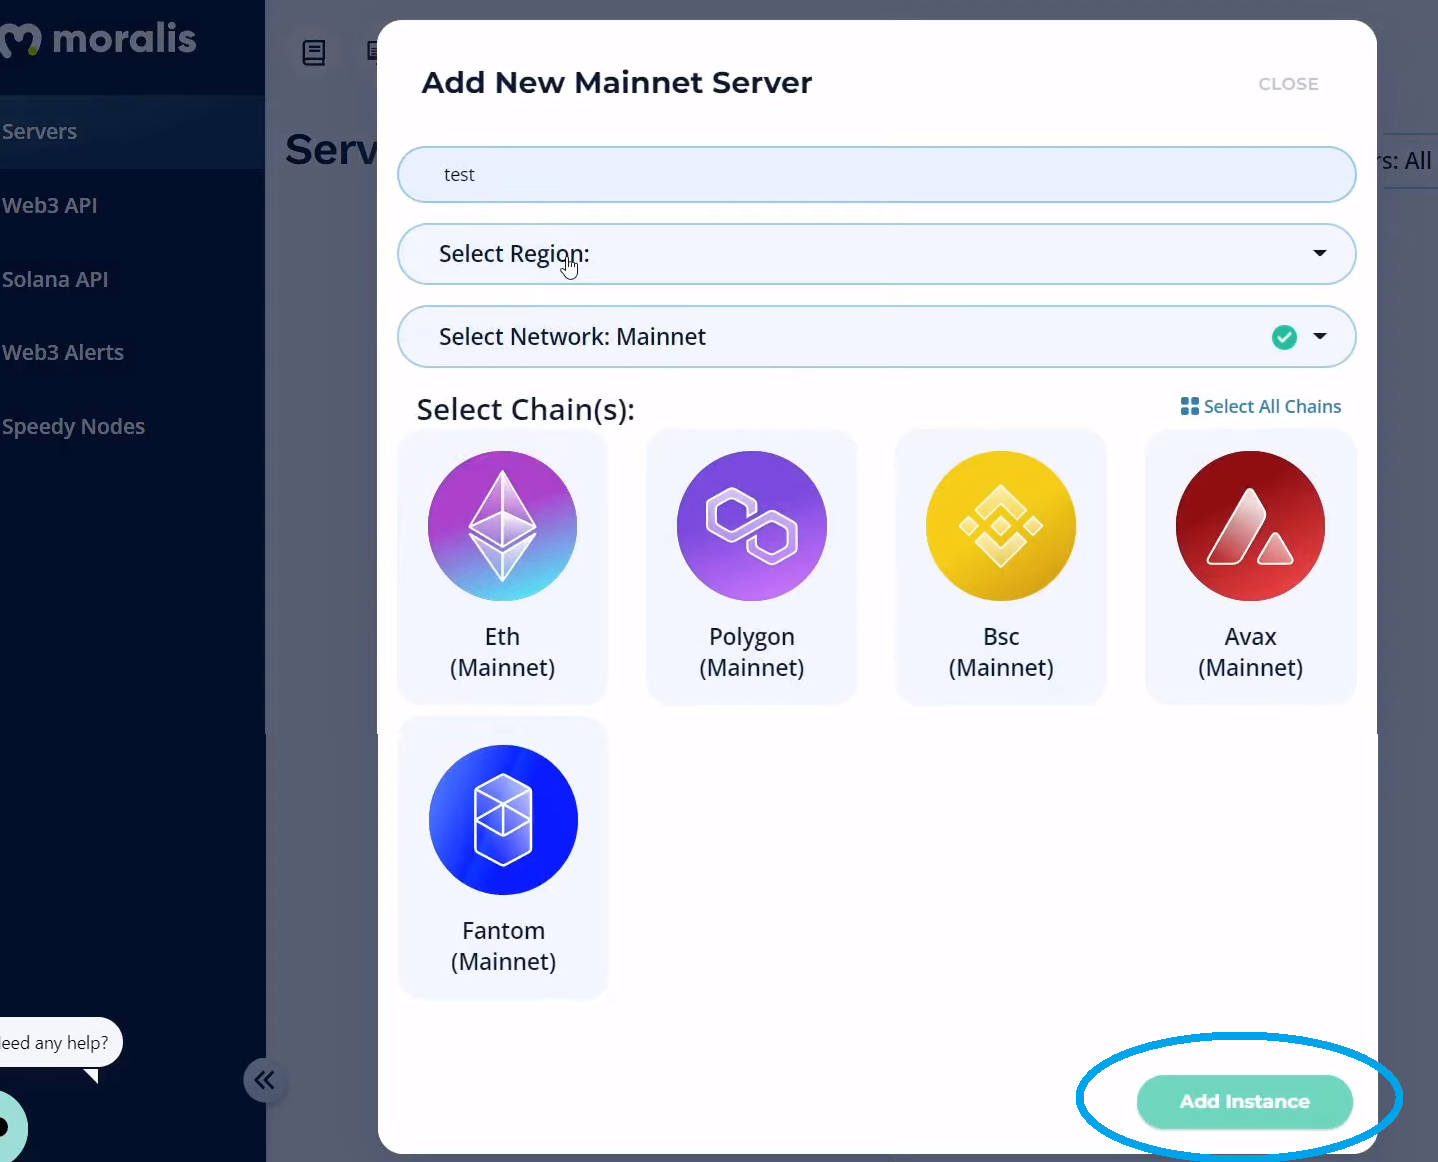
Next, a pop-up window asking for your server details will appear. Start by entering your server’s name (this can be anything you want), then select your region, network type, and chain(s). Once you select a chain of your choice, you will be able to run your server by clicking on “Add Instance”:
Accessing Your Moralis Server’s Details and Populating Unity
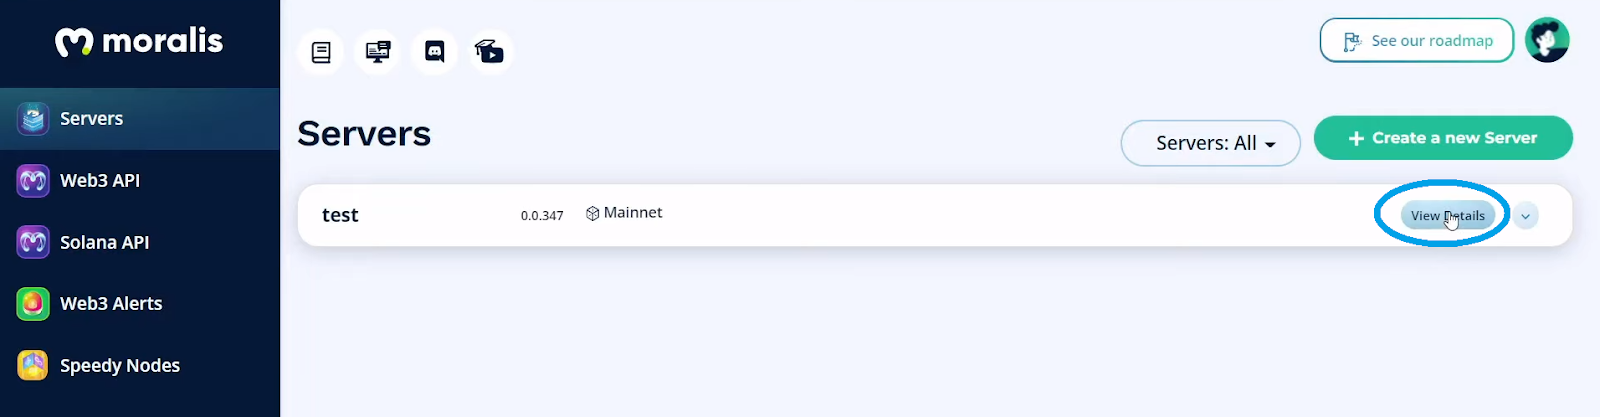
- Access Your Server’s Details – Now that you’ve created your server, you get to access its details. Just click on the “View Details” button:
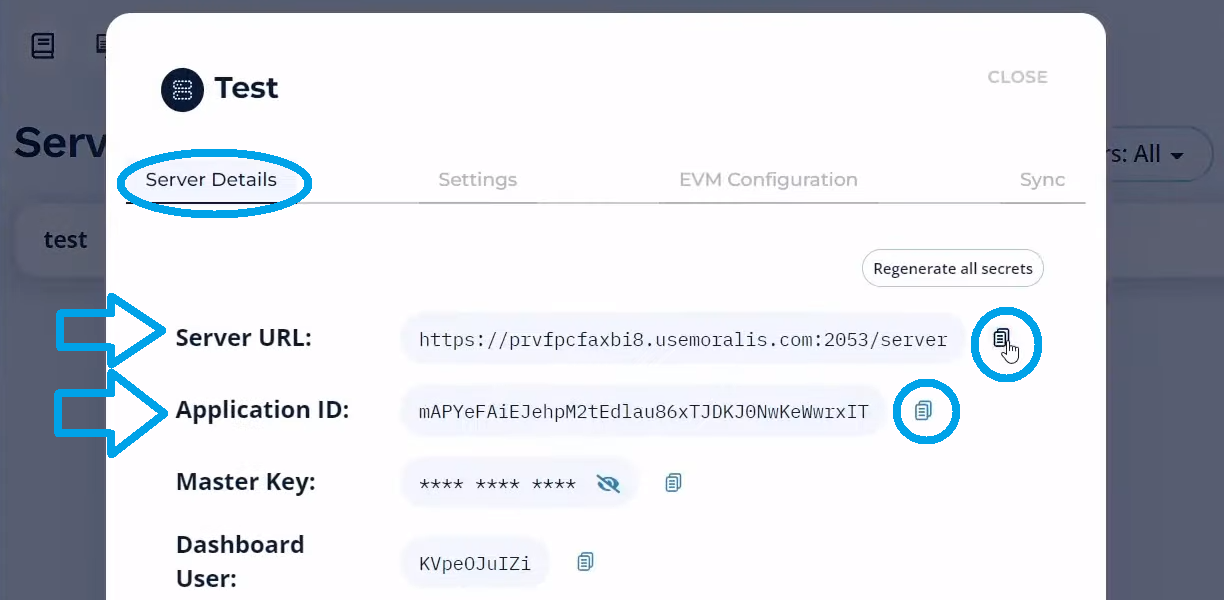
You’ll see the details in a new window. This is where you can easily copy your server’s URL and application ID by using the copy icons on the right-hand side:
- Populate Unity – With your Moralis server’s details at your disposal, it is time to populate the appropriate fields inside Unity. As such, make sure to paste each of the two details in the right field:
Now that your server is up, you can also access your Moralis dashboard. You do this by clicking on the arrow next to the “View Details” button. Then, click on “Dashboard” to access your database. There, all relevant on-chain events are recorded:

Here’s a preview of a Moralis dashboard:
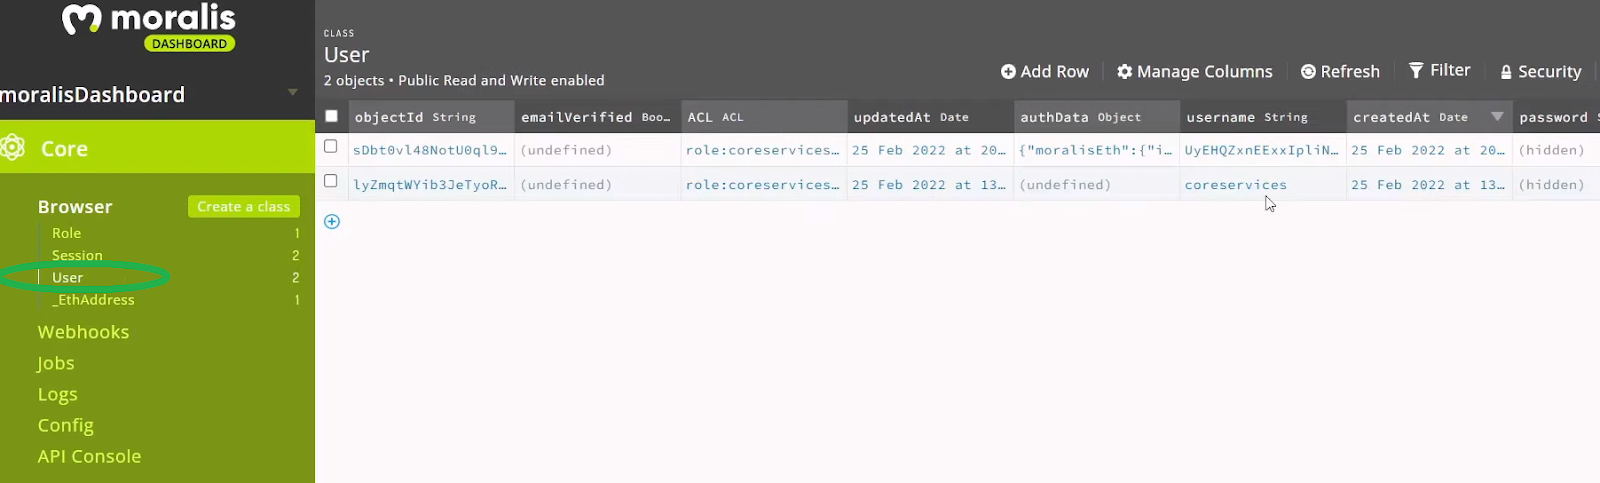
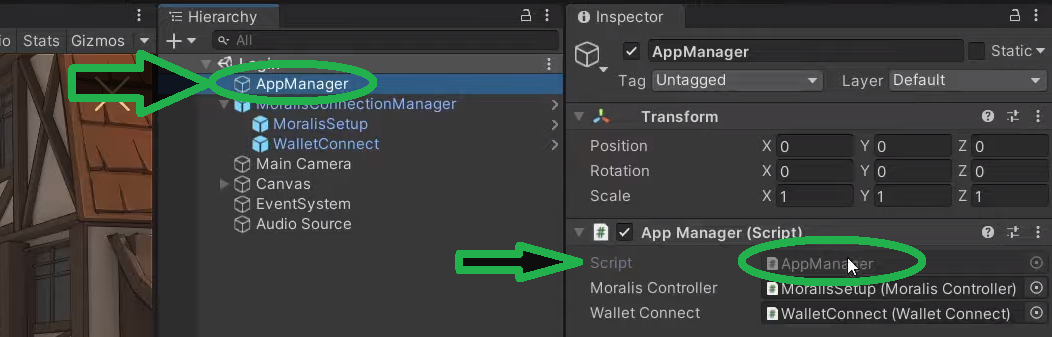
Inside the “User” class is where you will be able to view users’ logins. Moreover, inside the “_EthAddress”, you will see the wallet addresses used to log in. As such, all this on-chain data is at your disposal. Hence, you can easily read it and use it to properly program your Web3 MMORPG. The latter is neatly done with the “MoralisInterface” methods. You can view the details of backend functionality by opening “AppManager” from the scene, next to “Script” inside Unity:
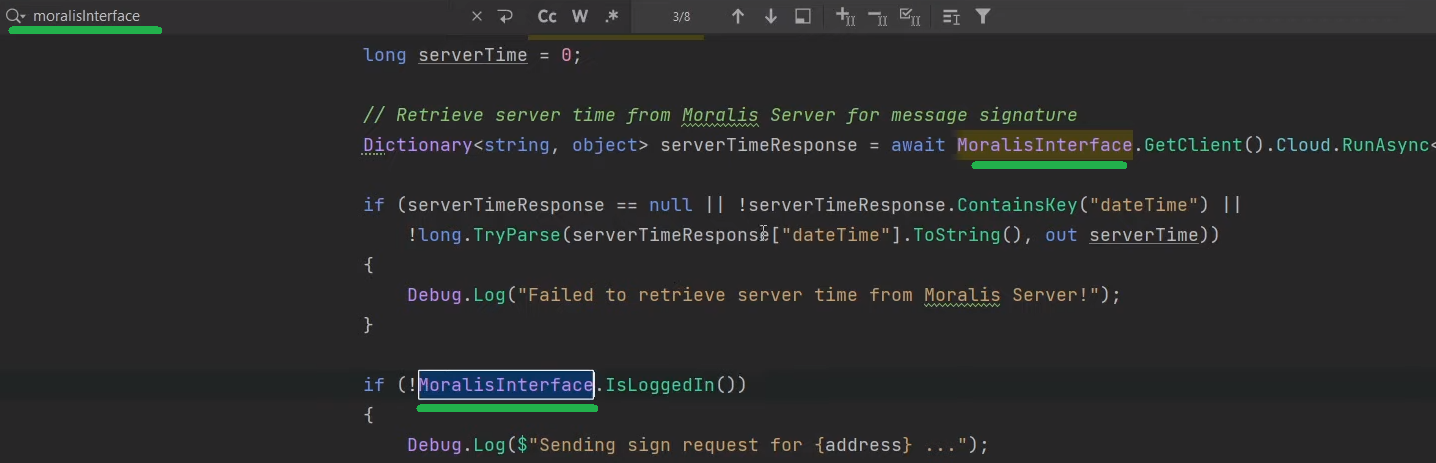
Then you can use the search bar and enter “MoralisInterface”. This will mark all of the relevant methods:
Web3 Multiplayer Setup
With Moralis taking care of your backend, your Web3 MMORPG game is already running. However, you still need to incorporate multiplayer functionality. For this part of our “build a blockchain MMORPG game with Unity” quest, we will use Photon.
For starters, go to the “Game” scene inside Unity (assets > project > scenes):
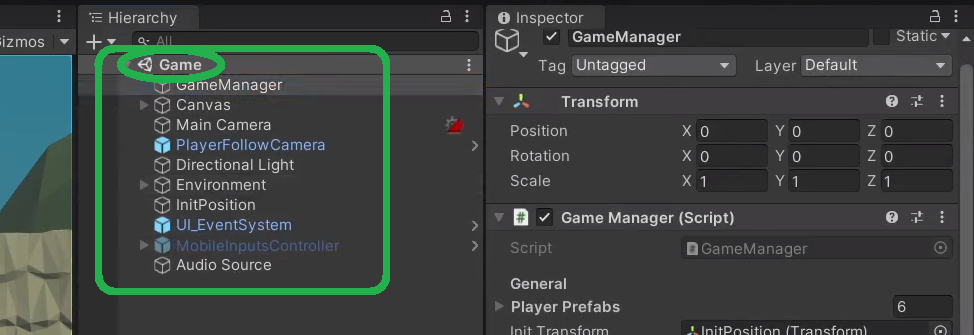
Looking at the hierarchy of the “Game” scene, you can see that there are no Photon prefabs. However, our “GameManager” is randomly selecting players:
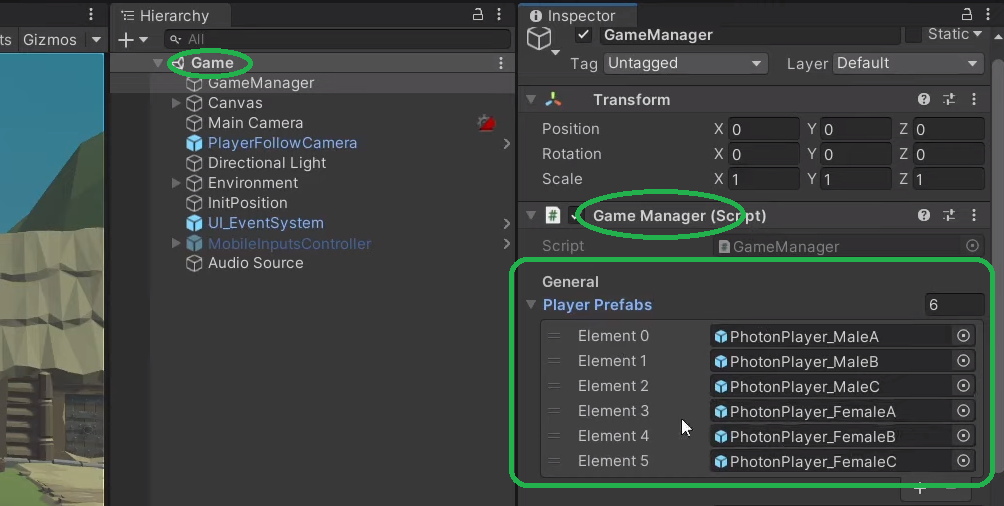
As such, our “PhotonPlayer” prefabs are included with each “PhotonPlayer”:
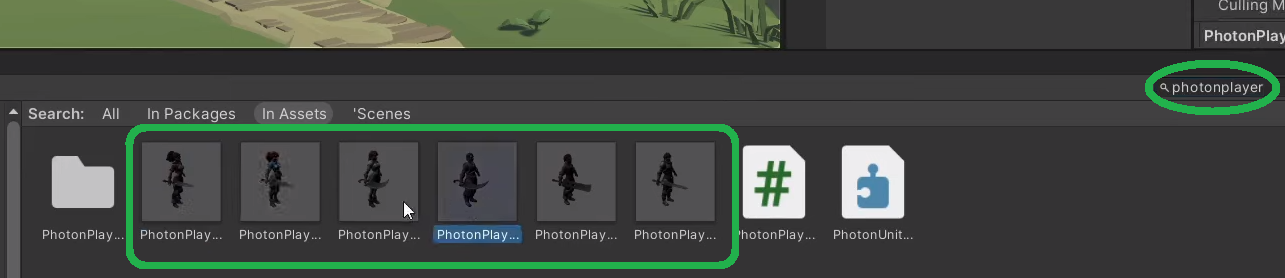
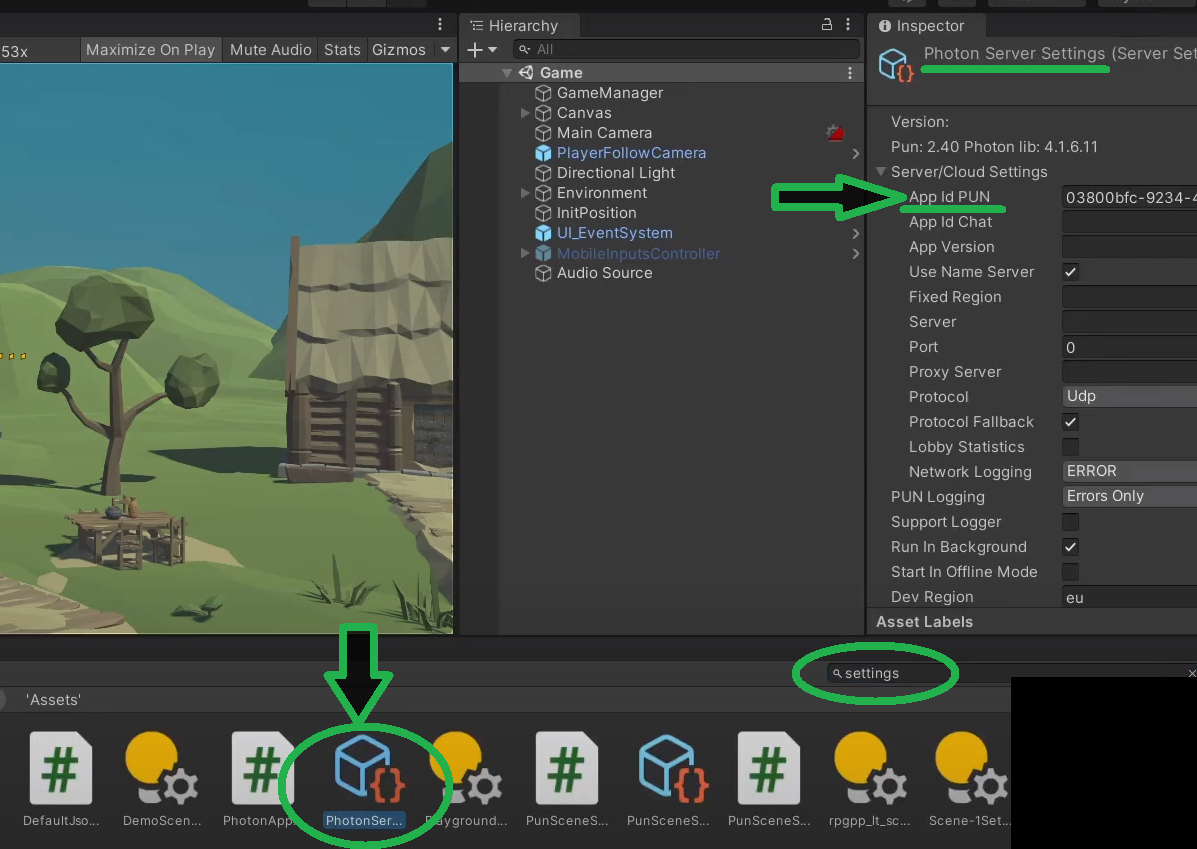
If you now open any of the above marked “PhotonPlayer” prefabs, you can see several Photon prefabs. These include “Photon View”, “Photon Transfer View”, and “Photon Animator View”. However, to make all of these work, you need to paste your Photon app ID inside the “Photon Server Settings”. To access these settings, use the search tool and enter “settings”. Next, open “PhotonSer…”:
To get your own Photon app ID, you need to create your Photon account. You can use Google or any other search engine and type “photon engine” in the search bar. Once on Photon’s official homepage, create your account. Once signed in, you’ll need to go to your dashboard:
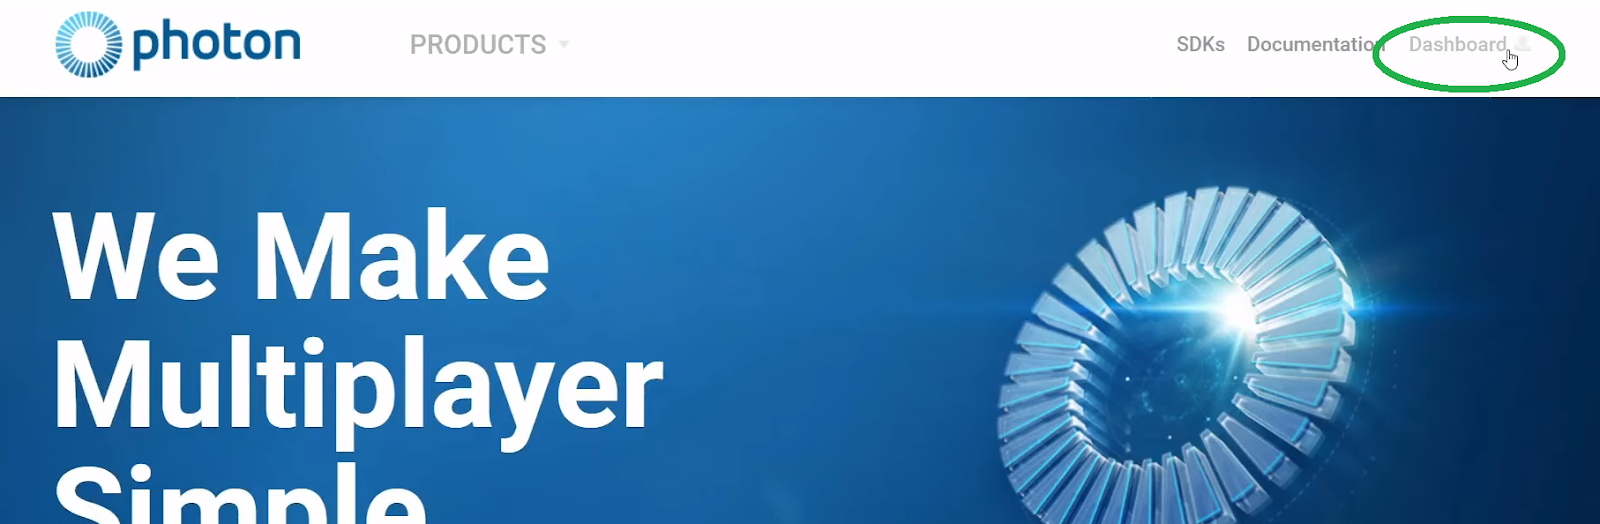
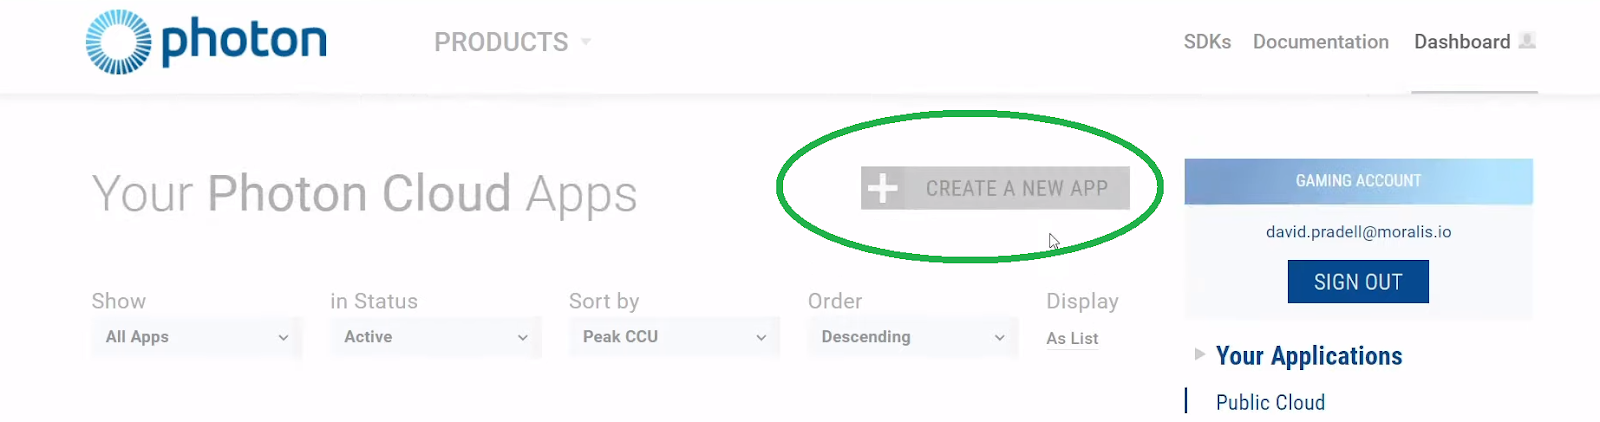
You’ve guessed it; this is where you’ll get your Photon app ID. If this is your first time using Photon, you’ll need to create a new application:
Next, make sure to select “PUN” under “Photon Type”:
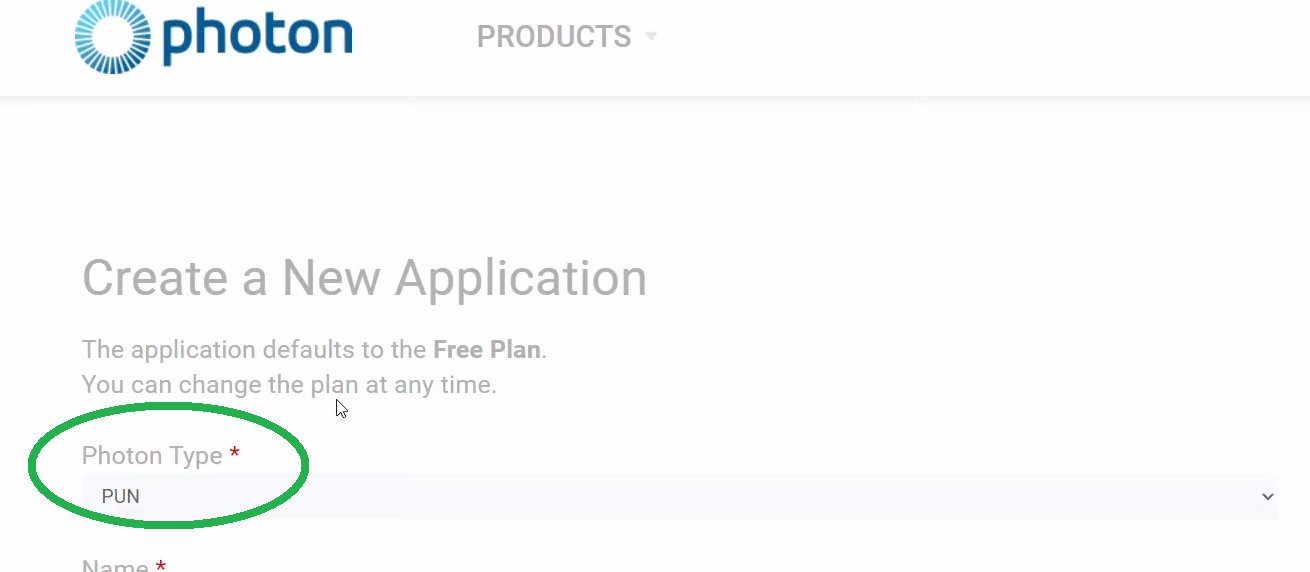
The rest of the details can be anything you want. Then, click on the “Create” button. Finally, copy your app ID and paste it in Unity:

This wraps up our “build a blockchain MMORPG game with Unity” quest!
Here’s also a video version of the above tutorial:
Build a Web3 MMORPG with Unity in 10 Minutes – Summary
We hope that you’ve followed the above guide and taken the necessary steps to build a blockchain MMORPG game with Unity. If so, you’ve learned how to easily complete the initial Moralis setup and Photon setup to get proper functionality. Moreover, while our example Web3 MMORPG game is quite cool, we urge you to use your skills and imagination to take things to the next level. However, if you first need to boost your confidence, we recommend further blockchain development education.
In case you prefer free content, it doesn’t get much better than the Moralis YouTube channel and the Moralis blog. Both of these outlets offer countless example projects and to-the-point explanations. For instance, some of our latest topics cover how to build a medieval metaverse game, how to build a Web3 Amazon marketplace, how to connect a Unity app to a Web3 wallet, how to create a BNB Chain token, Alchemy API alternatives, how to clone Coinbase Wallet, how to create a Solana token, an NFT minting page walkthrough, and much more.
If you are interested in a more professional approach, we recommend enrolling in Moralis Academy. By doing so, you will get access to professional courses, a personalized study path, one of the most advancing communities, and expert mentorship. With all that on your side, you ought to become a blockchain developer in no time.