Smart contracts are at the center of Web3 technology, revolutionizing how transactions and agreements are handled. These self-executing pieces of code automate and enforce the terms of contracts without the need for intermediaries. What’s more, this innovative technology is paramount in developing decentralized applications (dapps), DeFi platforms, and other blockchain projects. Yet, not everyone knows what smart contracts are and how to create them. Therefore, in this article, we’ll dive into the basics and show you how to write a smart contract in Solidity!
Overview
We’ll kickstart today’s article by jumping into the tutorial and showing you how to write a smart contract in Solidity. After the tutorial, we’ll cover the intricacies of smart contracts and the Solidity programming language. That said, if you need to refresh your memory on either of these topics before going into the tutorial, we recommend starting with the ”What is a Smart Contract?” section!
Once you know how to write a smart contract in Solidity, you might want to take your Web3 development to the next level. And if so, then you’ll want to explore Moralis!
Moralis provides industry-leading Web3 APIs, making your work as a developer significantly easier. For instance, with the NFT API, you can get a user NFT tokens list, get ERC-721 on-chain metadata, and much more with a single line of code. As such, it has never been easier to build projects centered around NFTs!
So, if you haven’t already, make sure to sign up with Moralis straight away. You can create your Moralis account for free and start leveraging the true power of blockchain technology today!
5-Step Tutorial: How to Write a Smart Contract in Solidity
In the following sections, we’ll show you how to write a smart contract in Solidity in five straightforward steps:
- Step 1: Set Up Remix
- Step 2: Write the Smart Contract Code in Solidity
- Step 3: Set Up MetaMask
- Step 4: Get Testnet Tokens
- Step 5: Compile and Deploy the Solidity Smart Contract
The Solidity smart contract you’ll write is really straightforward, allowing you to store and retrieve an unsigned integer. Consequently, this tutorial is intended for developers with little to no experience in Ethereum development.
Nevertheless, with no further ado, let’s jump into the first step and show you how to set up Remix!
Step 1: Set Up Remix
You have many options for writing a smart contract in Solidity. However, to make this tutorial as beginner-friendly as possible, we’ll use Remix. Remix is a web-based integrated development environment (IDE) for developing EVM-compatible smart contracts.
It’s straightforward and supports several features you need for this tutorial, including the ability to compile and deploy Solidity smart contracts at the click of a few buttons. As such, let’s kick things off by visiting the Remix website.
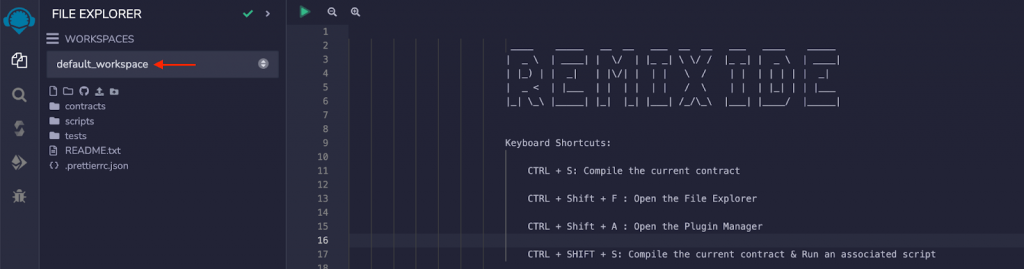
Clicking on the link above takes you to the following page, where you’ll find a workspace called ”default_workspace”:
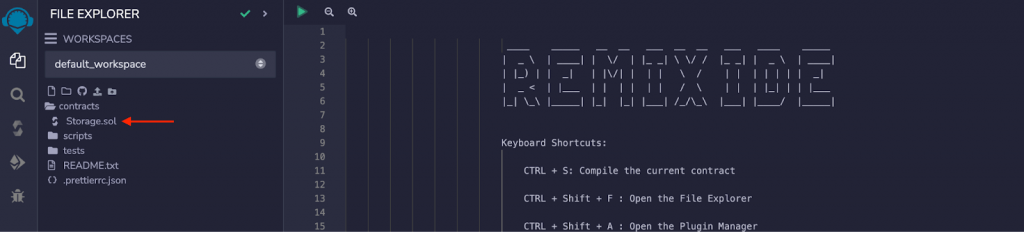
From there, open the ”contracts” folder, delete all the default files, and create a new one called ”Storage.sol”:
That’s it; you’re now ready for the second step, where we’ll show you how to write the Solidity smart contract!
Step 2: Write the Smart Contract Code in Solidity
For the second step, we’ll show you how to write the smart contract code in Solidity. As such, go ahead and open the ”Storage.sol” file and input the following code:
// SPDX-License-Identifier: MIT
pragma solidity >=0.8.2 <0.9.0;

contract Storage {
    uint data;
    function set(uint x) public {
        data = x;
    }
    function get() public view returns (uint) {
        return data;
    }
}
The code above is the complete contract, and we’ll now break down each row, starting from the top!
- On the initial line, we specify the SPDX license type. Whenever the source code of a contract is made publicly available, these licenses can help avoid and resolve copyright issues:
// SPDX-License-Identifier: MIT
- The third line of the code declares which Solidity compiler you want to use. In this case, we’re using any version equal to or between 0.8.2 and 0.9.0:
pragma solidity >=0.8.2 <0.9.0;
- On the fifth line, we declare the contract, and in this case, we name it
Storage. It’s common practice to use the same name for the file and contract:
contract Storage
- The sixth line declares an unsigned integer (uint) called
data. This is the variable that will store the data you assign when executing the functions of the contract:
uint data;
- On lines seven to nine, we declare the
set()function. This function takes a uint variable as a parameter and assigns it todata. Furthermore, the keywordpublicensures that anyone can call theset()function:
function set(uint x) public {
    data = x;
}
- In the last couple of lines, we add the
get()function that returns the value of thedatavariable. Theviewkeyword tells the Solidity compiler it’s a read-only function, and thereturns (uint)part specifies that the function is to return a uint variable:
function get() public view returns (uint) {
    return data;
}
That’s it; you now know how to write a smart contract in Solidity!
In the next step, we’ll show you how to set up MetaMask, which you’ll need to compile and deploy the contract in the tutorial’s final part!
Step 3: Set Up MetaMask
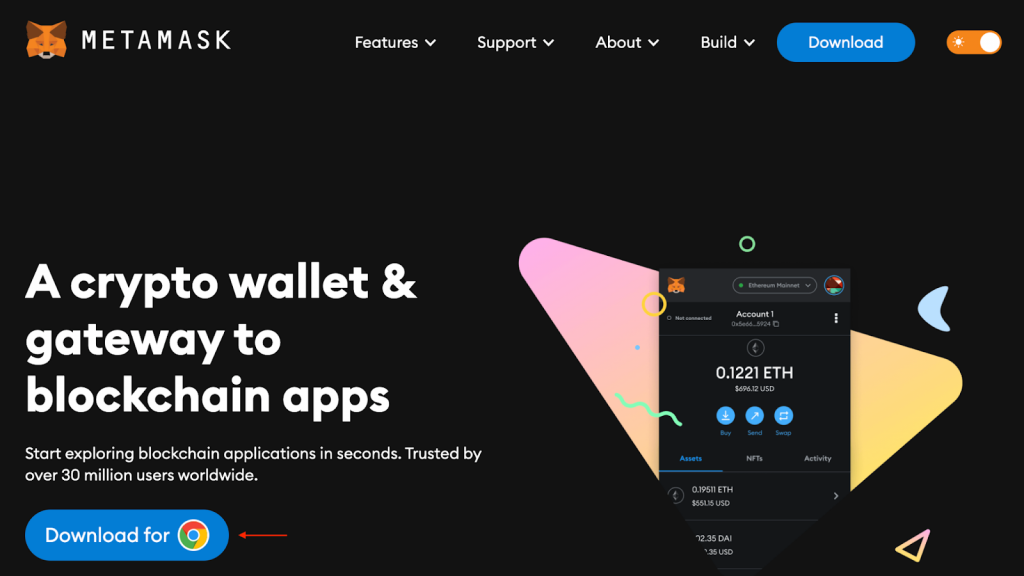
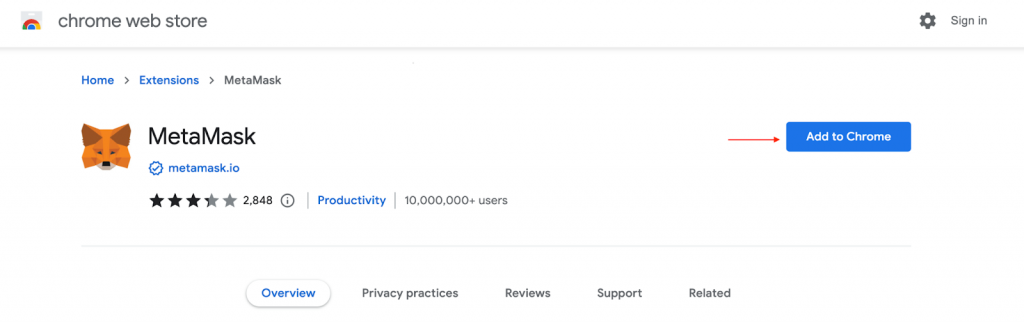
Now that you’re done writing the code for your Solidity smart contract, the next thing you’ll need is a Web3 wallet. And for this tutorial, we’ll be using MetaMask. As such, if you haven’t already, head on over to “metamask.io” and hit the ”Download” button at the bottom left:
Next, add MetaMask as a browser extension:
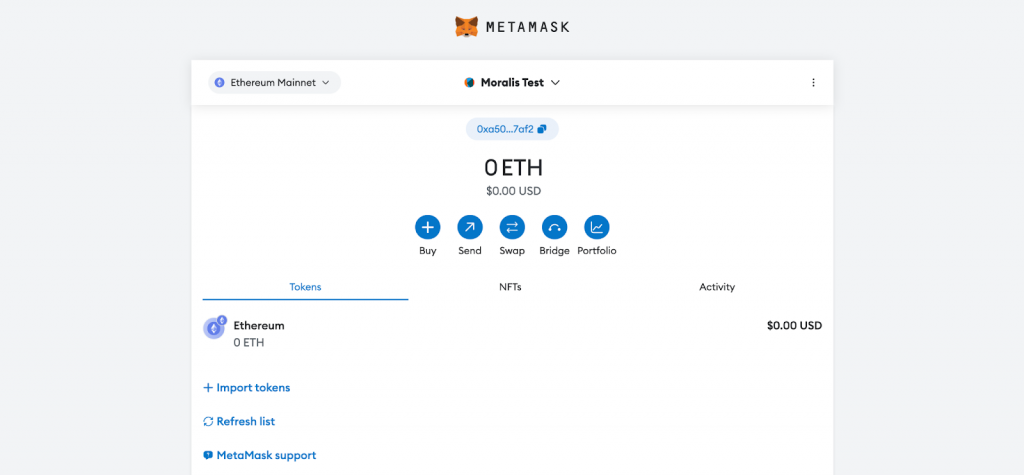
Once you add MetaMask to your browser, you’ll be taken to the following page, where you can either set up a new wallet or import an existing one:

After you create a new or import a wallet, you should find yourself on a page looking something like this:
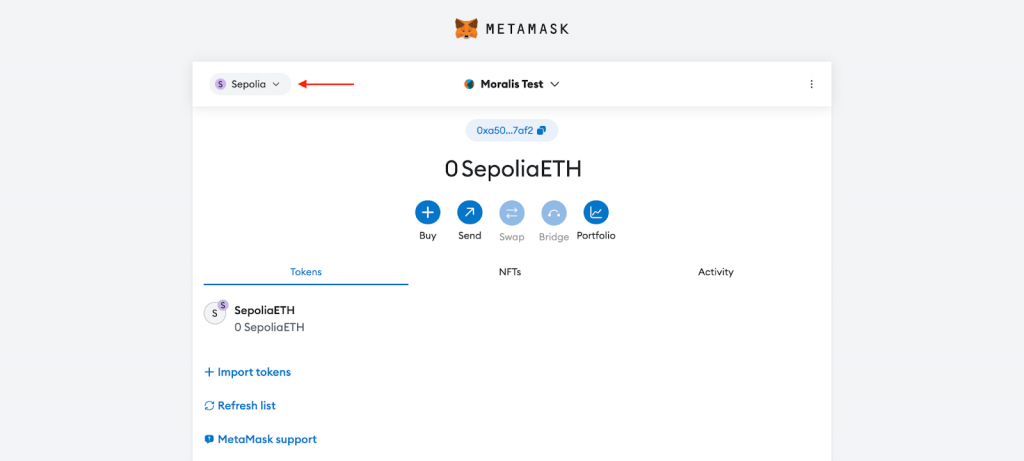
In addition to setting up a MetaMask account, you must add Ethereum’s Sepolia testnet to your wallet. The reason for doing this is that we don’t want to immediately commit to the Ethereum mainnet. Instead, you should deploy your smart contract to Sepolia so you can test it in a safe and secure environment.
To add and switch to the Sepolia testnet, go ahead and hit the networks drop-down menu at the top right of your MetaMask interface, click on the ”Show test networks” button, and select Sepolia:

Afterwards, it should now look something like this:
Step 4: Get Testnet Tokens
Deploying a smart contract to a blockchain requires a network transaction, meaning you must pay a gas fee. Consequently, in order to deploy your Solidity smart contract, you need to load up on some Sepolia ETH. Fortunately, since Sepolia is a testnet, you can leverage a faucet to get free tokens. And the easiest way to find a legit faucet is to visit the Moralis testnet faucets page!
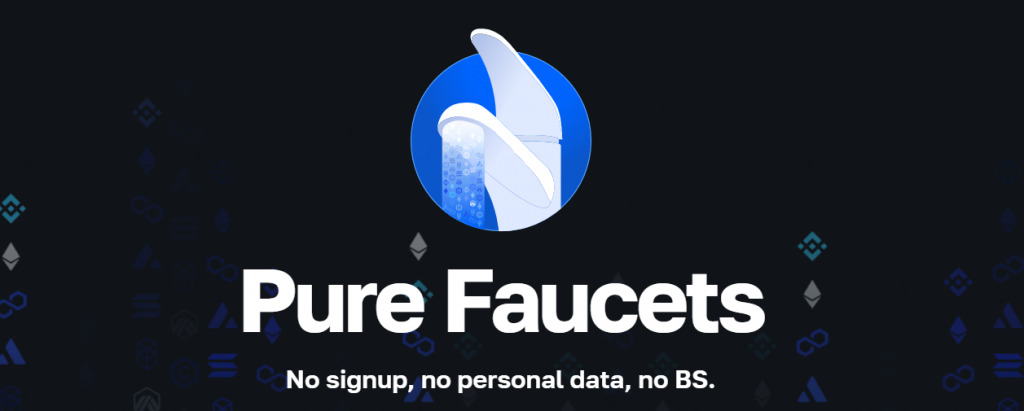
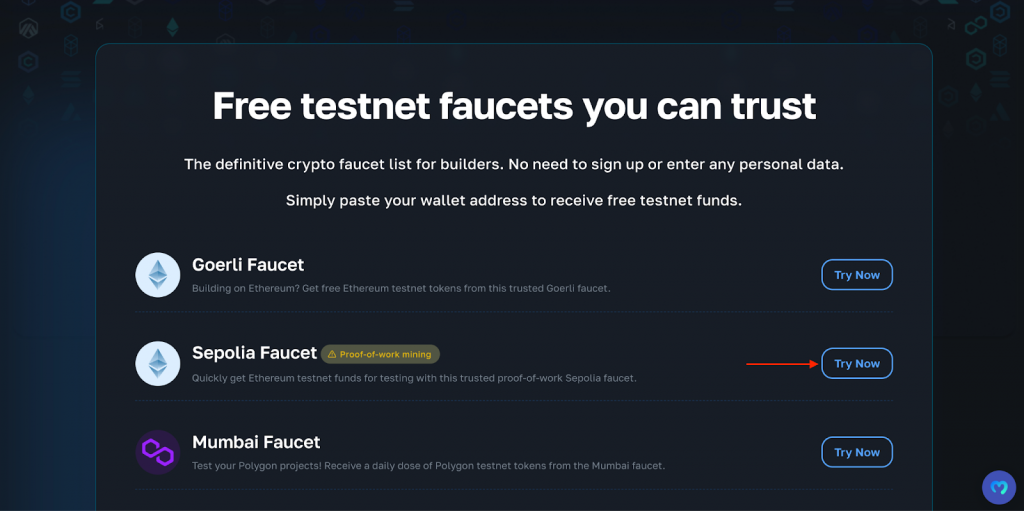
The Moralis faucets page contains a curated list of free testnet faucets you can trust. No signups are required. No personal data is needed. And no BS!
To access the Sepolia testnet faucet, simply head on over to the faucets page, scroll down, and click on ”Try Now” for the Sepolia option:
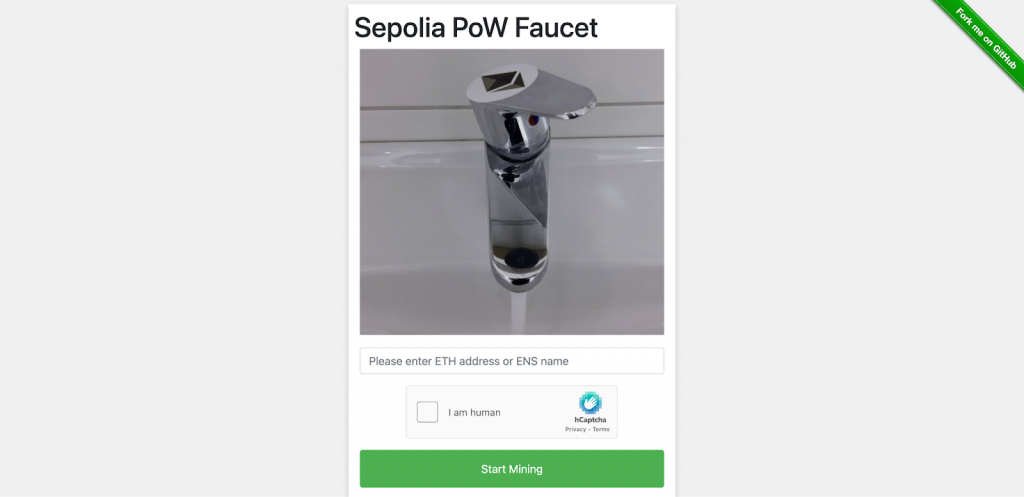
Clicking this takes you to the following page where you need to input your MetaMask wallet address and click on ”Start Mining”:
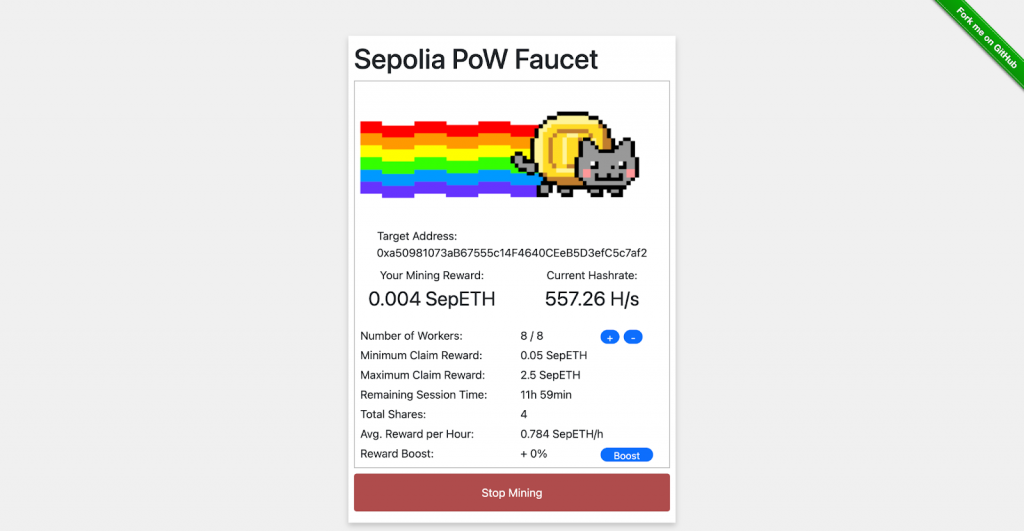
Once you click on this button, you’ll start to mine Sepolia testnet ETH. It should look something like this:
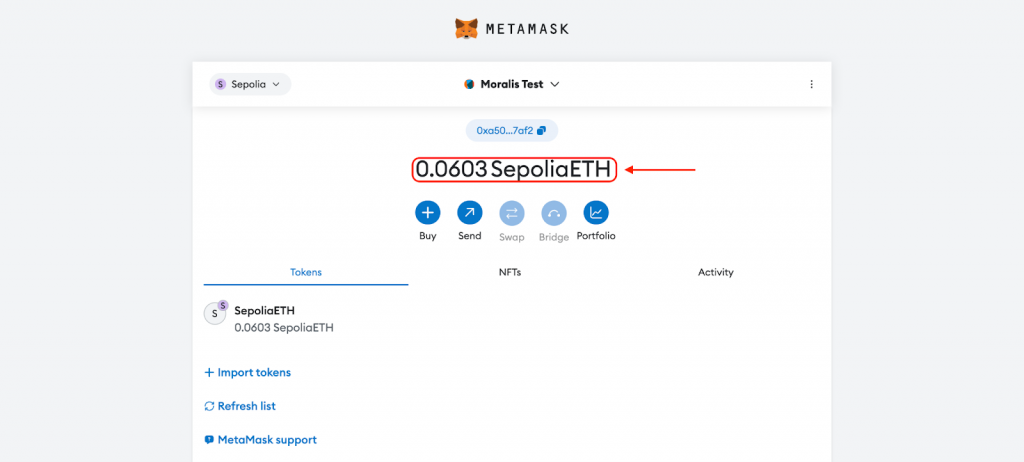
After a few minutes, you can click on the ”Stop Mining” button, allowing you to claim your tokens. As soon as you claim them, the balance in your MetaMask wallet should update:
From here, you can now use these testnet tokens to pay for transactions on the Sepolia testnet. This means you’re now ready for the final step, where we’ll show you how to compile and deploy your Solidity smart contract!
Step 5: Compile and Deploy the Solidity Smart Contract
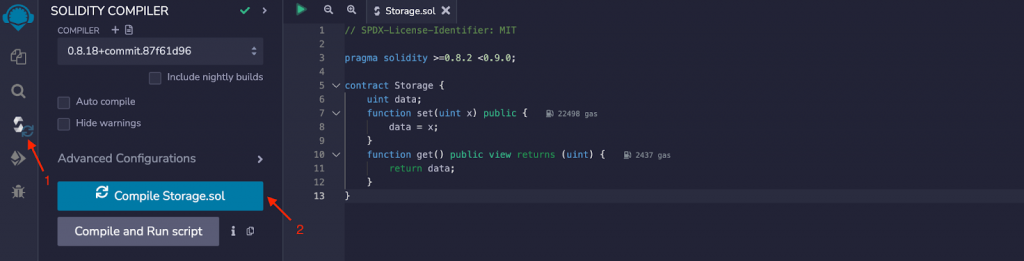
For the final step, you initially need to compile the contract. To do so, go back to Remix, navigate to the ”Solidity compiler” tab, and hit the ”Compile…” button:
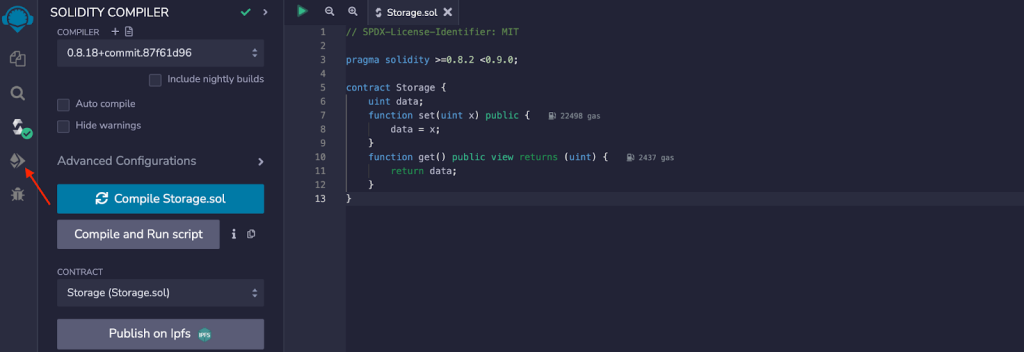
After compiling the contract, you’re now ready to deploy it. As such, go to the ”Deploy & Run transactions” tab:
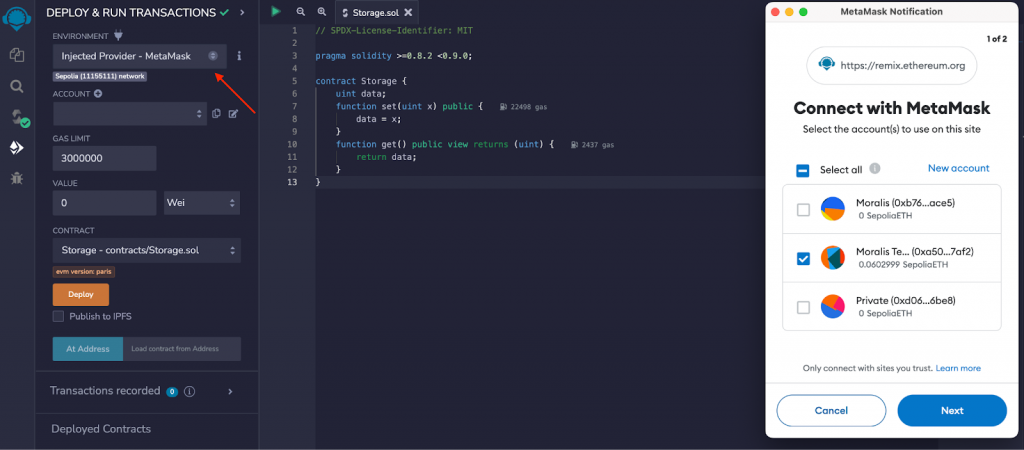
Here, the first thing you need to do is select ”Injected Provider – MetaMask” for the environment. Clicking on this button will prompt your MetaMask wallet, allowing you to sign a message:
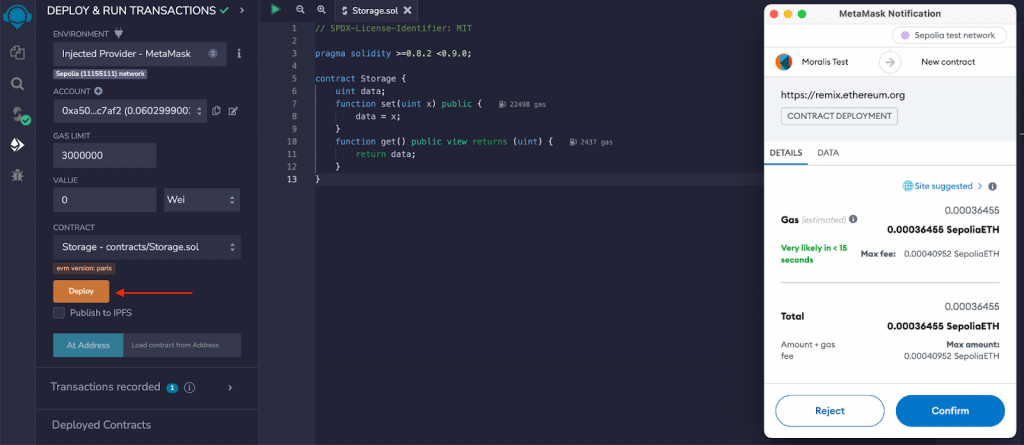
After selecting the environment, you can hit the ”Deploy” button. Doing so will, once again, prompt your MetaMask wallet, where you need to sign and pay for the transaction using your Sepolia testnet tokens:
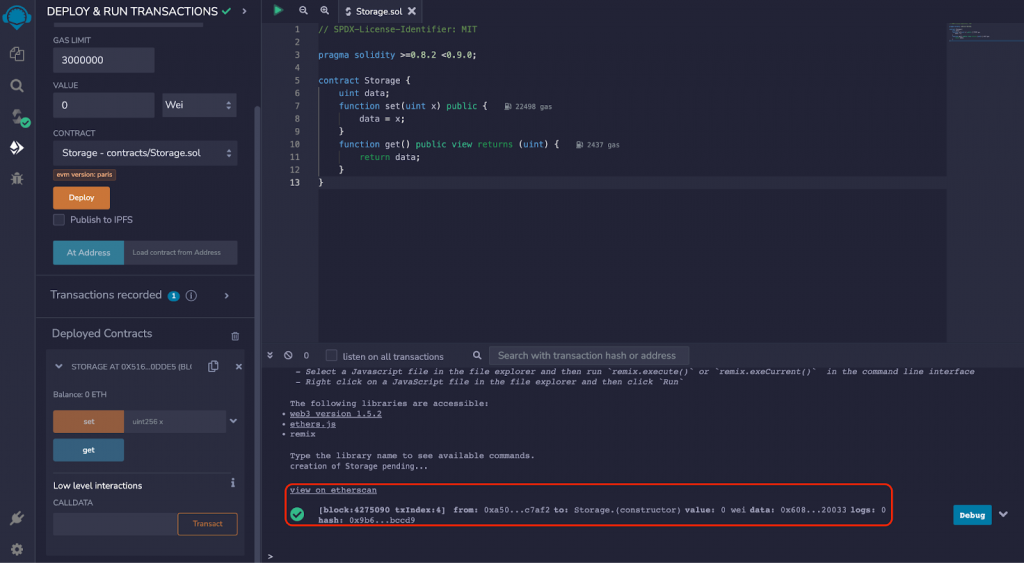
Once you confirm the transaction, it might take some time to get approved. But when it does, you’ll see a message in the Remix console:
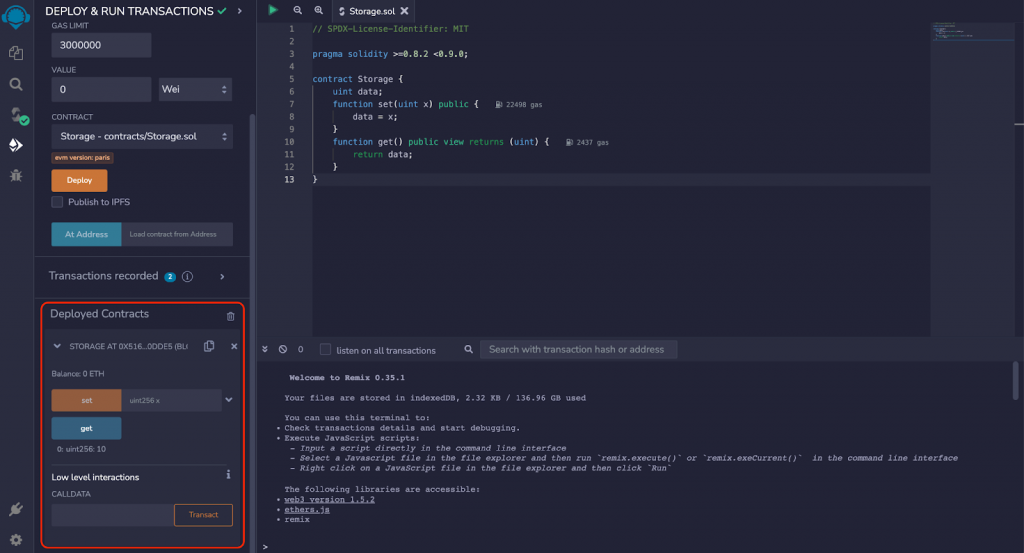
Now, you should be able to view and test the functions of your contract under the ”Deployed Contracts” section:
That’s it; you have now successfully created and deployed a simple Solidity smart contract to the Sepolia testnet!
What is a Smart Contract?
In short, a smart contract is a program stored on a blockchain network that executes whenever predetermined conditions are met. These contracts are usually used to automate the execution of agreements where participants can be certain of the outcomes. Furthermore, since code handles the process, there’s no need for any intermediary’s involvement.

Smart contracts generally consist of two parts: data and a collection of code. The data is the contract’s state; meanwhile, the code makes up the functions of the contract. These two parts of each contract reside at their own address on a blockchain network.
Furthermore, all smart contracts on the Ethereum network are a type of account. This means that each smart contract has the ability to make transactions and hold a balance. However, they differ from regular accounts in that no user controls them. Instead, the contract/account is managed by the code within the contract itself.
Since smart contracts are accounts, it’s possible for you as a user to interact with them. For instance, you can submit a transaction, and in return, the contract executes the functions within the code. Consequently, the contract essentially supplies a set of rules and then enforces them when the predetermined conditions are met.
If you’d like to learn more about this, please check out our article explaining Web3 contracts in further detail!
What is Solidity?
Solidity is the most popular programming language for smart contract development. It’s an object-oriented, high-level language Web3 developers use to write EVM-compatible smart contracts.
It’s a curly bracket language with many influences from other programming languages, such as C++ and JavaScript. Consequently, if you have prior knowledge of, for instance, JavaScript, you’ll have an edge in picking up Solidity faster.
Furthermore, Solidity is often referred to as the first contract-oriented language. This means that it’s adapted for developing smart contracts. As a result, it’s equipped with many built-in commands to enable a more accessible blockchain development experience. For instance, developers can easily access things like addresses or timestamps of a particular block.
Once you’re done writing a Solidity smart contract, it’s compiled to EVM bytecode. This makes these programs compatible with any EVM blockchain. As such, Solidity is a programming language that can be used to write smart contracts for multiple blockchain networks, including Ethereum, Polygon, BNB Smart Chain, and many others.
Nevertheless, this only covers the basics of the programming language; if you’d like to learn more, check out our in-depth breakdown of Solidity.
Conclusion: How to Write a Smart Contract in Solidity
In today’s article, we showed you how to write a smart contract in Solidity in five straightforward steps:
- Step 1: Set Up Remix
- Step 2: Write the Smart Contract Code in Solidity
- Step 3: Set Up MetaMask
- Step 4: Get Testnet Tokens
- Step 5: Compile and Deploy the Solidity Smart Contract
So, if you have followed along this far, you know how to write a simple smart contract in Solidity!
Now, if you’d like to take your Web3 development to the next level, you’ll also want to check out Moralis further. Moralis provides a suite of industry-leading Web3 APIs, including the Streams API, Price API, Wallet API, and many others! Additionally, if you need some inspiration on what’s possible to build using Moralis, check out Moralis Money!
With the tools mentioned above, you can create Web3 projects quickly and effortlessly, saving you and your development team an abundance of development resources and time. Just check out some testimonials of happy customers already leveraging Moralis to cut costs:
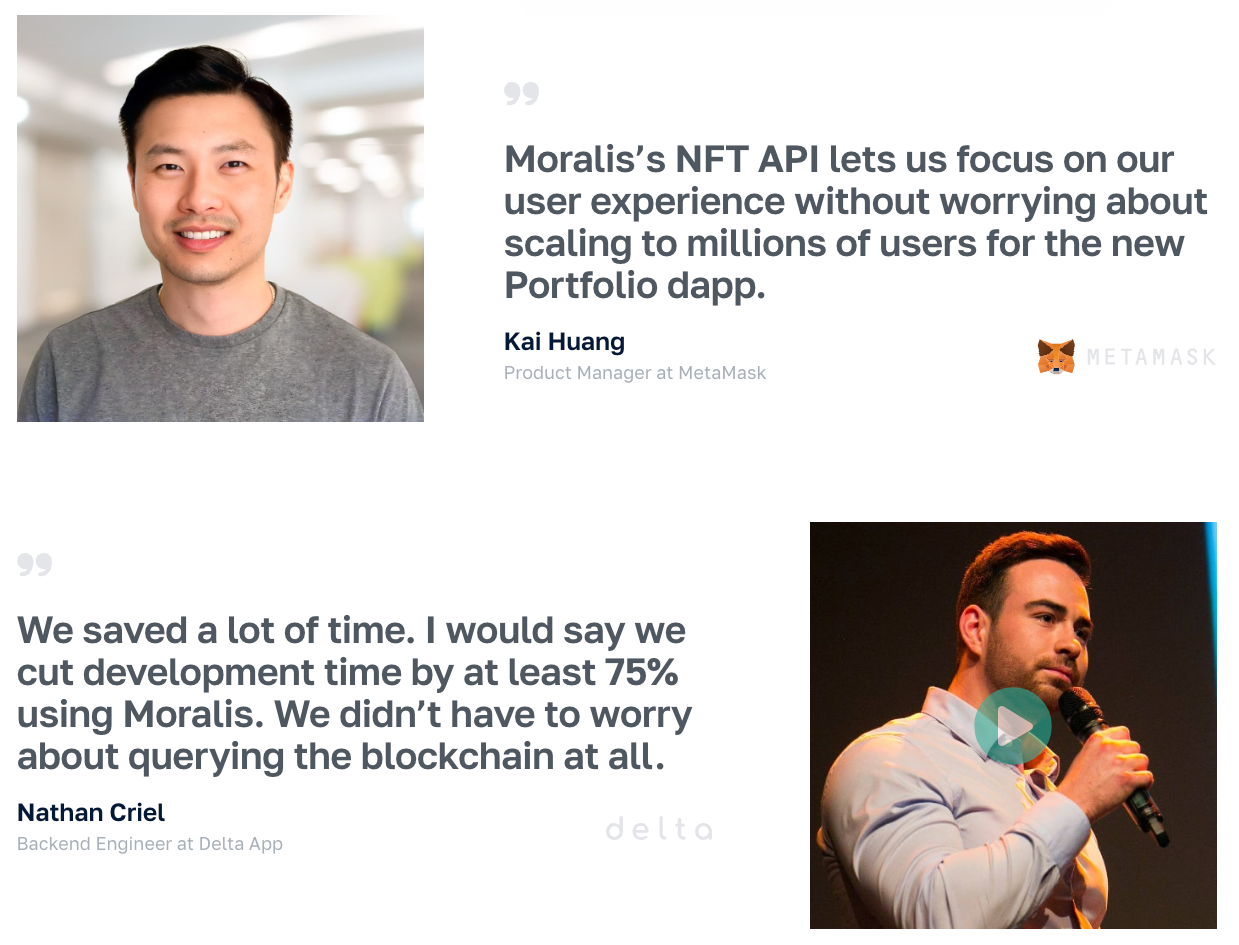
So, take this opportunity and sign up with Moralis today. You can set up your Moralis account entirely for free and start building projects faster and more effectively!
