In this article, we’ll guide you through the process of how to create a Solana token in five steps. Along with taking a closer look at the process itself, we’ll also discover more about the Solana blockchain and SPL tokens. Now, if you’d like to skip straight into the documentation for creating the tokens, check out the following link:
Full Documentation – https://github.com/YosephKS/solana-spl-tutorial
If you’re a returning reader here at Moralis, you might have stumbled upon articles on how to create Ethereum tokens or how to create a Polygon token. However, in this article, we’re going to direct our attention elsewhere and take a closer look at one of the most exciting blockchains: Solana. Solana has rapidly grown during 2021 and is emerging as one of the largest competitors to Ethereum and other EVM-compatible chains. The platform focuses on speed and scalability, solving some of the significant issues of its competitors. As such, we’re in this article going to take a closer look at SPL tokens and the process of how to create a Solana token using the Moralis operating system.
Moralis provides all users with an infinitely scalable backend infrastructure along with an extensive toolbox. Among these tools, you’ll, for example, find Moralis Speedy Nodes, the NFT API, Web3UI kit, Price API, and much more. These features, along with the backend infrastructure, offer the best developer experience on the market. This allows you to significantly cut development time for all future blockchain projects and make Web3 development more accessible.
So, if you are looking to become a blockchain developer, the quickest and most accessible path is with Moralis. Signing up with the platform is free, and you’ll be able to create your first blockchain project in no time!
What is Solana?
Solana is a decentralized blockchain that saw tremendous growth during 2021 and is emerging as one of the most prominent competitors to the Ethereum network. As such, it’s no surprise that numerous developers want to learn how to create a Solana token. Moreover, Solana, just like Ethereum, is smart contract-compatible. This means that it’s possible to build dApps, tokens, and other Web3 projects on the Solana network.

However, an important distinction between the Ethereum and Solana ecosystems is that the terminology might differ. For example, “smart contracts” are known as “programs” within the Solana ecosystem. As such, if you’re more familiar with Ethereum and Solidity programming, the terms in this guide might be a bit confusing. But worry not, we’ll try to make it as straightforward as possible.
A major drawback of the most significant development blockchain, Ethereum, is congested networks. As more people adopt blockchain and crypto technologies, the network is unable to handle an increased number of transactions. This drives up the gas prices, making it economically unviable to make transactions on the Ethereum network.
For this reason, Solana set out to create a blockchain that emphasizes transaction speed and lower costs. In fact, the chain processes almost 3,000 transactions every second and has an average cost of $0.00025 per transaction. As such, Solana manages to solve some of the drawbacks of the Ethereum blockchain, making it a fierce competitor. So, how is Solana able to achieve this throughput?
Solana’s Consensus Mechanism – Proof-of-History (PoH)
There are generally two major consensus mechanisms within the blockchain industry, proof-of-work (PoW) and proof-of-stake (PoS). Ethereum and Bitcoin currently utilize PoW. This allows nodes in the networks to agree on the state of the information and prevent economic attacks and other issues such as double-spending. This keeps the networks secure; however, it makes it relatively slow. Solana, on the other hand, utilizes a combination of PoS and proof-of-history (PoH).

On other blockchains, generally, it’s required that the validators of the chain communicate with one another to form blocks. However, PoH can sort of bypass this as the consensus mechanism creates a historical record that proves that an event has happened at a specific moment in time. For this reason, it is possible to achieve higher scalability as blocks can be formed much easier.
Lastly, an additional important piece of information is to note that you don’t utilize Solidity to build programs (smart contracts) on the Solana blockchain, but rather another blockchain programming language called Rust. Thus, if you are looking to develop dApps for the Solana ecosystem, it’s beneficial to be proficient in Rust.
What are SPL Tokens?
Another essential component of the Solana ecosystem is its native SOL token. SOL is the cryptocurrency that runs on the Solana blockchain, and it also acts as a governance token. As such, holders of SOL have the possibility to vote on the future of the blockchain and help govern the network. If you want to deepen your knowledge regarding tokens such as these, check out our “What are governance tokens?” article.
Moreover, SOL is a so-called SPL token, and in this section, we’re going to explore what SPL tokens are. SPL tokens are to Solana what ERC-20, ERC-721, and ERC-1155 tokens are to the Ethereum network. As such, SPL can be seen as the token standard for the Solana blockchain.
However, if you are familiar with Ethereum’s token standards, then you know that the ERC-20 standard regulates fungible tokens, ERC-721 NFTs, and ERC-1155 semi-fungible tokens. In the Solana ecosystem, there is simply one program defining the common implementation of both fungible tokens and NFTs. For this reason, there is essentially one token standard regulating both token types.
This makes Solana token development pretty straightforward and is why we’re in the following sections going to discover how to create both fungible and non-fungible Solana SPL tokens.
How to Create a Solana Token in 5 Steps
With a better understanding of the Solana blockchain and what SPL tokens are, we can move on to the central part of this article: how to create a Solana token. Creating an SPL token, either fungible or non-fungible, is quite easy. Now, to make the process even more comprehensible, we’ll break down the process into the following five steps:
- Installing the Solana and SPL CLI (command line interface).
- Creating a wallet and acquiring testnet SOL.
- Making a fungible token.
- Creating an NFT.
- Add the tokens to your Phantom wallet.
These steps are easy to follow; however, if you prefer to watch a video tutorial of the entire process, then be sure to check out the following video from the Moralis YouTube channel:
So, without further ado, let’s begin and take a closer look at downloading the Solana and SPL CLI that we need to create the tokens!
Step 1: How to Create a Solana Token – Installing the Solana and SPL CLI
In the first step of this tutorial, we’re going to install the Solana CLI. Doing so is quite simple; however, the command differs, and you might also need to add some environmental variables depending on which operating system you are utilizing. Nonetheless, these are the commands for installing the Solana CLI:
MacOS & Linux:
sh -c "$(curl -sSfL https://release.solana.com/v1.9.5/install)"
Windows:
curl https://release.solana.com/v1.9.5/solana-install-init-x86_64-pc-windows-msvc.exe --output C:\solana-install-tmp\solana-install-init.exe --create-dirs
With the Solana CLI at hand, the next part of this initial step is to also install the SPL CLI. To install the CLI, you can utilize the following input:
cargo install spl-token-cli
As you can see from the command above, we’re utilizing “cargo”, which you might find unfamiliar. This is essentially Rust’s version of “npm” or “yarn”, and to use this, you might need to install some Rust tooling.
However, with the SPL CLI installed, we can continue and move on to the second step of the process, where we’ll generate a wallet and acquire some testnet SOL.
Step 2: How to Create a Solana Token – Create a Wallet and Get Testnet SOL
The second step in creating a Solana token involves generating a “file system wallet” and acquiring some testnet SOL. We need this to pay for the transactions on the network. So, let’s kick this off with creating a wallet, and this is done through the following command:
solana-keygen new --no-outfile
Now that you have a wallet, you can make sure that everything is working by checking the SOL balance of your wallet:
solana balance
Initially, as you just created your wallet, the balance should be equal to zero. But, we’re about to change this as we’re going to acquire some testnet SOL. However, before getting SOL, we also need to make sure that we’re on the testnet cluster:
solana config get
Inputting this command will provide the following output:

As you can see, we’re currently on the testnet. Now, if you aren’t on the right cluster or network, then you’ll need to configure this. We can easily do so by simply using the following input to get on the right network:
solana config set --url https://api.devnet.solana.com
This is essentially equivalent to switching chains if you are working with EVM. You can then use the same command as earlier to check that you’re on the right cluster and, if you are, simply acquire testnet SOL through this command:
solana airdrop 1
Step 3: How to Create a Solana Token – Create a Fungible Token
Now that we have a wallet and testnet SOL, we can move on to the central part of this tutorial, where we’re about to create the Solana token itself. As we have both the Solana and SPL CLI, this process becomes relatively accessible, and we can easily create a fungible token with a few simple commands. Once we’re done with the fungible token, we’ll continue in the following step and take a closer look at how to create an NFT.
So, the first thing we need to do is create the token itself with the following input:
spl-token create-token
Once the transaction finalizes, we’ll be provided with this output:

As you can see from the screenshot above, we receive a token ID and a signature. We can then utilize the token ID to check the balance of the specific token:
spl-token supply <token-identifier>
The initial supply should be zero as we haven’t added anything to the token. But, worry not, we’ll show you how to add a supply of your desired amount. However, before actually minting the supply, we do need to create an account for the program. The reason for manually adding this is that programs on the Solana blockchain don’t generally have any storage by default. As such, we need to add the account ourselves:
spl-token create-account <token-identifier>
With an account created for our token, we can simply mint a specified amount of tokens through this command:
spl-token mint <token-identifier> <token-amount>
This will automatically mint the tokens into the file system wallet. You can then make sure that everything worked as intended by checking the balance with the identical command we used previously.

That’s it! That’s how easy it is to create a fungible SPL token. Next up, we’re going to be creating a Solana NFT!
Step 4: How to Create a Solana Token – Create a Non-Fungible Token (NFT)
Now, if you aren’t looking to create a Solana NFT, you can skip this step and move on to the fifth and final part of this tutorial. Otherwise, follow along and learn how to create a Solana NFT. If you followed along in the previous step, then you already have all the essential information, and there are only a few minor details that we need to address.
So, the first thing you’ll need to do is, once again, create a new token. However, this time, as this is an NFT, you’ll need to specify the decimals to be equal to “0”. As such, this is what the command for creating an NFT looks like:
spl-token create-token --decimals 0
With the NFT created, the next step is similar to creating the fungible token, and you’ll need to create an account for the program. This is done in the exact same way:
spl-token create-account <token-identifier>
With the account at hand, you can go ahead and mint the token. However, since this is an NFT, you’ll simply be minting one token as they are intended to be entirely unique. As such, you can input the following and replace the token ID and account to your values:
spl-token mint <token-identifier> 1 <token-account>
With the token minted, the last part is simply to disable future minting as we only want one of these tokens to exist. This can be done through this command:
spl-token authorize <token-identifier> mint --disable
Step 5: How to Create a Solana Token – Add the Tokens to your Wallet
Now, if you’ve decided to either create a fungible, non-fungible, or both tokens, you can go ahead and check the balance of the wallet by inputting the following command:
spl-token accounts
This will provide you with something that looks similar to this:

This is a list of all the tokens in your wallet, and the ones that you created during this tutorial should show up here. However, now that the tokens are created, you’ll also need to transfer these into your regular wallet. In this tutorial, we will be using a Phantom wallet; however, if you are using any other alternative, the process doesn’t deviate significantly.
Since we created testnet tokens in this tutorial, the first thing you’ll need to do is change the network of your Phantom wallet to the testnet. With the proper network chosen, it becomes relatively easy to transfer tokens. In fact, all you’ll need to do is input the following command and change the parameters to fit your needs:
spl-token transfer <token-identifier> <token-amount> <wallet-address> --fund-recipient
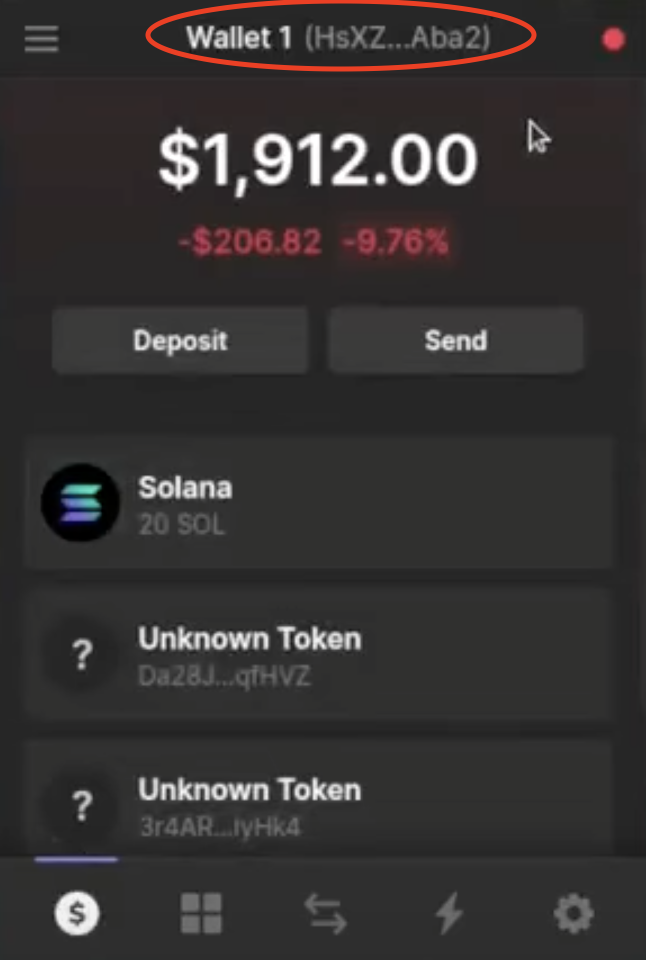
As you can see, we need the token ID, the specific amount you’d like to transfer, and the wallet address. You can get the wallet address by copying it from the top of your Phantom wallet interface. With the proper information inputted, all you need to do is run the command, and the tokens should transfer.
To ensure that everything worked as intended, you can check your Phantom wallet or the local wallet with the “spl-token accounts” command. However, when you check your Phantom wallet, you’ll notice that the tokens have no name, no symbol, and no icon. To add this, you can visit the GitHub page and make a pull request. Watch the video mentioned earlier for more info on this, starting at 19:40.
How to Create a Solana Token – Summary
In this tutorial, we were able to create a Solana token through the following five steps:
- Installing the Solana and SPL CLI (command line interface).
- Creating a wallet and acquiring testnet SOL.
- Making a fungible token.
- Creating an NFT.
- Add the tokens to your Phantom wallet.
The guide illustrates how to create fungible tokens and NFTs with ease, and we were able to do so in a matter of minutes. As such, if you follow the steps listed above, you should be able to create a Solana token easily. Moreover, if you read through the complete article, you would also have basic knowledge of the Solana blockchain and its native SOL token.
If you’d like to learn more about token development and the blockchain industry at large, then be sure to check out the Moralis blog. You can learn more about the best languages for blockchain development, how to create an Ethereum dApp, MetaMask, the metaverse, and much more.
So, if you’re interested in blockchain development, be sure to sign up with Moralis. Creating an account is free and only takes a couple of seconds!
