Many elements, such as a positive user experience (UX) and high-quality, user-friendly UI (user interface), all play essential roles in the success rate of onboarding Web3 users. Further, part of this includes simplicity. Now, if you have any experience with blockchain development, you know that one process that needs to be simplified is how to onboard Web3 users. Thus, if we can make the onboarding process smooth and seamless, we’ll acquire more users, and our dApps (decentralized applications) will more likely be successful. Fortunately, there are several tools available to accomplish this. Herein, we’ll take a closer look at these tools and explore how to boost Web3 user onboarding success rates easily with Moralis.
In this article, you’ll discover how to make Web3 user onboarding seamless and uncomplicated. By using the ultimate Web3 development platform, Moralis, and some of its latest integrations, Web3 user onboarding becomes frictionless. Furthermore, an impressive part is that Moralis (a.k.a. Firebase for crypto) enables you to implement Web3 authentication with a few lines of code. By creating your free Moralis account, you get access to the ultimate Web3 SDK. Thus, you get your hands on a complete Ethereum API, including an extremely powerful NFT API. Also, Moralis’ SDK provides you with Moralis servers, Moralis dashboard (database), and Moralis’ sync feature. The latter enables you to index the blockchain and sync and index smart contract events. Moving forward, we will first cover some basics to get you all up to speed. However, the core of this article is a Web3 user onboarding setup guide.

What is User Onboarding?
Before we can openly discuss Web3 user onboarding any further, you need to know what user onboarding means. So, user onboarding is the process or action of integrating or familiarizing a new customer or client with particular products or services. This process is nothing new; however, it came more frequently used with the birth of mobile and web applications. These would often include some unique features that users need to get familiar with straight from the gate.
As such, the process of onboarding users is as complex as the product or service’s requirement to use that product or service. Moreover, while there are exceptions, as a rule of thumb, you should always aim to make onboarding as straightforward and quick as possible. Many intuitive applications’ user onboarding is nothing more than a signup process. In Web2 apps, the latter can be done using an email address and a password or using social login. We really can’t stress the importance of having a smooth and simple signup process enough. The last thing you want is to lose your users before they even start using your application.
Of course, if you can execute excellent marketing so that users know exactly why they are coming to your product or service, you can have a slightly more complex onboarding process. Furthermore, if your product or service is something that the market is not familiar with, there’s no way around a more unique user onboarding. However, keeping things as simple as possible and incorporating familiar steps is, without a question, the way to go. These pointers play an important role in Web3 user onboarding. So, how to bring new concepts of the blockchain world to a user-friendly level for traditional users? Let’s find out.

User Onboarding in Web3
In case you’ve used Web3 applications before, you know that most of them rely on Web3 wallets to authenticate users. As such, MetaMask and WalletConnect are great solutions. Users that already have those wallets set up find the processes rather smooth. However, newcomers from the traditional Web2 realm can easily be overwhelmed with setting up a new wallet, adding the browser extension, etc. For a list of problems with onboarding Web3 users, refer to the section further down below.

Moreover, let us remind you that signup is a part of the user onboarding process. Hence, we can conclude that most dApps currently don’t have the most user-friendly Web3 onboarding. So, what would be a more familiar method? Well, we can confidently say that most users have some experience with Web2 applications. As such, they are most likely familiar with email and social login. Thus, incorporating these signup/login options in your dApps ought to improve the Web3 user onboarding experience. Furthermore, the latter is essential for mainstream adoption of this disruptive technology.
Now, you could go about this the hard way. You could try to build the infrastructure that would enable you to authenticate Web3 users using Web2 methods. On the other hand, you can save yourself a lot of time, effort, and resources by using available tools. You’ll learn all the details about this shortcut in the “How to Boost Web3 User Onboarding” section.
Problems with Web3 User Onboarding
As mentioned above, most dApps that are currently live do not offer user-friendly onboarding. Even if the process of familiarizing users with a dApp is phenomenal, it can’t properly serve newcomers to the crypto realm. As mentioned, we will present you with a proper solution for this limitation below. However, let’s first take a closer look at some of the main problems with Web3 user onboarding:
- Often requires previous experience with Web3 tech/blockchain.
- Requires users to create their crypto wallets (can be overwhelming).
- Confusing – In the case of cross-chain interoperability, users encounter options that are confusing.
- Scary – New users get scared of doing something wrong when their Web3 wallets start popping up messages.
- Time-consuming – To create a new wallet and install its browser extension is a lot more time-consuming. A lot of new users are not willing to invest more than a couple of seconds.
- Not always user-friendly/pedagogical – Web3 was initially driven by tech-savvy developers whose thinking processes look a lot different than those of average individuals.
- Not suited for mass-market adoption – Considering all of the above-listed problems, current Web3 user onboarding needs to improve before crypto can expect mainstream adoption.

How to Boost Web3 User Onboarding
As mentioned, Moralis provides you with all of the tools needed to create cross-chain interoperable dApps. As such, you get to future-proof all of your dApps as you can deploy them using the same code on all supported blockchains. Furthermore, this excellent Web3 backend platform enables devs to save more than 87% of development time. Moralis alone is impressive; however, when you add its integrations into the picture, things become even simpler. Moreover, it is the integrations that play a significant role in Web3 user onboarding. To be more specific, we are talking about Web3Auth and Magic (by Magic Labs). The former offers you both Web3 social login and email login, while the latter is all about Web3 authentication via email. In addition, Magic offers a passwordless login option, which has a special user-friendly appeal.
In the upcoming sections, you’ll have a chance to learn all the details of how to use these excellent tools to your advantage. As such, we will guide you through the initial setups so that you can get going. Overall, you’ll learn how to create better a Web3 login using Moralis and Moralis’ integration with Web3Auth, and Moralis’ passwordless integration with Magic.

Social Login – The Implementation
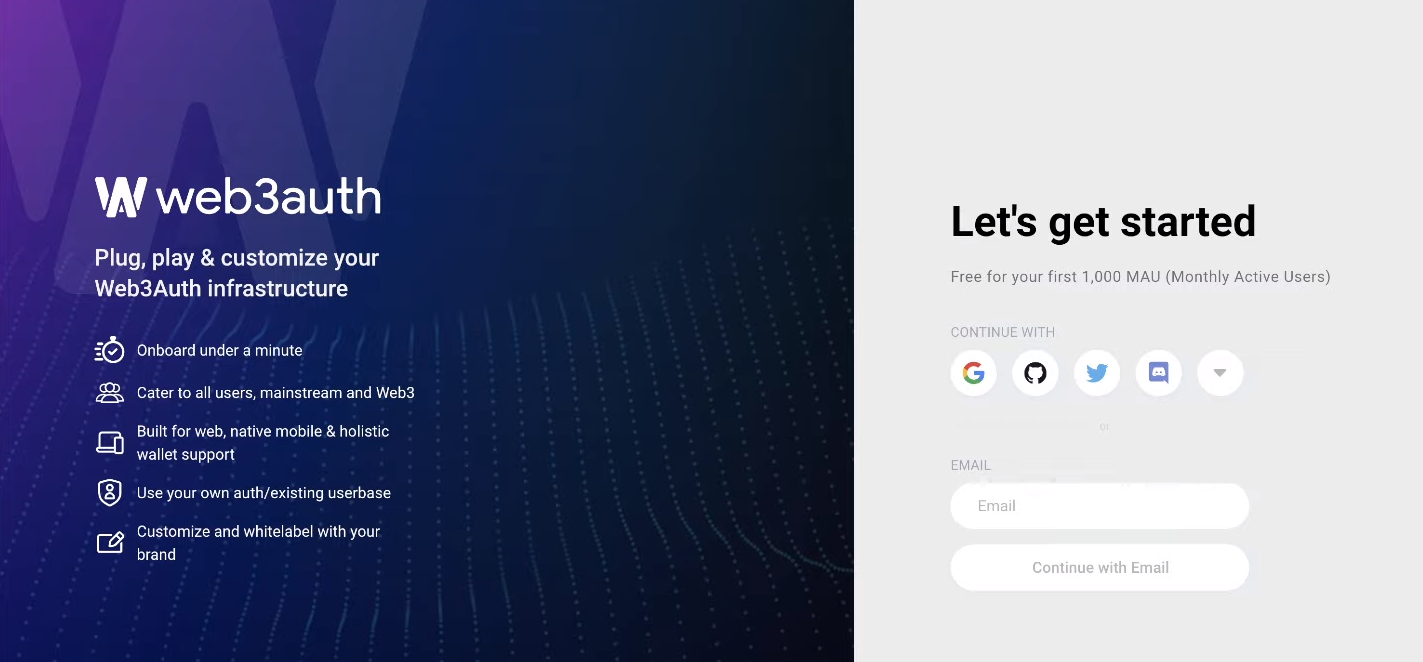
In order to set Web3 social login in place, you need to complete the initial Web3Auth setup. Detailed instructions await you in the Moralis documentation, under “Users” > “Web3 Authentication” > ”Web3Auth”. However, here is the gist of it:
- Start by creating your Web3Auth account. Use the link to the left. On the next page, enter your email address:
- Once you’ve created your account, you’ll get to explore your dashboard. As such, navigate to the “Plug and play” section:

- Within the “Plug and play” section, click on one of the “Create project” buttons.
- After successfully creating your project, you’ll get to access that project’s client ID:

- Next, it is time to add the Web3Auth SDK to your application.
- If you import Moralis via a CDN, use this line of code:
<script src=”https://unpkg.com/@web3auth/[email protected]/dist/web3auth.umd.min.js”></script>
- However, if you import Moralis via an NPM or another package manager, use this command line:
npm install –save @web3auth/web3auth
- At this point, you are ready to call the authenticate function. The latter accepts several parameters. Moreover, the client ID (obtained above) is the only required one. These are the lines of code you need to use. Note, make sure to replace the placeholder with your client ID:
const user = await Moralis.authenticate({
	provider: "web3Auth",
	clientId: "ABC*****************",
})
Here’s a list of the optional parameters that you can also use within the above function:
- “chainId” – The supported network you are looking to connect.
- “theme” – The color of the theme can be light or dark. The latter is the default option.
- “appLogo” – To add a unique logo.
- “loginMethodsOrder” – The social logins that you want to allow and their order.
Here’s also a video tutorial of an example dApp using Web3Auth:
Passwordless Login – The Implementation
If you want to focus on passwordless email login, then you’ll need to focus on Moralis’ Magic integration. As with Web3Auth, you need to complete some initial setup steps in this case as well. Below are the steps you need to follow (for more details, use the “Magic” instructions in Moralis’ documentation):
- You need to obtain your Magic API key. As such, visit the official Magic website and click on the “Get Started” button. Then, complete the registration process:

After creating your Magic account, you get to access your API key.
- It is time to add the Magic SDK to your application.
- If you import Moralis via a CDN, use this line of code:
<script src=”https://auth.magic.link/sdk”></script>
- However, if you import Moralis via an NPM or another package manager, use this command line:
npm install magic-sdk
- Now you are ready to add the passwordless signup feature to your dApps. Use the following lines of code:
const user = await Moralis.authenticate({
  provider: "magicLink",
  email: "[email protected]",
  apiKey: "pk_xxxxx",
  network: "kovan",
})
About the above parameters:
- “provider” – To use Magic links, “magicLink” is what you need to use next to “provider”.
- “email” – This is where you need to enter the email address of a user that wants to log in. Thus, you need to connect this parameter with the email capture field.
- “apiKey” – This is where you paste your Magic API key.
- “network” – Here, you choose between the mainnet (Ethereum) and one of the Ethereum testnets.
If you are more of a video person, you can watch one of Moralis’ experts as he completes the above setup. Moreover, he’ll also show you how to create a demo dApp to see Magic in action:
Your Turn to Implement User-Friendly Web3 Onboarding
Unless you’ve used Moralis before, you’ll first need to complete some simple initial setups. Aside from creating your free Moralis account, you’ll need to create a Moralis server. Then you will use that server’s details to initialize Moralis. Here, you’ll have a couple of options (depending on the type of project you are dealing with). Though, in general, you will either be starting from scratch or using the ultimate Ethereum dApp boilerplate. When building your dApps from scratch, you’ll need to populate your server’s details into “.js”, “.jsx”, “.html”, or some other file. However, when using the Web3 boilerplate, you will focus on the “.env” file:

With Moralis initiated, you are ready to take action using the above two sections. As such, you will easily implement one of the user-friendly Web3 onboarding methods.
How to Boost Web3 User Onboarding Success Rates – Summary
At this point, you should be a semi-expert on Web3 authentication. You now know what user onboarding is and why it must be as frictionless as possible. Also, you know that typical Web3 login (using hot wallets) is not user-friendly for newcomers to the crypto realm. Hence, you’ve had an opportunity to learn about two Moralis integrations that make a huge difference. As such, you are now ready to boost Web3 user onboarding success rates.
Whether you are ready to take on some interesting example projects or if you want to continue your free blockchain education, you ought to check out the Moralis blog and the Moralis YouTube channel. Some of our latest topics cover Web3 gamification, React Native Web3, what is metaverse, reentrancy smart contract example, governance tokens, BSC wallet guide, and much more. However, if you are eager to become a blockchain developer sooner rather than later, you need to consider a more professional approach. If that’s the case, enrolling in Moralis Academy may be the next logical step for you. By doing so, you’ll get to attend professional courses, join an amazing community, and get expert mentorship.

