Do you want to know how to build your own Web3 Amazon marketplace? If so, then follow along in this tutorial as we demonstrate how to build a Web3 Amazon clone using Moralis. If you are eager to jump straight into the code, you can find the GitHub repository for the final project below:
Complete Web3 Amazon Clone Repo – https://github.com/MoralisWeb3/youtube-tutorials/tree/main/moralis-amazon-clone
For the Web3 Amazon clone, we use powerful features like the Authentication API and other enterprise blockchain solutions provided by Moralis. As such, if you want to follow along in this tutorial, remember to sign up with Moralis before proceeding!
Overview
In today’s article, you will learn how to build a Web3 Amazon marketplace using Moralis. However, before getting into our tutorial’s central part, the article introduces an application demo. This will give you a better idea of what you will be working towards. From there, we will show you how to set up the initial baseline of the project in three steps:
- Setting up Firebase
- Cloning and configuring the project
- Starting the application
Once you are done setting up the project, we will hand you over to our Moralis expert, who will take you through the rest of the steps in a comprehensive video tutorial (the same video as the one from the introduction above). If this sounds exciting, read on as we cover the process of building a Web3 Amazon clone from start to finish!
Now, in our tutorial, you will familiarize yourself with some of the industry-leading Web3 APIs from Moralis. However, if you are serious about becoming a blockchain developer, you should also check out some additional products. A great example is the Web3 Streams API, enabling you to effortlessly stream on-chain data into your app’s backend via Web3 webhooks!
If you want to access these amazing blockchain development resources, remember to sign up with Moralis. You can create an account entirely for free and begin leveraging the full power of Web3 technology right now!

Build a Web3 Amazon Marketplace with Moralis
The following sections will teach you how to build a Web3 Amazon marketplace clone. You will use NextJS for the application, Moralis and Firebase for the authentication flow, and the ethers.js library for interacting with the Ethereum network. Additionally, we will use an already-prepared application template to make the process as seamless as possible. Thanks to these tools and resources, you can effortlessly build a Web3 Amazon marketplace clone in no time!

But, before building the Web3 Amazon clone, we want to ensure that you have an idea of what you are working towards. Hence, we will kickstart this tutorial with an application demo. So, without further ado, let’s take a closer look at the Web3 Amazon marketplace clone we are working towards.
Building a Web3 Amazon Clone – Application Demo
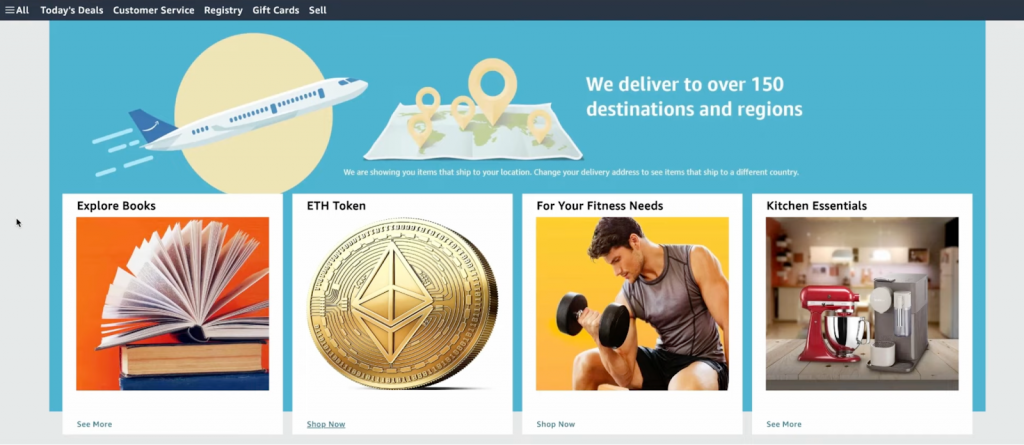
Let us begin by immediately inspecting the application’s landing page:
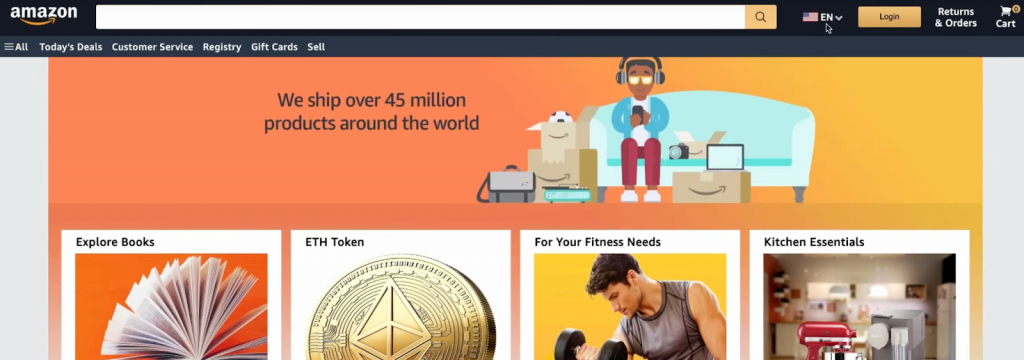
As the image above illustrates, it is a relatively good replica of the original Amazon website. At the top, the landing page features a clean navigation menu containing a search bar, a language drop-down menu, a ”Returns & Orders” tab, a shopping cart, and a ”Login” button:

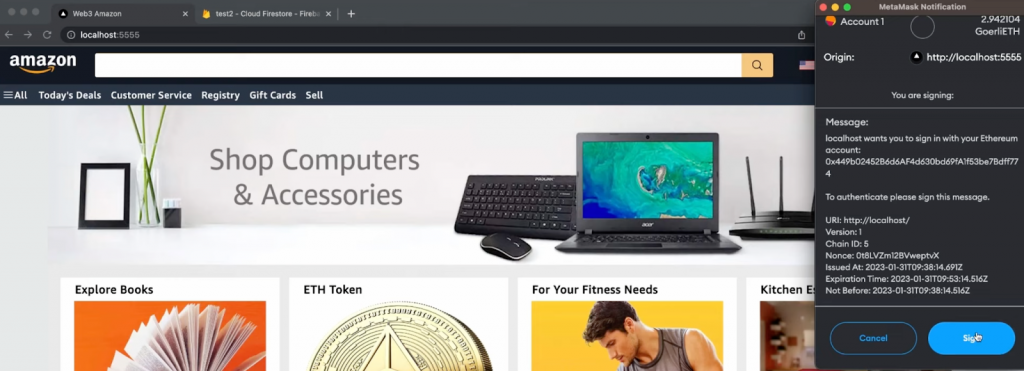
Let us initially focus on the login functionality, as this is where we find one of the significant differences between this Web3 application and the original Amazon marketplace. As the app is blockchain-based, the project features a Web3 authentication flow, enabling users to sign in with their crypto wallets. So, by clicking on ”Login” in the navigation bar, it will trigger your MetaMask wallet, allowing you to authenticate yourself:
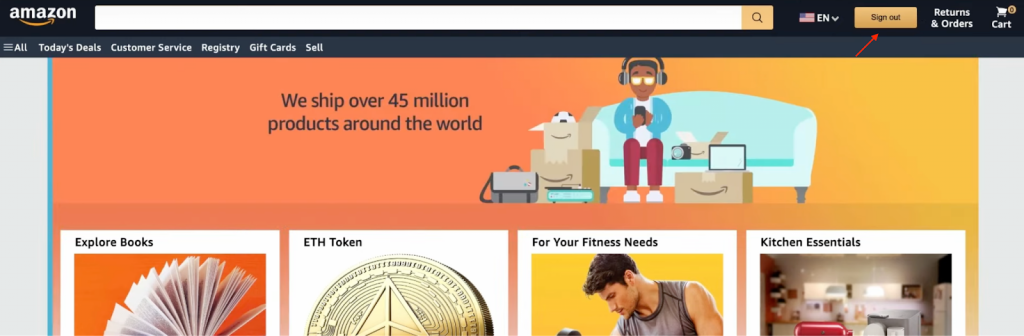
Once you sign in, you will immediately notice that the button at the top changes from ”Login” to ”Sign out”. This means you are connected to the website:
What’s more, along with the navigation bar, the page itself has an image carousel and several categories for products such as books, tokens, fitness products, kitchen essentials, etc.:
Purchasing an Item
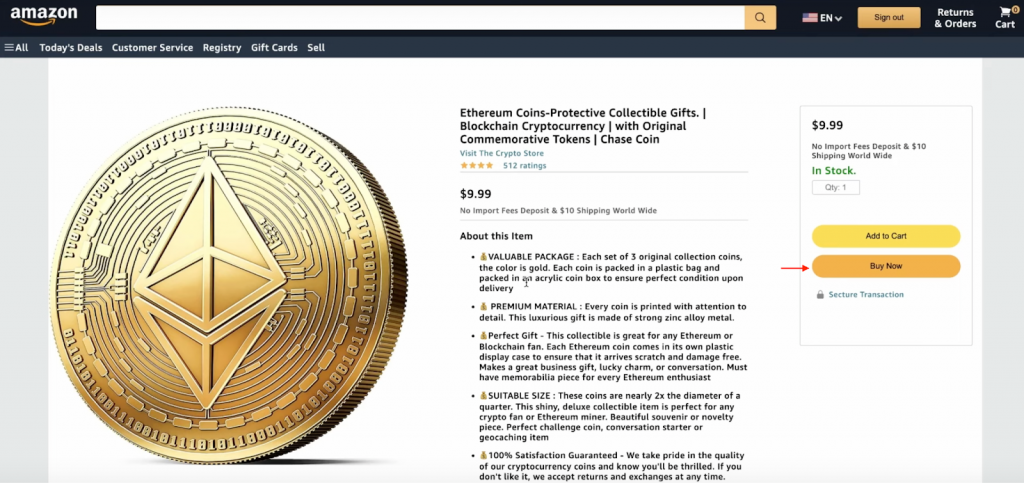
Now that we are logged in, let’s try purchasing an item to further showcase the app’s functionality. Let’s buy a token by clicking on ”Shop Now” for the ”ETH Token” alternative:

The product page features everything from ratings to a product description neatly displayed. What’s more, to the right, you’ll find buttons to add an item to the cart and buy it directly on the spot. Let us try buying the token immediately by selecting ”Buy Now”:
This opens the following pop-up window, where we need to input an address and click on ”OK”:

Clicking on ”OK” prompts our MetaMask wallet, allowing us to sign the transaction:
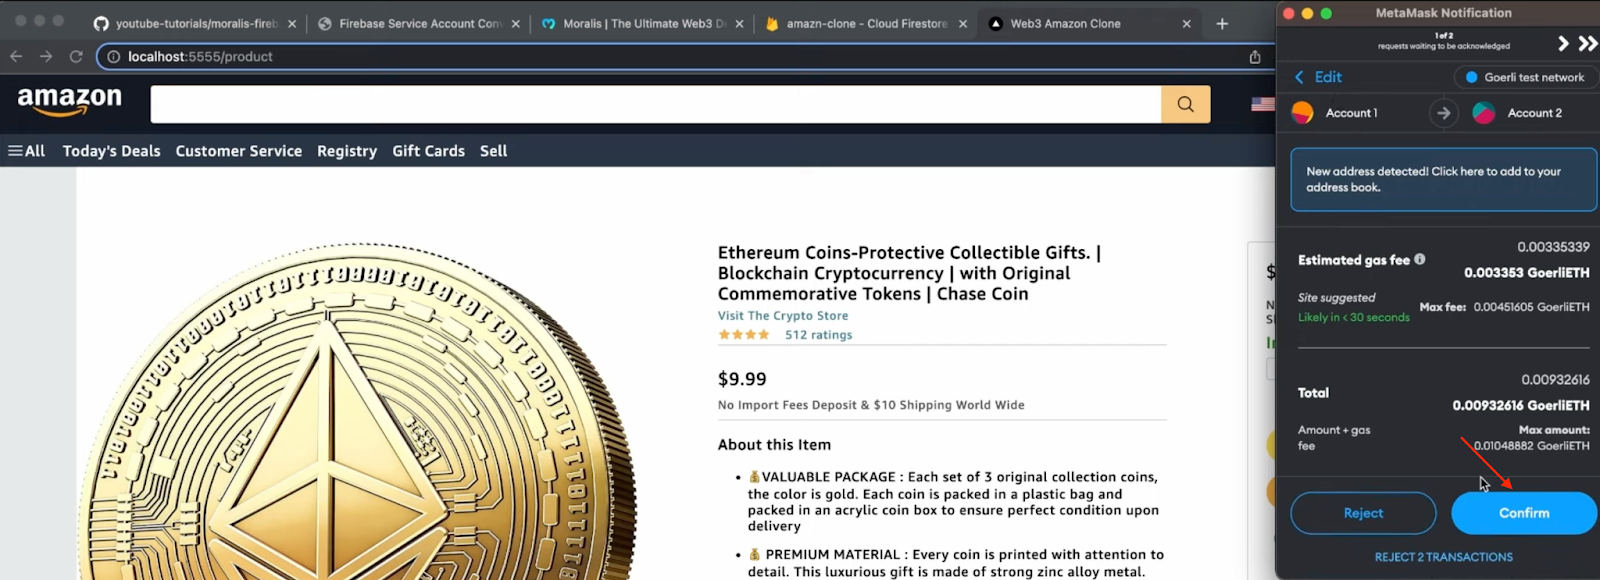
Once confirmed, the seller will receive payment for their item; meanwhile, the buyer will receive the token!
Along with executing the transaction, it is also recorded in the app’s Firebase database. It will look something like this:

Each transaction recorded in Firebase contains a delivery address, the product, and the buyer’s address:

With this information, we can easily fulfill the orders!
So, would you like to learn how to build this Web3 Amazon marketplace clone? If so, stay stuck in as we jump straight into the initial project setup below!
Note that to pay for the transactions during this demo, we are using testnet ETH. If you need testnet tokens yourself, you can seamlessly get them through so-called crypto faucets. For more information on this, check out our article on what a Goerli faucet is, or read about the best Ethereum faucet!
Project Setup – How to Build a Web3 Amazon Marketplace
With a better understanding of what you are working towards, it is time to show you how to build a Web3 Amazon clone. In the coming sections, we will cover the initial project setup in three steps. From there, we will hand you over to one of our Moralis experts in a more comprehensive video tutorial for a detailed breakdown of the final code.
Step 1: Setting Up Firebase
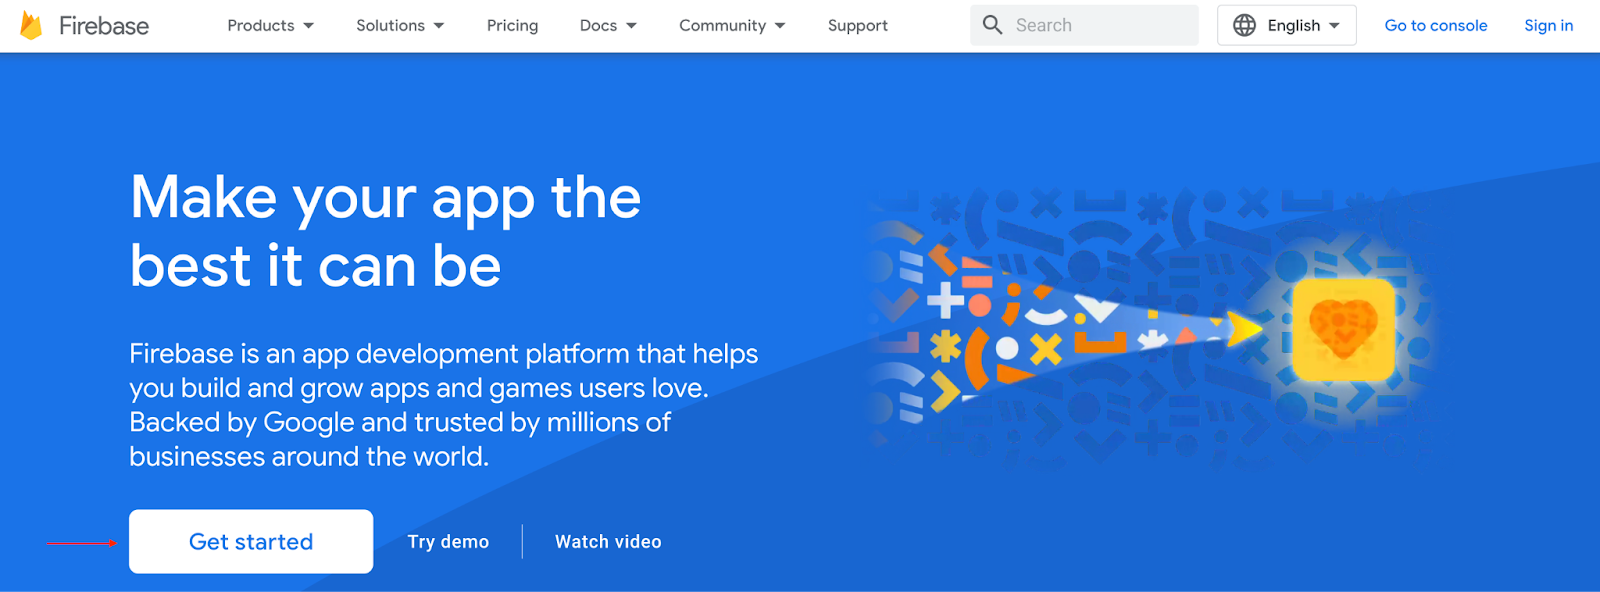
To begin with, the first thing you must do to build the Web3 Amazon clone is to set up Firebase. As such, head on over to ”firebase.google.com“ and create an account:
With an account at hand, log in and create a new project by clicking on ”Add project”:

Name your project and follow the remainder of the instructions:

Your project, by default, implements the free ”Spark” billing plan. For this tutorial, you must swap to the ”Blaze” pay-as-you-go alternative to access all required Firebase features. As such, click on ”Spark plan” and change to the ”Blaze” option:

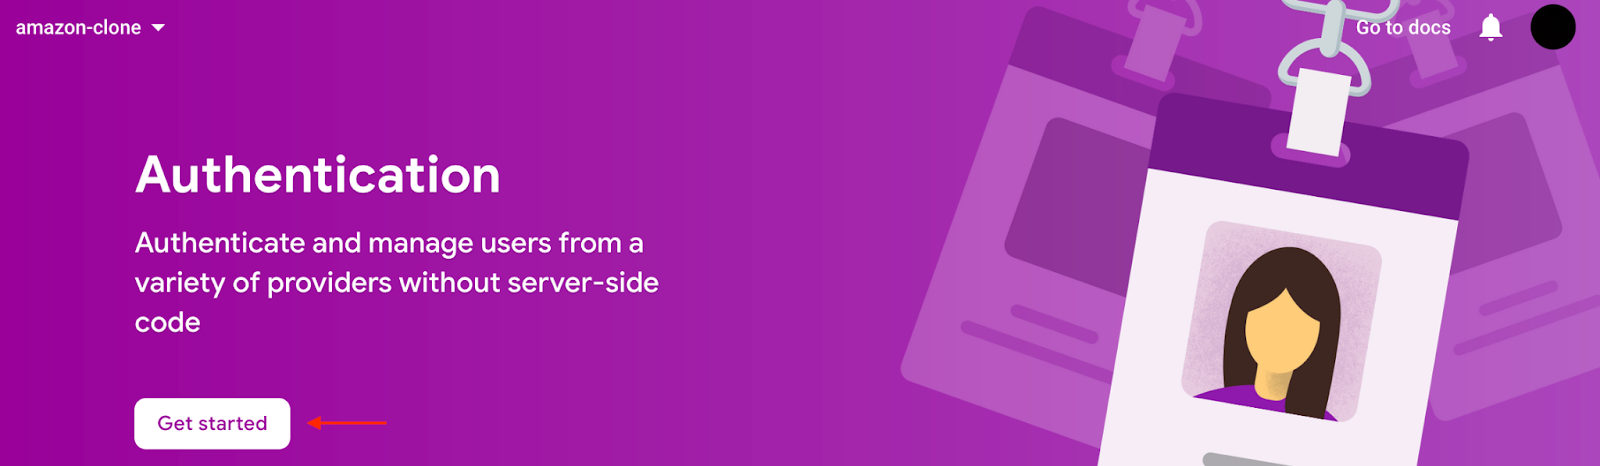
Next, you need to activate Firebase’s ”Authentication” feature. To do so, click on ”Build”, followed by ”Authentication” in the navigation menu to the left:
From there, click on ”Get started”:
Now that you have activated the ”Authentication” feature, head back to the project overview section and create a new web application:

Add a name in the first step and hit ”Register app”:

For the second step, scroll down and click on ”Continue to console”:

Next, you must generate a new private key for your ”Service Account”. Click on the cogwheel at the top left, select ”Project settings”, go to the ”Service accounts” tab, and hit ”Generate new private key”:

Click on ”Generate key”, which should download a new JSON file:

From here, visit the Moralis Converter page to convert the certificate into extension variables. Once you open the converter, select the file you just downloaded:

Once you upload the file, the converter will autonomously generate three extension parameters:

Keep these for now, as you need them for the next step!
Step 2: Cloning and Configuring the Project
For the second step, open your preferred IDE and set up a new project folder. For this tutorial, we will use Visual Studio Code (VSC); however, you can use any environment you prefer. With a project folder at your disposal, clone the app’s barebones template from the GitHub repo below:
Firebase Starter GitHub Repository – https://github.com/MoralisWeb3/youtube-tutorials/tree/main/moralis-firebase-starter-template
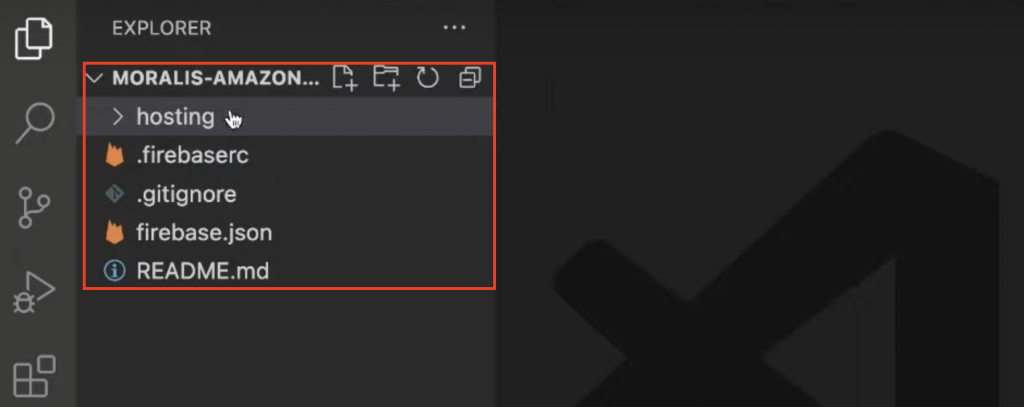
Once cloned, you should find yourself with the following file structure:
From here, you need to install the Firebase CLI. So, open a new terminal in VSC and run the command below:
npm install -g firebase-tools
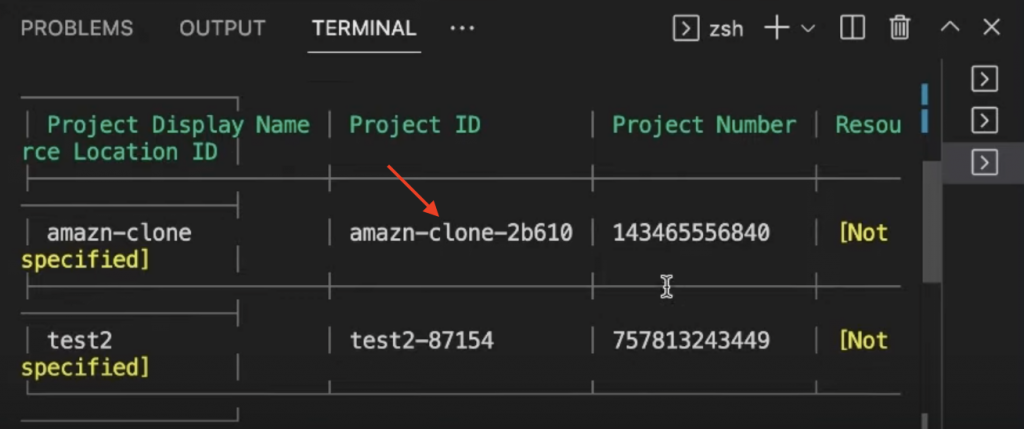
Next, run firebase login in the terminal. Executing this command should prompt your browser, allowing you to log in. From there, execute the command below to get a list of your Firebase projects:
firebase projects:list
This command lists your projects, and you can proceed to copy the ID for your Web3 Amazon clone:
Next, use the ID when running the following command to specify the project ID:
firebase use <PROJECT_ID>
From there, enable the “webframeworks” feature using the following terminal input:
firebase experiments:enable webframeworks
Authenticate with the Moralis Web3 Extension
Next, you need to enable authentication with the Moralis Web3 extension. To do so, run the command below in your terminal:
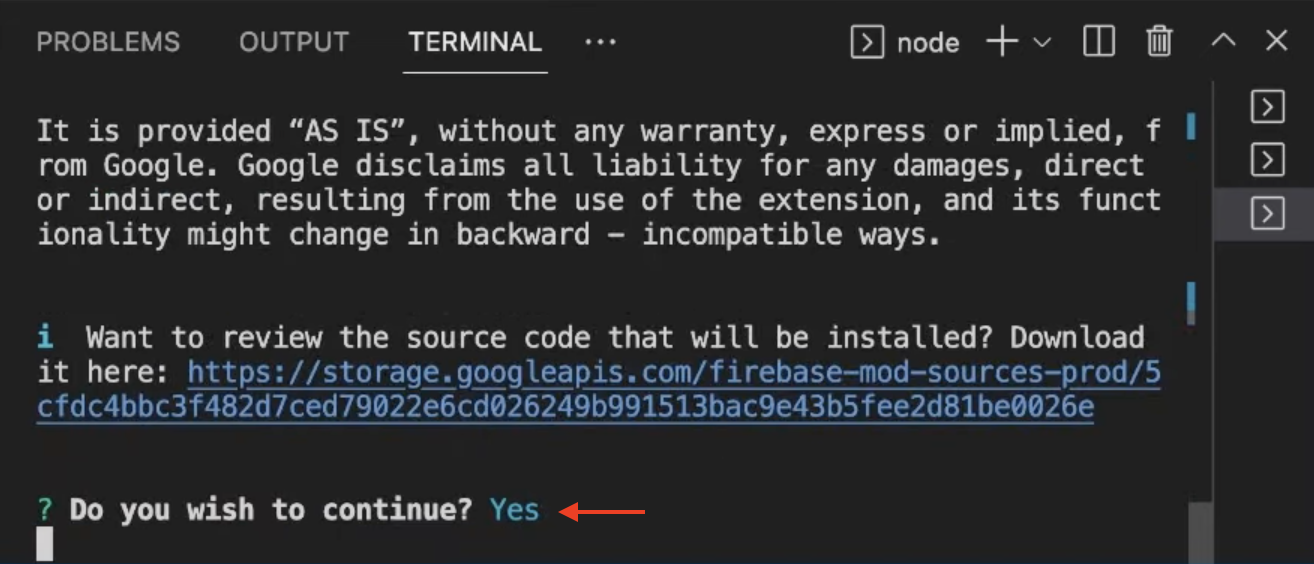
firebase ext:install moralis/moralis-auth
Executing this command prompts your terminal, and you are required to make a few choices. For the first prompt, input y and hit enter:
Next, pick the ”Iowa” option:

From there, select ”Google Cloud Secret Manager”:

On occasion, you might come across the following error:

If this occurs, click on the link in the error message. Doing so takes you to the following page, where you need to enable the ”Secret Manager API”:

If it is already enabled, disable it and reenable it again. Once enabled, repeat the steps above by once again running the following terminal input:
firebase ext:install moralis/moralis-auth
This time, when selecting ”Google Cloud Secret Manager”, you must input your Moralis API key. So, if you have not already, sign up with Moralis. With an account at hand, log in to the admin panel, navigate to the ”Web3 APIs” tab, and copy the key:

Input the key into the terminal and hit enter. Next, you will be asked to add a URL, and you can input https://localhost:

From here, you must add the extension parameters you acquired in the initial step. So, follow the prompts and input the values from the converter:
Start by adding the project ID:

Next, add the email:

Select ”Google Cloud Secret Manager” again:

Input the private key:

Lastly, you need to deploy the extensions by inputting and executing the following command:
firebase deploy --only extensions
This will again prompt your terminal, and you can hit enter for all the questions!
Configure Your Environment Variables
Finally, the last thing you must do for the second step is to configure a few environment variables. To do so, start by renaming your ”.env.example” file to ”.env” and open it. The file should look something like this:
NEXT_PUBLIC_FIREBASE_API_KEY = 'replace_me'
NEXT_PUBLIC_FIREBASE_AUTH_DOMAIN = 'replace_me'
NEXT_PUBLIC_FIREBASE_PROJECT_ID = 'replace_me'
NEXT_PUBLIC_FIREBASE_STORAGE_BUCKET = 'replace_me'
NEXT_PUBLIC_FIREBASE_MESSAGING_SENDER_ID = 'replace_me'
NEXT_PUBLIC_FIREBASE_APP_ID = 'replace_me'
As you can see from the code above, you are required to add a few environment variables. To get the correct values, navigate to the Firebase admin panel. Next, click on ”Project Overview”, followed by the ”app” button:

For the application in question, hit the cogwheel:

From there, scroll down, and you will find the required values under the ”SDK setup and configuration” section:

Copy each value and replace replace_me for all parameters in the ”.env” file. In the end, it should look something like this:
NEXT_PUBLIC_FIREBASE_API_KEY = "AIzaSyAJn67MnENVEZcxgg4VesEo2RTsJhrvimA"
NEXT_PUBLIC_FIREBASE_AUTH_DOMAIN = "clone-8239e.firebaseapp.com"
NEXT_PUBLIC_FIREBASE_PROJECT_ID = "clone-8239e"
NEXT_PUBLIC_FIREBASE_STORAGE_BUCKET = "clone-8239e.appspot.com"
NEXT_PUBLIC_FIREBASE_MESSAGING_SENDER_ID = "735479283134"
NEXT_PUBLIC_FIREBASE_APP_ID = "1:735479283134:web:83d4be19ab1a08dc31cdef"
Finally, cd into the ”hosting” folder and run npm i in a new terminal to install the required dependencies.
That’s it; now you just need to run the application, which we will cover in the next step!
Step 3: Running the Application
To start the application, cd into the main folder and run the following command:
firebase emulators:start
Once the process finalizes, you can launch the app by visiting the following URL: “http://localhost:5555“. The website will now look something like this:

As you can see, we still have work to do before the application looks like the demo. However, this is an excellent starting point; all that remains is customizing the layout and adding the rest of the functionality. For this, we will hand you over to our Moralis expert. In the next section, you will find a video where one of our software engineers breaks down this process from start to finish!
Video Tutorial – Create a Web3 Amazon Clone
With the project’s baseline complete, we will hand you over to a Moralis expert for the rest. In the video featured below, our software engineers initially cover the three steps from the sections above.
From there, the video moves on to cover the home component (16:22). Next, our developer moves on to show you how to build the application’s header (18:45). Following the header, the video tutorial shows how to implement the sub-header (28:45). Then, our expert moves on to the main component, containing the image carousel and the landing page (31:10). Following the main component, our developer dives into the product page component (42:10). Lastly, to top things off, our expert covers the application backend towards the end of the video (1:01:10).
Summary – How to Build a Web3 Amazon Marketplace
Today’s article taught you how to build a Web3 Amazon marketplace using Moralis in no time! We began with an application demo to illustrate what you are working towards. From there, we dove into the central part of the tutorial, showing you how to set up the application’s baseline. Lastly, we handed you over to one of our Moralis software engineers, where our expert took you through the remainder of the process in a video tutorial!
If you found this article helpful, you can find other amazing Web3 development content here on the Web3 blog. For example, read about the best Ethereum price API or learn about Amazon GameSparks!

Lastly, remember to sign up with Moralis! By creating an account, you gain free access to some of the best Web3 development resources available. As such, you will be able to build Web3 applications and other blockchain platforms smarter and more efficiently!
