In the following guide, we outline how to build a Web3 login – in just 5 simple steps.
Web3 authentication is paramount when building decentralized applications (dApps). Because of this, blockchain developers must know how to build a Web3 login. In case you’ve been programming directly on top of Ethereum RPC nodes, you know that creating a Web3 login feature can be quite tricky and time-consuming. However, 2021 introduced a new approach to blockchain development, which shattered the limitations of RPC nodes. We are talking about the leading Web 3.0 development platform – Moralis. This “Firebase for crypto” equips JavaScript-proficient developers with the ultimate Web3 SDK. In turn, developers can implement functionalities in just a few steps with short lines of code into their dApps and launch their projects in record time. Among the many solutions that Moralis offers, we’ll take a look in this article at how to build a Web3 login in five steps with Moralis.
Moving forward, we will first cover some basics to get you all up to speed. Then, we will focus on an example project to show you how to build a Web3 login quickly. The task that we will cover will teach you about Next.js and how it simplifies things for you. Of course, you will also see how easy it is to create a clean and simple frontend. Nonetheless, you’ll also get a chance to learn how to handle errors properly. As we’ll show you how to build a Web3 login, you will also learn how to use Moralis. By completing the initial Moralis setup, you’ll know how to make the most out of this powerful tool for all your future projects. In order for you to easily follow our lead, make sure to create your free Moralis account.

What is Web3 Login?
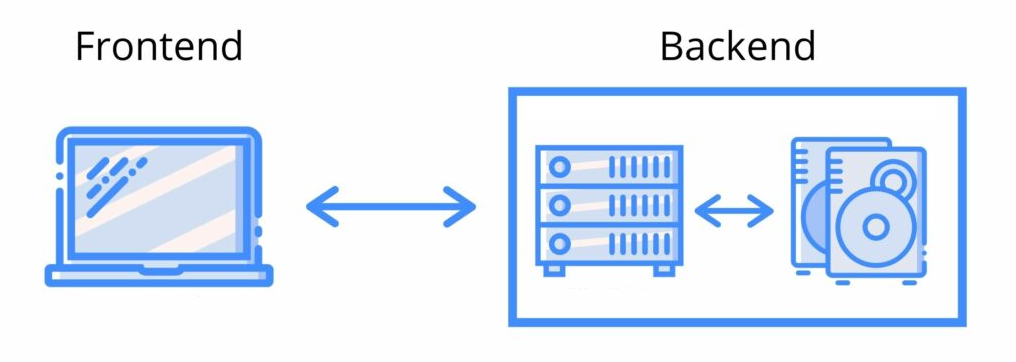
Web3 login is sometimes better known as simply Web3 authentication. As such, it can sound more complicated than it actually is. If done properly, it should be no more than a single button followed by a confirmation. Of course, the simplicity in the frontend doesn’t mean that things are not rather advanced in the backend. As you know, most Web2 websites use an email and password combination to log in its users. However, when we consider the Web3 realm, users’ crypto addresses may serve as keys. Moreover, the cryptography that ensures the safety of blockchain networks and users is rather complex. Thus, manually logging in users using long crypto addresses and dealing with key pairs would not at all be user-friendly.
Fortunately, you don’t have to worry about that when using the right tools. You’ll soon see that covering Web3 authentication can be as simple as copying and pasting short snippets of code. The latter is possible thanks to Moralis and reputable Web3 wallets (“connectors”). Many crypto wallets now come in the form of browser extensions and mobile apps and offer solid UXs. Moreover, while their primary function may be to help users handle and store cryptocurrencies, they can also be used as Web3 login tools. Therefore, they are essential tools for everyone interested in exploring the crypto realm.
With Web3 wallets, storing, sending, and receiving fungible and non-fungible tokens (NFTs) becomes possible. They give users a way to access DeFi platforms, NFT marketplaces, blockchain or NFT games, and other crypto outlets. Thus, Web3 wallets are also a must-have tool for blockchain developers. Again, Moralis has your back by fully integrating MetaMask and WalletConnect, which should cover all your Web3 endeavors.
Why Do You Need Web3 Login?
By now, you know that Web3 websites and applications offer users a way to interact with the blockchain. Therefore, they must provide a safe way for users to connect to a particular crypto network. This is literally what a proper Web3 login solution does. After successful authentications, users get to interact with other authenticated users and features of that network. Thus, all dApps need this kind of login.
Now that you know what Web3 login is and why you need it, it’s time to take on an example project. To make things interesting, you’ll have an opportunity to focus on the frontend. However, you will also learn how easy it is to cover all blockchain-related backend aspects with Moralis’ help.
How to Build a Web3 Login in 5 Steps with Moralis
In the upcoming sections, we’ll show you how to build a Web3 login using Visual Studio Code (VSC), Next.js, Moralis’ SDK, and MetaMask. This method of building a Web3 login is great since it offers you to completely customize the UI. However, if you are interested in covering the Web3 login implementation process in minutes, you should use the best Ethereum dApp boilerplate. Moving forward, we will cover the following five steps by breaking them into more manageable segments:
- Next.js project setup.
- Building the frontend.
- Moralis initial setup.
- Integrating Moralis.
- Error handling.
In addition to our explanations and screenshots, you’ll also have a chance to watch a video of a Moralis expert as he completes the above steps. However, before moving on, let’s do a brief preview of the interface you’ll be building.
Web3 Login Example Preview
Since this example project aims to show you your options, we focused on simplicity. As such, this is the Web3 login that you will create:
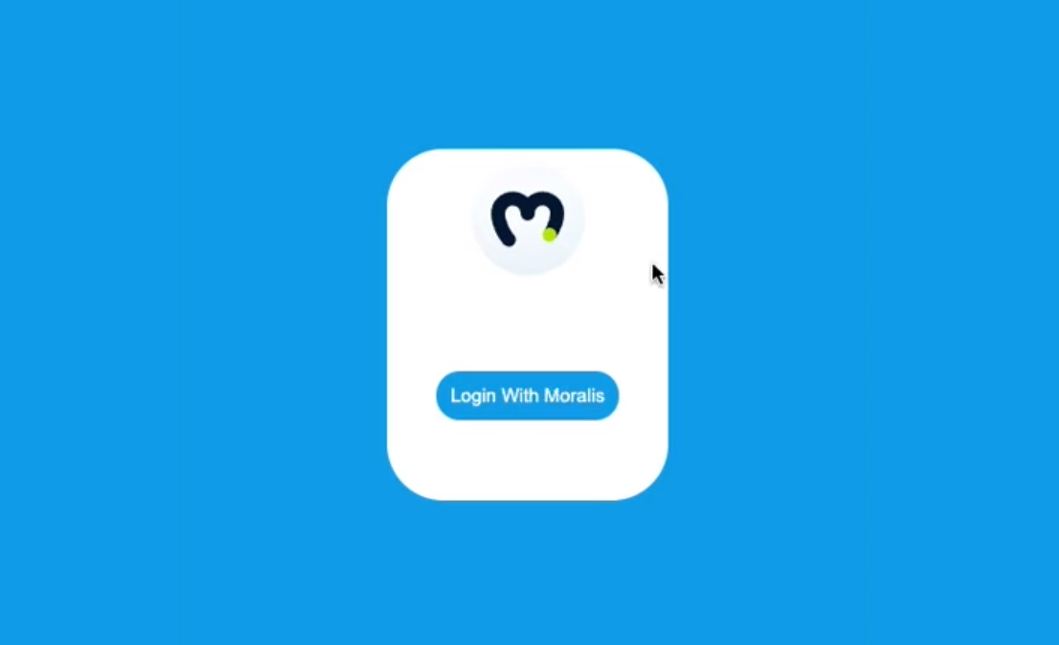
By clicking on the “Login With Moralis” button, MetaMask will be prompted, asking for confirmation:
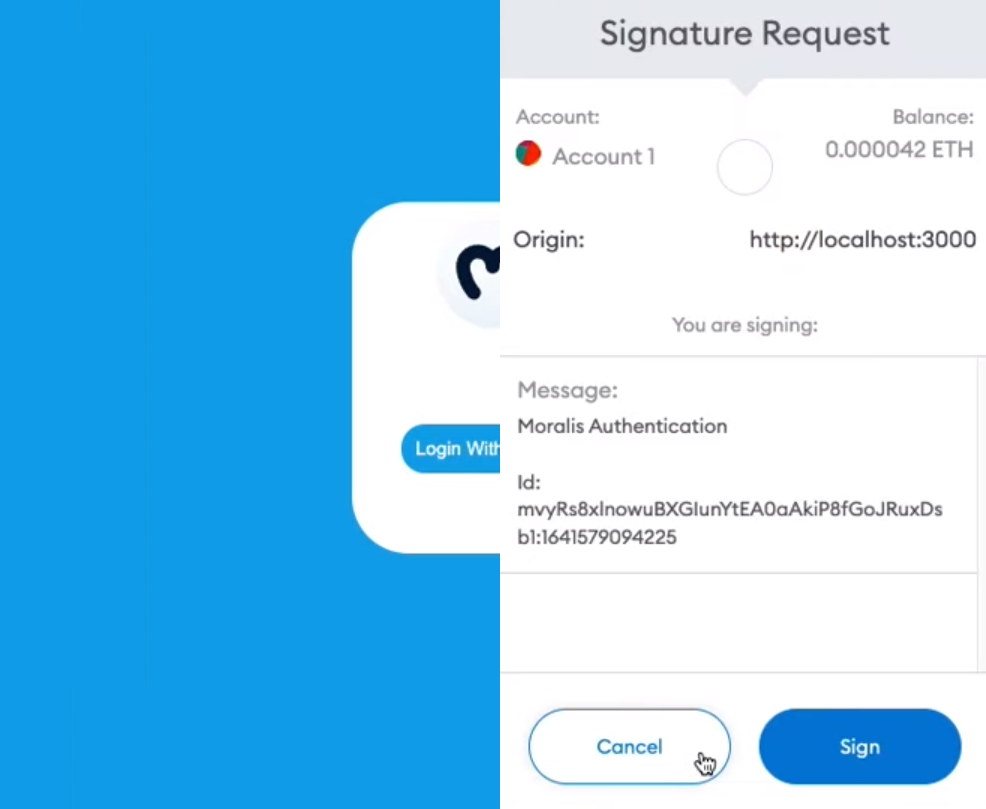
Our Web3 login example will also be able to handle all errors. For example, if users were to click on the “Cancel” button instead of “Sign”, they would get the following message:
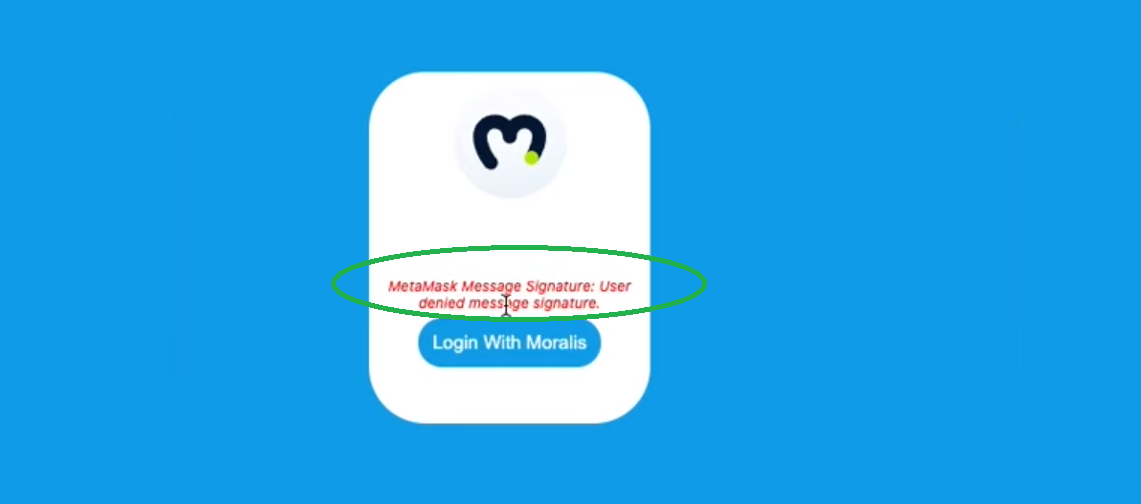
Also, if users click on the “Sign” button, they will land on this simple page:

As you can see, our focus is on the login page. As such, you can use this tutorial if you want to build a beautiful dev-level login page for your dApps. Moving forward, you’ll also learn how to use CSS “flexbox”, which makes positioning elements of the page incredibly simple.
Step 1: How to Build a Web3 Login – Next.js Project Setup
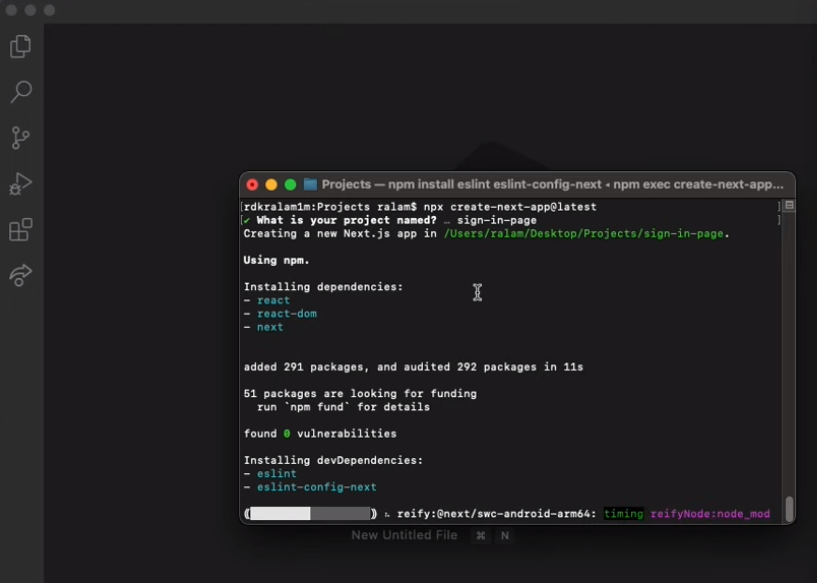
Start by opening your terminal and go to the folder you want to use for this Web3 login example project. You also need to make sure to have the latest version of the node running. Since we are using Next.js for this project, start by typing or pasting “npx create-next-app@latest” in the command line. Next, you’ll be asked about the name of your project. You can follow our example and name it “sign-in-page”. Moreover, it will take a couple of seconds to create the new project:
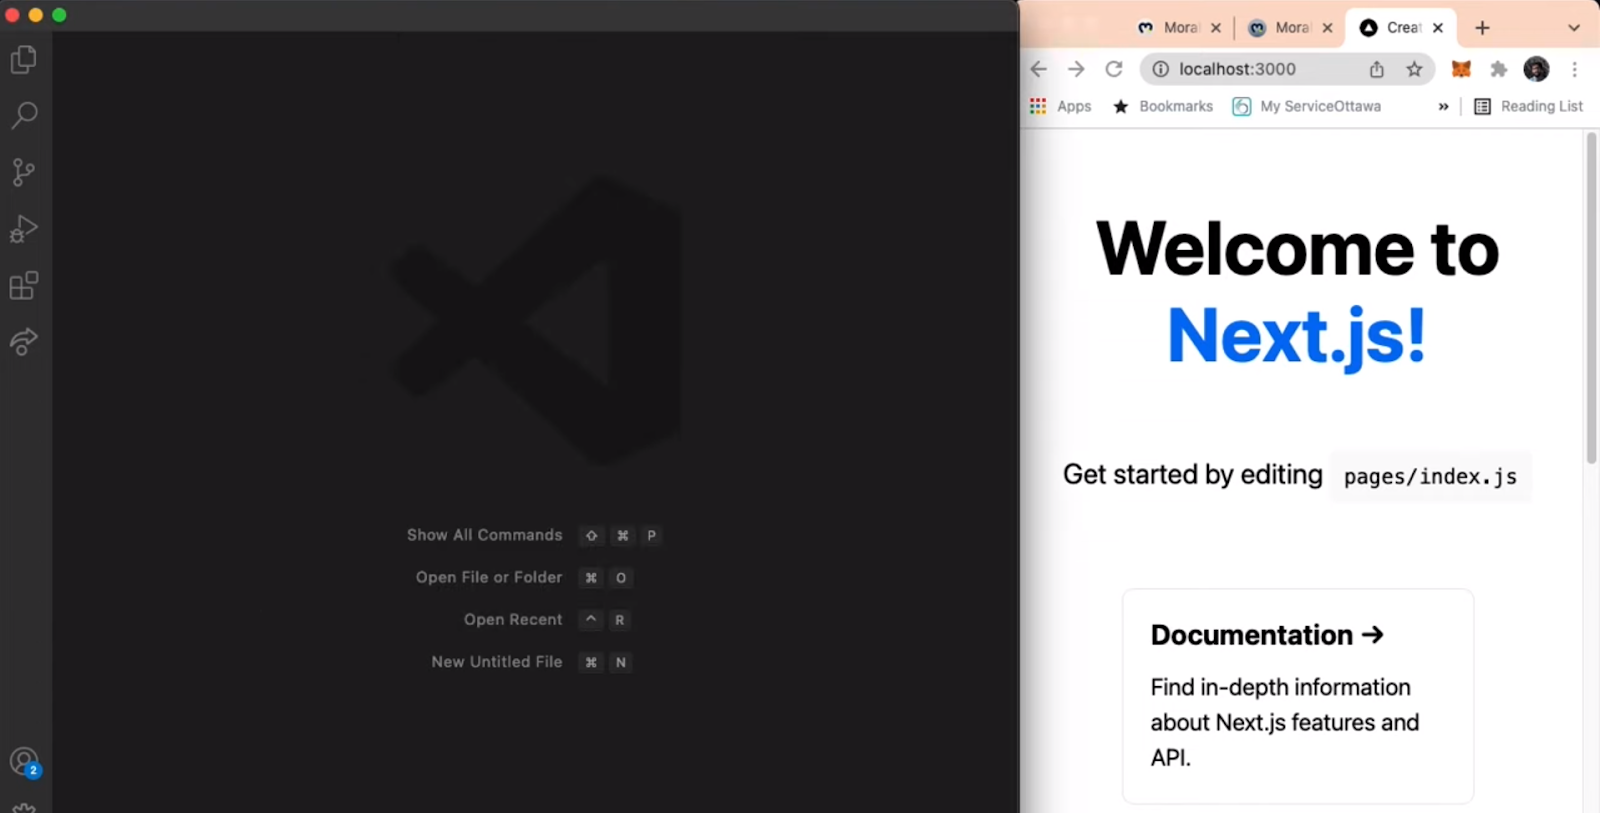
Once the installation is complete, enter “cd sign-in-page” in the command line, followed by “npm run dev”. Now, you should have a clean slate ready to build a Web3 login page:
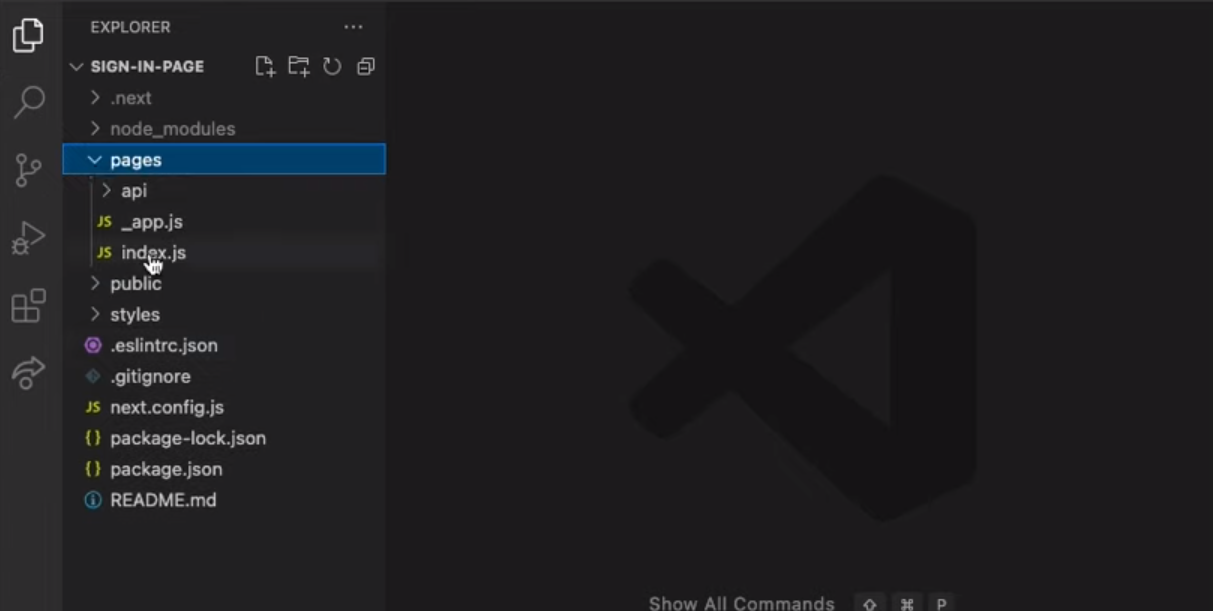
Next, launch your code editor (we prefer VSC) and open the above-created project. You’ll see that several default folders and files have already been created:
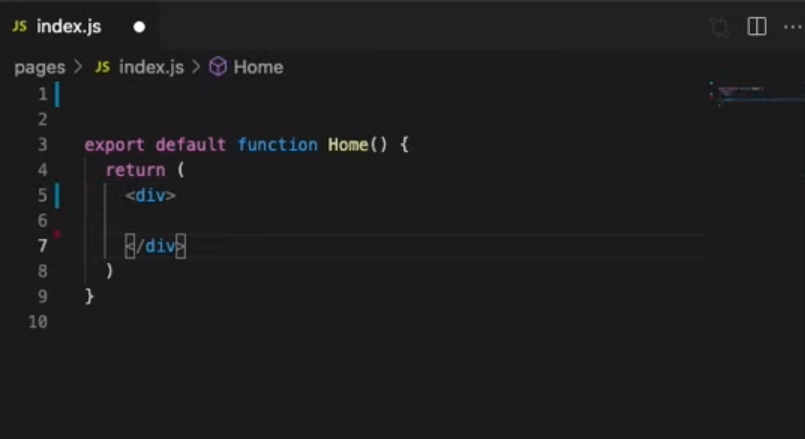
Moreover, as you can see on the right-hand side of the previous screenshot, there is a lot of Next.js-related template content that we do not need. Therefore, open the “index.js” file, select everything from “head” to “footer”, and delete it. Plus, remove all of the “import” lines and the “className” within “<div>”. As a result, you’ll be left with this:
Note: If you want to learn more details about Next.js in comparison to React, make sure to check out the video below starting at 0:52.
Step 2: How to Build a Web3 Login – Building the Frontend
If you are JavaScript-proficient, you’ll have no problem following along with this part of the project. However, since it would be rather tricky to clearly present all of the steps with screenshots, we’ll hand you over to a Moralis expert. In the video at the start of this article (at 5:12), he’ll start by showing you how to tweak the “global.css” file inside the “styles” folder. Moving forward, he’ll create a new login component and add a new CSS file for it. This is also where you’ll learn more details about “flexbox”. In the end, you’ll have the frontend part ready (as presented in the preview) in less than twenty minutes.
Note: You can access the entire code at GitHub.
Step 3: How to Build a Web3 Login – Moralis Initial Setup
Whether you decide to create dApps from scratch (as in this example project) or use our ultimate Web3 boilerplate, you first need to complete some simple Moralis setup steps. As such, follow the substeps below:
- Create Your Free Moralis Account – In case you still haven’t created your free Moralis account, do this now. You can use the link at the beginning of this step. As such, you will land on the signup page. There, you’ll need to enter your email and create your password. To finalize the process, you’ll need to click on the confirmation link (check your email inbox). On the other hand, in case you already have an active Moralis account, simply log in using your credentials.
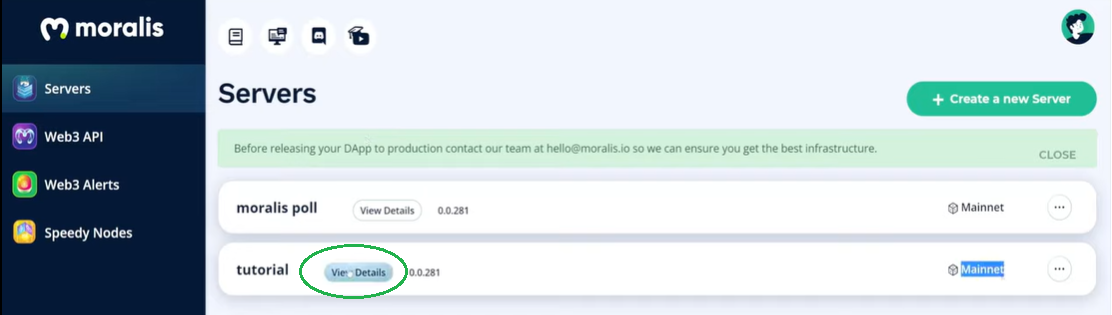
- Create a Moralis Server – Inside your Moralis admin area, go to the “Servers” tab. There, click on the “+ Create a new Server” button in the top-right corner (see the screenshot below). Next, you need to select the network type that best suits your needs from the drop-down menu (see the image below). When working on example projects or testing your dApps, you want to focus on the “Testnet Server” or “Local Devchain Server” options. In our case, we’ll go with the latter. However, once you want to release your dApps to the public, you need to select “Mainnet Server”.

With a network type selected, you’ll see a pop-up window asking you to enter your server’s details. Start by entering your server’s name (this can be anything you want). Then, select your region, network type, and chain(s). Finally, click on “Add Instance” to spin up your server:

- Install the Moralis SDK – Before moving forward, you also need to install the Moralis SDK. To do so, enter “npm install moralis” followed by “npm install react-moralis” in the command line of your terminal. Then, enter “npm run dev”.
Step 4: How to Build a Web3 Login – Integrating Moralis
Now that your server is up and running, it is time to integrate Moralis into your code. However, before doing so, open up “_app.js” inside VSC and apply the necessary tweaks (video above at 24:02).
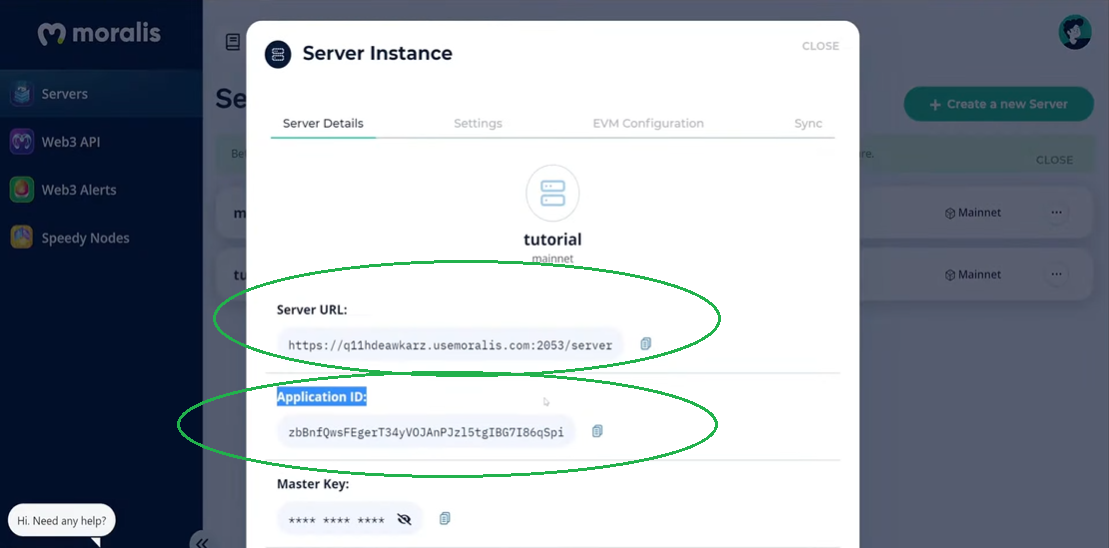
- Access Server Details – You access the server URL and app ID information by clicking on “View Details” next to your server’s name:
Next, you see all the information you need (“server URL” and “application ID”) displayed in a new window. Then, use the copy icons on the right-hand side to copy the required details:
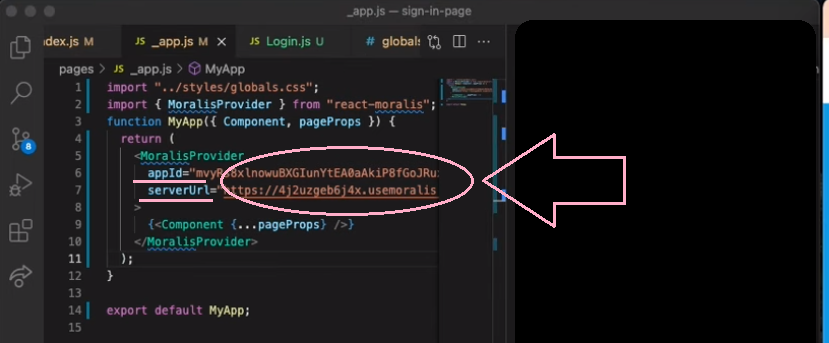
- Initialize Moralis – Now it’s time to initialize Moralis. This will finally give you full access to the power of Moralis and, therefore, cover your backend needs. In the case of our example project, you’ll need to populate the above prepared “_app.js” file to connect to and initialize Moralis:
- When working with our Web3 boilerplate, you’ll need to populate your “.env” file:

- Adding Web3 Login Functionality – With Moralis integrated, you get to easily include the backend functionality in your example dApp (a login page). You do this by adding a couple of simple lines of code to the “Login.js” file. By using Moralis’ magic, all the hard work of Web3 login is covered with “onClick=(authenticate)”. For detailed guidance, use the video above starting at 26:08.
Step 5: How to Build a Web3 Login – Error Handling
With the above four steps completed, you already have a good-looking and functioning Web3 login page at your disposal. As such, diving deeper into error handling is not essential. However, it is something you should consider setting in place for a smoother running dApp. Further, it will let users know if they make a mistake and ensure a better user experience. As such, we recommend checking out the video starting at 28:00.

How to Build a Web3 Login in 5 Steps – Summary
By following our lead and completing the outlined steps, you should have created your own Web3 login page. With this feature, the created page is by definition a pretty simple dApp. Of course, it is now up to you to add some additional functionality. Moreover, by taking on this example project, you’ve learned how to start Next.js projects, how to set up Moralis, and how to use Moralis to cover your backend needs. Furthermore, you now know that the following five steps are the gist of the “how to build a Web3 login” quest:
- Next.js project setup.
- Building the frontend.
- Moralis initial setup.
- Integrating Moralis.
- Error handling.
In addition, you’ve also learned about the ultimate shortcut to deploying user-ready dApps in minutes. The latter is done by using the most practical Web3 boilerplate, which is available at GitHub. Moreover, for more free blockchain development education, visit the Moralis blog and the Moralis YouTube channel. Some of our latest topics revolve around Ethereum gas fees, GameFi and play-to-earn (P2E), how to interact with smart contracts through a website, how to authenticate Android apps with Moralis, a DAO smart contract example, ERC20 contracts, and much more. Moreover, you also have a chance to take a more professional approach by enrolling in Moralis Academy. With top-notch quality courses, a supportive and welcoming community, and pro-level mentorship, you ought to go full-time crypto in record time.