In this tutorial, we’ll illustrate how to build a multi-chain wallet in five steps using the Moralis operating system. We’ll take you through each step; however, if you’d like, you can skip straight into the code by visiting the following GitHub page:
Complete Multi-Chain Wallet Documentation – https://github.com/ChrisMoralis/Moralis-Tutorials/tree/main/05%20Creating%20A%20Web%20Wallet%20-%20part%201
Web3 is growing at a tremendous rate, and new dapps, platforms, and other exciting projects are popping up frequently. However, to access and reap the full benefits of the decentralized web, a necessary tool to have is a Web3 wallet. This suggests that crypto wallets not only allow users to fully manage their crypto assets but also act as gateways to interact with Web3 dapps. Moreover, there is an abundance of different wallet alternatives available such as Trust Wallet (Binance’s official crypto wallet), Coinbase Wallet, and, the most significant one, MetaMask. As essential components of the Web3 ecosystem, we’ll cover the process of building a multi-chain wallet in five steps with Moralis in this article.
The tutorial will be broken down into five simple steps, and thanks to the Moralis operating system, we’ll be able to build a multi-chain wallet in just ten minutes. Backend development has always been the most tedious part of blockchain development, but when using Moralis, the process becomes straightforward as the system does most of the heavy lifting.
Moreover, along with a fully developed backend infrastructure, Moralis offers a selection of great development tools. You’ll find Moralis’ NFT API, Price API, Moralis Speedy Nodes, and much more among these tools.
So, if you have ambitions to get into Web3 development and become a blockchain developer, sign up with Moralis and begin your blockchain development journey now!
How to Build a Multi-Chain Wallet in 5 Steps with Moralis
In the following sections, we’ll break down the code on how to build a multi-chain wallet into five steps. The result will be a web application where users can authenticate themselves with MetaMask. Once they are signed in, they are provided with the functionality to fully manage their crypto assets. As such, users will be able to view their transaction history along with their fungible token and NFT balances. Moreover, we’re also providing the functionality to transfer native Ethereum ETH and ERC-20 tokens.

We can’t cover the entire code in this tutorial since it’s pretty extensive. For this reason, we’ll take a closer look at the five most essential parts. Moreover, we’ll focus on the functionality allowing users to transfer tokens and coins directly through our multi-chain wallet. As such, if you haven’t already, check out the full code at the GitHub repository to which we linked initially in the article.
Nevertheless, this tutorial on how to build a multi-chain wallet will be divided into the following five steps:
- Creating a Moralis Server
- Initializing Moralis and the SDK
- Creating the UI
- Adding the Application Logic
- Developing the Transfer Functions
By looking at these five steps, we’ll provide a clear overview of the code, enabling us to create a multi-chain crypto wallet with ease. So, let’s start by creating a Moralis server!
However, if you prefer watching videos to educate yourself, we recommend checking out the following clip from the Moralis YouTube channel. In the video below, one of Moralis’ developers takes you through the complete process in less than ten minutes:
Step 1: How to Build a Multi-Chain Wallet – Creating a Moralis Server
If you haven’t already, the first thing we recommend is that you sign up with Moralis. Creating an account is free of charge, and you’ll find that having a Moralis account will prove helpful on many occasions. In fact, as a member of Moralis, you’ll be able to cut the average development time of all future Web3 projects by 87%!
With a Moralis account, you’ll be able to create a server by clicking on ”+ Create a new Server” at the top of the admin panel. When clicking this button, you’ll be presented with three alternatives: “Mainnet”, “Testnet”, and “Local Devchain Server”.
When selecting a server, you should primarily focus on the purpose of your dapp and where you plan on launching the project. Since this is a tutorial, we’re opting for a testnet server for this guide. If you’re following along, we suggest you do the same. Nonetheless, if either alternative is chosen, you’ll be presented with a new window where you must input a name, select a region, and select network(s).

Once you’re done with your options, all that remains is to click on ”Add Instance” at the bottom to create the server. It might take a short while for the server to spin up, but you’ll have access to the instance momentarily.
Step 2: How to Build a Multi-Chain Wallet – Initializing Moralis and the SDK
With a Moralis server at hand, we can move on and take a closer look at the code. However, to begin with, if you’d like, you can visit the GitHub repository and clone the project locally. As such, you’ll be able to follow along as we take you through the essential parts of this tutorial.
So, once you have all the files at your disposal, we’ll start by initializing Moralis. To do so, you’ll need your server URL and application ID. You can find this information by clicking on the ”View Details” button for the server you created in the previous step.

With these two elements at hand, we navigate to the ”main.js” file. This file contains the essential logic for making this dapp function as it should; however, we’ll get back to that in another step. For now, we’re going to initialize Moralis by inputting the server URL and app ID in the following manner:
Moralis.initialize("APP ID");
Moralis.serverURL = "SERVER URL";
With Moralis initialized, we’ll also look at how we connect our SDK to Moralis. For this, we need to navigate to the ”dashboard.html” file. On lines 17 and 18, we connect the SDK to Moralis, and it will look something like this in the code:
  <script src="https://cdn.jsdelivr.net/npm/web3@latest/dist/web3.min.js"></script>
  <script src="https://npmcdn.com/[email protected]/dist/moralis.js"></script>
Now, with Moralis initialized and the SDK connected to Moralis, we can move on to take a closer look at the code itself. To begin with, we’re going to dive deeper into the code for the dapp’s UI!
Step 3: How to Build a Multi-Chain Wallet – Creating the UI
In this part, we’ll look at the UI of our multi-chain wallet dapp. We won’t be diving into the code since the UI might differ significantly depending on your preferences. However, the UI for our dapp consists of two different parts: the login and dashboard pages. We’ll find the code for the login page in the ”index.html” file of our GitHub repository. To illustrate what the code does, we’ll provide a screenshot of the login panel:
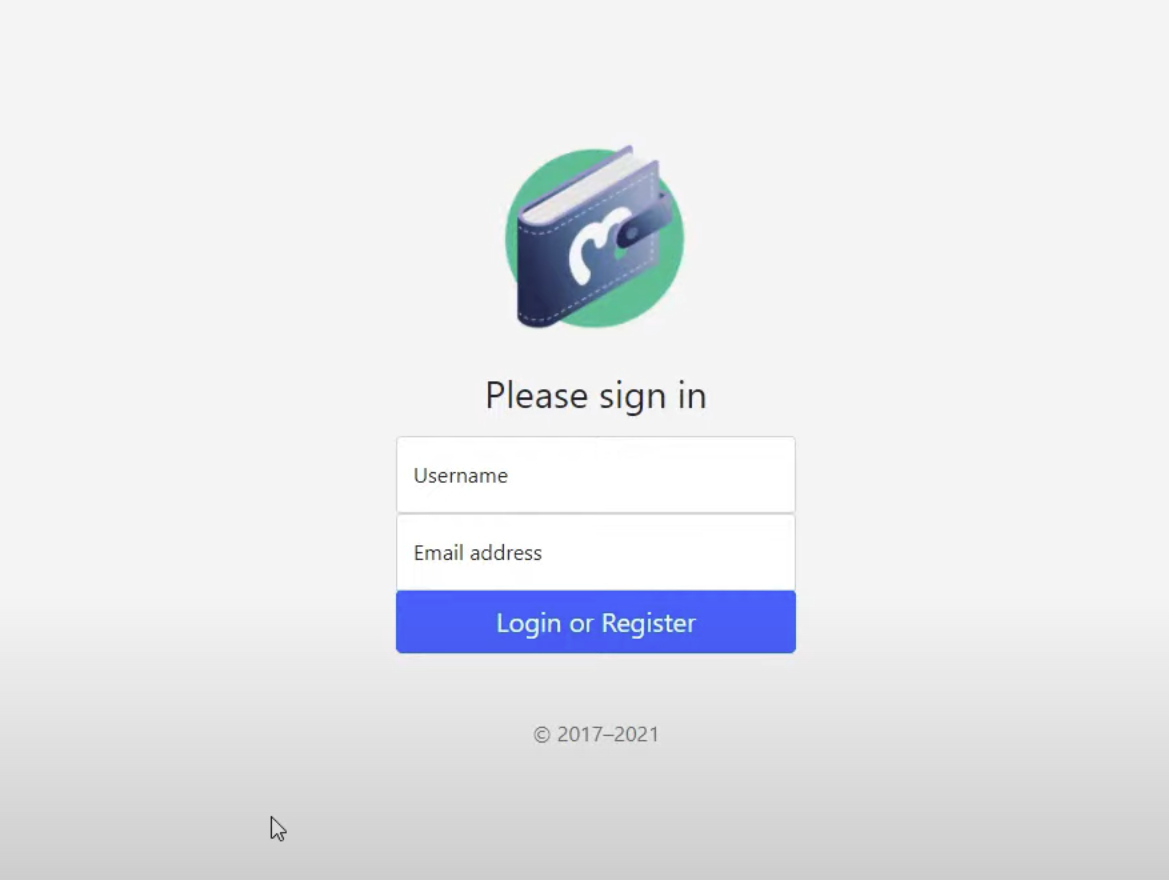
The code for the login page is based on a sign-in template from Bootstrap, to which we made a few alterations. As such, you can simply utilize the same template and make adjustments so that the UI fits your needs.
The second page is the dashboard, and the code for this file can be found in the ”dashboard.html” file. Moreover, this is what the UI looks like:

Like the login page, the dashboard is also based on a Bootstrap template. As such, feel free to utilize the code yourself and make the adjustments you want to create your unique dashboard.
Most of the code contains the fields and buttons of our multi-chain wallet, and we’re constantly going to reference these elements through the code when we add the JavaScript logic in the following step.
Moreover, if you have a particular interest in UI development, we highly recommend checking out Moralis’ Web3UI kit!
Step 4: How to Build a Multi-Chain Wallet – Adding the Application Logic
Next up, we have the ”main.js” file, where we’ll find most of the logic for our wallet dapp. The file is quite extensive, and it consists of several essential functions providing the project with the necessary functionalities ensuring that the application works as intended. As it contains a relatively high quantity of code, we won’t be going through every line.
Instead, we’ll direct most of our attention to analyzing the functions we need to enable transfers between accounts. However, there are other essential functions, and to name a few, we have functions for logging in, rendering content, hiding content, logging out, etc. These are pretty self-explanatory and straightforward; nonetheless, to show an example, this is what the login function looks like:
login = async () => {
    await Moralis.Web3.authenticate()
    .then(async function (user) {
        let _username = document.getElementById('user-username').value;
        let _email = document.getElementById('user-email').value;
        if(_username != '' || _email != ''){
            if(_username != ''){user.set("name", _username);}
            if(_email != ''){user.set("email", _email);}
            await user.save();
        }
        window.location.href = "dashboard.html";
    })
}
The central part of this function is “Moralis.Web3.authenticate()”, which illustrates the power of working with Moralis. This is essentially all we need to allow our users to authenticate themselves with MetaMask. Without the operating system, this would be a much more tedious task, and it would take an extensive amount of time to accomplish. This is one instance where Moralis comes in handy and is one of many reasons we’re able to significantly cut the development time of all blockchain projects.
Step 5: How to Build a Multi-Chain Wallet – Transfer Functions
In this section, we’re going to dive deeper into the transfer functions allowing us to send ETH and ERC-20 tokens. We’ll divide this section into two parts since there are two separate functions, one for each token type. However, since we’re utilizing Moralis, this part of the ”how to build a multi-chain wallet” tutorial becomes relatively easy as we have access to functions ready to use ”out of the box”. Moreover, there is an additional function for transferring NFTs, which is blank. If you’d like to add this feature, it’s up to you to develop the function yourself.
But without further ado, let’s take a closer look at the function for transferring ETH!
Transferring ETH
The first function we’ll dissect is the ”transferETH” function. This is what the entire code for the function looks like:
transferETH = async () => {
    let _amount = String(document.querySelector('#amountOfETH').value);
    let _address = document.querySelector('#addressToReceive').value;

    const options = {type: "native", amount: Moralis.Units.ETH(_amount), receiver: _address}
    let result = await Moralis.transfer(options)
    alert(`transferring ${_amount} ETH to your requested address. Please allow some time to process your transaction.`);
}
We essentially only need the ”Moralis.transfer(options)” function to transfer ETH. This is a single line of code used to transfer ETH between two accounts. However, as the code shows, this function takes an argument in the form of an object which, in this case, is called ”options”. For this reason, we need to specify the properties of this object. As such, we first define the token type, which is set to ”native”. Following this, we fetch the amount from the user’s inputs and the address to which we want to send the ETH.
Transferring ERC-20 Tokens
The ”transferERC20” function is marginally more complicated; however, just as with the previous function, we essentially only need a single line of code since we’re working with Moralis. As such, it’s relatively easy to implement this feature, and this is what the entire function looks like:
transferERC20 = async () => {
    let _amount = String(document.querySelector('#ERC20TransferAmount').value);
    let _decimals = String(document.querySelector('#ERC20TransferDecimals').value);
    let _address = String(document.querySelector('#ERC20TransferAddress').value);
    let _contract = String(document.querySelector('#ERC20TransferContract').value);

    const options = {type: "erc20",
                    amount: Moralis.Units.Token(_amount, _decimals),
                    receiver: _address,
                    contract_address: _contract}
    let result = await Moralis.transfer(options)
    console.log(result);
}
At first, the function creates a bunch of variables with the user’s inputs from the UI. These variables are then used to create the ”options” object. The type is automatically set to ”erc20”. Following this, the code specifies the amount, decimals, and contract address based on the inputs from the UI.
With all these parameters of the ”options” object specified, we can pass the object as an argument when calling the Moralis transfer function.
Getting the Contract Address and Token Decimals
You might have noticed that the most significant difference between the two transfer functions is that transferring ERC-20 tokens requires the contract address and token decimals. Finding this information isn’t all that difficult; however, it’s an annoying task that we can avoid. Thus, we’re going to take a closer look at the ”getTransferERC20Balances()” function, allowing us to fetch this information from the blockchain. By doing so, we’re also improving the user experience, an important aspect of any dapp.

In the screenshot above, you’ll see an example of our dapp’s UI when someone tries to transfer tokens. The UI requires users to input the amount, receiving address, token decimals, and contract address.
As such, the first thing that the ”getTransferERC20Balances()” function does is to check the user’s balance to find out what tokens they have available in their wallet. We then use the information to create a content block with the correct information, which communicates with the frontend of the dapp. This is the information you can see on the lower half of the screenshot. Now, if any of the” Transfer…” buttons are initiated, the function will autonomously acquire both the decimals and the contract address. Then, it will fill in the input fields for the user.
If you analyze the code further, you’ll notice that it’s incomplete and is only meant for the Rinkeby blockchain. However, you can utilize the same strategy and structure to expand the function further, making it compatible with other chains alike. This means that you now have all the necessary tools to build a multi-chain wallet.
Now, that’s it for this tutorial on how to build a multi-chain wallet in five steps!
How to Build a Multi-Chain Wallet in 5 Steps – Summary
If you followed along in this tutorial, you’ve most likely noticed the power of working with Moralis. The already developed backend infrastructure allows us to create a multi-chain wallet in just five simple steps:
- Creating a Moralis Server
- Initializing Moralis and the SDK
- Creating the UI
- Adding the Application Logic
- Developing the Transfer Functions

However, this is only one of many projects for which Moralis makes blockchain development more accessible. For example, with the Moralis Metaverse SDK, you’ll be able to create all sorts of phenomenal metaverse platforms. For instance, we have guides on how to build a metaverse game in 25 minutes, build a metaverse game smart contract, and build a medieval metaverse game, just to name a few.
Moreover, if you’re new to the Web3 development space, be sure to check out our articles on the best languages for blockchain development, why Web3 is important, and Ethereum development for beginners.
Hopefully, you find this tutorial helpful and inspires you to begin your development journey to become a blockchain developer. If so, please feel free to sign up with Moralis and join our fantastic community today!
