How many times have you played a videogame where no power-ups or extra abilities were available? Probably none. Power-ups in games deepen the gaming experience, and let’s be honest, who doesn’t enjoy a little bit of a boost? Moreover, with GameFi, play-to-earn (P2E) models, and NFTs used as in-game assets, Web3 gaming with non-fungible tokens is becoming increasingly popular. Thus, being able to develop a Web3 game with NFTs and NFT power-ups is a skill every programmer should master. Herein, we’ll focus on two tools, and we’ll utilize these to develop a Web3 game with NFT power-ups quickly and easily. By following along with the instructions and watching the video at the end of this article, you’ll be able to take your NFT programming skills to the next level by implementing power-ups for Web3 games!
Moving forward, we will show you how to add NFT power-ups to a Web3 game in less than ten minutes. Further, this article will demonstrate how to add a relatively simple NFT functionality to our existing 2D Web3 game example. Therefore, we recommend starting with that example before moving on. The point of this example project is to serve as a proof of concept. Then, it is up to you to take things to the next level and add NFT power-ups to your games. As far as our example goes, we created a simple game by exploiting Phaser and Moralis. As a result, we were able to use an existing 2D game and turn it into a Web3 game. By adding Web3 authentication, users can authenticate with MetaMask. However, we’ll apply the necessary tweaks to implement the NFT utility today!

What are NFT Power-Ups?
Before we take a look at our example dapp (decentralized application) demo, let’s make sure we are all caught up to speed with the basics. So, what are NFT power-ups? Now, you’ve probably heard about power-ups and NFTs. Also, if you’re a gamer, power-ups are nothing new to you. However, just in case, let us remind you that power-ups in games are objects that add temporary benefits or extra abilities to in-game characters. By definition, power-ups are applied automatically by a game’s mechanic. The most obvious example of this is Super Mario’s mushroom.
On the other hand, there are game items, which players can collect and then use at any time they want. The latter can have temporary or permanent benefits. However, in reality, the lines between game items and power-ups are often blurred. Nonetheless, if we now add non-fungible tokens into the picture, this just means that power-ups are represented by this sort of crypto asset. Hence, we can talk about NFT power-ups.

Develop a Web3 Game with NFT Power-Ups Using Phaser and Moralis
As explained earlier, our example project will be incorporating NFT power-ups to our example 2D Web3 game. Thus, we recommend starting with that part first to get the complete picture. You can do so by following the “2D Web3 game” link stated at the beginning of this article. However, since we made the entire code available on GitHub, you can also skip the first part. Although, before we focus on the code walkthrough that makes NFT power-ups function properly, let’s look at our demo.
NFT Power-Ups in Action – Demo
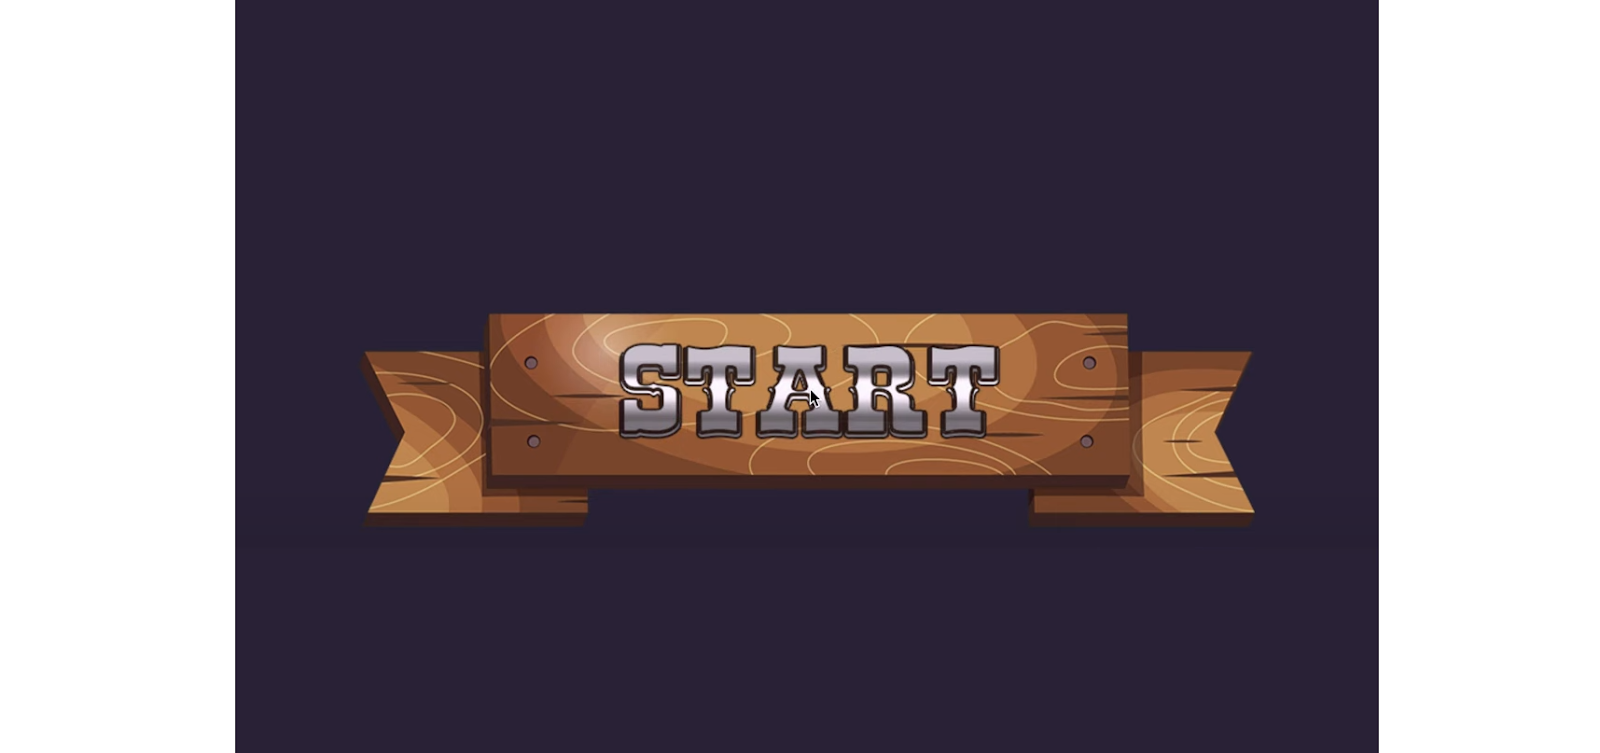
Our example game with NFT power-ups added starts by greeting players with the “Start” button:
This time, we’ve only made Web3 login possible for users with Web3 wallet addresses that hold particular NFTs. In turn, users that do not have particular NFTs cannot log in. Yes, this is our NFT power-ups example – it enables users to access the game. Actually, this is the first part of it; you’ll learn about the second part as you move on.
Our Web3 Game Login Example
Note: The following demo focuses on users that have the right NFTs in their possessions.
For starters, users need to click on the “Start” button. This prompts their MetaMask extensions, which they need to use to sign the “Log in using Moralis” message:

Users must click on the “Sign” button in their MetaMask extensions in order to proceed. As such, they complete their login to our example game.
Note: There are various ways to implement Web3 authentication, and Moralis makes things pretty simple. For web dapps, MetaMask integration is the best choice. However, WalletConnect tends to be the go-to option for mobile dapps. In addition, Moralis offers other login solutions which can help you boost Web3 user onboarding success rates. By using Web3 social login or Web3 authentication via email, you get to offer the average person a login method that they are familiar with.
Before we added NFT power-ups to our games, users landed on our game’s main menu screen after they successfully logged in:

However, we decided to add another NFT functionality (the second part mentioned above). As such, instead of landing on the above main menu screen, users get to view their NFT:

As you can see above, our example is pretty basic, and we used a completely random NFT. However, it clearly shows you how NFT power-ups can be used. When users click on the NFT, they get to access the “Bank Panic” game.
The Aim of Our Web3 Game with NFT Power-Ups
Here’s what our example game looks like:
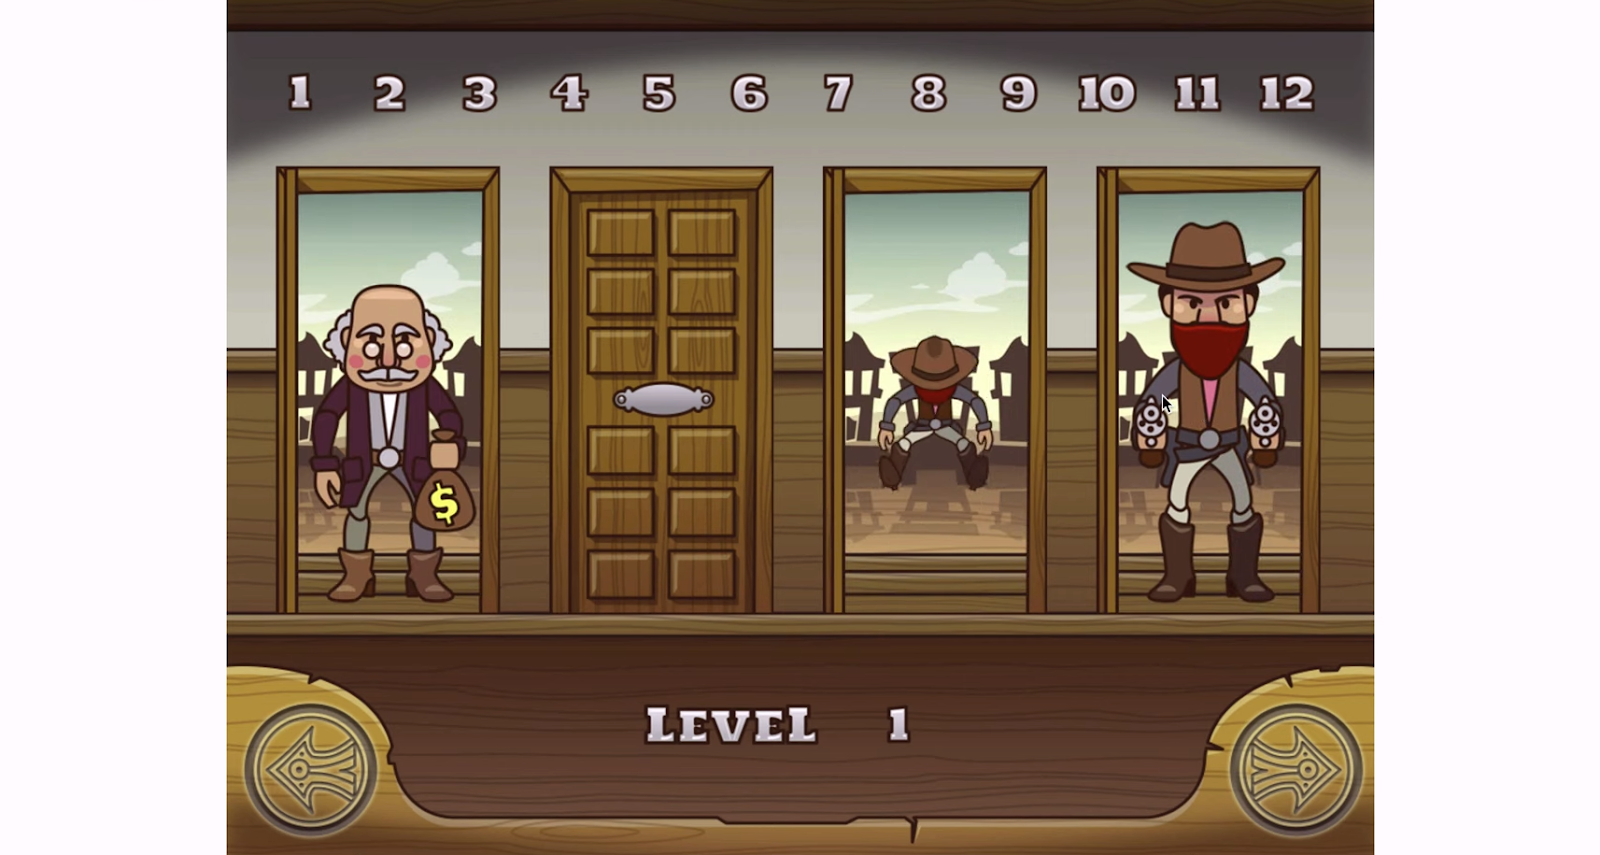
Furthermore, the “aim of the game” is to shoot (click on) the cowboys (bandits) with the guns as fast as possible. Otherwise, the bandits shoot the player. Moreover, there are also characters with money bags in our game (see the screenshot above). Players shouldn’t shoot these characters. Also, you can see the numbers at the top of the in-game screen. These numbers indicate the money bags that players need to collect to complete the level. However, as mentioned above, if any of the bandits shoot the player, it is game over:

As you can see, even such a simple 2D game has a lot of in-game objects. Hence, there are a lot of potential NFT applications possible. For instance, we could use NFT power-ups to give bandits special guns or to make money bags bigger, etc. Once you grasp your mind around the concept, you can get as creative as you want.
Web3 Game with NFT Power-Ups – Code Walkthrough
We recommend cloning the code using the above “GitHub” link to make things as easy as possible. Then, use your favorite code editor or IDE to access the code. We prefer using Visual Studio Code (VSC), which you’ll see in the following screenshots. So, to get to the gist of our example Web3 game, open the “App.jsx” and the “MainMenu.js” files:

To make things even clearer for you, one of Moralis’ experts neatly marked all the code lines that apply to the “NFT power-ups” tweaks with comments. Moreover, let’s now focus on the “App.jsx” file.
Note: Again, we want to remind you that if you haven’t finished the ”2D Web3 game” example from our previous tutorial, we recommend doing so first before moving on.
Code Walkthrough – The “App.jsx” File
Using the following lines of code, we import NFT components:
  useNFTBalances,
} from "react-moralis";
Next, we need to declare the function that will allow us to easily grab NFTs from users’ wallets:
const { getNFTBalances } = useNFTBalances();
Then, we need to define a contract address (we could add multiple addresses) that the game considers valid, which grants access to the players:
const check_address = "0x…";
Instead of “0x…”, you must enter your valid “NFT collection” contract address. Moreover, you also need to define the blockchain’s ID. In our example game, we are using Polygon’s testnet (Mumbai):
const network_chain_id = "0x13881";
We must also check users’ balances in order to see if they have tokens that match the above contract address:
  const checkNFTBalance = async (__user) => {
    let valid = false;
    await getNFTBalances({
      params: {
        chain: network_chain_id,
      },
    })
      .then(function (_data) {
        console.log(_data);
        // check for matching results in user's wallet
        if (!_data || _data?.result.length === 0) {
          // no NFTs returned = false
          console.log("Nope");
          authEvents.dispatch({ type: AUTH, player: null });
          logout();
          console.log("User logged-out");
        } else {
          valid = _data.result.some(
            (elem) => elem.token_address === check_address
          );
          // TODO: More elegantly handle failure to sign in.
          if (valid) {
            // valid NFT to allow access found
            console.log("ACCESS GRANTED", valid);
            // pass NFT data onto processor funcs
            compileNFT(__user, _data.result);
          } else {
            // no valid NFT in possesion of user
            // print access denied feedback
            console.log("ACCESS DENIED: No Valid NFT");
          }
        }
      })
      .catch(function (error) {
        console.log(error);
      });
    return valid;
  };
The “App.jsx” File – Making Metadata Renderable
We also need to make the data renderable in our game. This is the part of the code that will take care of that:
  const nftMetadata = [];
  const findNFTMetadata = async (___data) => {
    let p = 0;
    for (let i = 0; i < ___data.length; i++) {
      console.log(___data[i].token_address);
      if (___data[i].token_address === check_address) {
        console.log(___data[i].token_uri);
        nftMetadata[p] = ___data[i].token_uri;
        p++;
      }
    }
  };

  let demoNFTimageURL = "";
  const getJSON = async (_metadata) => {
    try {
      // grab remote json file (likely IPFS)
      await axios.get(_metadata).then((res) => {
        console.log("Initial Image URL:", res.data?.image);
        // set URL
        demoNFTimageURL = res.data?.image;
        // if already is a moralis ipfs link, then skip further processing
        if (demoNFTimageURL.match("moralis")) {
        } else {
          let imageSplit = res.data?.image.split("/");
          console.log("IMAGE CID:", res.data?.image.split("/"));
          // FYI the file's CID can also be displayed from any other IPFS node URL prefix e.g. https://ipfs.io/ipfs/CID/xxx.png
          demoNFTimageURL =
            "https://ipfs.moralis.io:2053/ipfs/" +
            imageSplit[2] +
            "/" +
            imageSplit[3];
        }
      });
    } catch (error) {
      console.error(error);
    }
  };
In addition, we also want to properly process NFTs’ metadata to locate renderable image data. As such, our React and our Phaser components will be able to properly communicate:
  const compileNFT = async (___user, __data) => {
    await findNFTMetadata(__data);
    await getJSON(nftMetadata[0]);
    console.log("Final NFT Image URL:", demoNFTimageURL);

    if (demoNFTimageURL === "") {
    } else {
      nftEvents.dispatch({ type: LOAD_NFT, nft: demoNFTimageURL });
      startGame(___user, demoNFTimageURL);
    }
  };
The above lines of code also check if relevant metadata is valid. Moreover, valid NFT holders can play the game. Hence, our code must change the scene within Phaser by communicating with the Phaser component. This is done inside the “MainMenu.js” file.
Code Walkthrough – The “MainMenu.js” File
As explained above, we use “MainMenu.js” to change the scene of our game. As such, we need to add the following lines inside the “constructor()” function:
   emitter.on("LOAD_NFT", (event) => {
      console.log("NFT:", event.nft);
      valid_nft_image = event.nft;
    });
Moreover, we need to follow Phaser’s way of loading images:
  preload() {
    // set identifier as 'validnft' for image url
    this.load.image("validnft", valid_nft_image);
  }
Furthermore, once the scene for the main menu is created, we want to display the relevant NFT within our Web3 game example. As such, we add the following line of code within the “create()” function:
this.add.image(512, 384, "validnft");
Finally, now that you’ve made sure your code is ready, you can use the “npm start” command to run our Web3 game with NFT power-ups. Moreover, below is the video that takes you through the entire code walkthrough in more detail:
The above video is essentially our answer to a comment asking how to use Moralis to verify if users own particular NFTs and then load those NFTs inside a Phaser game:

Develop a Web3 Game with NFT Power-Ups in 9 Minutes – Summary
At this point, you know what NFT power-ups are and how you can use them in your Web3 games. By covering a simple 2D Web3 example game, you’ve seen how to do exactly that using Moralis’ SDK and Phaser components. Along the way, you were also able to refresh your understanding of Web3 authentication methods. With the knowledge and skills obtained herein, we encourage you to tackle your own Web3 game development. As such, let us remind you of the Moralis Metaverse SDK. The latter enables you to use Unity to create all sorts of Web3 3D games. Hence, you can build a metaverse or GameFi game, or even a Web3 MMORPG. If that interests you, make sure to check out our beginner’s guide to Unity Web3 programming.
However, in case you want to explore other aspects of blockchain development, make sure to visit the Moralis blog and the Moralis YouTube channel. Both of these outlets offer a ton of high-quality content and are great resources for free crypto education. Some of the latest topics include a full guide on DeFi staking, how to communicate with a Web3 database, why Web3 is important, how to reduce Solidity gas costs, how to create an Ethereum NFT, and much more.
On the other hand, you may want to get into Web3 as soon as possible. If so, you need to consider taking a more professional approach. Hence, enrolling in Moralis Academy might be the right path for you. Aside from top-notch blockchain development courses, you’ll get a personalized study path and expert mentorship. However, the greatest value awaits you in the form of one of the most advancing and supportive communities in the crypto realm. So, join Moralis and Moralis Academy to become a Web3 developer in no time!
