In today’s day and age, most people have a Twitter account. With almost 400 million active users, Twitter has proven to be quite popular, especially among Web3 and crypto enthusiasts. With such a massive user base, it would be highly beneficial to enable Web3 login with Twitter for your dapps. We can accomplish this by connecting a Web3 wallet to a Twitter account. Using two phenomenal tools, Web3Auth and Moralis, you can easily incorporate Web3 login with Twitter into your decentralized applications (dapps). Moreover, you don’t have to manually implement this sort of Web3 social login when using Moralis. After completing the initial setup as demonstrated herein, you can easily cover the “connecting Web3 wallet to Twitter account” feature. Essentially, you could just copy and paste code snippets from Moralis’ documentation and accomplish this task in record time!
Moving forward, you will have a chance to join us as we create an example dapp. The latter will be all about Web3 authentication. Of course, it will include an option to complete Web3 login with Twitter. What you are about to learn is the simplest way to cover Web3 login using familiar methods. Hence, you’ll get to boost the Web3 user onboarding success rate. Along the way, you will learn how to set up your Web3Auth and Moralis accounts. The latter is the best Web3 backend platform that enables you to create excellent dapps in minutes. This “Firebase for crypto” operating system is also all about cross-chain interoperability. As a result, connecting Web3 wallet to Twitter account on all supported chains becomes possible. Currently, these include Ethereum, Polygon, Avalanche, Solana, and Fantom. So, don’t forget to create your free Moralis account before moving on.
Why Add Web3 Login with Twitter to Your Dapps?
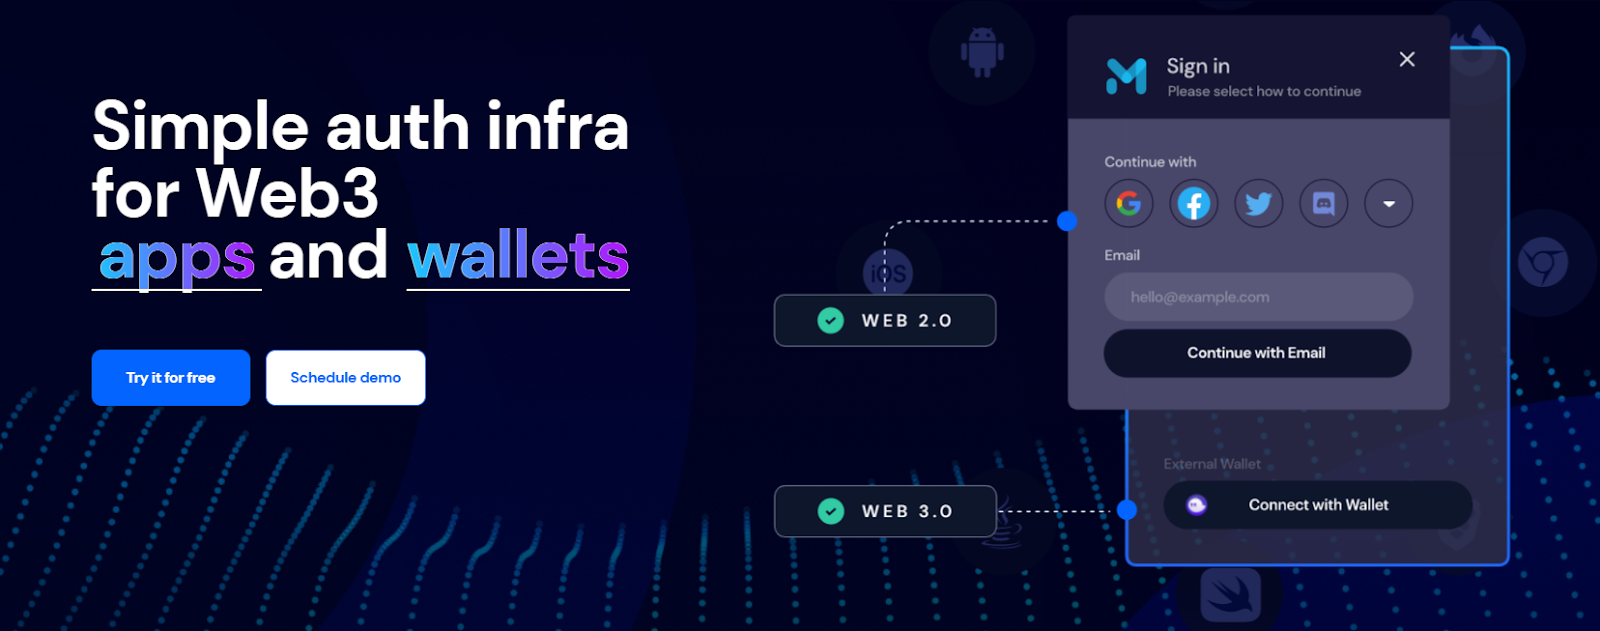
Having a proper understanding of something usually provides strong answers to the “why?” and “what?” questions, which can be a powerful driving force. Thus, let’s start our discussion by covering some basics regarding Web3 login with Twitter. Do you know what “social login” is? It is a cover term for all login options utilizing users’ social media accounts. That way, users get to sign up and log in to other applications with the click of a button. As a result, a user can skip the part where he/she needs to enter their email address and create a password. As such, social login is clearly a neat and practical solution. But, can it be used for Web3, where Web3 wallets, such as MetaMask, are usually required for authentication? Thanks to Web3Auth, the answer is “yes”. In that case, we refer to Web3 social login.
Note: If you are not sure what Web3 is, check out our other articles on that topic. By diving deeper into the “how does Web3 work?” topic and discovering what the current Web3 tech stack looks like, you will be well informed.
You now know that offering users to log in using their Twitter accounts or other social media accounts is user-friendly. It enables them to skip the process of creating new accounts and, in turn, saves them time as well. Also, it’s something that users are accustomed to from Web2. Hence, various social login methods can help with onboarding newcomers to the crypto realm.
Connecting Web3 Wallet to Twitter Account – Example Project
We believe that building example projects is the best way to learn. Thus, we invite you to follow our lead and create your own dapp offering Web3 login with Twitter. However, before we roll up our sleeves and start coding, let’s look at a preview of our example dapp. Of course, we kept things pretty simple. Yet, we made sure to include all aspects that are important for our “connecting Web3 wallet to Twitter account” quest. As such, our example dapp also includes the “test transaction” feature. Hence, we are able to show you that users logged in by connecting a Web3 wallet to a Twitter account or other social media accounts can actually engage with the Web3 realm.
Web3 Login with Twitter – Our Example Dapp Preview
As you can see in the screenshot below, we decided to run two instances of our dapp simultaneously. That way, we can perform a test transaction between two accounts. For starters, both of our example users are not yet logged in:
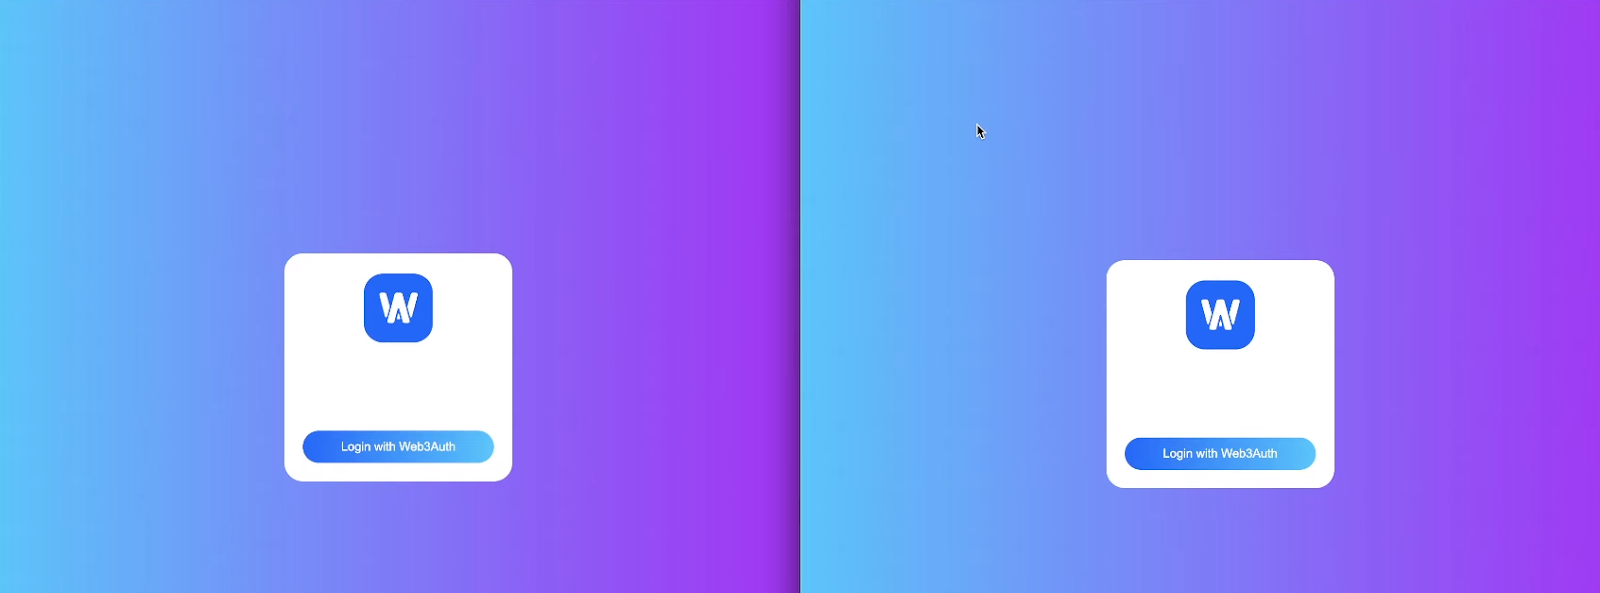
Looking at the above screenshot, you can see that users need to click on the “login with Web3Auth” button to proceed. After clicking the button, they will see the following login module:
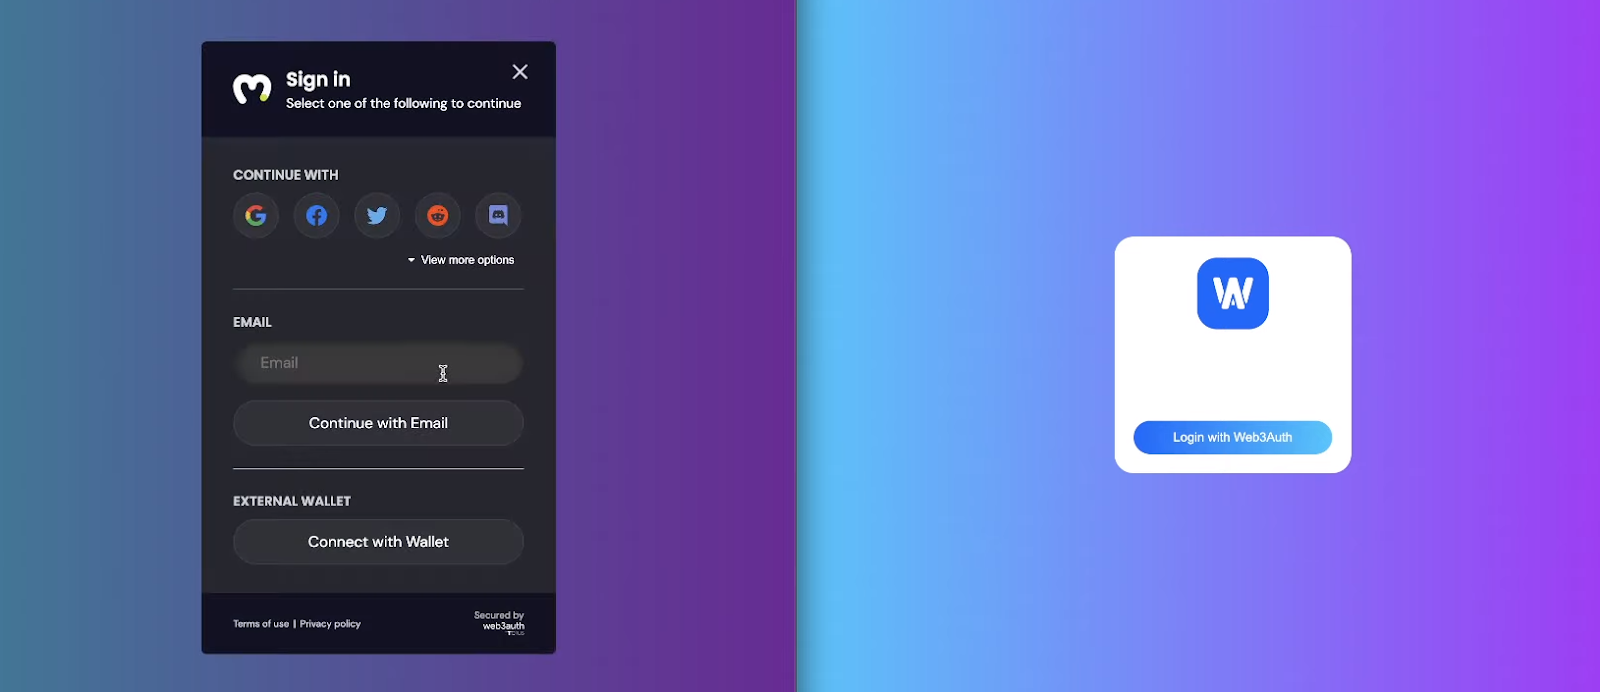
Let’s focus on the left side of the above image, where we have the login module. The latter includes three sections: the “continue with”, “email”, and “external wallet” sections. As such, our login module covers three different login methods. Users interested in connecting Web3 wallet to Twitter account will need to click the Twitter icon in the top section. Of course, they can use any other offered social login method. Moreover, users can view additional Web3 social login options via the “view more options” button:
If users want to do Web3 authentication via email, they need to focus on the “email” section. However, the great part of the “social” and “email” logins is that Web3Auth automatically creates crypto wallets for users. Hence, you can offer logged-in users the full scope of Web3 features as if they were using their hot wallet. Moreover, all without them needing to create crypto wallets or even know what they are. Nonetheless, the “external wallet” section is there for users who want to use their MetaMask, utilize the WalletConnect alternative, or other hot wallets.
Demo of Web3 Login with Twitter
Note: In this demo, an example user decided to use his Google account. However, in the case of Web3 login with Twitter, the principles are the same. Instead of the “Google” icon, users would need to click on the Twitter logo and then select their Twitter account. The process of connecting Web3 wallet to Twitter account would then be done in the backend by Web3Auth.
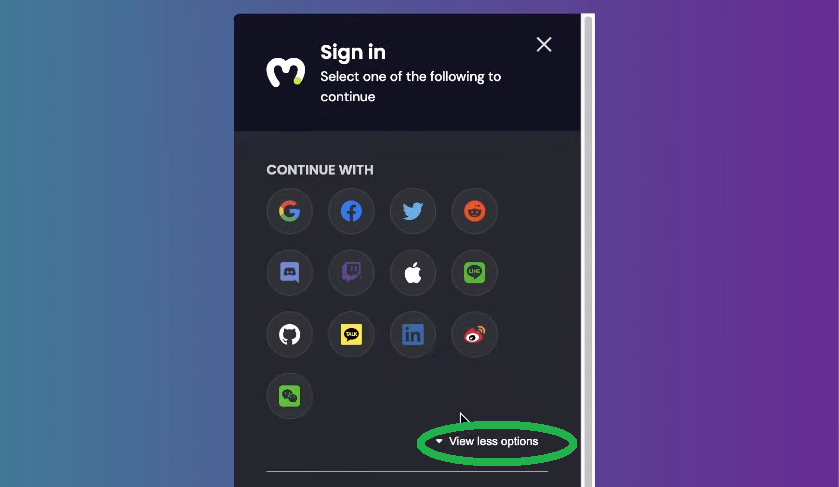
As explained above, users start by selecting their preferred social media platform inside the “continue with” section:

After clicking on any particular icon, a pop-up window asking them to select their account will appear:

In addition, once users select their social media accounts, they also get a chance to set up a free two-factor authentication (2FA) method:
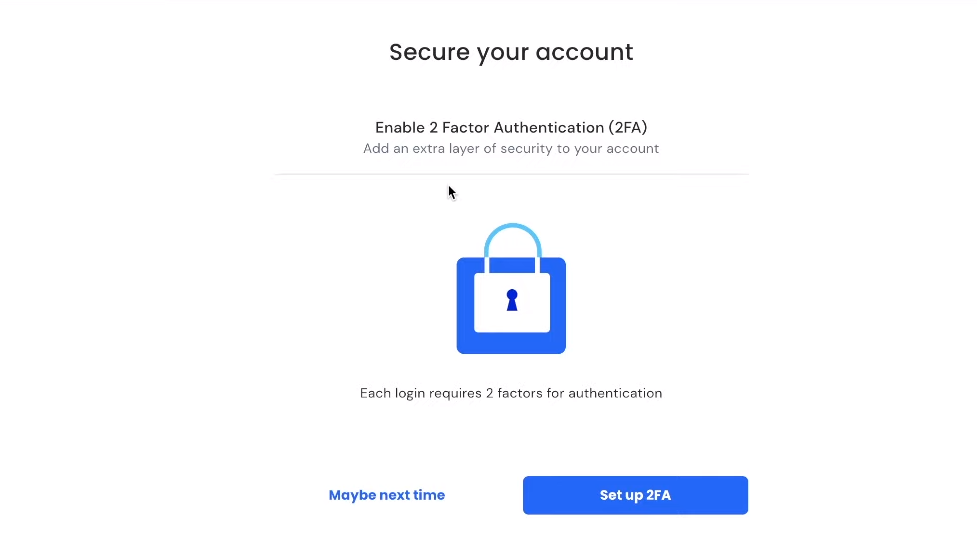
Let’s say that our hypothetical users decided to go with the “maybe next time” option. If so, they are now logged in and ready to complete a crypto transaction. Furthermore, thanks to the Moralis SDK, we also have access to the Moralis dashboard (database). Hence, we can easily confirm logins. Moreover, a screenshot below clearly indicates that our demo login was successful:

In addition, our example dapp’s interface also lets users know that they are now logged in:

The above screenshot shows a wallet address that has been automatically created and assigned to the Google account used for this demo. The process of connecting Web3 wallet to Twitter account would be done in the same manner.
Connecting Web3 Wallet to Twitter Account – Example Transaction
Let’s complete a test transaction to confirm the functionality of Web3 login with Twitter, Google, and other social media alternatives. To do this, we must also log in with another account, where we will use the “external wallet” option and our MetaMask extension. With both example users authenticated, we can send some test ETH. We will do this on Ropsten, which is one of the Ethereum testnets:

Note: In case you prefer to watch a video version of the above demo, check out the video below starting at 0:53.
Connecting Web3 Wallet to Twitter Account – The Implementation
Moralis recently added a new authentication feature from “Web3Auth”, making Web3 login with Twitter and other social media options possible. Hence, you need to complete some initial setups to access Web3Auth and Moralis. Fortunately, Moralis’ documentation offers clear instructions inside “Users > Web3 Authentication > Web3Auth”. Although, we want to assist you further by guiding you through the initial setup in the following sections.
The Essence of Web3 Login with Twitter – Web3Auth Setup
Complete the following steps to use Web3Auth for the purpose of connecting Web3 wallet to Twitter account:
- Create your Web3Auth account. You can use your email address or social media accounts:

- With your account created, you can access your dashboard. Inside your Web3Auth dashboard, go to “plug and play”:

- Within the “plug and play” tab, click on the “create project” button.
- After creating your new project, you can access and copy your project’s client ID:

- Add Web3Auth’s SDK to your application.
- This is the line of code to use if you import Moralis via a “CDN”:
<script src="https://unpkg.com/@web3auth/[email protected]/dist/web3auth.umd.min.js"></script>
- However, use the following command if you import Moralis via “npm” or “yarn”:
npm install --save @web3auth/web3auth
- With your Web3Auth project’s client ID at your disposal and SDK ready, you can use the authenticate function. As you can see below, the function takes in some parameters. Moreover, the client ID is the only required parameter. These are the lines of code you need to use (don’t forget to replace the placeholder with your client ID):
const user = await Moralis.authenticate({
	provider: "web3Auth",
	clientId: "ABC*****************",
})
The optional parameters include “chainId”, “theme”, “appLogo”, and “loginMethodsOrder”. For more details on each of the parameters, refer to Moralis’ documentation or use the video below at 4:38.
Using Moralis to Implement Web3 Login with Twitter
This is the part where you get to go about connecting Web3 wallet to Twitter account by creating your own dapp. To make things easier on yourself, we recommend you use our code that awaits you on GitHub. As such, you will get to create the above-presented example dapp without breaking a sweat. Make sure to focus on the “SignIn.js” file. This is where you will use the lines of code from the previous section. Essentially, if using our code, you only need to paste in your Web3Auth project’s client ID. Moreover, we recommend you use the video below, starting at 8:33. There, a Moralis expert will guide you through some optional customizations. Nonetheless, in order to use Moralis’ SDK, you need to complete the initial Moralis setup first.
Here are the steps you need to go through when setting up Moralis:
- Log In to Your Moralis Account – In case you haven’t created your free Moralis account yet, use the link stated at the beginning of this article.
- Create a Moralis Server – Select the network type, enter your server’s details, and spin up the server.

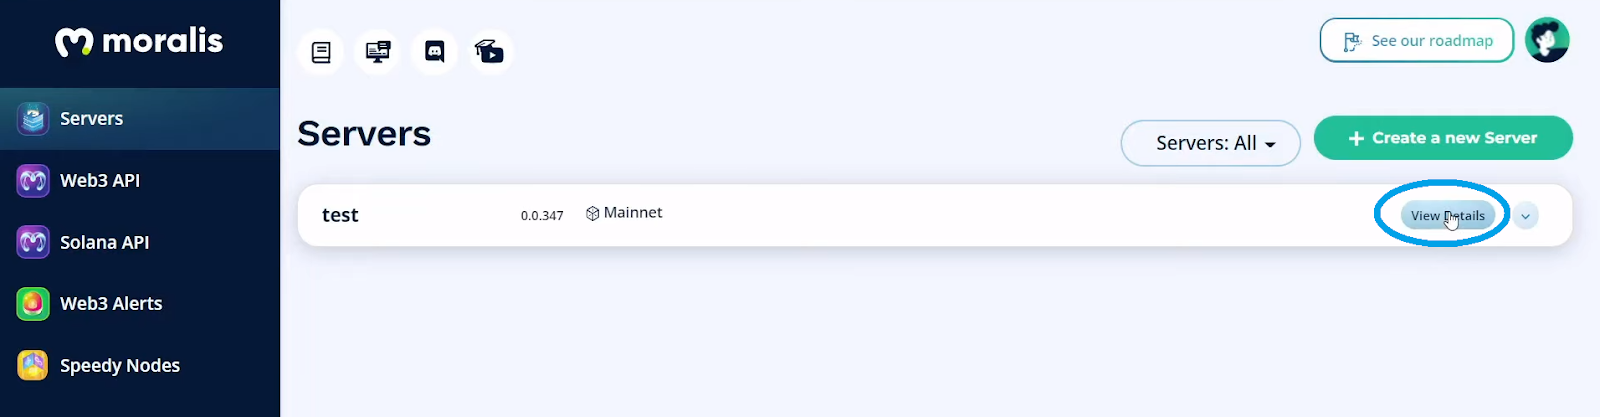
- Access Server Details – Use the “View Details” button:
- Copy Your Server’s URL and Application ID – Simply copy the details as shown below:
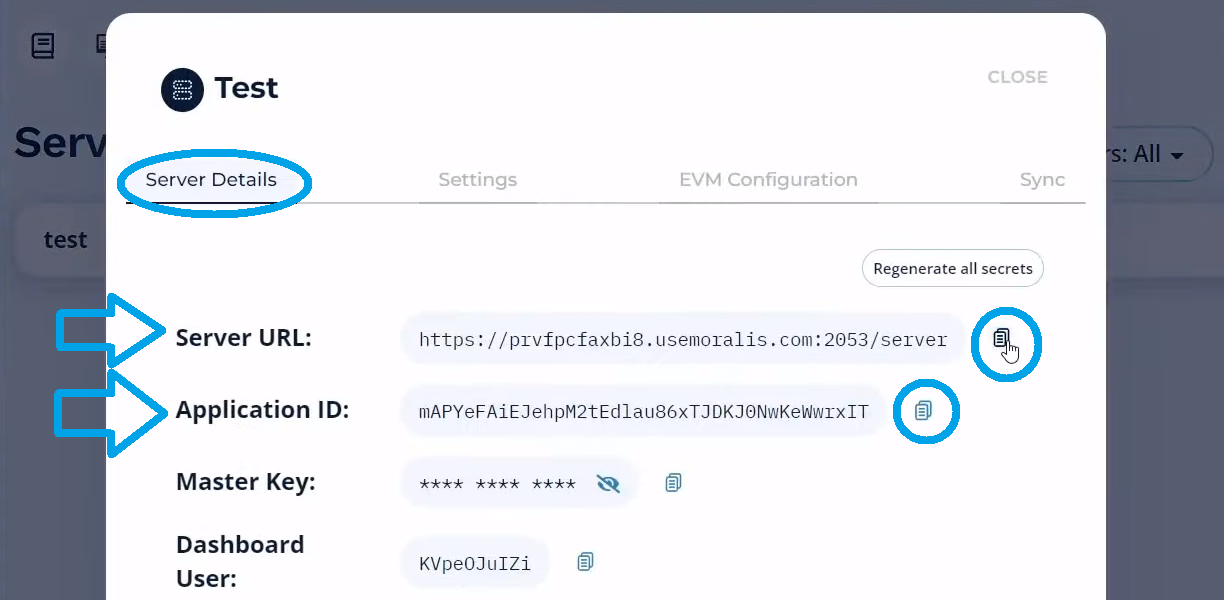
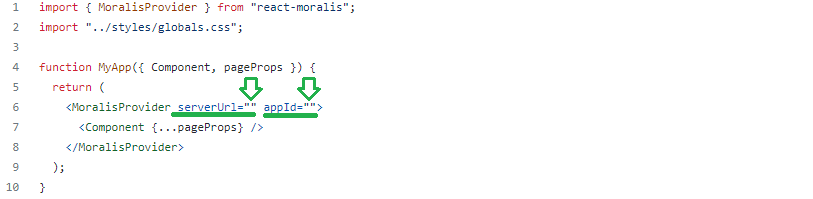
- Initialize Moralis – Access the “_app.js” file and paste the above-copied details in the marked spots:
As mentioned, here is the video tutorial that we’ve been referencing throughout the article:
Connecting Web3 Wallet to Twitter Account – Summary
At this point, you are a semi-expert in Web3 authentication. You now know that with the right tools, you can make connecting Web3 wallet to Twitter account possible. You’ve also gotten to work with two primary tools: Web3Auth and Moralis. Using these tools in combination with your JavaScript skills, you could implement Web3 login with Twitter and other social media alternatives. As such, you are ready to take on more advanced dapps and make the onboarding process more user-friendly.
However, in case you want to build up your confidence first, we recommend taking on some other example project. You can find them on the Moralis blog and the Moralis YouTube channel. Aside from countless example projects, these two outlets also cover a wide range of blockchain development topics. For instance, some of the latest articles show you how to connect a Web3 wallet to a website, set up a BNB wallet, create a Web3 video streaming service or a Web3 Netflix clone, and create a multi-chain wallet or an ETH wallet. In addition, we explore everything there is to know about NFT utility, “what is Solana?“, the benefits of Web3 gaming, Unity Web3, and much more. As such, make sure to put this valuable content to good use.
Nonetheless, you might be eager to become a Web3 developer with confidence and go full-time crypto as soon as possible. In that case, you ought to consider taking a more professional approach. Hence, Moralis Academy may just be the place for you. With pro-grade blockchain development courses, an advancing community, a personalized study path, and expert mentors, you will maximize your chances of success.
