Did you know you can easily use Firebase as a proxy API for Web3 when working with Moralis? If this sounds interesting, follow along as we demonstrate how to create Firebase cloud functions as proxy APIs for your Moralis Web3 API calls. Using proxy APIs in this way allows you to keep your API keys securely on Firebase backend servers. Consequently, all your app’s private keys remain unsusceptible to attacks on your client-side application. Additionally, it allows you to process API calls on the backend and only return the information that your users request!
To illustrate the API functionality and how to use a Firebase cloud function as a proxy API for Web3, we will create a simple React dapp where users can query USD prices of tokens based on their contract addresses. In turn, you will learn how to use Moralis’ “getTokenPrice” endpoint to create a Firebase cloud function that fetches the on-chain data from the Ethereum network. So, if this interests you, follow along as we show you how to easily use Firebase as a proxy API for Web3!
Moreover, if you have further interest in Moralis’ Web3 APIs, you can, for example, check out the NFT API. This tool allows you to build NFT-related projects efficiently and effectively. If NFT development excites you, we recommend checking out this article on how to build a Solana NFT explorer!
Nevertheless, join Moralis to unlock the power of blockchain to build smarter with APIs bridging the Web2 and Web3 gap. Creating an account is free and only takes a few seconds, so you have nothing to lose!
What is Firebase?
Firebase is an application development platform enabling you to build, grow, improve and maintain games and apps your users will love. The platform is backed by and built on Google’s infrastructure, and millions of businesses utilize Firebase worldwide.
Firebase provides tools and features that cover a significant portion of the services developers generally need to build themselves. These tools and features include databases, configurations, authentication, analytics, file storage, push messaging, etc. Furthermore, these services are hosted in the cloud, and Firebase provides great scaling opportunities with almost no effort from developers. As such, with the platform, it is possible to avoid ”reinventing the wheel”, so to speak, and focus on creating a more compelling dapp experience.
So, what exactly does it mean that the services are ”hosted in the cloud?”. In this context, it suggests that Firebase’s products have backend components entirely operated and maintained by Google. Moreover, client-side SDKs supplied by Firebase interact with these backend services, and you do not need to set up any middleware between your projects and the services.
To summarize, Firebase makes dapp and game development more accessible by providing an extensive toolkit and various services, facilitating a more seamless developer experience. Consequently, when using Firebase, it is possible to avoid redundant tasks, and you can focus on creating higher value for your customers.
With a better understanding of Firebase, we will take the preceding sections to delve deeper into the process of using Firebase as a proxy API for Web3!
Using Firebase as a Proxy API for Web3
With a more profound understanding of Firebase, it is time for the central part of the tutorial, where we will illustrate how to create Firebase cloud functions as proxy APIs for your Moralis Web3 API calls.
Using Firebase as a proxy API for Web3 allows you to securely store your Moralis API key on Firebase’s backend servers, all while providing the opportunity to process all your Web3 API responses on the backend. In turn, you gain the opportunity to simply pass the necessary data queried by the users to your app’s client side.
To demonstrate how to use Firebase to set up a proxy API for Web3, this tutorial will cover the necessary steps in building a React dapp that allows users to query the current token price in US dollars based on a contract address. Moreover, this is what the UI (user interface) of the dapp looks like:

In this example, we utilize Moralis’ ”getTokenPrice” endpoint to create a cloud function that easily fetches the needed on-chain data directly from the Ethereum network. That said, Moralis features an abundance of different endpoints for NFTs, blocks, transactions, balances, etc. Consequently, it does not limit you to only querying a token price based on an address. If you follow along, you’ll learn that you can use the same fundamental principles of this guide for other endpoints.
Furthermore, thanks to Moralis, you will be able to create this proxy API for Web3 in no time! Moreover, if you instead would like to watch a video outlining the complete process, check out the clip below from Moralis’ YouTube channel:
However, before showing you how to set up a proxy API for Web3, you must take care of a few prerequisites, which we will cover in the following section!
Prerequisites – Setting Up Moralis and Firebase
Before jumping into the central parts of this tutorial, you must set up accounts for Moralis and Firebase, along with a Firebase project. As such, we will quickly cover these prerequisites, starting with setting up your own Moralis account!
Creating a Moralis account is simple, and to get started, click on the ”Start for Free” button at the top right of Moralis’ website:
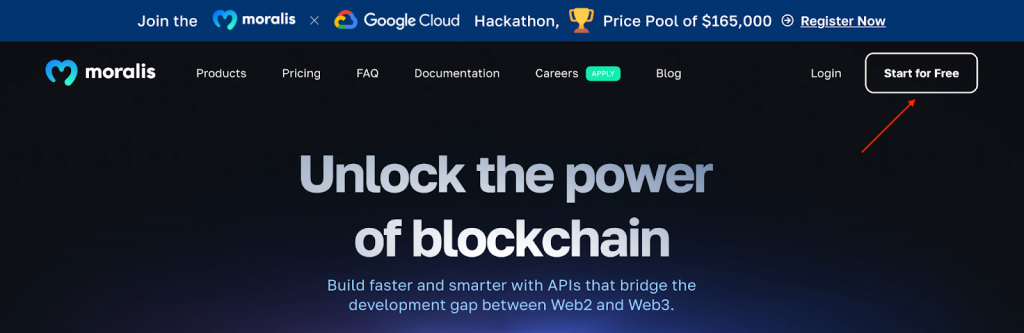
From there, you must enter an email address, create a new password, check the ”I accept…” button, and hit ”Sign Up”. What’s more, you should know that creating a Moralis account is entirely free!
With a Moralis account at your disposal, you must sign up with Firebase and create a new account. As such, progress by navigating Firebase’s website and clicking on the ”Get started” button:
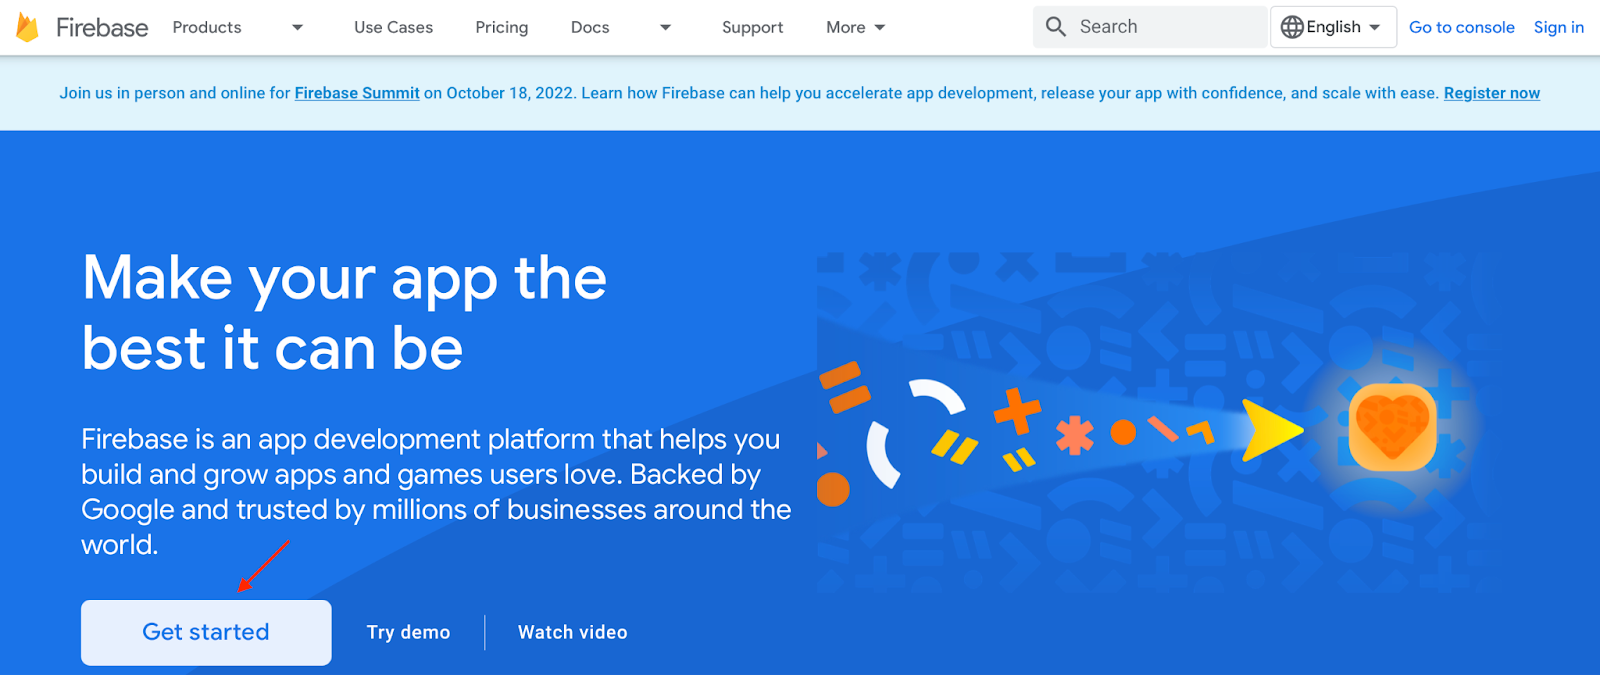
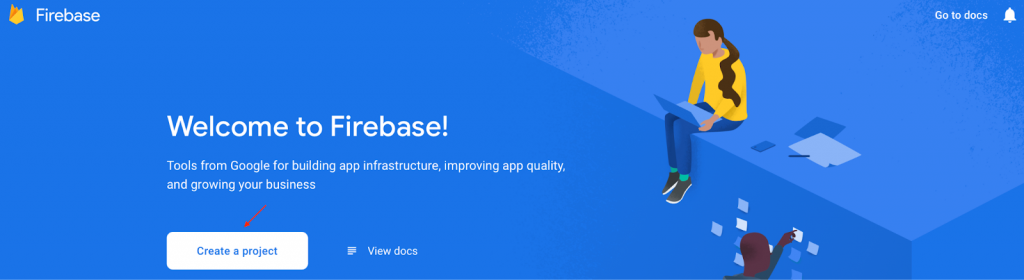
This allows you to sign in using an already existing Google account or create one from scratch. Once signed in, you additionally need to create a new project by pressing ”Create a project”:
From there, follow Firebase’s instructions and select options depending on your development needs. However, once you create the project, you need to change the billing plan from ”Spark” to ”Blaze”, which is required to ensure that the cloud functions will work as intended. Nevertheless, to do so, click on ”Upgrade” at the bottom left and select ”Blaze”:
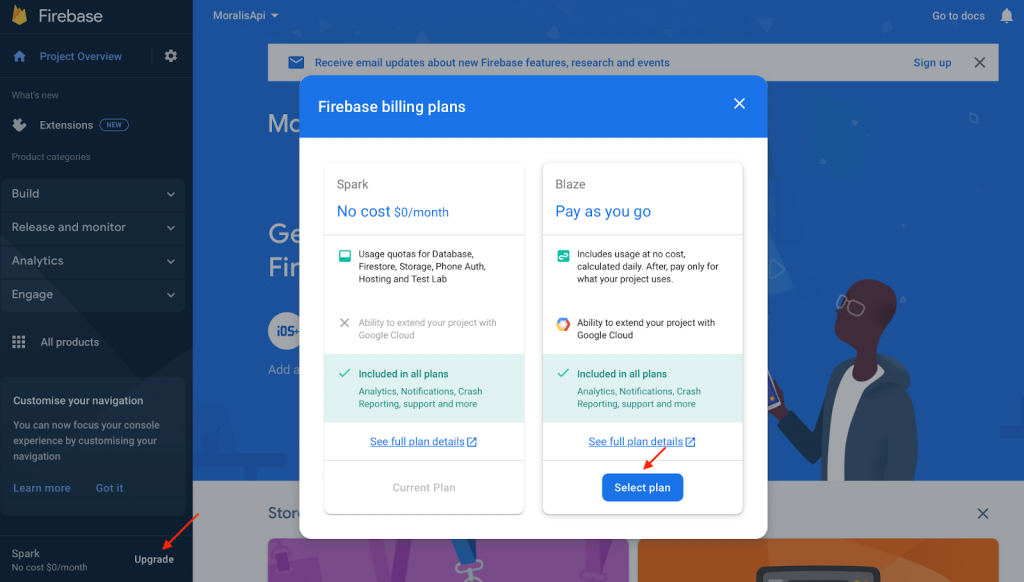
This is a ”pay-as-you-go” plan; however, Google will only start charging once you reach an extensive number of requests. So, for this tutorial, testing the application will most likely be free.
Nonetheless, this covers the necessary prerequisites. It is time to show you how to use Firebase as a proxy API for Web3!
Cloning the React Dapp – Create a Proxy API for Web3
With the prerequisites finalized, the first part of this ”Firebase as a Proxy API for Web3” tutorial revolves around cloning the React app repository to your local directory. So, you must first open an IDE (integrated development environment) and create a new folder. We will use VSC (Visual Studio Code) and name the folder ”FIREBASEMORALIS”.
From there, go ahead and fetch the repository URL from GitHub. You will find the link to the repo below:
Proxy API for Web3 Documentation – https://github.com/IAmJaysWay/FirebaseProxyFrontend/tree/main
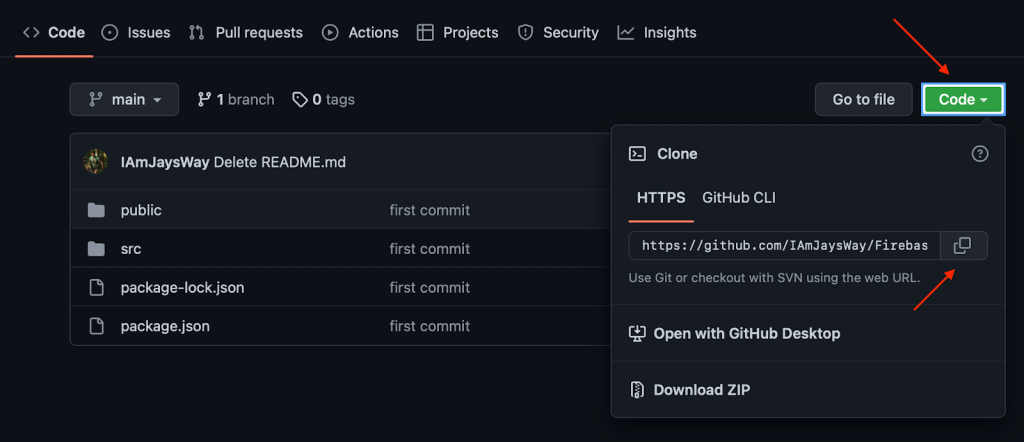
Once you open the GitHub repository, you can fetch the repo URL by clicking on the green ”Code” button and copying the repository URL:
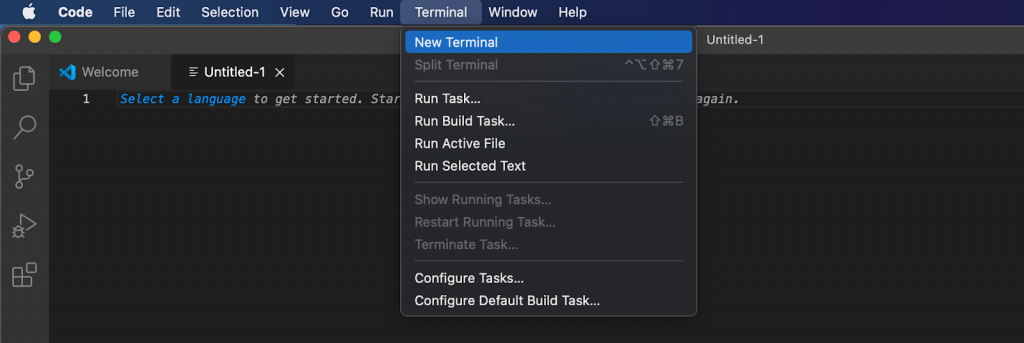
Next up, navigate back to your IDE and open a new terminal. If you are using VSC, click on ”Terminal” at the top, followed by ”New Terminal”:
From there, input the command below using the repository URL and hit enter. Moreover, make sure you are in the location of the folder that you previously created:
git clone “REPOSITORY_URL”
Once you hit enter, it should autonomously clone the project to your local directory, and you should find the ”frontend” folder in your IDE. That is essentially it! You should now have the entire code for the React application, which we will use to showcase the API functionality! Moreover, the following section will show you how to initialize Firebase and create a cloud function.
Initializing Firebase and Creating the Cloud Function to Create a Proxy API for Web3
This section will show you how to initialize Firebase. To do so, input the following command into the terminal in VSC:
For Mac:
sudo npm i -g firebase-tools
For Windows:
npm i -g firebase-tools
Once you run the command, it will prompt you for a password. As soon as you input the password, it will initialize Firebase. Then, once all the installations finalize, you can go ahead and log in to Firebase with the following command:
firebase login
If you are not logged in, this command will automatically open your web browser, allowing you to sign in. Once logged in, it is time to initialize the project you set up when covering the prerequisites. As such, input this command into the terminal:
firebase init
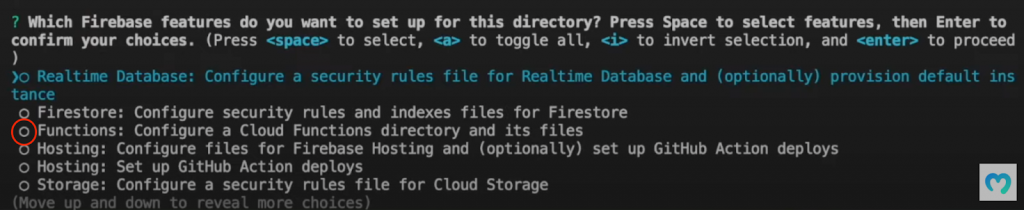
When you run the command above, you’ll notice that you must make a few selections. First up, you need to choose Firebase functionality, and you can select ”Functions: …” as the alternative by navigating with your arrow keys, hitting space, and finally hitting enter:
Next, you need to choose an existing project, allowing you to choose the project you created when setting up Firebase during the ”Prerequisite” stage:

You can then set the language to JavaScript:

Following this, you do not have to allow ”ESLint” and can choose to install the necessary dependencies immediately:

This should initialize everything in your IDE, and you should now have the ”functions folder” available in VSC:

You can navigate to this file by inputting the following command into the terminal:
cd functions
From there, install Moralis by inputting this command:
npm i moralis
Next, open the ”functions/index.js” file and replace all the code with the following contents:
const functions = require("firebase-functions");
const Moralis = require("moralis").default;
const { EvmChain } = require("@moralisweb3/evm-utils");

exports.getPrice = functions.https.onRequest(async (req, res) => {

    await Moralis.start(
        {
            apiKey: "Moralis API KEY"
        }
    );


    const address = req.query.address;


    const response = await Moralis.EvmApi.token.getTokenPrice({
        address: address,
        chain: EvmChain.ETHEREUM
    });

    const usd = response.raw.usdPrice;

    res.json({usd});

});
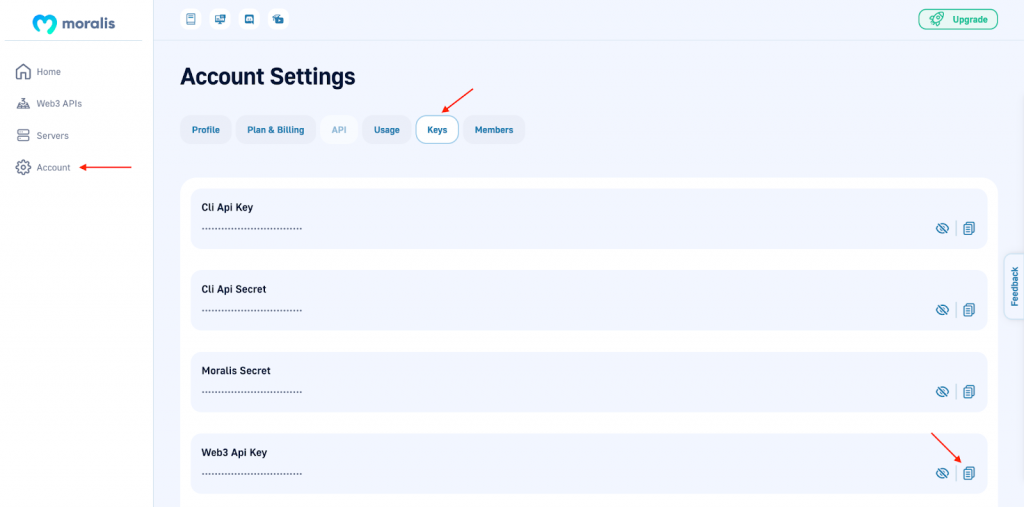
All that remains now is replacing ”Moralis API KEY” on the ninth line with your API key. You can fetch the key by logging into Moralis, clicking on ”Account”, selecting the ”Keys” tab, and copying the Web3 API key:
Deploying the Cloud Function
Now that you have finalized the cloud function, it is time to deploy the Firebase function. You can do so by inputting the following command into the terminal:
firebase deploy --only functions
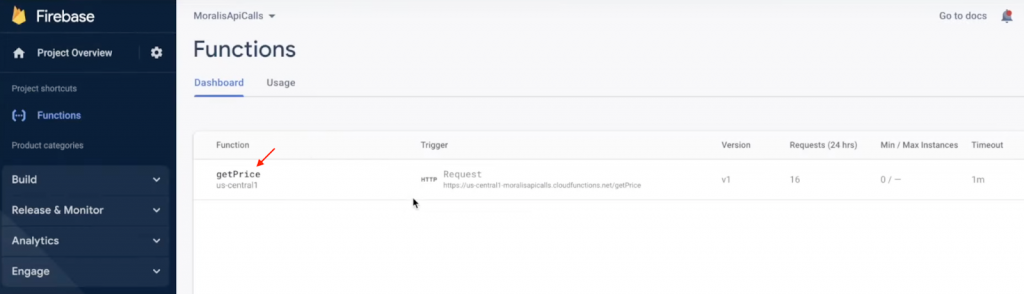
This should start deploying your function onto the Firebase project you created earlier. It might take some time; however, worry not; the function will deploy momentarily. Once the deployment process finalizes, you should be able to find the functions on the Firebase platform:
That’s it for deploying the function! However, you might also want to ensure that everything works as intended. As such, navigate back to your IDE and jump into the ”frontend” folder using these commands:
cd..

cd frontend
Next up, install all necessary dependencies by inputting the following into the terminal:
npm i
Finally, start the application with this input:
npm run start
This should launch the application, allowing you to input an Ethereum token address and receive a USD price in return!
Now that’s it for this tutorial! If you experienced trouble during the guide, please take a closer look at the video from before or join Moralis’ Discord channel, where our community engineers will be able to help with most of your concerns!
Summary – Using Firebase as a Proxy API for Web3
This article illustrated how to use Firebase as a proxy API for Web3. In doing so, we quickly created a React dapp where users could input a token address and query the price. This dapp uses a Firebase cloud function as a proxy API for all the Moralis Web3 API calls. Through this process, it is possible to store your private Web3 API key securely on a Firebase server. As a result, it is less susceptible to attacks on the client side.
If you found this article helpful, check out additional Moralis content on the Web3 blog. For example, check out our guide on Moralis’ BNB Chain boilerplate. That boilerplate allows you to build BNB Chain dapps in no time! Moreover, if you are interested in developing dapps for other networks, check out our guide outlining the process of building dapps in general: ”How to Build a Web3 App”.
So, if you want to use Firebase as a proxy API for Web3 or explore the fastest way to build a Web3 app, sign up with Moralis right now! Creating an account is free and only takes a couple of seconds!
