Are you looking for the easiest way to run a Polygon RPC node? If so, you’re in the right place! In this guide, we’ll walk you through the steps to set up and manage a Polygon node using Moralis – the industry’s leading Web3 infrastructure provider. If you’re eager to dive straight in, here’s a brief overview of the entire process:
- Step 1 – Sign up for free with Moralis.
- Step 2 – Log in, go to the ”Nodes” tab, and create your node:

- Step 3 – Copy and integrate one of the node URLs into your dapp:
That’s it; running nodes doesn’t have to be more challenging than that when working with Moralis. However, if you’re looking for a more comprehensive breakdown, join us in this article as we dive deeper into the ins and outs of running a Polygon node!
Also, if you wish to run nodes yourself, don’t forget to sign up with Moralis. You can create an account free of charge, and you’ll gain instant access to both our nodes and APIs!
Overview
Establishing and maintaining the infrastructure to manage blockchain nodes yourself poses several challenges. For instance, operating a full or archive node requires considerable resources, including a high demand for computational power, storage, bandwidth, and so on. Additionally, each blockchain operates its own distinct network, necessitating the deployment and maintenance of separate nodes for each chain. This not only multiplies the cost and complexity but also scales the resource requirements as you add more chains. Fortunately, you can circumvent these hurdles by leveraging a Web3 infrastructure provider like Moralis!

Moralis significantly streamlines the process of running blockchain nodes by managing the underlying complexities for you. But how does it work? And how do you interact with a node? If you’re eager to uncover the answers to these questions, this guide is for you. Join us as we show you how to run a Polygon node seamlessly using Moralis. Let’s get started!
What is a Polygon Node?
A Polygon node is essentially a computer or server running specific client software that enables it to participate actively in the Polygon network. This network comprises numerous nodes, which constantly communicate to propagate new transactions and blocks across the chain. In turn, this ensures that every node maintains a consistent and accurate copy of the Polygon blockchain!

Nodes play a pivotal role within the Polygon network by participating in the blockchain’s proof-of-stake (PoS) consensus mechanism. In this system, validators are selected to verify blocks based on the number of cryptocurrency tokens they have staked as security. These tokens act as collateral, encouraging nodes to operate honestly and reliably, thereby bolstering the network’s security and efficiency.
Additionally, nodes within the Polygon network are tasked with preserving the complete history of all past transactions. This comprehensive record-keeping is vital as it enables anyone to confirm and understand the current state of the network.
Furthermore, Polygon nodes are fundamental to the Web3 development landscape, as they facilitate developer interaction with the network. Specifically, these nodes enable developers to perform both write and read operations, which is critical when building decentralized applications (dapps).
Having outlined the fundamental aspects of Polygon nodes, we can now explore the various types of nodes that exist within the network!
Different Types of Polygon Nodes
There are three main types of Polygon nodes that serve different purposes, and we’ll break down each briefly below:
- Archive Nodes: Archive nodes store a blockchain’s complete history, keeping a comprehensive record of all transactions and data since the chain’s inception. These nodes contain terabytes of data, making them costly to maintain and manage. Despite their high maintenance cost, archive nodes are indispensable for users needing access to historical blockchain data that is not available through other types of nodes.
- Full Nodes: Full nodes store and maintain recent data for the last 128 blocks. These nodes serve blockchain data upon request and support the Polygon network by participating in block validation. They are pivotal in maintaining the network’s integrity and ensuring all states of the Polygon blockchain are consistently up-to-date.
- Light Nodes: Designed for efficiency, light nodes download only block headers – the minimum amount of data needed to interact with the Polygon network. This makes them a cost-effective solution for users who only require basic functionality.

Exploring the Easiest Way to Run a Polygon Node
With Moralis, you can set up and run your own Polygon node in a matter of seconds. And we’ll show you exactly how in three simple steps:
- Sign Up with Moralis
- Create a New Polygon Node
- Start Using Your Polygon Node
Step 1: Sign Up with Moralis
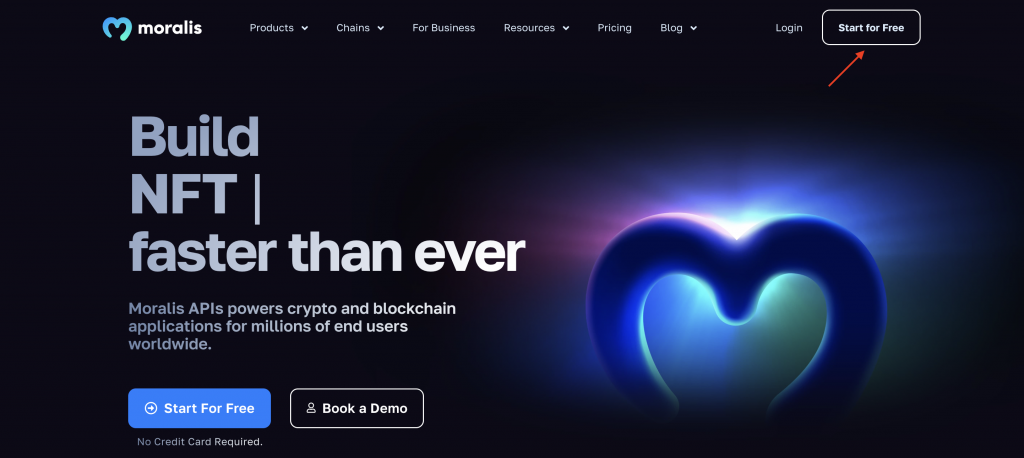
To run a Polygon node with Moralis, you’ll first need a Moralis account. So, if you haven’t already, sign up for free by clicking on the ”Start for Free” button at the top:
Step 2: Create a Polygon Node
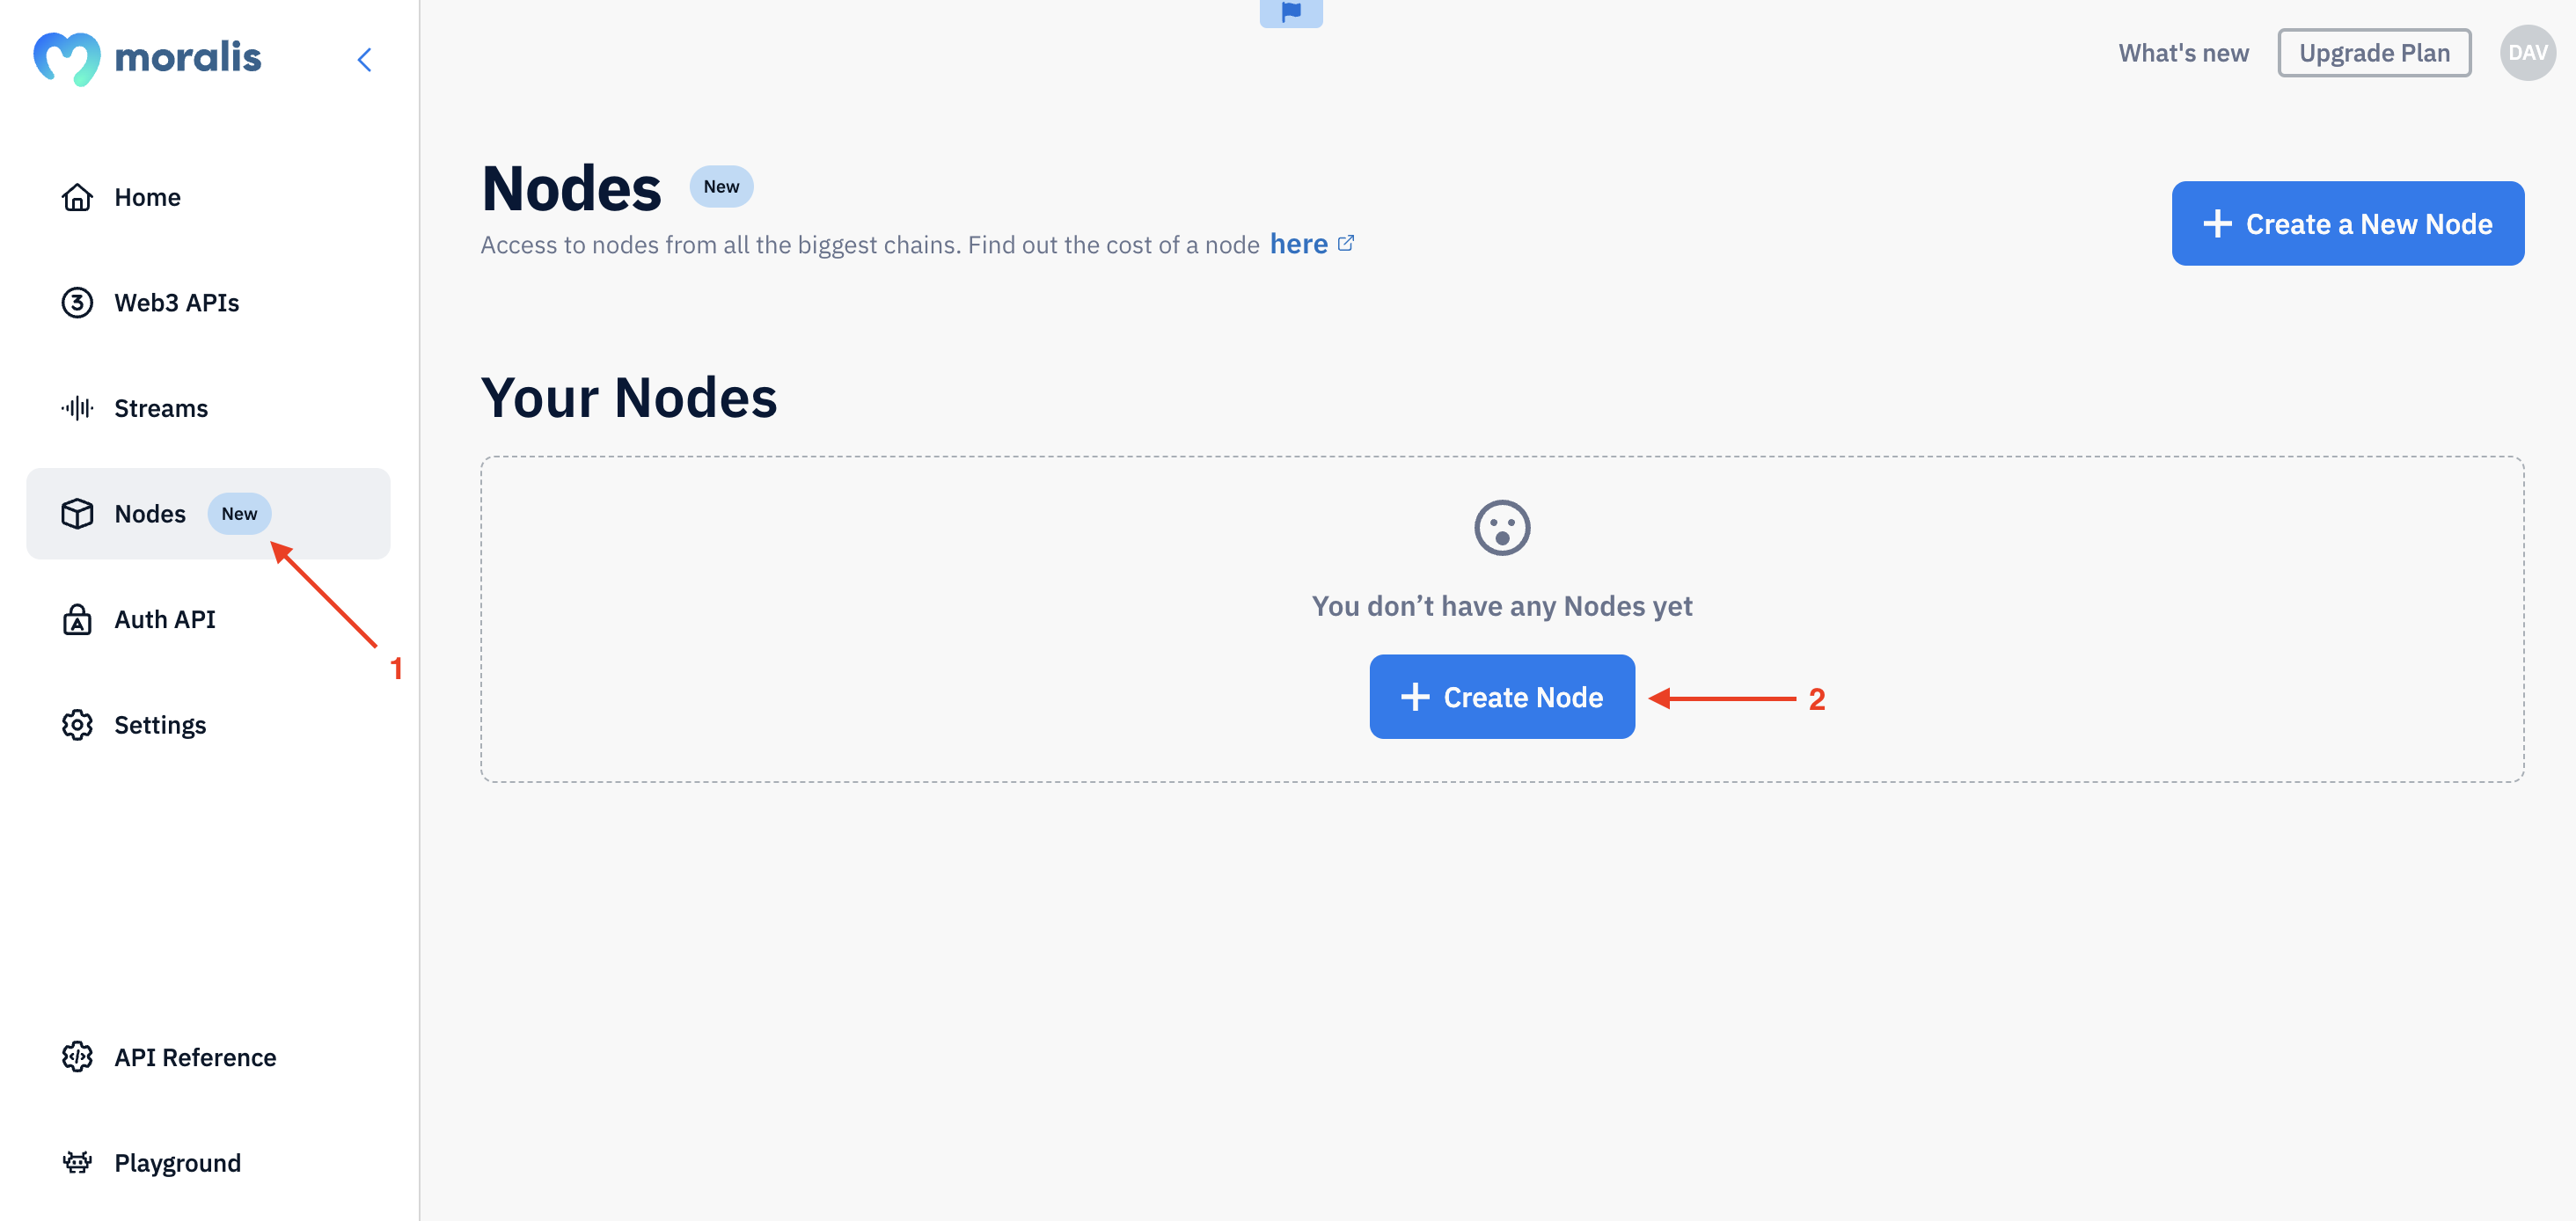
Sign in to Moralis, head on over to the ”Nodes” tab, and click on the ”+ Create Node” button:
You then need to select the right protocol, network, and click on ”Create Node”:
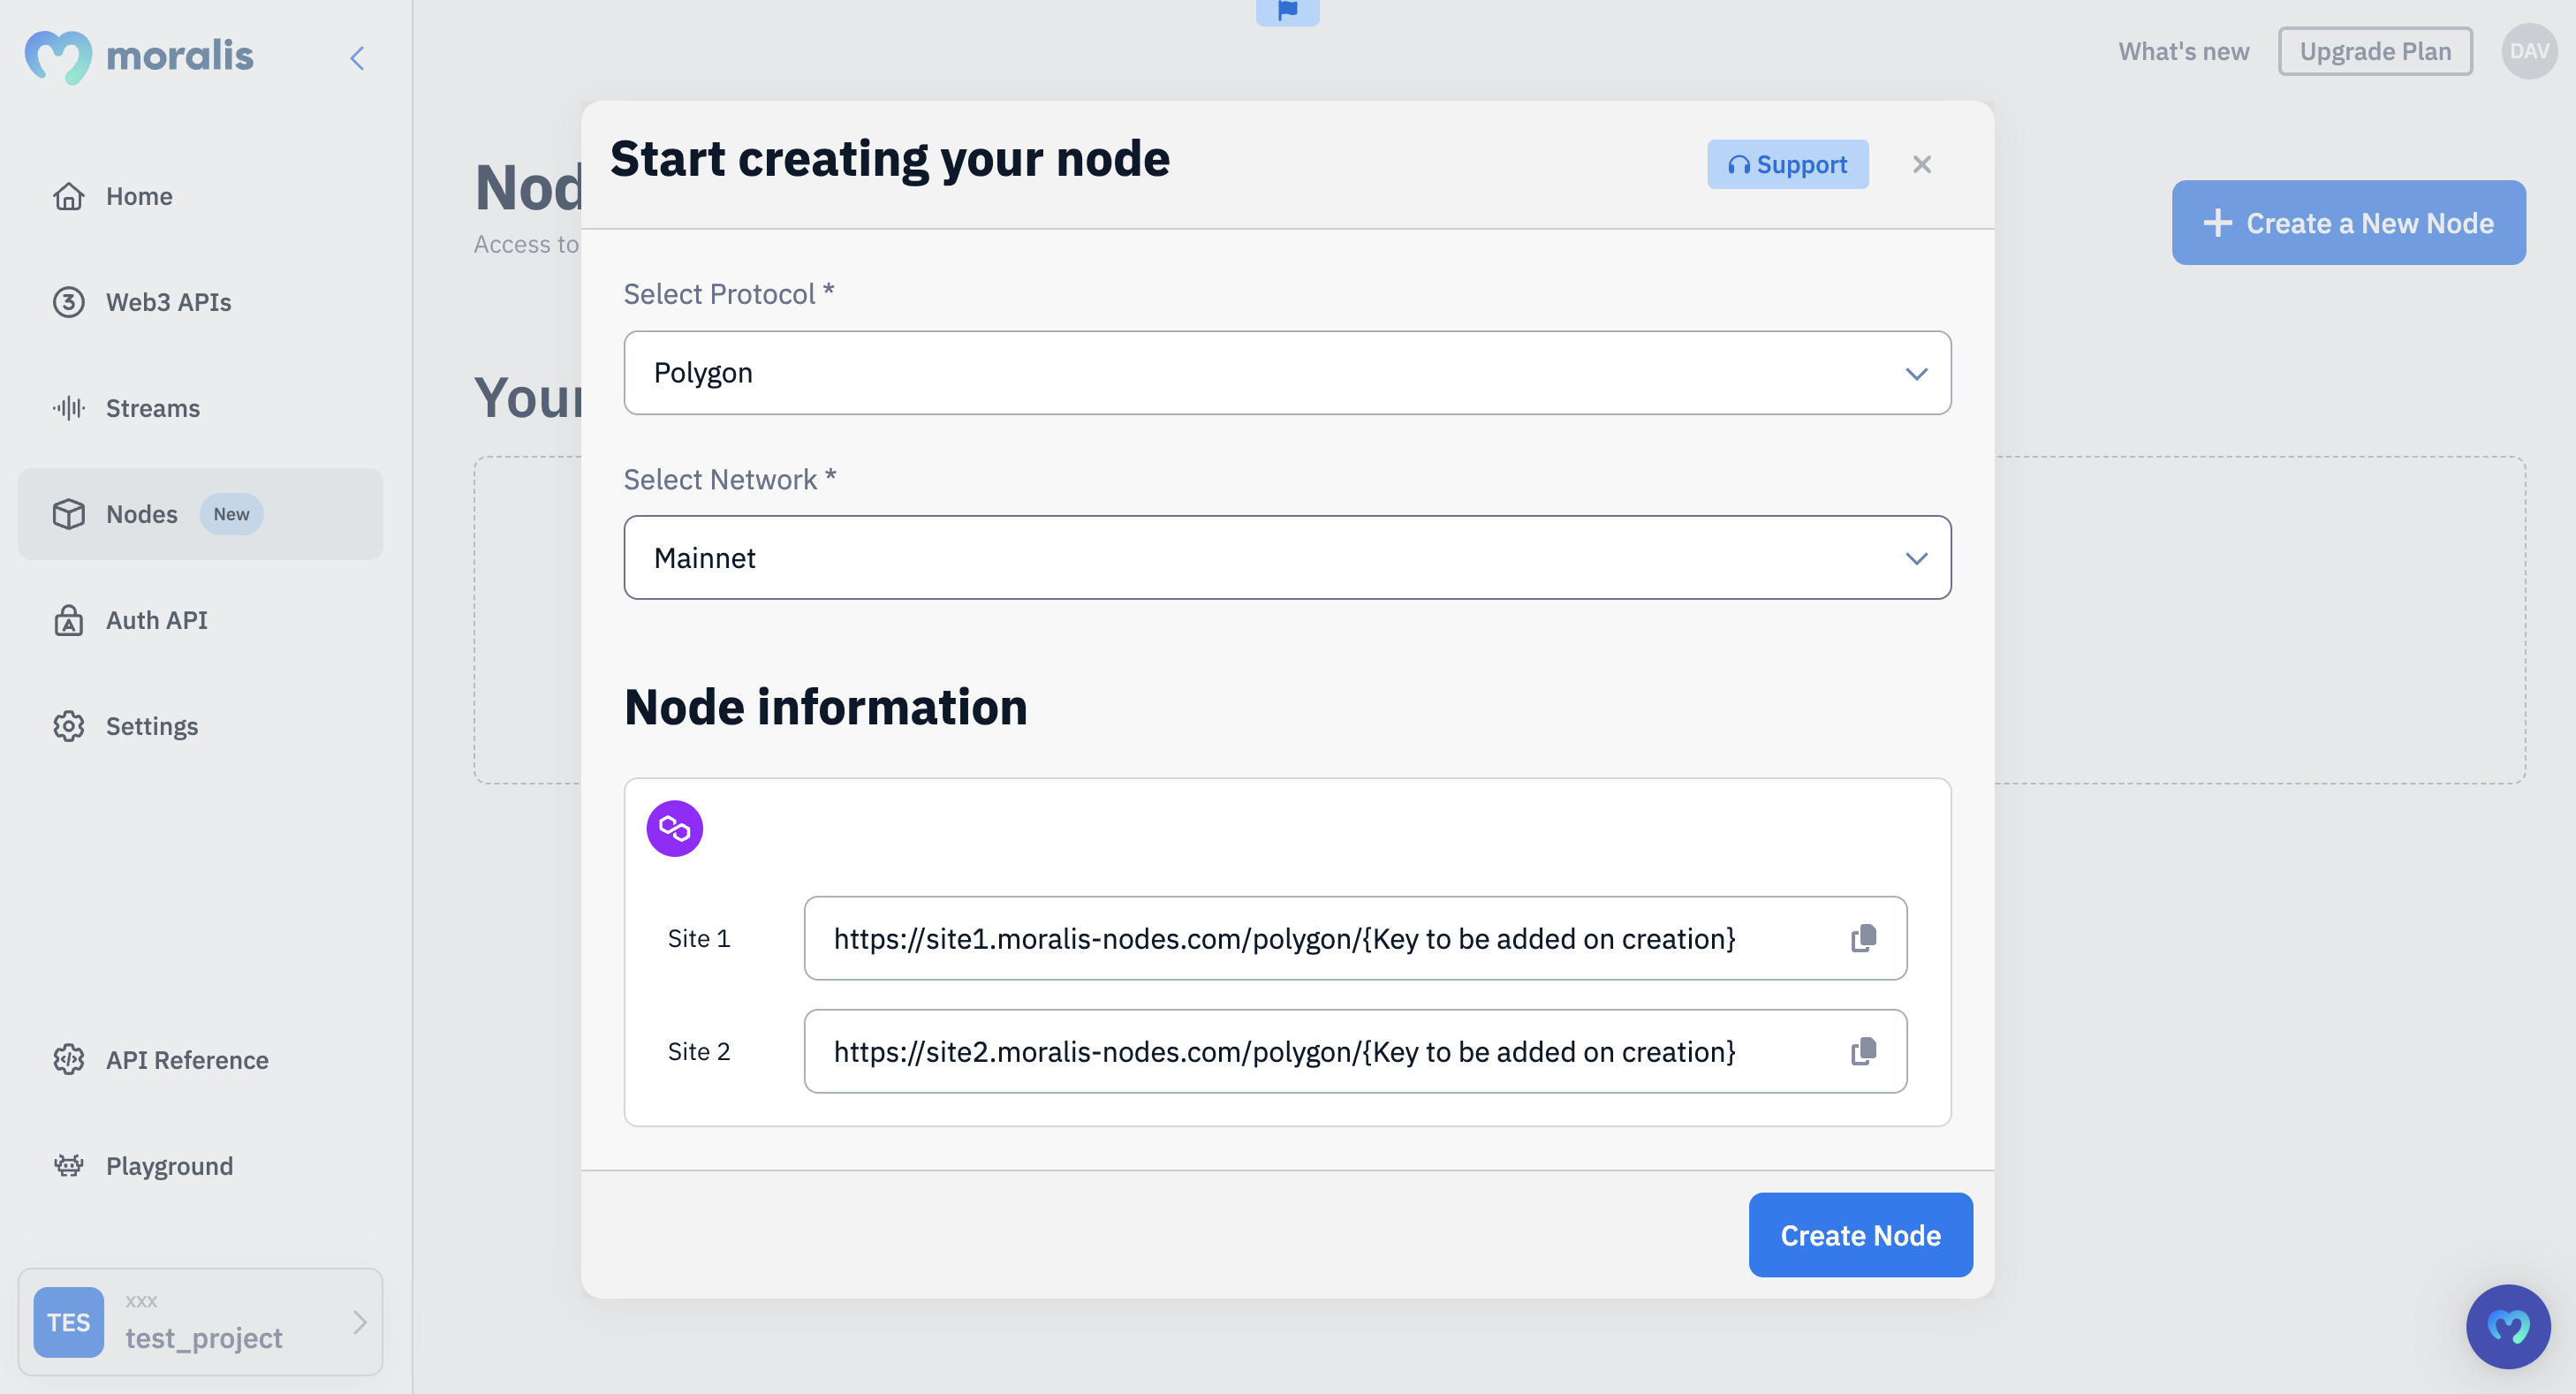
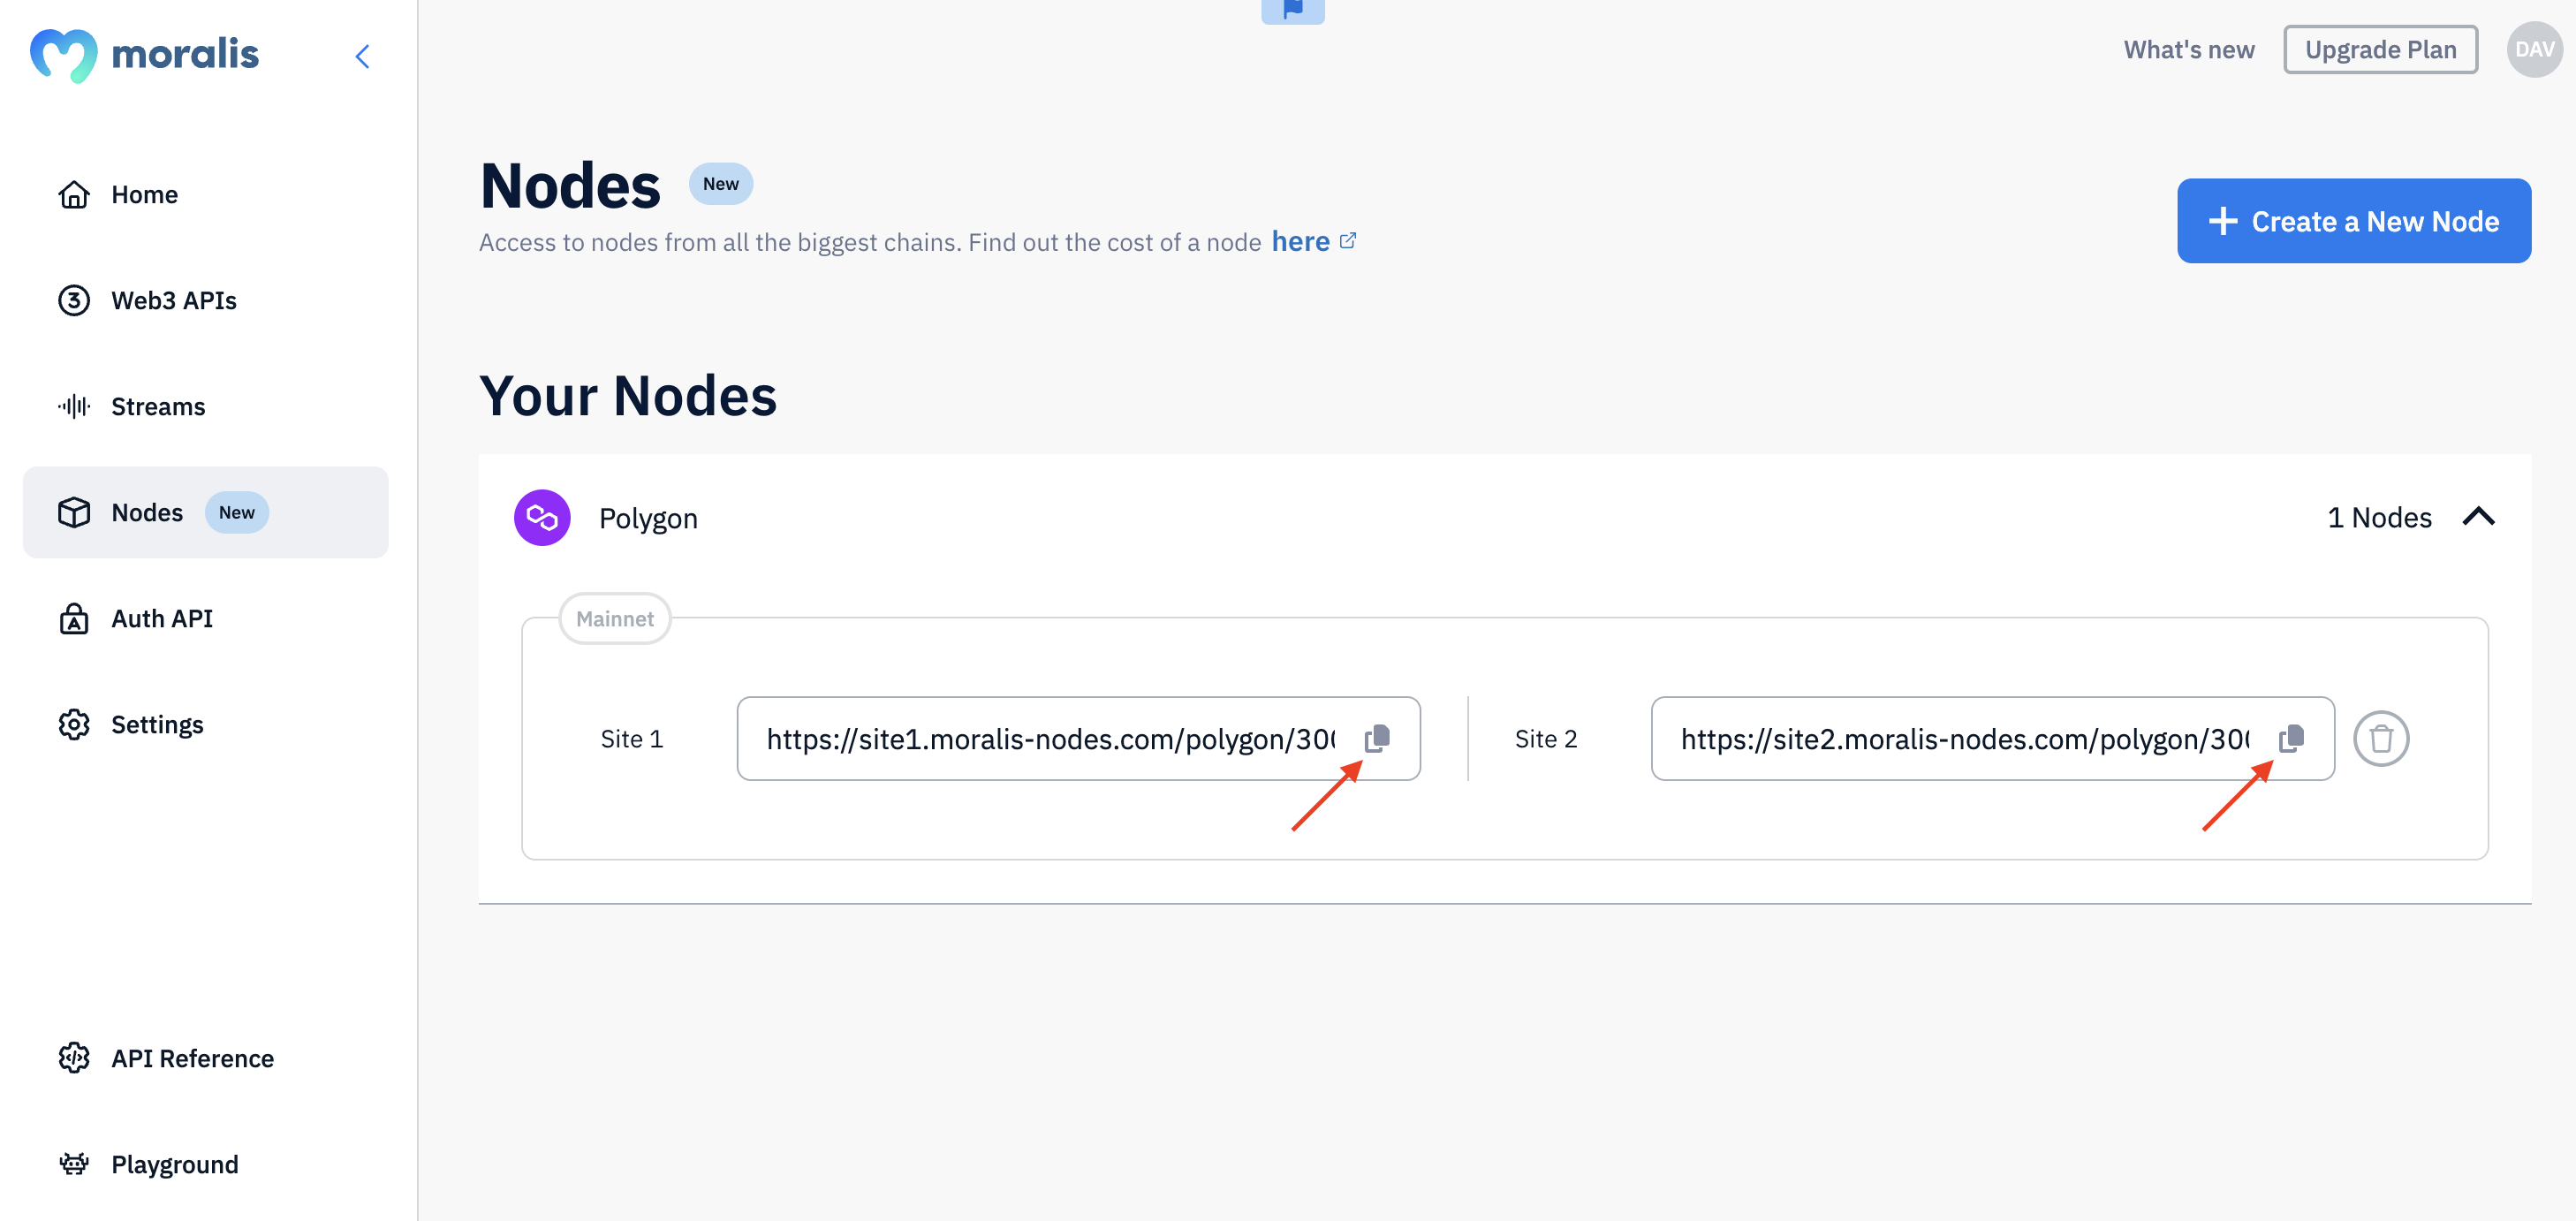
Doing so will create two sites: Site 1 and Site 2:
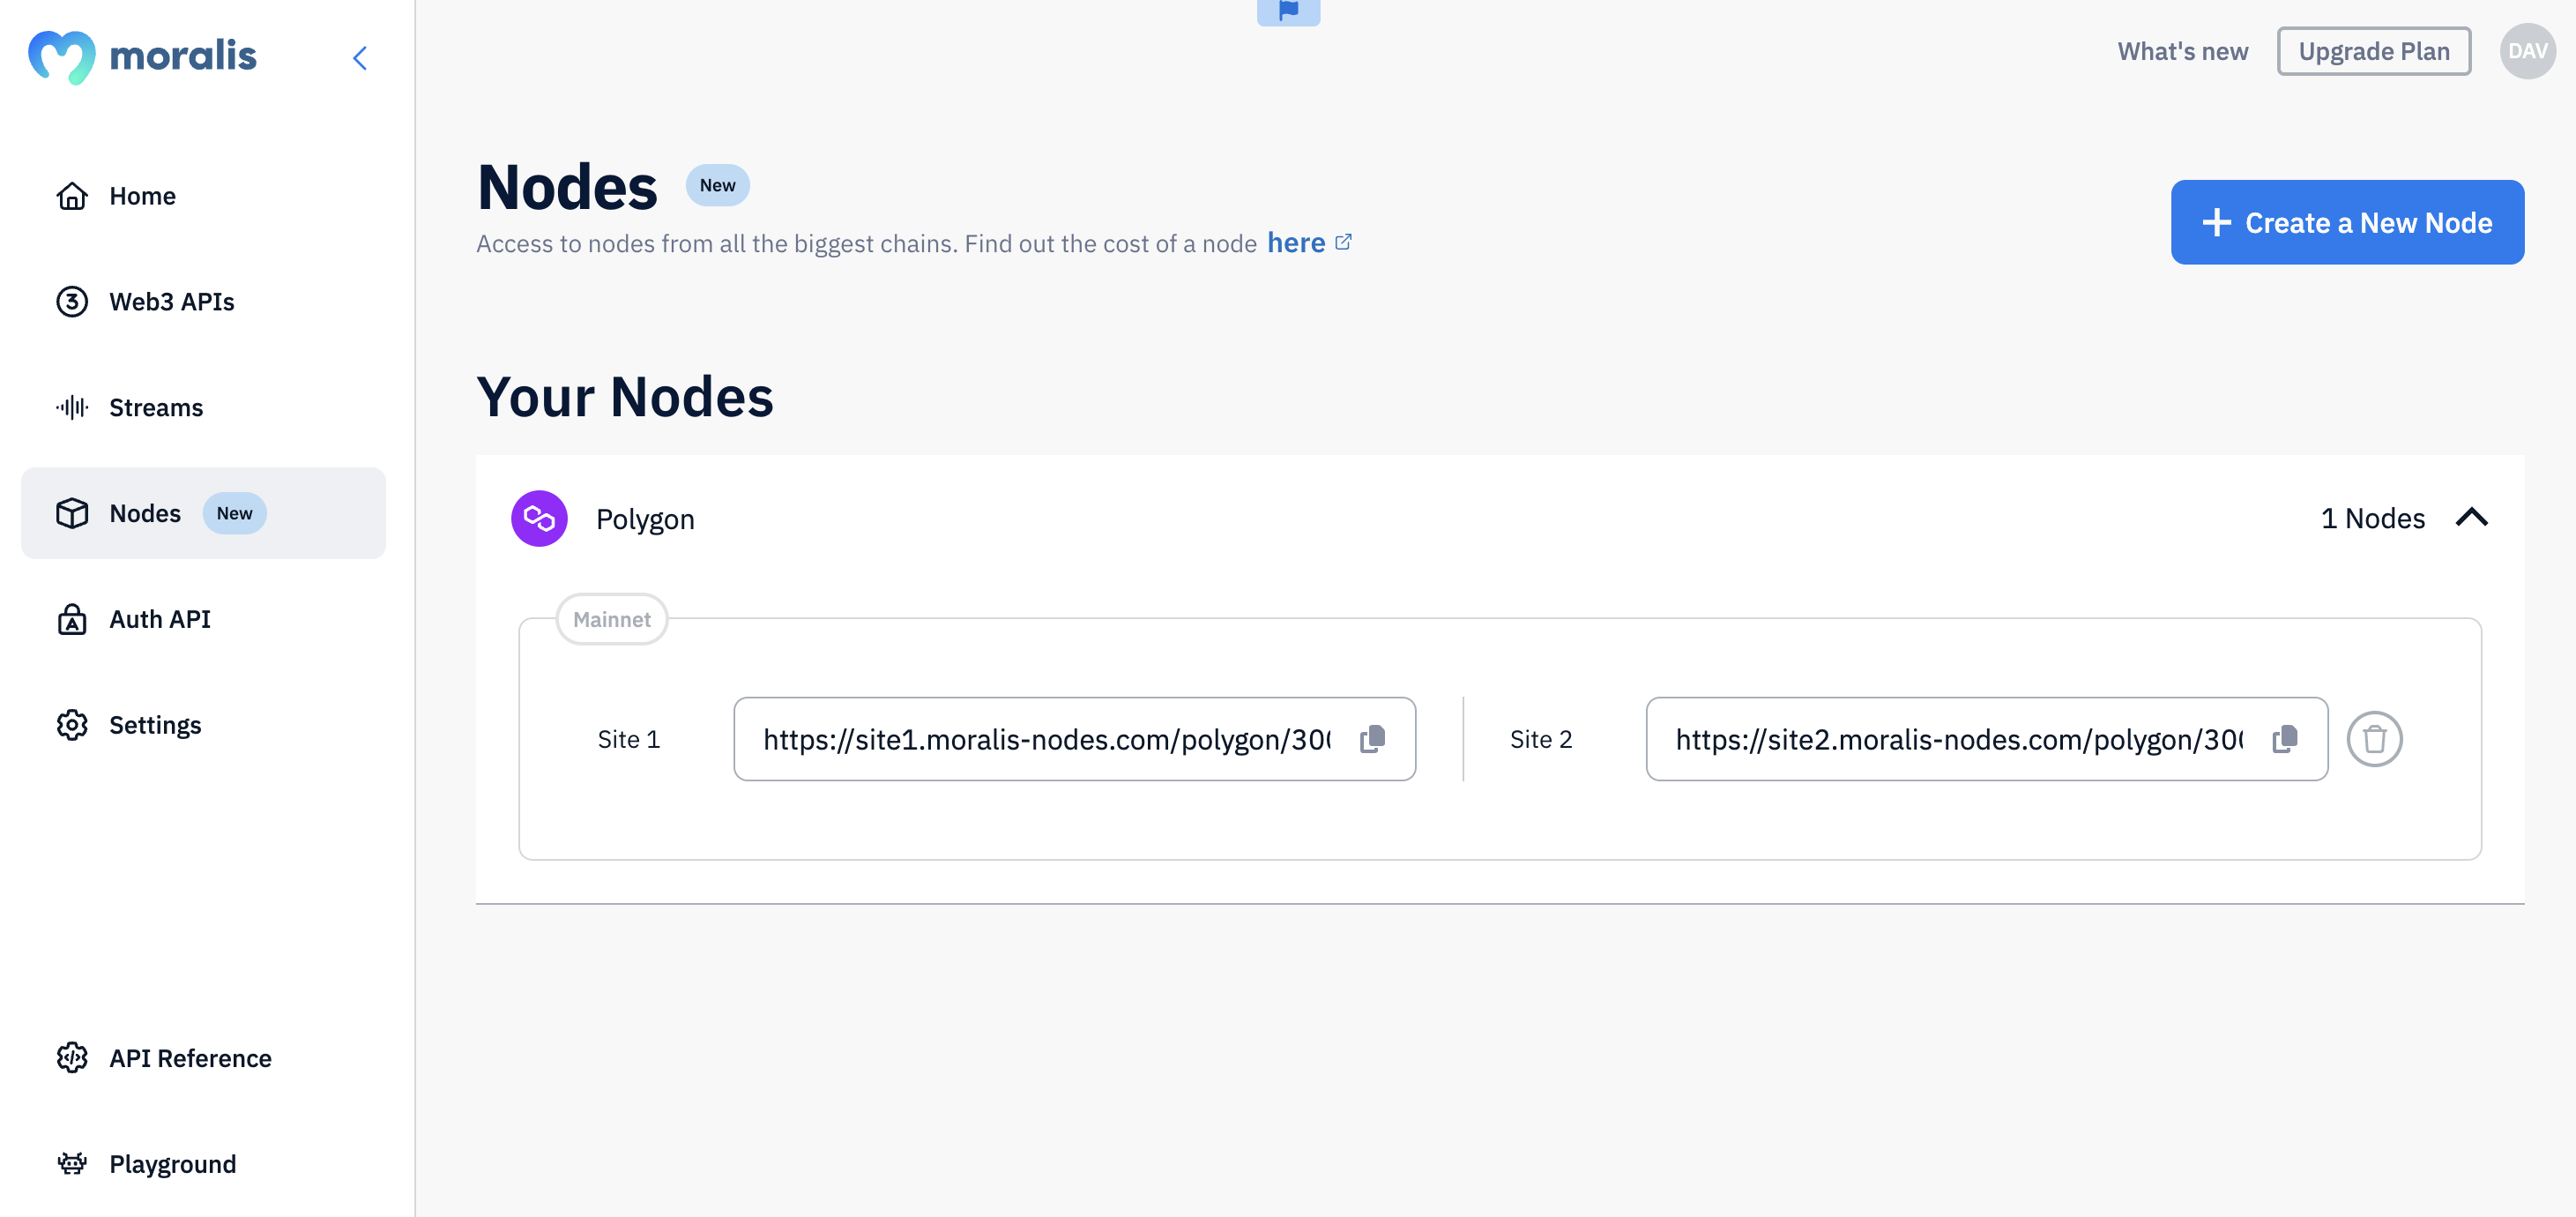
You can use either of the sites, and we simply provide two for improved reliability!
Step 3: Use Your Polygon Node
After setting up your node, you’re now ready to start making RPC calls from your applications. To do so, you just need to copy one of the URLs and integrate this into your project:

That’s it; this is how easy it is to run a Polygon node when working with Moralis. From here, you can now start interacting with your node!
How to Make RPC Calls to Your Polygon Node
Now that you know how to set up and run your Polygon node with Moralis, we’ll also show you how to interact with it. And for this, we’ll briefly show you how to get the native balance of a Polygon address using the ethers library!
First of all, open your preferred IDE, set up a folder, and initialize a new project with the following terminal command:
npm init
Next, install ethers by running this command:
npm install ethers
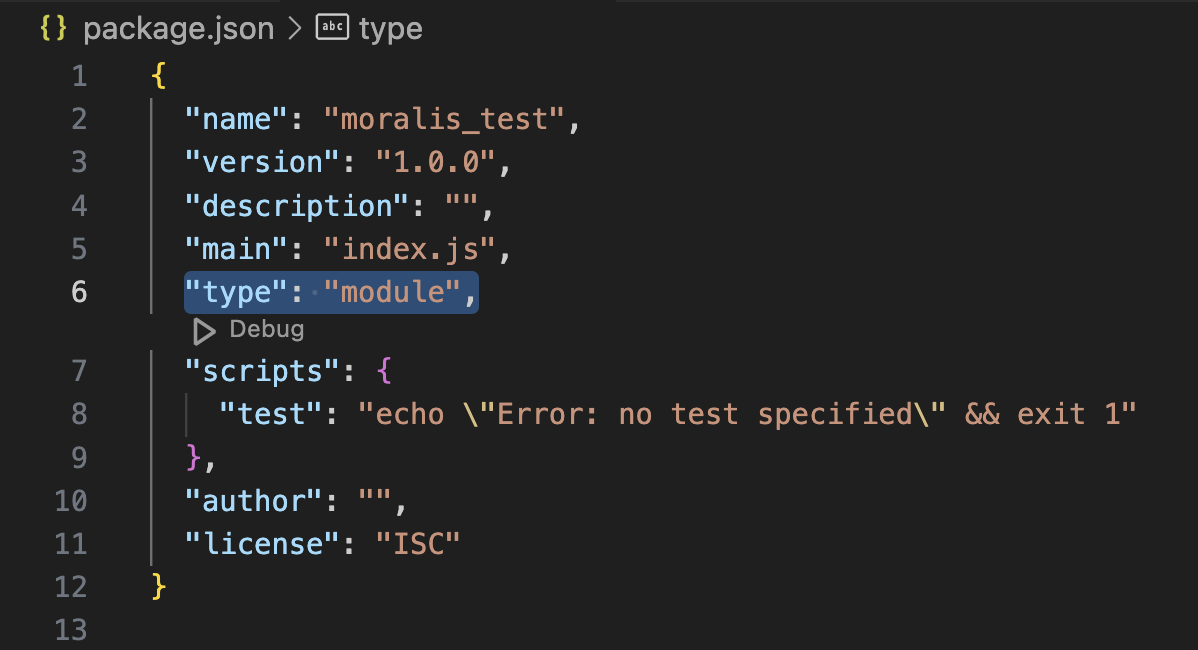
You then have to open your ”package.json” file and add ”type”: ”module” to the list:
From here, create a new ”index.js” file and add the following code:
import { ethers } from "ethers";

const provider = new ethers.providers.JsonRpcProvider("YOUR_NODE_URL");

const address = "0x0d500b1d8e8ef31e21c99d1db9a6444d3adf1270";

const balance = await provider.getBalance(address);
console.log("Balance: ", ethers.utils.formatEther(balance));
Next, you need to make a few small configurations to the code. First, replace YOUR_NODE_URL with your Moralis node URL. Next, configure the address parameter to fit your query.
Lastly, you just need to execute the code by running the following terminal command in the project’s root folder:
node index.js
In return, you’ll get the native balance of the address in question. It will look something like this:
Balance: 176243719.21
Congratulations! You now know how to make RPC calls to your Polygon node!
For a more detailed breakdown with additional examples, please check out the video below from the Moralis YouTube channel:
Use Cases for Polygon Nodes
Polygon nodes have several prominent use cases, and we’ll look at three common examples down below:
- Transaction Verification: Polygon nodes are responsible for verifying on-chain transactions. This includes checking the legitimacy of verifications, ensuring senders have sufficient funds, and more.
- Block Propagation: Polygon nodes also propagate new blocks to other nodes. As soon as a node receives a new block, it validates the block and distributes it to the network. This helps maintain an updated and uniform state of the chain across all nodes.
- Dapp Development: Nodes are instrumental in dapp development, giving developers a way to both read and write blockchain data. As such, by connecting to a trusted Polygon RPC node, developers can seamlessly interact with the blockchain in various ways.

Are There Limitations to Polygon Nodes?
Nodes are essential to the operation of blockchain networks but present some limitations when it comes to querying data. Here are three examples:
- Complex: Querying a network with a node provides raw and unformatted data, lacking the structure necessary for immediate use. Developers must then undertake the laborious task of decoding, interpreting, and integrating this data into usable formats.
- Speed: Utilizing nodes for complex queries often requires multiple requests, which can significantly slow down the performance and efficiency of dapps.
- Lack of Cross-Chain Capability: Nodes are chain-specific. As such, to access data across multiple networks, developers must set up and manage separate nodes for each chain, significantly increasing infrastructure costs.
So, how can we effectively address these challenges?
The answer lies with Moralis and our top-tier Web3 APIs that significantly streamline the process of querying blockchain data!
Beyond Polygon Nodes – Exploring Moralis’ Web3 APIs
With Moralis’ industry-leading Web3 APIs, you can seamlessly query complex on-chain data with single API calls, making dapp development a breeze. In our suite of development tools, you’ll find ten+ use case-specific APIs, including the Wallet API, Token API, NFT API, and many others. As such, it doesn’t matter whether you’re building a cryptocurrency wallet, decentralized exchange (DEX), or any other Web3 project; we have got you covered!
So, why should you leverage Moralis when building dapps?
- Comprehensive: Our APIs are designed with the outcome in mind, giving you more data with fewer calls. Get decoded on-chain and off-chain data from multiple sources with just one line of code.
- Simple: Moralis’ APIs are truly cross-chain compatible, supporting networks like Ethereum, Polygon, BNB Smart Chain, Base, Optimism, and many others. As such, when using our APIs, you get a unified toolkit for all major chains so you can streamline your developer experience.
- Trusted: Moralis is the only SOC 2 Type 2 certified infrastructure provider, ensuring the gold standard of enterprise-grade data security.
That said, let’s examine three of our APIs closer to illustrate how easy it is to get on-chain data with Moralis!
Wallet API
Moralis’ Wallet API is the ultimate tool for wallet builders. This premier interface supports over 500 million addresses across all the biggest chains, including Polygon, Ethereum, BSC, and many others. So, whether you’re building a crypto wallet or simply want to integrate wallet features into your dapp, Moralis takes care of all your data needs!
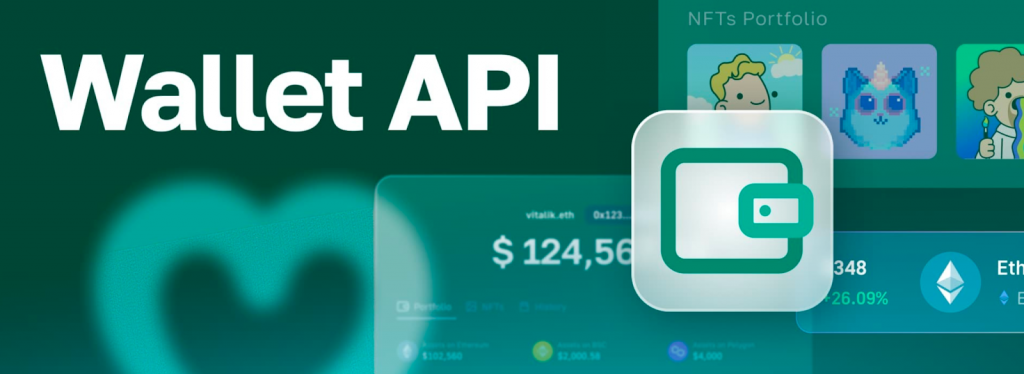
The Wallet API allows you to seamlessly query a wallet’s history, balance, profitability, net worth, and more using single endpoints. As such, when building with Moralis, it has never been easier to integrate wallet data into your dapps.
So, how does the Wallet API work?
To demo the power of this top-tier API, here’s a brief script for fetching the history of a wallet:
import fetch from 'node-fetch';

const options = {
 method: 'GET',
 headers: {
   accept: 'application/json',
   'X-API-Key': 'YOUR_API_KEY'
 },
};

fetch(
 'https://deep-index.moralis.io/api/v2.2/wallets/0xd8da6bf26964af9d7eed9e03e53415d37aa96045/history?chain=eth&order=DESC',
 options
)
 .then((response) => response.json())
 .then((response) => console.log(response))
 .catch((err) => console.error(err));
With only a single endpoint, you get a wallet’s full history, along with automatic categories, address labels, summaries, and more. Here’s an example of what the response might look like:
{
  //...
  "result": [
    {
      "hash": "0xdb50bd448ddc61166989477545fc95c76edcf6febdac5d6f8eda26cc56ac1d92",
      "nonce": "14",
      "transaction_index": "159",
      "from_address": "0xc84d8afb525268cbc95b6edf6ca35d727c273e1c",
      "from_address_label": null,
      "to_address": "0x3d9a49862b9735e6050f9d8d5540115ed5e3eb77",
      "to_address_label": null,
      "value": "0",
      "gas": "5272110",
      "gas_price": "11434748692",
      "input": "",
      "receipt_cumulative_gas_used": "14298989",
      "receipt_gas_used": "3485907",
      "receipt_status": "1",
      "block_timestamp": "2024-04-12T05:18:11.000Z",
      "block_number": "19637388",
      "block_hash": "0x7a86e910045253947b85f8c0986c7413888faf8962349eed3d62d286ec43a8f4",
      "nft_transfers": [],
      "erc20_transfers": [
        {
          "token_name": "TOX",
          "token_symbol": "TOX",
          "token_logo": null,
          "token_decimals": "8",
          "from_address": "0x800feb2b1092b93434048a17ecc6a1fad2687842",
          "from_address_label": null,
          "to_address": "0xd8da6bf26964af9d7eed9e03e53415d37aa96045",
          "to_address_label": null,
          "address": "0x3d9a49862b9735e6050f9d8d5540115ed5e3eb77",
          "log_index": 685,
          "value": "744397568560311000",
          "possible_spam": false,
          "verified_contract": false,
          "direction": "receive",
          "value_formatted": "7443975685.60311"
        }
      ],
      "method_label": null,
      "native_transfers": [],
      "summary": "Received 7,443,975,685.6031 TOX from 0x80...7842",
      "possible_spam": false,
      "category": "token receive"
    },
    //...
  ]
}
Token API
The Token API is the industry’s leading tool for ERC-20 data. With unparalleled coverage, the Token API supports every single token across all chains. This includes stablecoins, meme coins, and everything in between. So, if you’re looking to build dapps, use the Token API for your ERC-20 data needs!
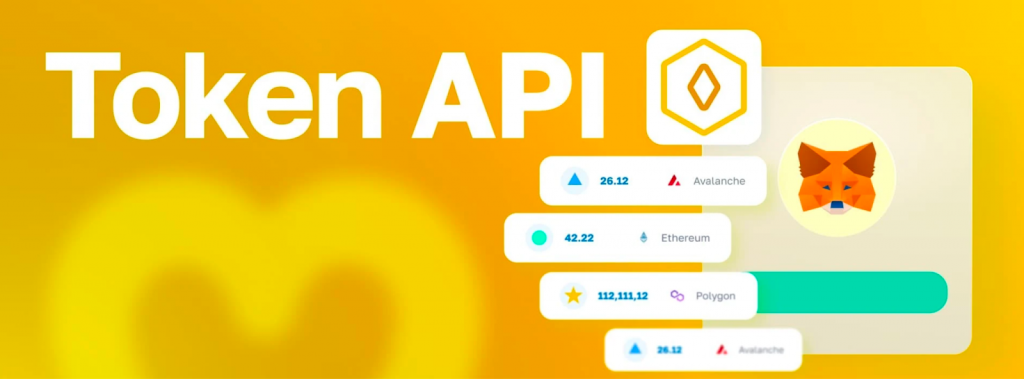
With the Token API, you can get token balances, prices, metadata, and much more with only single requests. As such, when using this premier tool, you can now build everything from DEXs to portfolio trackers without breaking a sweat.
To highlight the accessibility of the Token API, let’s look at a simple script for querying a wallet’s token balances with prices:
import fetch from 'node-fetch';

const options = {
  method: 'GET',
  headers: {
    accept: 'application/json',
    'X-API-Key': 'YOUR_API_KEY'
  },
};

fetch('https://deep-index.moralis.io/api/v2.2/wallets/0xcB1C1FdE09f811B294172696404e88E658659905/tokens?chain=eth', options)
  .then(response => response.json())
  .then(response => console.log(response))
  .catch(err => console.error(err));
In return for calling the script above, you’ll get an array of all tokens held by the wallet in question. What’s more, the response contains prices and other useful information, highlighting the comprehensiveness of our APIs:
{
   //...
  "result": [
    {
      "token_address": "0xa0b86991c6218b36c1d19d4a2e9eb0ce3606eb48",
      "symbol": "USDC",
      "name": "USD Coin",
      "logo": "https://cdn.moralis.io/eth/0xa0b86991c6218b36c1d19d4a2e9eb0ce3606eb48.png",
      "thumbnail": "https://cdn.moralis.io/eth/0xa0b86991c6218b36c1d19d4a2e9eb0ce3606eb48_thumb.png",
      "decimals": 6,
      "balance": "4553447",
      "possible_spam": false,
      "verified_contract": true,
      "balance_formatted": "4.553447",
      "usd_price": 1.001818879776249,
      "usd_price_24hr_percent_change": 0.1818879776249283,
      "usd_price_24hr_usd_change": 0.0018221880998897314,
      "usd_value": 4.561729172660522,
      "usd_value_24hr_usd_change": 0.008297236936878599,
      "native_token": false,
      "portfolio_percentage": 100
    },
    //...
  ]
}
NFT API
Moralis’ NFT API is the industry’s #1 interface for NFT data, supporting everything from well-established projects like CryptoPunks to tokens that dropped just seconds ago. So, when building NFT-based dapps, your best option for on-chain data is to leverage Moralis!
With the NFT API, you can seamlessly get NFT balances, up-to-date metadata, real-time prices, and much more. As such, with the NFT API, you can build everything from NFT marketplaces to Web3 games with ease.
To highlight the power of the NFT API, here’s a script for fetching the metadata of an NFT:
import Moralis from 'moralis';

try {
  await Moralis.start({
    apiKey: "YOUR_API_KEY"
  });

  const response = await Moralis.EvmApi.nft.getNFTMetadata({
    "chain": "0x1",
    "address": "0xb47e3cd837dDF8e4c57F05d70Ab865de6e193BBB",
    "tokenId": "1"
  });

  console.log(response.raw);
} catch (e) {
  console.error(e);
}
In return for running the code above, you’ll get a comprehensive response with up-to-date metadata for the NFT in question. Here’s an example of what it might look like:
{
  "amount": "1",
  "token_id": "1",
  "token_address": "0xb47e3cd837ddf8e4c57f05d70ab865de6e193bbb",
  "contract_type": "CRYPTOPUNKS",
  "owner_of": "0xffa914c83d851b9fe372e4ba6a6e131373aa16ab",
  "last_metadata_sync": "2024-04-23T06:25:13.907Z",
  "last_token_uri_sync": "2024-04-23T06:25:13.810Z",
  "metadata": "{\"image\":\"https://www.larvalabs.com/cryptopunks/cryptopunk001.png\",\"name\":\"CryptoPunk 001\",\"attributes\":[\"Smile\",\"Mohawk\"],\"description\":\"Male\"}",
  "block_number": "16079985",
  "block_number_minted": "3918216",
  "name": "CRYPTOPUNKS",
  "symbol": "Ͼ",
  "token_hash": "a99d02058e62e327e79aabd57e0b88a3",
  "token_uri": "Invalid uri",
  "minter_address": "0xc352b534e8b987e036a93539fd6897f53488e56a",
  "verified_collection": true,
  "possible_spam": false,
  "collection_logo": "https://i.seadn.io/gae/BdxvLseXcfl57BiuQcQYdJ64v-aI8din7WPk0Pgo3qQFhAUH-B6i-dCqqc_mCkRIzULmwzwecnohLhrcH8A9mpWIZqA7ygc52Sr81hE?w=500&auto=format",
  "collection_banner_image": "https://i.seadn.io/gae/48oVuDyfe_xhs24BC2TTVcaYCX7rrU5mpuQLyTgRDbKHj2PtzKZsQ5qC3xTH4ar34wwAXxEKH8uUDPAGffbg7boeGYqX6op5vBDcbA?w=500&auto=format"
}
If you’d like to explore all our premier interfaces, please check out our official Web3 API page!
Summary: How to Run a Polygon RPC Node
Running and maintaining the infrastructure you need to manage a Polygon node yourself can be quite bothersome. For instance, operating an archive or full node demands considerable resources, making it a potentially expensive endeavor. Fortunately, you can now circumvent the challenges of running Polygon nodes with a Web3 infra provider like Moralis!
With Moralis, you can set up and run a Polygon node in just three simple steps:
- Step 1 – Sign up with Moralis.
- Step 2 – Log in, go to the ”Nodes” tab, and create a new node by clicking on the ”+ Create Node” button:

- Step 3 – Copy and integrate one of your node URLs into your dapp:

That’s it; running a Polygon node doesn’t have to be more challenging than that when working with Moralis!
If you liked this Polygon node tutorial, consider reading more content here on the blog. For instance, learn how to build a crypto wallet timeline or get all owners of an ERC-20 token.
Also, if you wish to run nodes yourself, don’t forget to sign up with Moralis. You can create your account for free, and you’ll gain immediate access to both our top-tier nodes and APIs!
