Since Solana tokens fall under the SPL standard and not the typical standards on Ethereum and EVM-compatible chains, users diving into the NFT space are perplexed regarding what tools to use when creating a Solana NFT. Fortunately, we’ve decided to highlight the best Solana NFT mint tools in this article so you can complete your NFT puzzle and create your own Solana NFT! Furthermore, some of the tools we are about to explore herein are Metaplex and its NFT Candy Machine, which you can utilize to mint individual NFTs or entire collections without advanced Rust programming knowledge. Among the Solana NFT mint tools, we will also utilize a local Solana wallet and Arweave – a decentralized storage solution. In short, if you follow along in this article, you’ll get acquainted with all the necessary tools you need to mint Solana NFTs without breaking a sweat!
As we utilize Solana NFT mint tools, we’ll start by completing the initial setup for Metaplex’s Candy Machine v2. Next, we’ll show you how to create a Solana wallet on your local computer. Moving forward, we’ll walk you through the Candy Machine v2 configuration. We’ll also show you how to prepare your images and metadata – the assets behind your NFTs. Then, we’ll focus on demonstrating how to create your own instance of Metaplex’s NFT Candy Machine. In addition, we’ll cover how to upload the assets to Arweave. Next, we’ll show you how to use your NFT Candy Machine to create an example NFT collection. Nonetheless, you’ll learn how to verify that your assets were properly uploaded. Finally, you’ll see the Solana NFT mint tools in action. What’s more, we have a bonus for you herein. Thus, make sure to create your free Moralis account to use the bonus section.
Prerequisites for Using Solana NFT Mint Tools
Before using Solana NFT mint tools, you need to understand the basics. Hence, you ought to know what Solana NFTs are and what Metaplex is. So, starting with the former, note that Solana is a popular programmable blockchain. As you’ve probably understood from reading the beginning of this article, Solana is not EVM-compatible. Accordingly, it relies on its own tools, starting with crypto wallets. Thus, you can’t use MetaMask with Solana. Solana also has its own variation of smart contracts known as “on-chain programs” or just “programs”.
The purpose of Solana’s programs is the same as the purpose of smart contracts – to ensure that things run smoothly. Essentially, Solana programs execute automatic actions according to predefined rules. As such, these programs are also one of the Solana NFT mint tools. Nonetheless, let’s point out again that Solana uses the SPL token standard, which includes fungible and non-fungible tokens. You can learn more about Solana and SPL tokens from the “What is Solana?” and “SPL vs ERC-20 Tokens” articles.
So, Solana NFTs are non-fungible SPL tokens on the Solana chain.

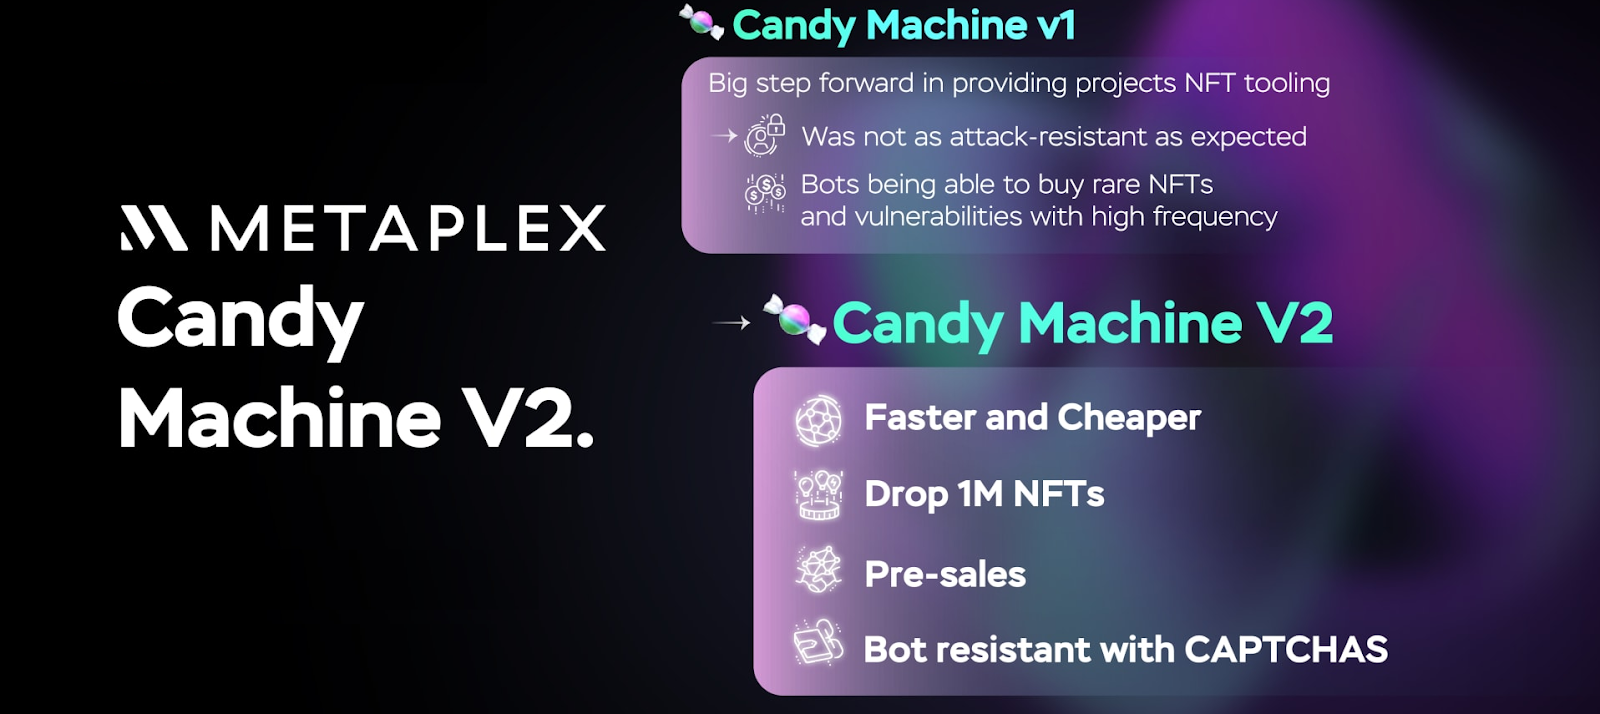
Now that you know what Solana NFTs are, it’s time you get acquainted with Metaplex. The latter is a popular NFT ecosystem for marketplaces, arts, collectibles, and games. Hence, the Metaplex protocol focuses on providing standards and tools to support NFT development. One of Metaplex’s solutions is to enable developers to create NFTs in a decentralized manner. In that aspect, Metaplex is a combo of smart contracts and tools for the simple creation and launch of NFTs. These tools come in the form of Metaplex Storefront and NFT Candy Machine. Moreover, the latter is one of the main NFT mint tools we’ll focus on today.
Using Solana NFT Mint Tools
With the basics under your belt, you can focus on today’s tutorial. We’ll take you through several different stages related to minting Solana NFTs. Hence, you should be able to follow along easily. Of course, we encourage you to implement the steps outlined to make the most out of this article.
The first stage will be all about completing the initial NFT Candy Machine v2 setup. Moreover, for additional convenience, we encourage you to use our code that awaits you on GitHub.
Note: For additional details regarding certain stages of today’s example project, we’ll refer to the video tutorial, which you can find at the bottom of this article.
NFT Candy Machine V2 Initial Setup
To use NFT Candy Machine v2, you’ll need these tools: Git, NodeJS, “yarn” (a package manager), and TS-node. You’ll use Git to clone the repository, NodeJS will serve as JavaScript runtime, with “yarn”, you’ll install the required dependencies, and TypeScript node (TS-node) will serve as an execution environment.
Note: In case you are using an Apple M1 chip, you need to install additional dependencies (“brew install pkg-config cairo pango libpng jpeg giflib librsvg”).
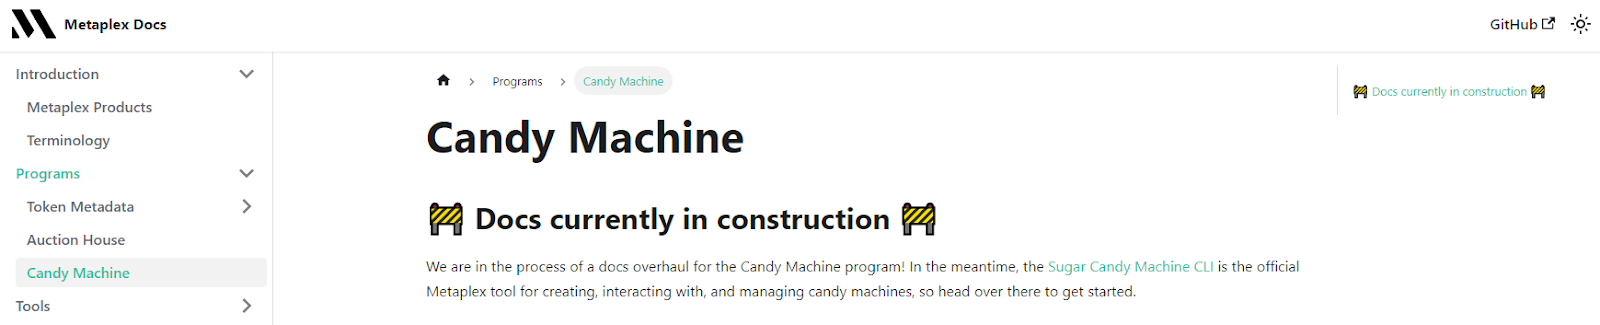
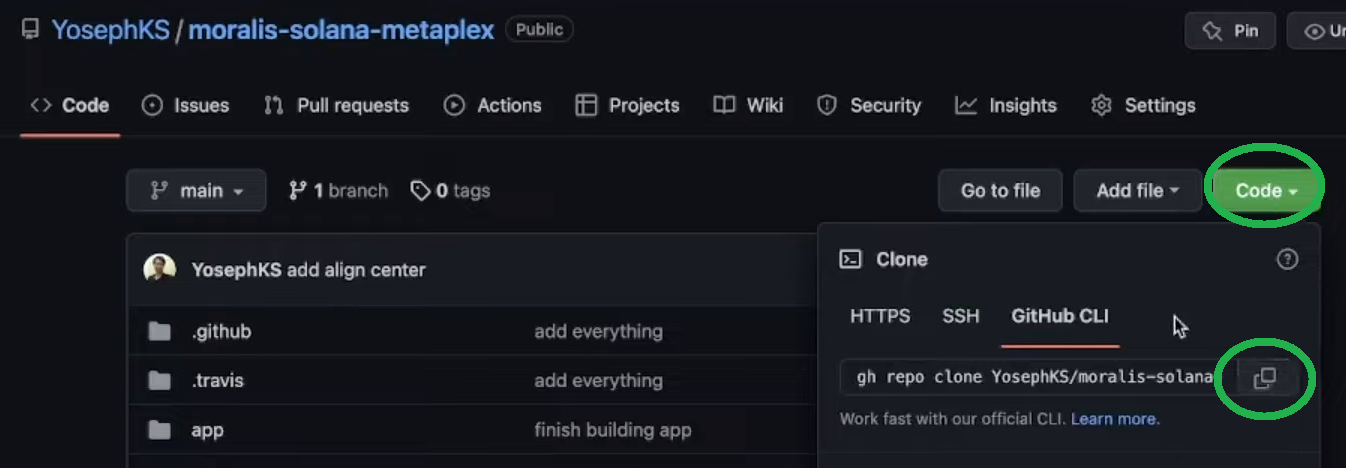
With the above-listed tools in place, proceed by cloning and installing Metaplex. Here, you have two options – you can use the URL provided by the Metaplex docs, or you use our code (GitHub link above). We recommend using our code because it goes perfectly with this tutorial. Our code also includes specific lines of code required to work with Moralis. The latter will enable you to take things to the next level and make the most out of the bonus section. So, clone our code now:
Your Solana Wallet
To mint Solana NFTs, you need a Solana wallet. The latter will “store” your SOL (Solana’s native cryptocurrency), which you need to cover transaction fees. After all, minting NFTs include executing on-chain transactions. Fortunately, you can use the Solana Tool Suite feature, which enables you to easily create a local wallet.
Note: Keep in mind that local wallets are not very safe. However, they are practical for development purposes. Hence, do not use your local wallet to store greater amounts of funds.
To create your local Solana wallet, you need to complete these steps:
- Use the “solana –version” command in your terminal.
- Enter the “solana address” command.
- Finally, use the “solana balance” command.
Note: In case you don’t have your Solana address yet, you may want to set up your new devnet wallet. Use the Metaplex docs as a guide.
For the sake of this tutorial, we’ll focus on the Solana devnet. This means that you do not need to obtain real SOL. Instead, you get to collect “test” SOL for free. You do this with the “solana airdrop 2” command, which provides you with two SOL tokens.
Note: To use your NFT Candy Machine on the Solana mainnet, you will need real SOL. Thus, you must buy it at one of the reputable exchanges and then transfer it to your wallet.
Configure Your Solana NFT Mint Tools
With your local Solana wallet in place, open the above-cloned project. For the sake of convenience, we recommend following our lead using Visual Studio Code (VSC). Next, locate the “example-candy-machine-upload-config.json” file:
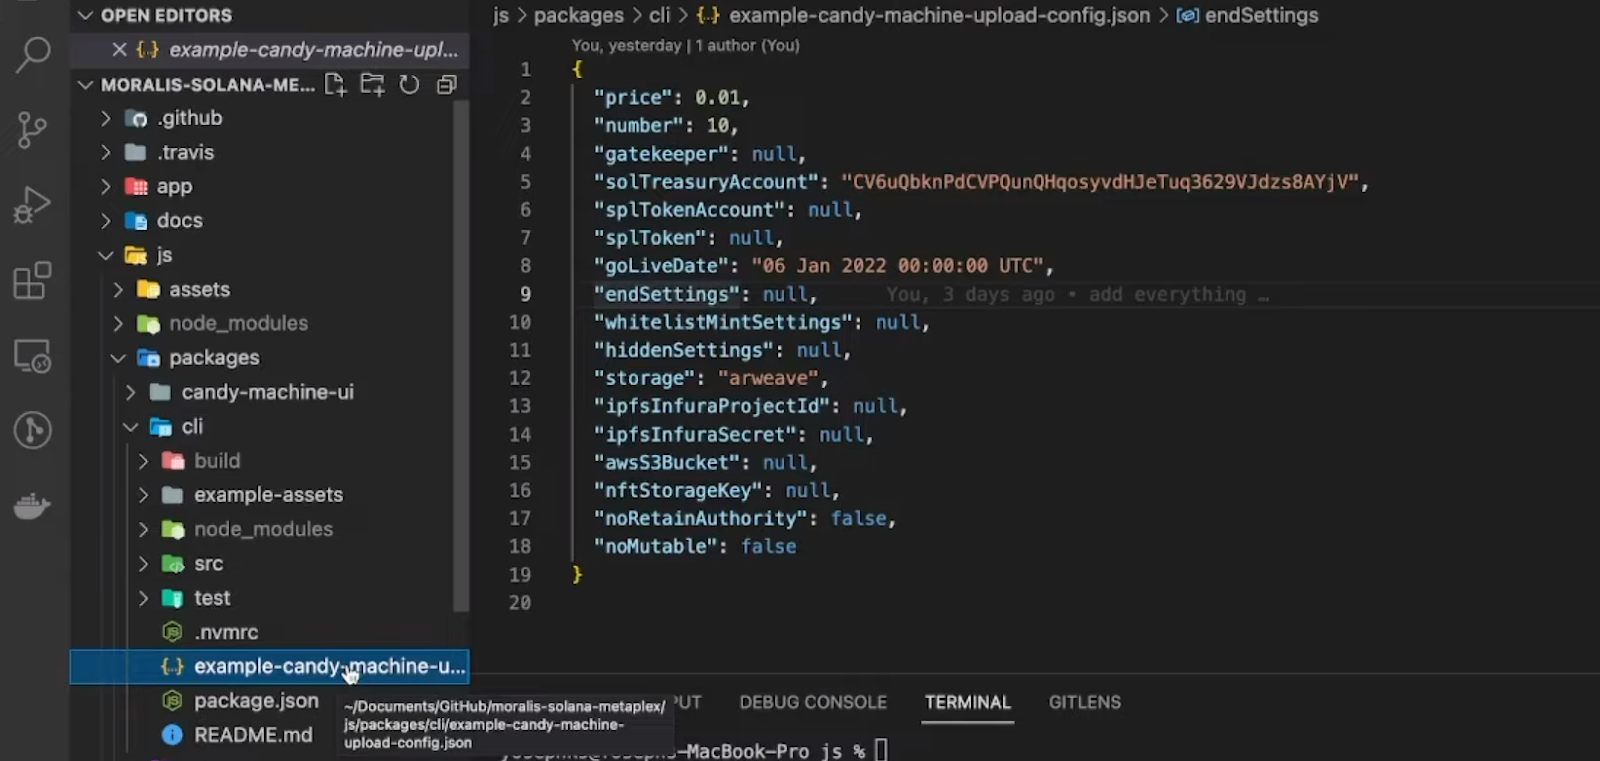
The screenshot above indicates that we’ll use Arweave to store our assets. However, keep in mind that you have other options. To explore other reputable alternatives, use the video below, starting at 4:39.
Getting Images and Metadata Ready – Assets Behind Your NFTs
At this point, you probably understand that you can’t mint NFTs out of thin air. As such, you need to have files and metadata ready. The files represent the tangible part of NFTs, while metadata provides the details about NFTs. Further, those details are also used when minting NFTs. Moreover, metadata comes in the form of JSON files. You can prepare these files yourself; however, the main point of this tutorial is to teach you about Solana NFT mint tools. Hence, you can simply use our example assets:
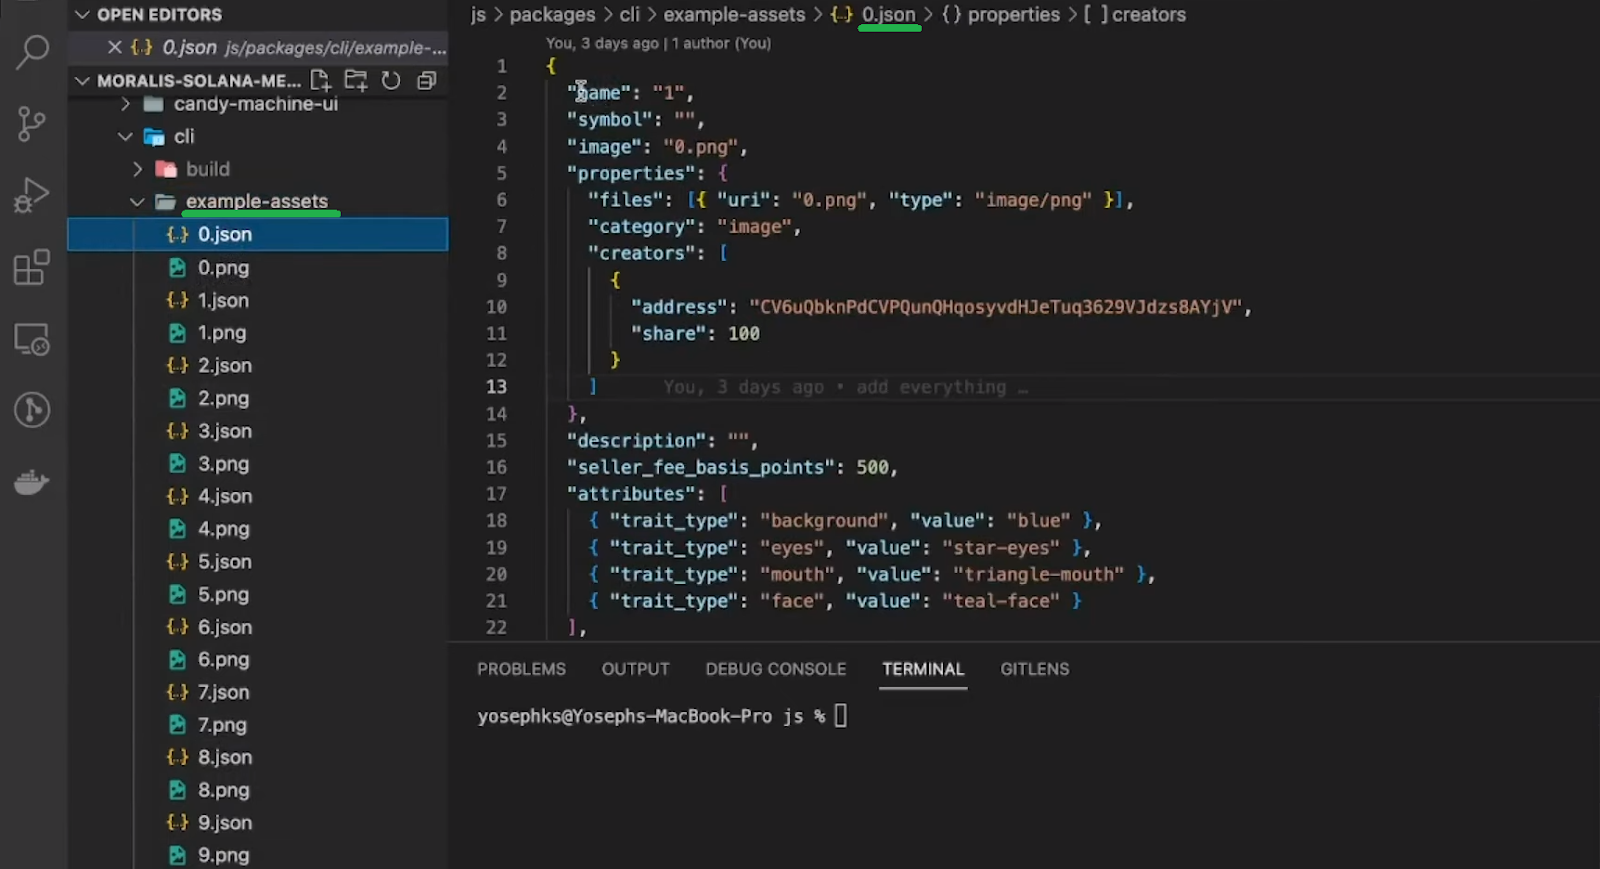
Looking at the above screenshot, you can see ten pairs of files inside the “example-assets” folder. That means you can mint ten Solana NFT tokens using these files. On the right side of the above image, you can also see the details of one of the ten JSON files. For more details regarding the files, use the video below, starting at 7:52. This is also where you can learn how to verify your assets (an optional step).
Using Solana NFT Mint Tools to Upload Your Assets
Now it’s time to upload your files, and for details on how to execute the “upload” command, use the video below (12:27). If you follow our lead, this command uploads your images and JSON files to Arweave. Ultimately, you can simply copy the command provided by the Metaplex documentation. However, make sure you edit the paths to match this project:

By executing the above command lines (with the updated paths), you’ll deploy your NFT Candy Machine on the Solana devnet. As such, you’ll upload all the assets and create your instance of the NFT Candy Machine program.
Creating NFT Collections with Solana NFT Mint Tools
You now have your instance of NFT Candy Machine ready and your assets in the cloud. Hence, you’ve got all the Solana NFT mint tools you need to create your NFT collection ready. Again, you must copy a specific command line from the Metaplex docs (for more details, use the video below [15:35]). Moreover, just like before, you also need to tweak the following command to match your project’s path:
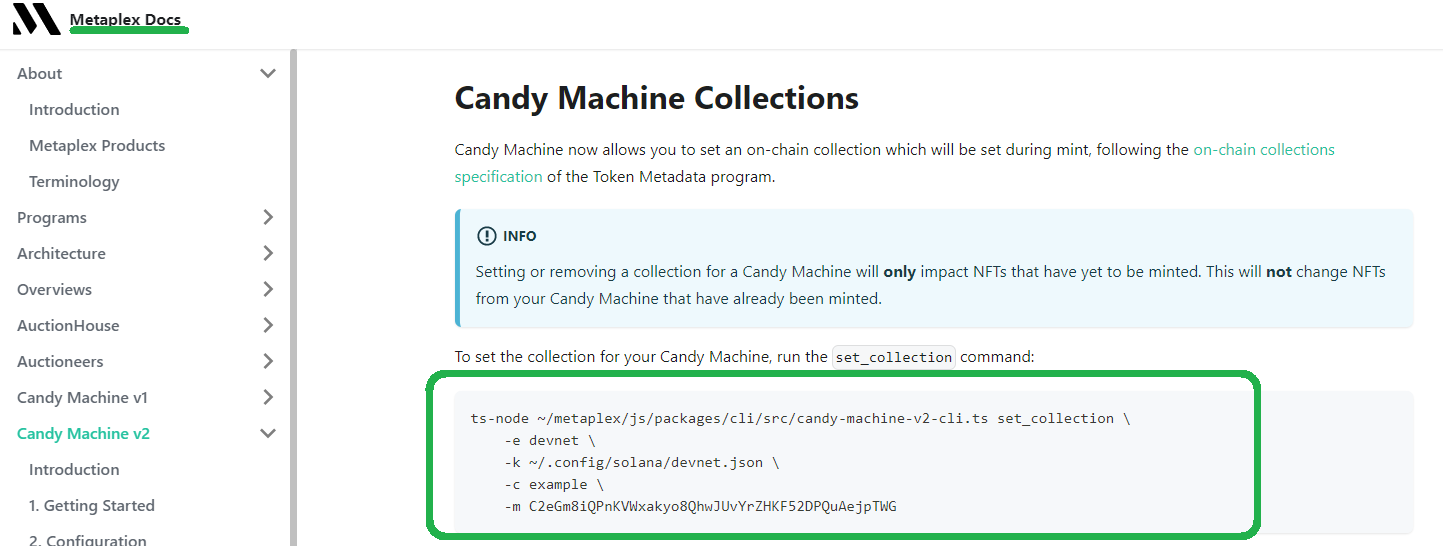
The above command will prepare a collection for your assets. You’ll have a chance to set this collection as part of your NFTs’ details when you get to the mint process.
Verifying Assets Upload
Just like with asset verification, verifying assets upload is also an optional yet recommended step. Basically, this step helps you ensure that all of your assets were properly uploaded:
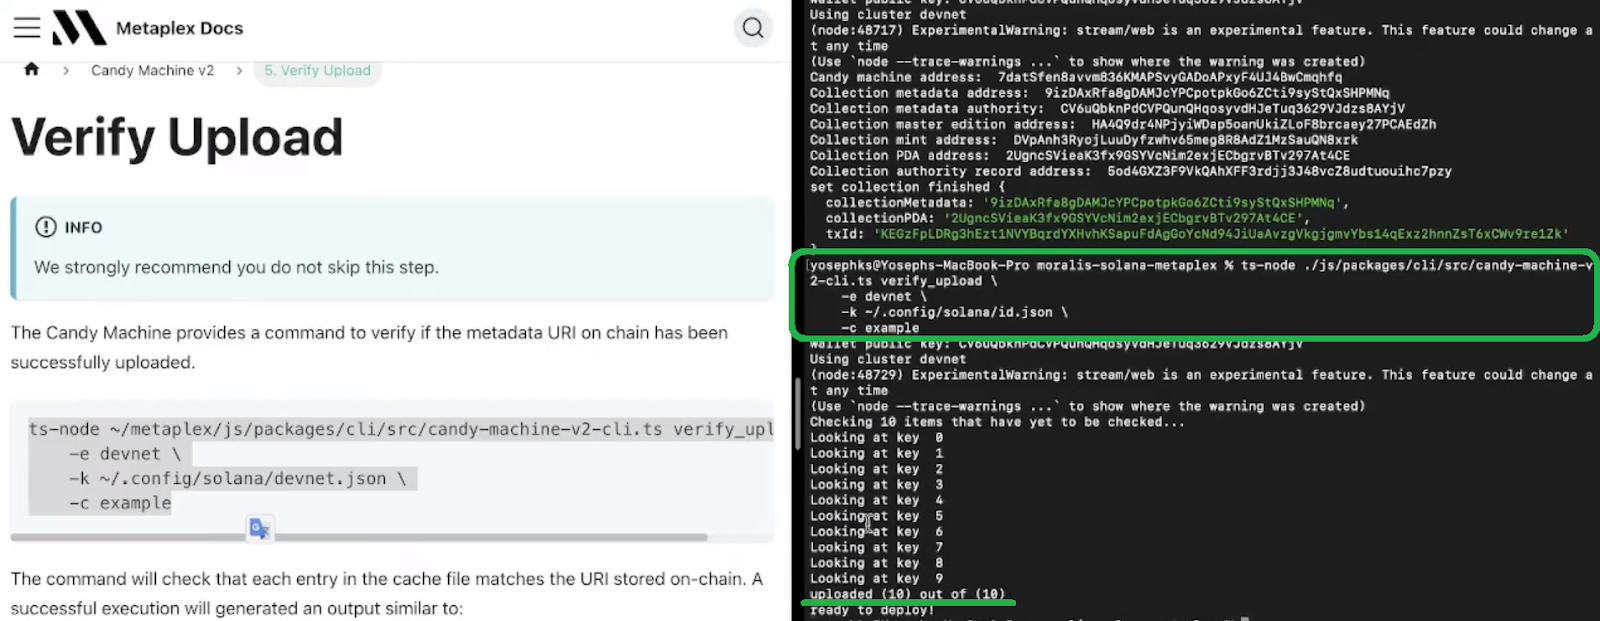
For detailed instructions regarding the “verify assets upload” step, use the video below, starting at 17:23, or visit the Metaplex documentation.
Solana NFT Mint Tools in Action – Minting Your NFTs
Finally, you can use the Solana NFT mint tools to create your NFTs. If you are interested in details about the minting process, use the video below, starting at 18:18. However, thanks to Metaplex, creating Solana NFTs is quite straightforward. Just like you did in the previous steps, you’ll again get to copy the required command from the Metaplex docs. Again, make sure to implement the necessary tweaks to match your file paths before running the command.
Note: You have two minting options. You can mint Solana NFTs individually, or you can do batch or bulk minting. The latter enables you to mint multiple NFTs in a single transaction.
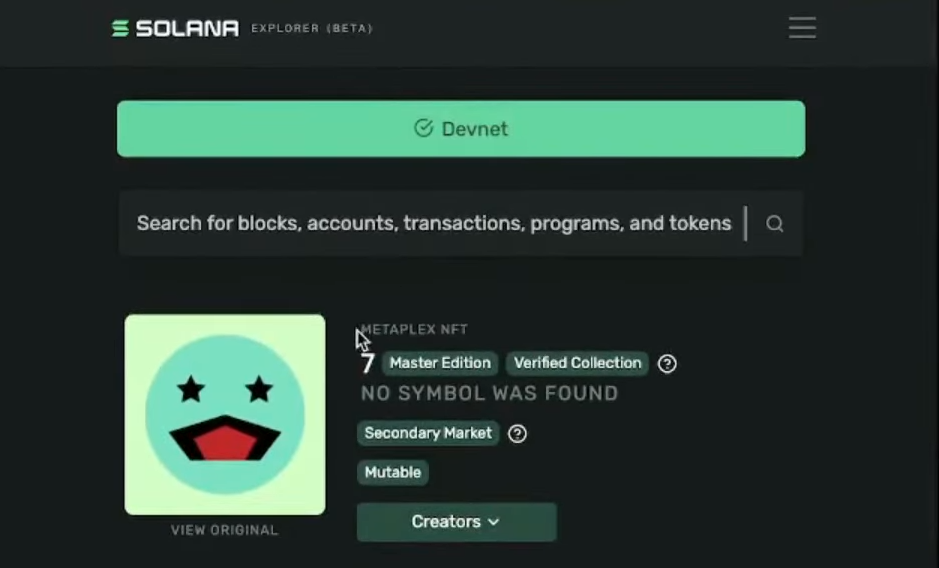
By executing the minting transactions, you take your assets and convert them into NFTs. After successfully minting your NFTs, you can view them in the Solana explorer. Since you minted your NFTs on a devnet, you need to switch to that network:
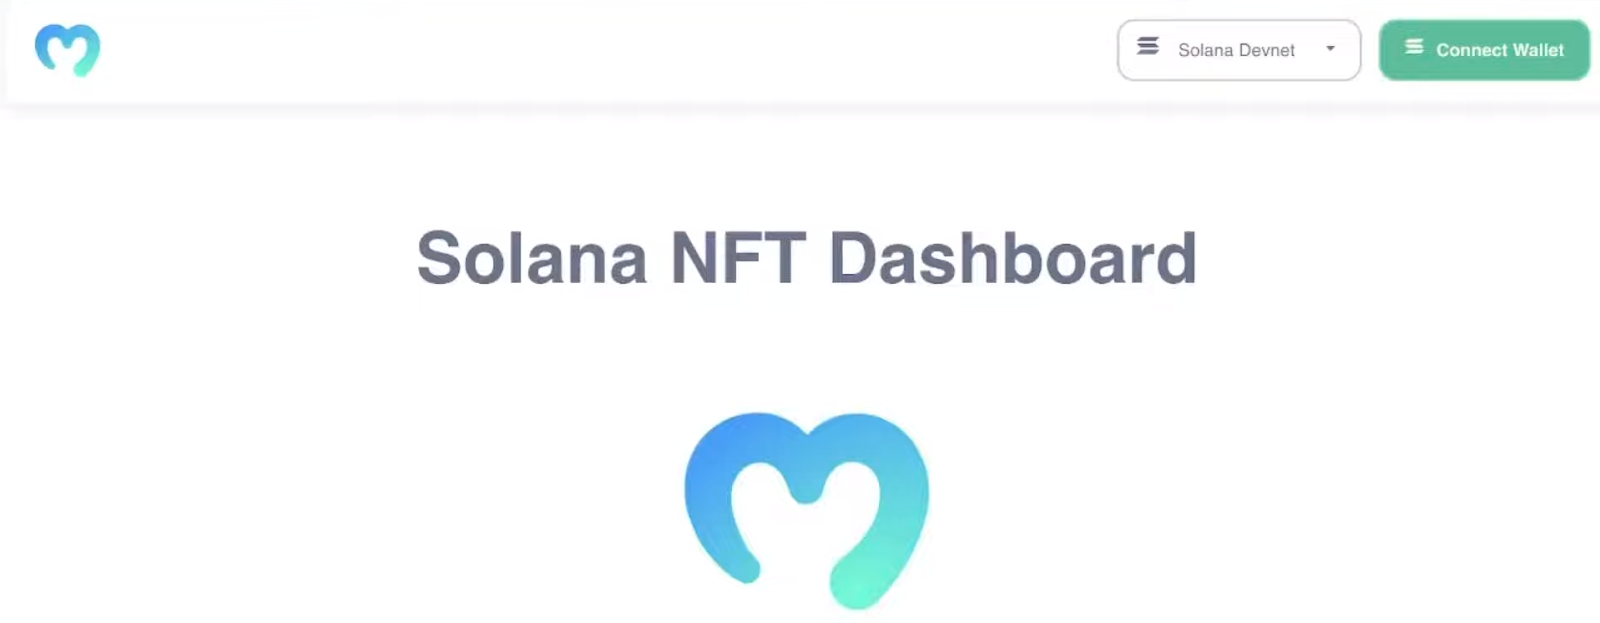
Bonus: Create an NFT Dashboard
We encourage you to take your Solana programming further. As such, we prepared this bonus section, where you can learn how to create your NFT dashboard. This is where Moralis makes things feel like a breeze. So, in case you haven’t done so yet, use the “create your free Moralis account” link in the intro. With Moralis’ ultimate Solana API, you’ll be able to focus on the frontend while covering Web3 backend features with single lines of code. This is our example Solana NFT portfolio tracking dapp, which you can build by following the video below (24:50):
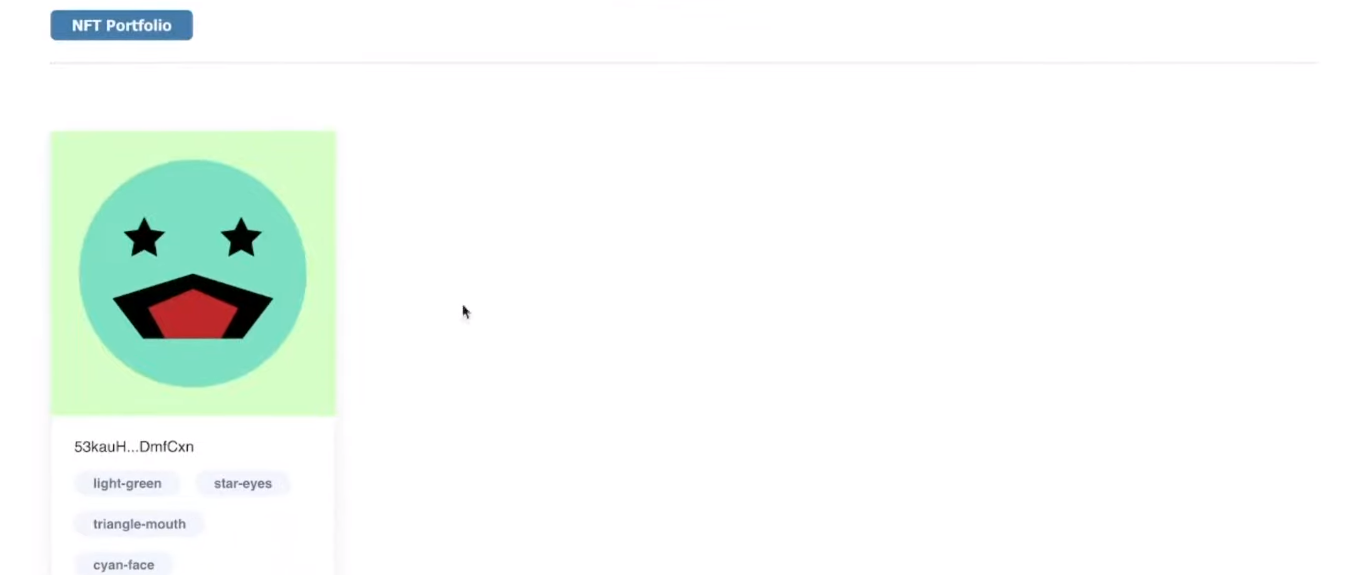
By authenticating with the Phantom wallet, our example dapp neatly displays NFTs in the connected wallet:
Finally, here’s the video that we’ve been referencing throughout this article:
Solana NFT Mint Tools – Create Your Own Solana NFT – Summary
In this article, we started with the basics, where you learned what Solana NFTs and Metaplex are. Then, we focused on using Solana NFT mint tools. As such, you were able to follow our lead and complete all the necessary setups. Along the way, you learned how to get your files and metadata ready and how to upload them to Arweave. Finally, you had a chance to use your instance of NFT Candy Machine to mint your NFTs. In addition, we also illustrated how you could use Moralis to create a neat NFT dashboard easily.
If you enjoyed today’s tutorial and would like to dive deeper into NFT development or explore other Web3 topics, make sure to visit the Moralis YouTube channel and the Moralis blog. Also, since Moralis is cross-chain interoperable, you can focus on Solana, Ethereum, or other leading EVM-compatible chains. Moralis is also all about cross-platform interoperability. Hence, you can use the most popular Web2 development platforms to join the Web3 revolution.
Last but not least, it’s also worth pointing out that the crypto domain offers many interesting job opportunities. As such, you can go full-time crypto and focus on this disruptive and fast-evolving industry. Of course, in that case, being crypto-certified greatly improves your chances of landing the job you want. This is where Moralis Academy courses can give you the required knowledge and an extra edge. In addition, this online academy provides you with a personalized study path, expert mentorship, and membership in one of the most advancing communities in the industry.