Do you recall the early days of the video game industry when classic games in 2D environments had everyone stuck to their screen for hours? Retro games are still quite popular, and even modern game developers still create 2D games today. However, Web3 brings new concepts to the gaming industry, such as the play-to-earn (P2E) model, where players can earn fungible and non-fungible tokens (NFTs). Thus, if we combine popular 2D environments and Web3, offering earning potentials, the ability to use NFTs as in-game assets, etc., our 2D Web3 game would attract numerous users. As such, we decided to illustrate herein how to build a 2D Web3 game using the right Web3 tech stack and accomplish this process in a matter of minutes.
Moving forward, we’ll incorporate a publicly available 2D game into a React application. In addition, to include Web3 functionality, we’ll use the ultimate Web3 development platform, Moralis. This “Firebase for crypto” platform will enable us to easily incorporate Web3 authentication using the most popular Web3 wallet – MetaMask. Also, with Moralis’ SDK, we will get a chance to add other on-chain features to our 2D Web3 game example. Plus, we’ll rely on some other phenomenal tools to get us to the finish line, such as Phaser and Visual Studio Code (VSC). Nonetheless, we encourage you to follow our lead and join us by tackling this example project. By doing so, you will not only learn to create a 2D Web3 game but also get familiar with the tools mentioned above. So, create your free Moralis account, which you’ll need as we move on.

Preview of Our 2D Web3 Game Example
Before we start our example project, we want to do a quick demo of our example 2D Web3 game. This will help you determine whether or not you want to roll up your sleeves and follow our tutorial as we move on.
First, users are greeted by the “Start” button:

Web3 Game Login
By clicking on the above button, users are prompted by their MetaMask extensions to sign the “Log in using Moralis” message. Essentially, this is how to authenticate with MetaMask:

After receiving the above signature request, users need to click on the “Sign” button. By doing so, they complete their Web3 login for our game.
Also, keep in mind that there are different ways to implement Web3 authentication. However, when using Moralis, things are made as simple as possible. For web dapps (decentralized applications), MetaMask integration is the go-to tool. On the other hand, WalletConnect is the best solution for mobile dapps. Nonetheless, Moralis also offers Web3 authentication via email and Web3 social login. Both of these options are excellent to boost Web3 user onboarding success rates.
The Aim of Our 2D Web3 Game
Once users confirm the sign-in message, they are presented with the game’s main menu screen:
Then, users need to click anywhere on the screen to start the game. This loads the game:
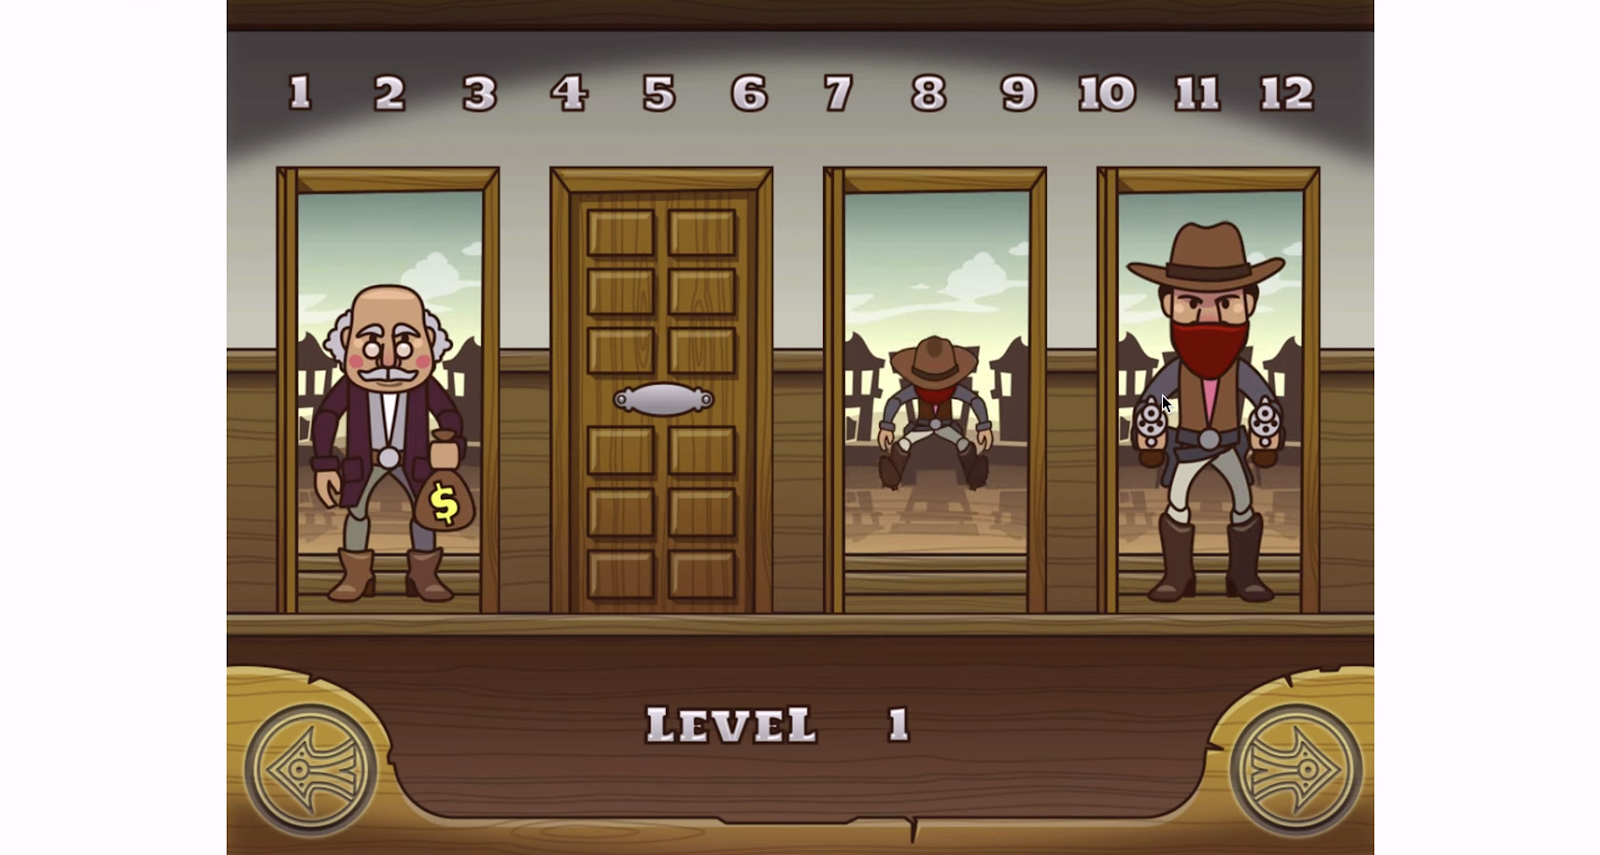
Moreover, the purpose of the game is to click (shoot) the bandits (cowboys with the guns) before they shoot you. As you can see in the screenshot above, there are also characters with money bags. Players are not supposed to shoot them. In addition, the numbers at the top indicate the money bags that players need to collect to complete the level. However, if any of the bandits shoot the player before getting shot, it is game over:

Now you know what we will be creating. Hence, you can decide whether or not you want to follow along with our progress moving on. However, we need to point out that we will not be dealing with the frontend of the above-presented game. By using Phaser, we will use an existing Web2 game as a boilerplate and then just add Web3 backend features.
Build a 2D Web3 Game with Phaser and Moralis
As mentioned, we will use Phaser, the most popular open-source studio game engine, to find a finished 2D game. Then, we will use the best Web3 backend platform, Moralis, to incorporate the above-presented blockchain functionality. Essentially, we will take a 2D Web2 game and convert it into a 2D Web3 game.
Obtaining an Existing Game from Phaser
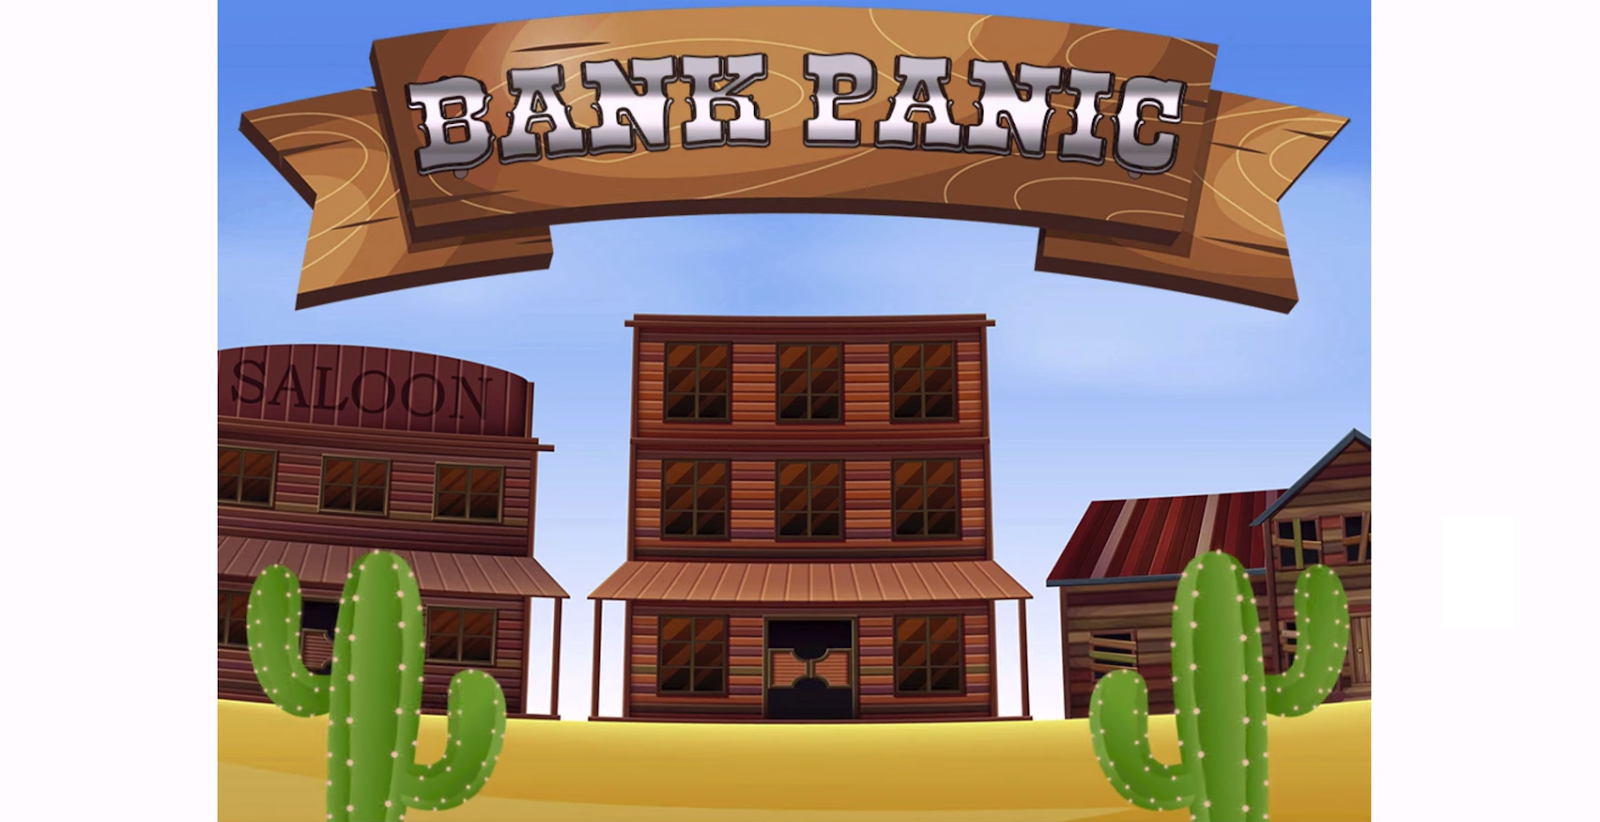
So, we start by going to Phaser’s official website. There, we select “Examples” from the top menu. On the next page, we scroll down a bit and click on the “Games” folder. From there, we select the “Bank Panic” game:

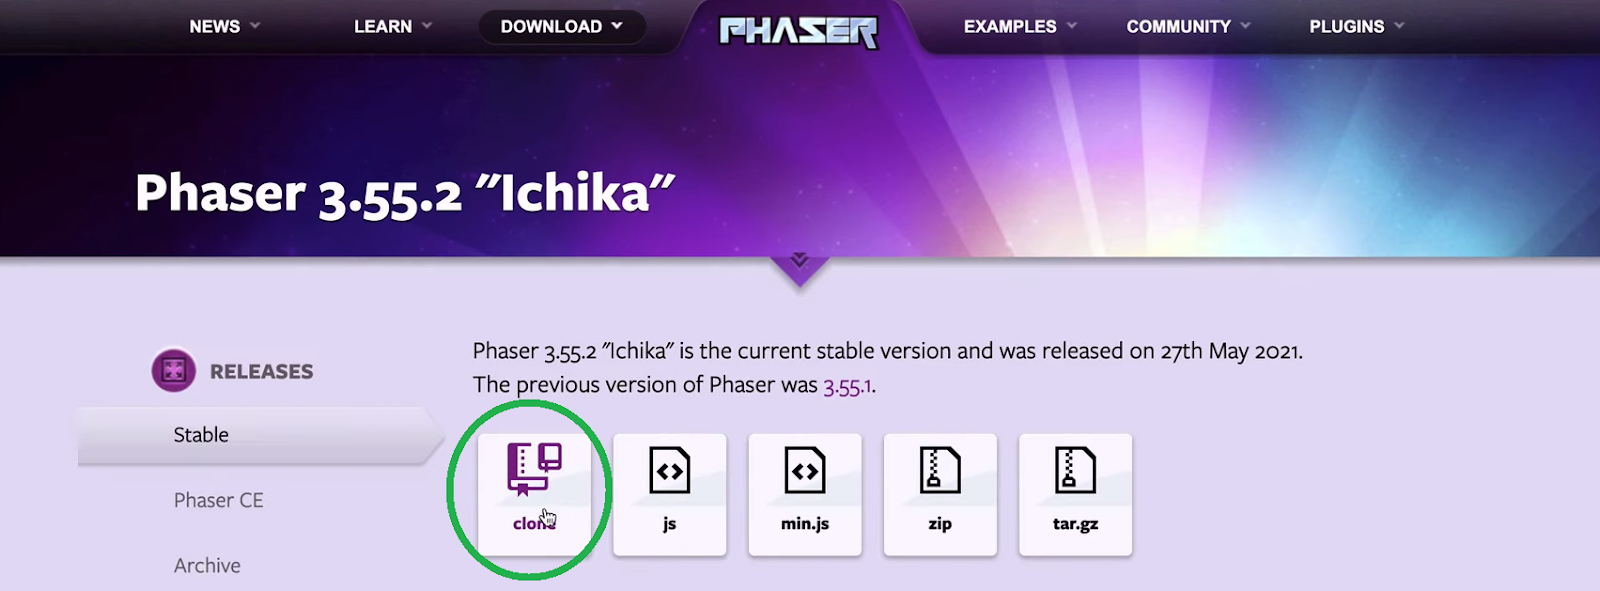
Now that we’ve set up our minds on a particular example game, we can use Phaser’s code and assets available on GitHub. Hence, use the “Download” option in the top menu:

On the “Download” page, we get to download Phaser:

Then, click on the “clone” option on the next page to get to Phaser’s GitHub:
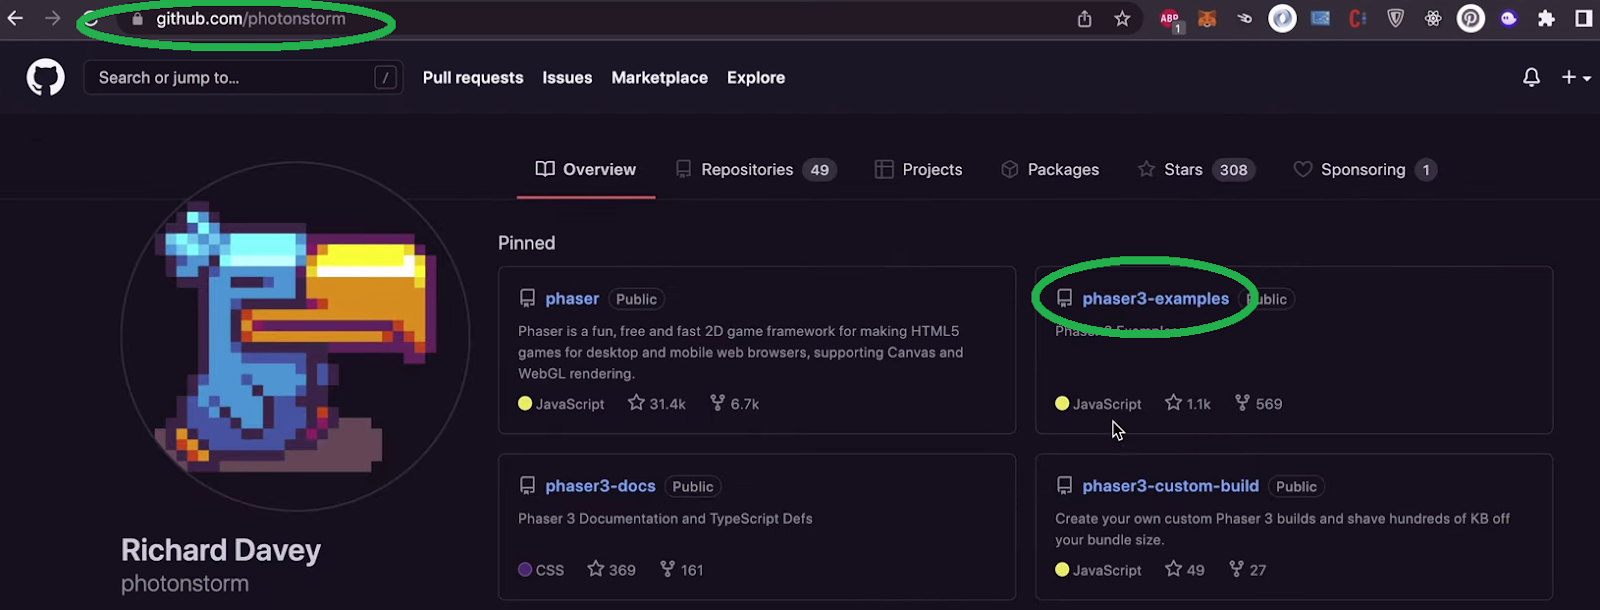
There, click on “photonstorm”:

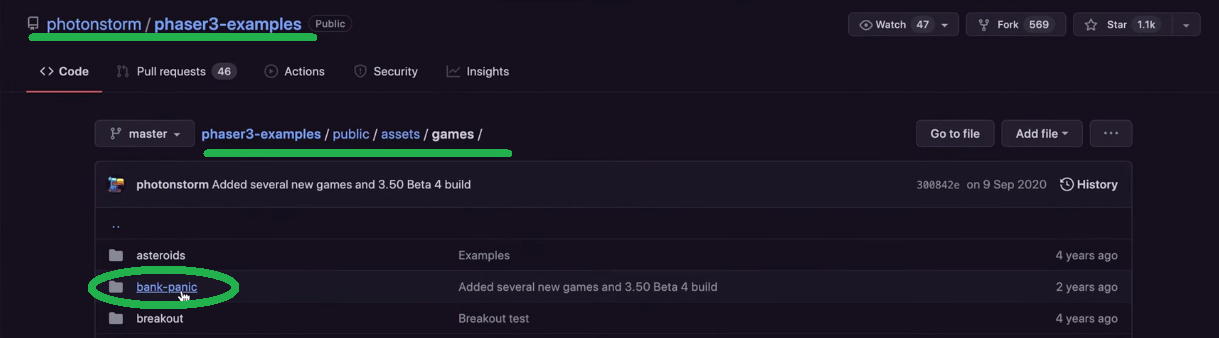
Next, we will select “phaser3-examples” to ensure that the “Bank Panic” game files are included:
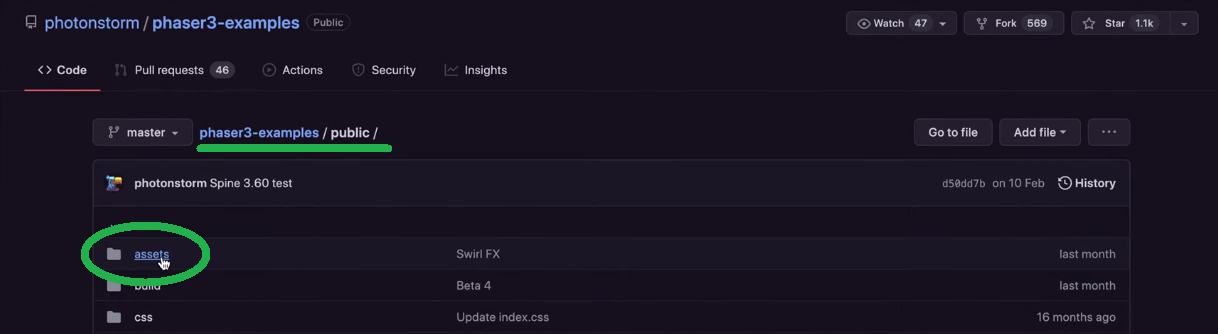
Inside “phaser3-examples”, open the “public” folder:

Then, inside the “public” folder, click on the “assets” folder:
Next, open “games” and finally “bank-panic”:
When we look inside the “bank-panic” folder, we see that it contains sounds, images, and other files required for this game to function properly. As such, we have a green light to clone the code. Thus, we go back to the “phaser3-example” page, where we click on “code” and then ”Download ZIP”:

Using VSC to Set Things Up Properly
Note: We use VSC in this example; however, feel free to use your preferred code editor.
We start by creating a React app template. We do this by entering the “npx create-react-app phaser-moralis” command into VSC’s terminal:

Also, keep in mind that “phaser-moralis” is the name we decided to use for our dapp. You can follow our lead or use any name you want. To finally create our React app, enter “yes” next to “Ok to proceed? (y)”. Once that folder is created, we add it to our IDE workspace:

Then, select the “phaser-moralis” folder and click on “Add”:

Now, we unzip the “phaser3-examples-master.zip” file that we downloaded previously. Once unzipped, we navigate to the “bank panic” folder (phaser3-examples-master > public > src > games > bank panic). This is where our example game’s scene files are:
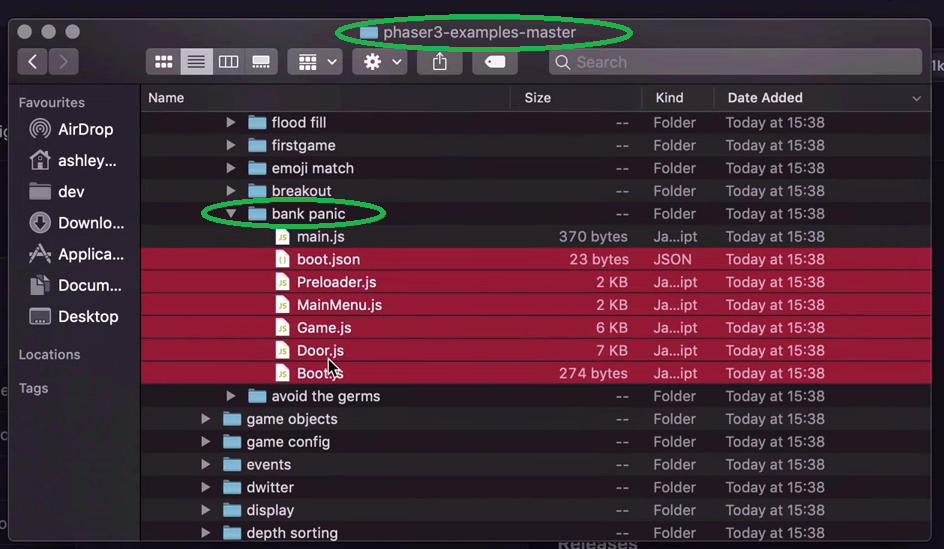
As you can see in the screenshot above, we select all files except the “main.js” file. We move those files into a new “scenes” folder, within our “src” folder inside our React app’s folder (created above):

Now that we’ve transferred our example game’s scene files, we need to do the same for all of the image and sound files. To do this, we have to locate the “bank panic” folder inside “assets” and then “games”. Then, we copy or move the entire folder into the new “assets” folder inside the “public” folder of our project:

By moving these files, we are essentially integrating Phaser’s example game into our ReactJS application. Next, we navigate into the “phaser-moralis” folder by entering the “cd phaser-moralis” command in VSC’s terminal.
2D Web3 Game Code Walkthrough – Tweaking Phaser Files
All of you who want to access the finished code of our 2D Web3 game, you can do so on GitHub. Though, we recommend following along with our steps and making the necessary tweaks to get the most out of this article. We start by changing the title inside the “index.html” file from “React App” to “Phase x React x Moralis”:

Then, change “.js” extensions into “.jsx” extensions for “App.js” and for “index.js”:

Next, we tweak the “index.jsx” file by adding a container to which our canvas element will attach to. Above the “<App />” line, we add the following:
<div id= “game-container”></div>
Moreover, we wrap the above container around the “App” component:

Then, we open the “App.jsx” file, where we first import our Phaser files at the top:
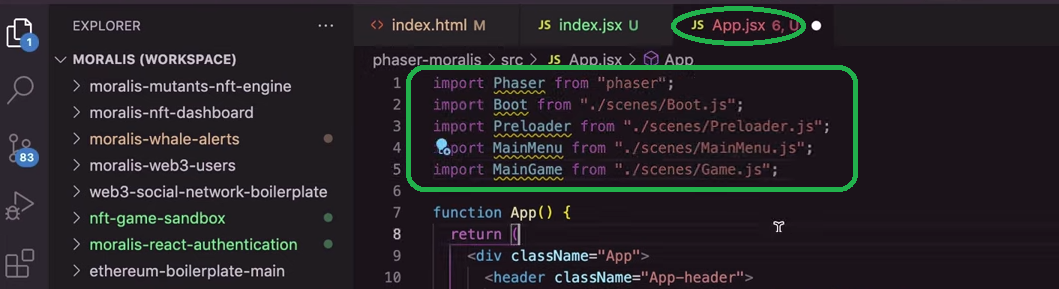
This is also our cue to install Phaser by entering “npm i phaser” into VSC’s terminal. Next, still inside the “App.jsx” file, we initiate our “game” variable using “let game = null;”. Then, we need to add some additional imports and tweak the “App()” function. This is also where we add the following “config” object, through which our Phaser game gets initiated:
  if (!loaded) {
    setLoaded(true);
    const config = {
      type: Phaser.AUTO,
      //gameTitle: "Phaser x Moralis",
      parent: "game-container",
      autoCenter: Phaser.Scale.CENTER_HORIZONTALLY,
      autoFocus: true,
      fps: {
        target: 60,
      },
      physics: {
        default: "arcade",
        arcade: {
          gravity: { y: 200 },
          debug: false,
        },
      },
      backgroundColor: "#282c34",
      scale: {
        mode: Phaser.Scale.ScaleModes.NONE,
      },
      scene: [Boot, Preloader, MainMenu, MainGame],
    };
    // init 2d game (Phaser canvas element)
    if (game === null) {
      // init instance of phaser game as per config
      game = new Phaser.Game(config);
      // listen to in-game events
      // before starting we sign in with wallet
      game.events.on("LOGIN_PLAYER", (event) => {
        console.log("⛓⛓⛓ Login via Web3 Wallet ⛓⛓⛓");
        // trigger wallet authentication
        login();
      });
    }
Importing Phaser
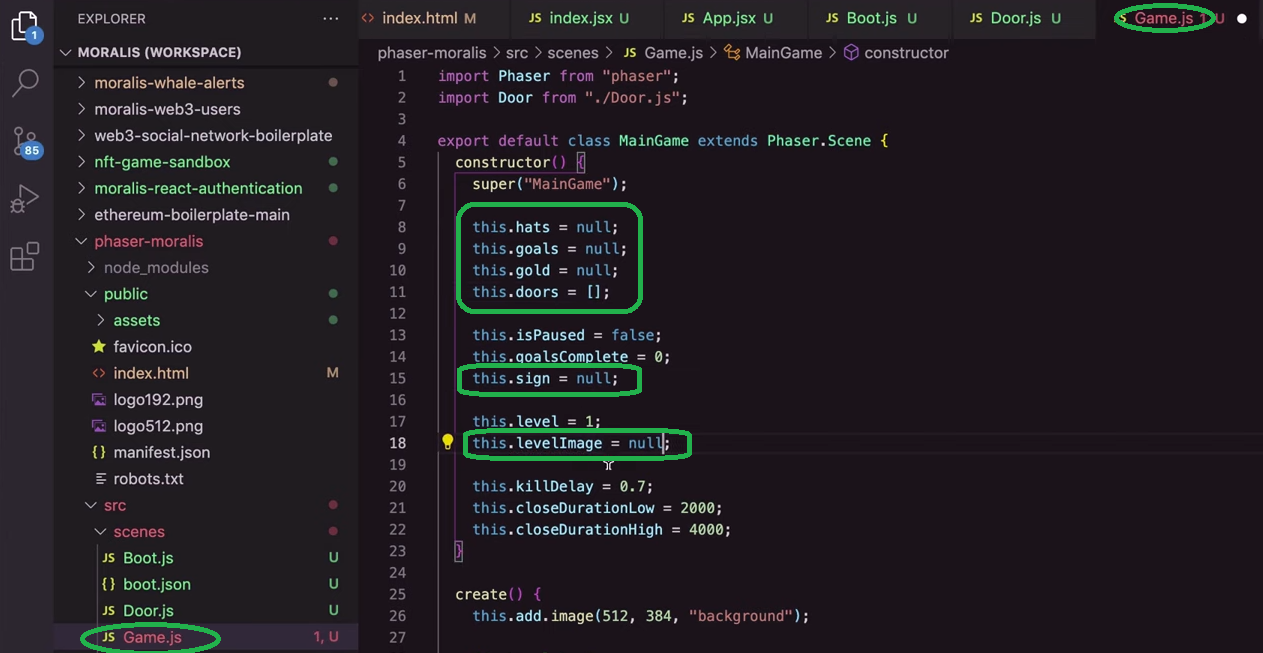
For the above code to function, we also need to import Phaser in our scene files (“Boot.js”, “Door.js”, “Game.js”, “MainMenu.js”, and “Preloader.js”) using the ‘import phaser from “phaser”;’ line. Moreover, we also need to assign the initial values inside the “Game.js” file:
Furthermore, we need to change some file paths inside the “Preloader.js” and “Boot.js” files. Inside the former, we change the “assets/game/bank-panic/” value inside “this.load.setPath” to “assets/bank-panic/”. Moreover, inside the “Boot.js”, we change “assets/game/bank-panic/loading.png” to “assets/bank-panic/loading.png”.

Going From 2D Web2 Game to 2D Web3 Game with Moralis
With all of the above tweaks applied, we have a functioning 2D game available. However, it currently has nothing to do with Web3. Fortunately, we can use Moralis to include all sorts of Web3 features seamlessly. Though, for this example project, we will focus on adding Web3 authentication.
We start by importing React Moralis with the “npm i react-moralis” command in VSC’s terminal. Then, we revisit the “index.jsx” file, where we import “react-moralis” with the ‘import { MoralisProvider } from “react-moralis”;’ line. Next, we add a standard “Application” function (video below at 12:05). The latter serves as a standard login to our Moralis server. To make that work, we also create a new “.env” file (12:52), where we add our Moralis server’s details:

The next task is to obtain our Moralis server’s details. If you’re new to Moralis, here are the steps to get the details (13:15):
- Log in to your Moralis account or create your free Moralis account.
- Create a Moralis server.
- Access the server’s details and copy them.
- Paste the server’s details (server URL and app ID) into the “.env” file.
Moving forward, we made some small tweaks to the “index.jsx” file (14:10). Then, we add React-Moralis functions in “App.jsx” (14:36), which gives us the power of Moralis’ SDK. As such, we easily cover authentication with MetaMask. Finally, we include Redux for dispatching events from our 2D Web3 game to our React hooks and vice versa (15:13).
Note: Make sure to watch the video below and watch closely to get all the steps right.
How to Build a 2D Web3 Game – Summary
At this point, you should have your own 2D Web3 game functioning properly. Using Phaser, MetaMask, and Moralis, you’ve been able to do that in less than thirty minutes. Along the way, you’ve learned how to use Phaser’s example games. Moreover, you’ve learned how to complete the initial Moralis setup and then use it to include Web3 functionality. As such, you can now use these skills to create your own 2D Web3 games. However, you may not yet be confident enough to start your own projects. Thus, taking on other example projects may be the right direction for you. On the other hand, you may want to explore other blockchain development topics.
Fortunately, you can cover either of these two paths with the help of the Moralis blog and the Moralis YouTube channel. Both of these outlets offer a ton of valuable content, which may serve as your free ongoing crypto education. Some of the latest topics there include creating a GameFi game, how to get into Web3 in 2022, how OpenSea trades NFTs without gas fees, Web3 Firebase authentication, blockchain game transactions with Unity, creating a Web3 music platform, and much more.
However, to become a Web3 developer sooner rather than later, you may want to take a more professional approach. So, if you are eager to go full-time crypto in 2022, you ought to consider enrolling in Moralis Academy. There, you’ll access many top-tier courses and get a personalized study path. Also, you’ll become a member of one of the most advancing communities. Nonetheless, you’ll also get expert mentorship, which will steer your blockchain development in the most optimal way.

