In this article, you will learn what metadata for non-fungible tokens is, what NFT metadata storage is, and how to store NFT metadata in a non-decentralized manner. Of course, there are many instances where NFTs should be stored in a completely decentralized manner. However, specific projects may require some flexibility. For instance, let’s say that your project’s NFTs serve as a gateway or subscription confirmation, and you want to offer your users a different NFT image every month. If so, using a centralized NFT metadata storage solution, such as the Firebase Storage bucket, would be the go-to option.
Moving forward, we’ll tackle today’s topic by answering some significant questions in a simplified manner. For instance, it’s important to explain where the metadata for NFTs is stored and what you can do with the metadata. When it comes to utilizing NFT metadata, a reliable NFT API is the key. Fortunately, you can access the ultimate NFT API with your free Moralis account. With that tool under your belt, you can easily incorporate all sorts of NFTs across all leading blockchains into your dapps. Of course, we will also take on an example project to further clarify how to store NFT metadata using Firebase. As such, we’ll show you how to create a NodeJS backend application to upload an array of images and metadata. Finally, you’ll also learn how to use Remix to mint those example NFTs on the Polygon testnet.
What is NFT Metadata?
If you want to understand what NFT metadata is, you need to know what NFTs are and what metadata is. As such, let’s look at these two words separately. NFTs, or non-fungible tokens, are unique types of blockchain assets. As the term “non-fungible” suggests, there are no two equal NFTs. Of course, they may have the same file representing them; however, their on-chain data is unique. This makes them great for digital art, digital collectibles, ownership proofs, certificates, etc.

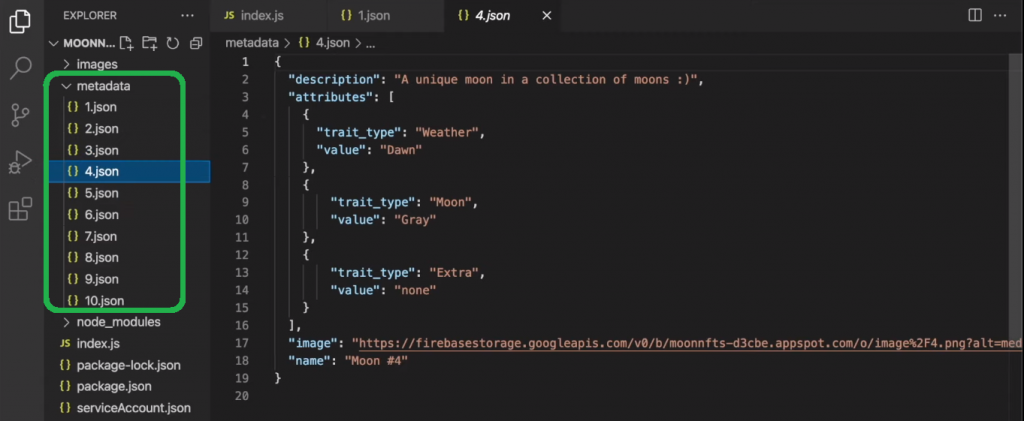
On the other hand, metadata, by definition, means “data about data”. As such, NFT metadata provides you with all the details about a specific NFT. The above image is a great example of that. Moreover, since a significant part of every NFT is some sort of file (JPG, PNG, MP3, MP4, PDF, etc.), metadata plays a key role. After all, NFT files are too large to be stored directly on the blockchain. Doing so would have catastrophic technical and financial consequences. Instead, we store the files’ locations (among other details) in the NFT metadata. That is why it’s essential to know how to store NFT metadata.
Furthermore, metadata files typically come in the JSON file format. The exact details inside the metadata may vary – after all, there are different standards of NFTs. However, the most popular ones are ERC-721 and ERC-1155 NFTs. In their cases, metadata usually includes a description, name, image (file) destination, and attributes or traits. The latter contain different trait-type value pairs and are optional. You can learn how to add attributes to NFT metadata in one of our previous articles. In addition, make sure to look closely at the image below to solidify your understanding of NFT metadata.

Where is the Metadata for NFTs Stored?
Although we all aim for a decentralized future, there are some instances where you can add value to your users by actually using a centralized NFT metadata storage option. That said, it’s obvious that the level of decentralization of NFT projects depends on the method used to save the NFT files and NFT metadata files.
As such, the ultimate decentralized approach would be to store NFT files and their metadata in a decentralized cloud storage solution (e.g., IPFS). On the other hand, a more centralized approach would involve storing those files and metadata in one of the centralized cloud storage services. Furthermore, a middle ground is also possible. In that case, we could store NFT files using a centralized storage solution, while the NFT metadata would be stored in a decentralized manner. Moreover, there are instances where the specific utility of NFTs may require you to use one of the centralized storage alternatives. However, it’s essential to be fully transparent and explain to your NFT users that the files and metadata are not stored in a decentralized manner in order to let them choose another option. That way, you allow your users to decide if the added value outweighs the centralized approach.
Nonetheless, keep in mind that the actual NFTs are still minted on a blockchain, which makes their contract address and ID immutable. Moreover, their URI links pointing to NFT metadata will be stored on-chain. Now, in case you find this information a bit confusing, don’t worry; the example of how to store NFT metadata on Firebase will further clarify things.

What Can You Do With the Metadata?
At the end of the previous section, you learned that, essentially, NFT metadata is accessible via URI links. In addition, those URIs contain all the details, including the URL links to the associated NFT files. Hence, you can use a high-quality, non-fungible token metadata API to obtain all the details for particular NFTs.
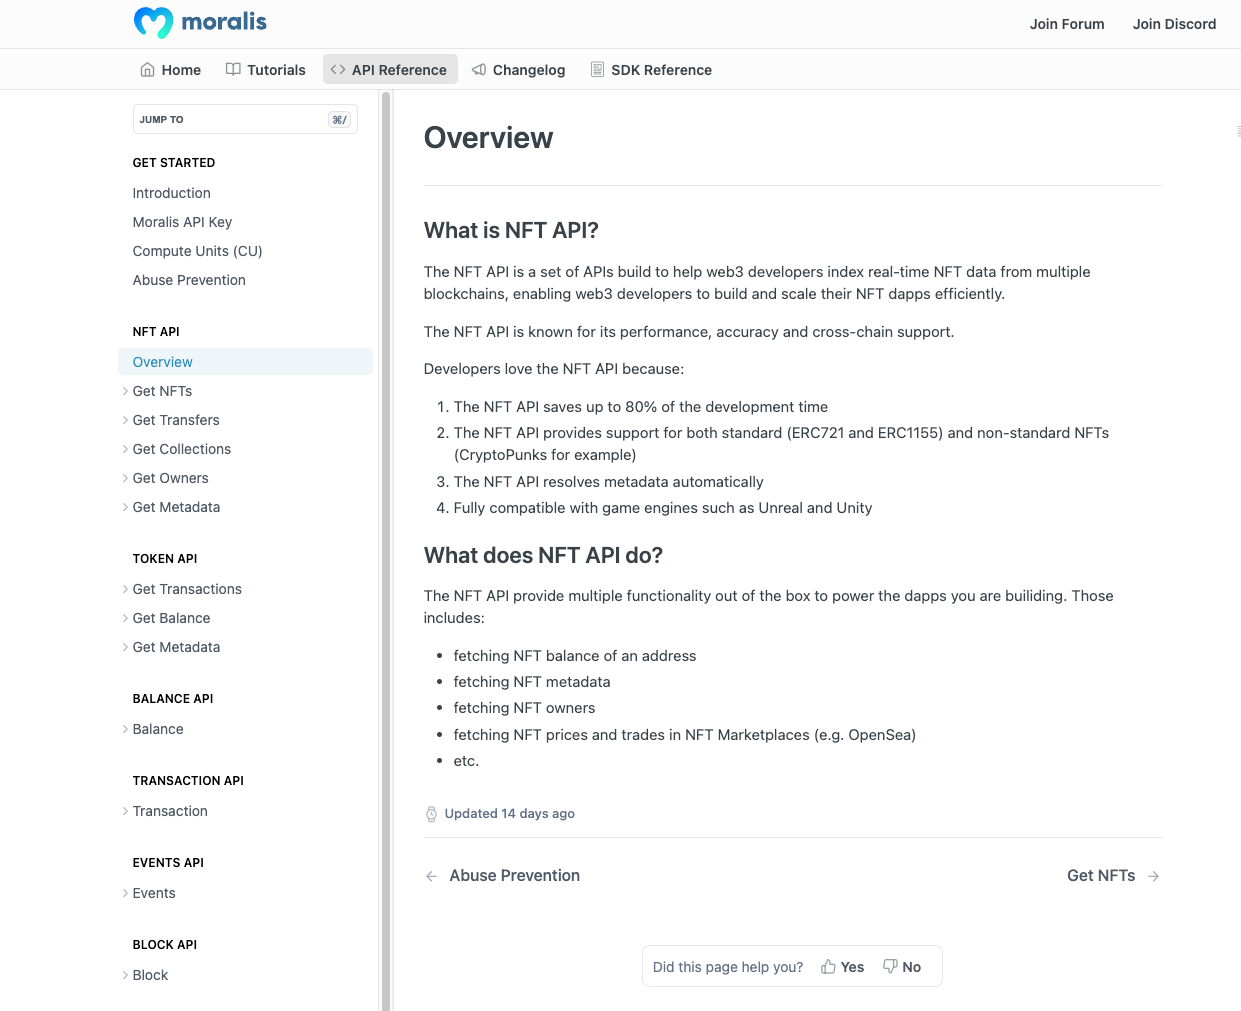
Furthermore, Moralis offers the ultimate NFT API, which combines everything needed to build great NFT apps. The Moralis NFT API enables you to fetch real-time NFT metadata, ownership data, NFT transfer data, NFT prices, and more. As such, you don’t need to parse individual smart contracts, sort through irregular data sets, deal with cleansing and stitching, or make tens of calls or query nodes to get the metadata. Instead, you just make a single API call to retrieve the NFT information across any supported chain.
What’s more, by using Moralis, you can create your own NFT dashboard, a Web3 game that incorporates NFTs, an NFT marketplace, and much more. To further explore the Moralis NFT API endpoints, visit the Moralis docs:
How to Store NFT Metadata on Firebase
In this section, you will learn how to use the Firebase Storage bucket to store NFT metadata and images (or other files) in a centralized manner. By taking this path, you can change the images that your NFTs represent. Aside from showing you how to set up Firebase and batch upload files and metadata, we’ll also mint an example NFT using Remix. As such, you’ll be able to fully grasp the theory described in the previous sections. Nonetheless, to get the most out of this tutorial, we encourage you to roll up your sleeves and follow our lead. You can start from scratch or you can use our repo on GitHub to access the final code. There, you can also find example images and metadata.
Initial Setup Part 1 – Activating Your Firebase Storage Bucket
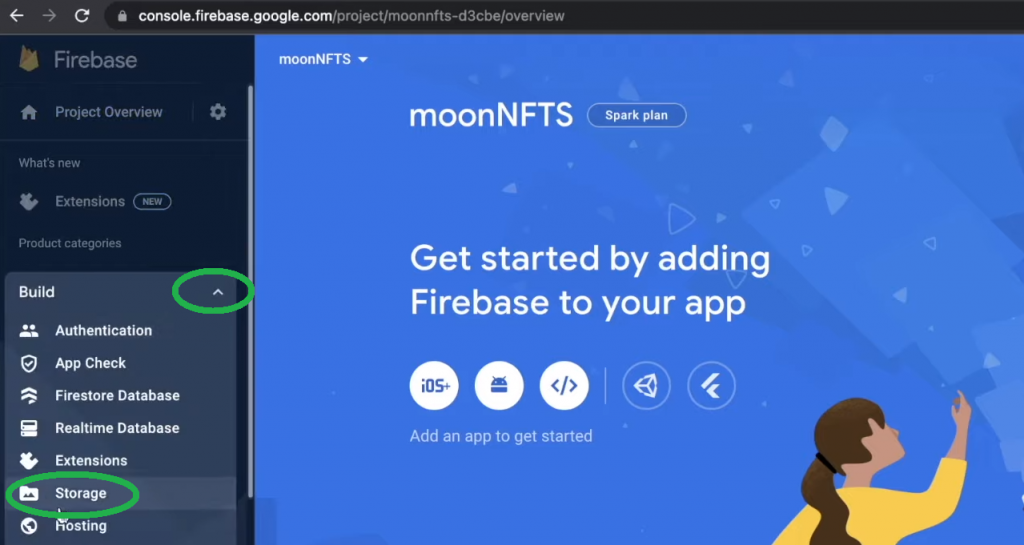
Star by accessing your Firebase console. There, you can use your existing project or add a new one:

Once inside your Firebase project dashboard, expand the “Build” menu and click on the “Storage” option:
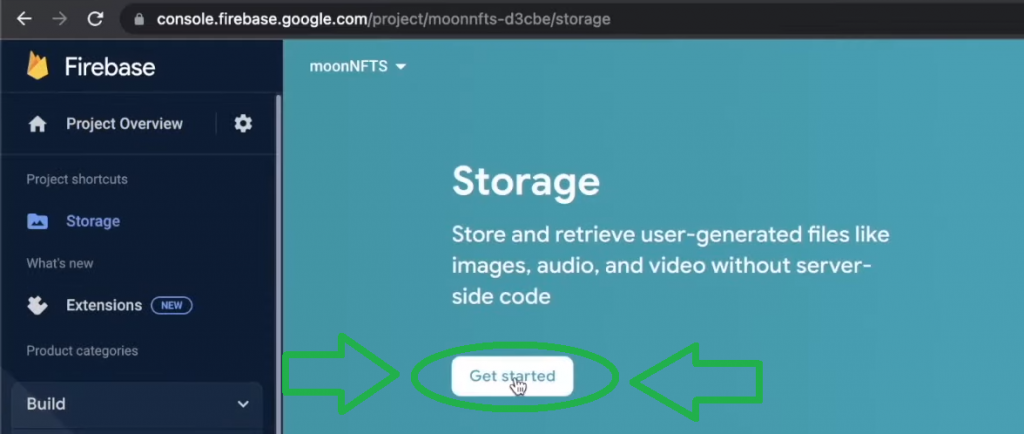
Once the “Storage” page loads, click on the “Get started” button:
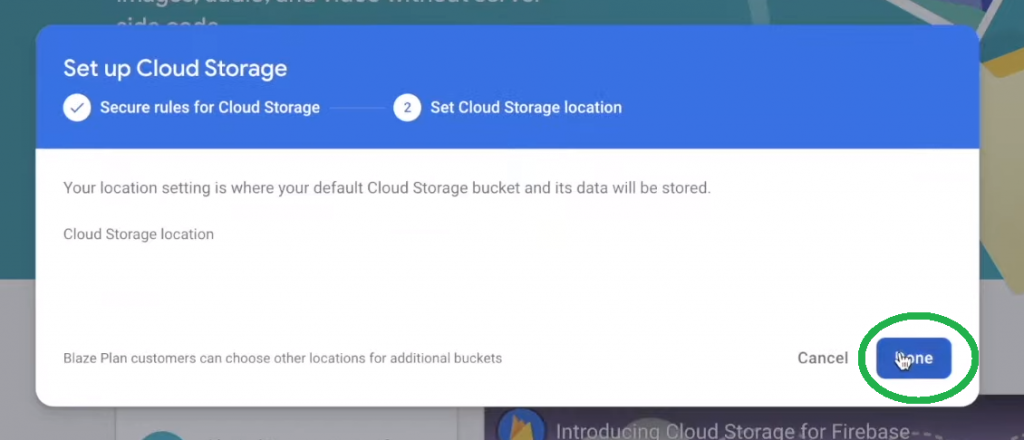
After clicking on the above button, you’ll get to set up Firebase’s cloud storage. Since this is an example project, we recommend selecting the test mode. Then, move on by hitting “Next”:

Finally, complete the setup by clicking on the “Done” button:
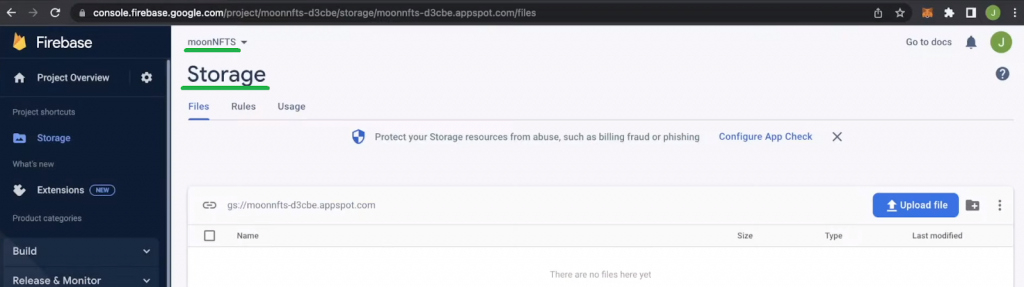
As a result, you should see the “Storage” page for your project:
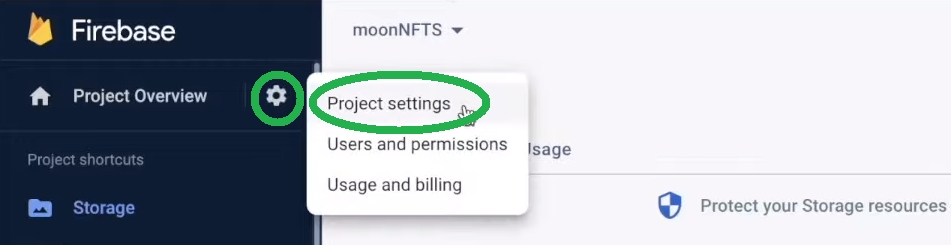
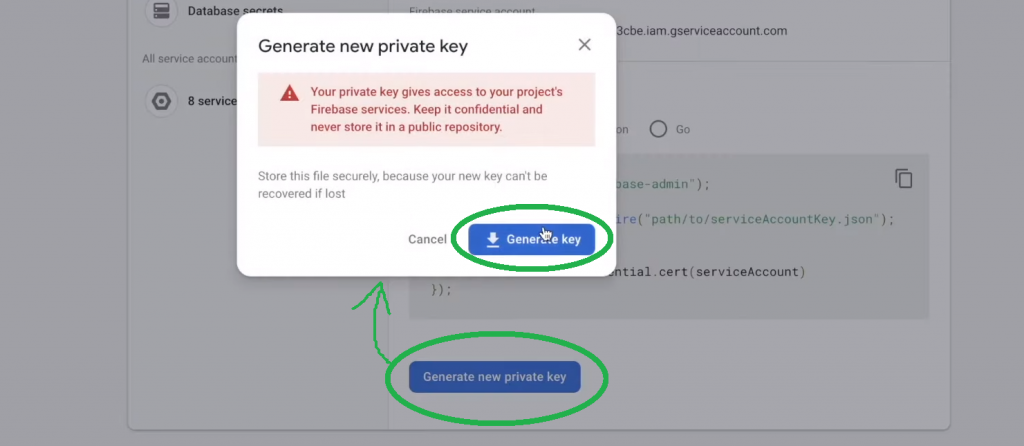
Moving on, you need to create your new private key. To do so, you need to access the “Project settings” page by clicking on the gear icon in the side menu:
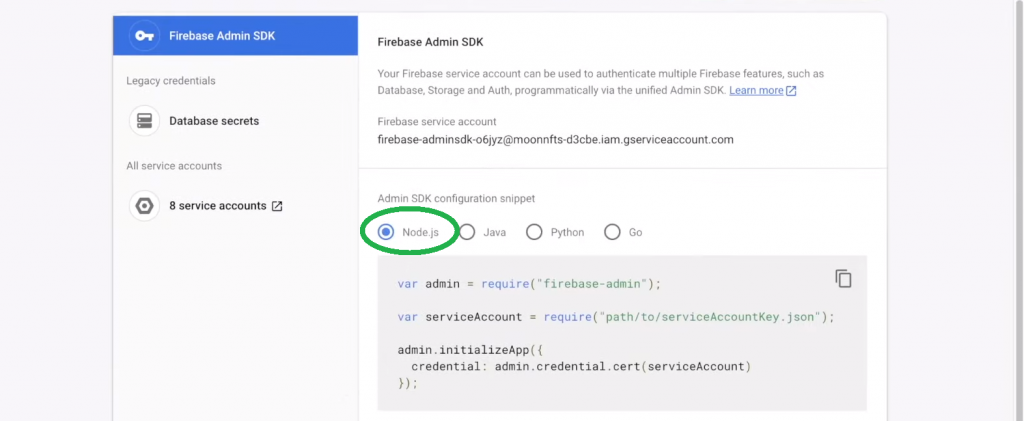
Next, select the “Service accounts” tab:

Then, scroll down and make sure that “Node.js” is selected:
Finally, click on the “Generate new private key” button, followed by a confirmation (a click on “Generate key”) in the pop-up window:
Initial Setup Part 2 – Creating a NodeJS Project
Note: You can use your favorite IDE; however, to avoid any unnecessary confusion, we recommend you follow our lead and use Visual Studio Code (VSC).
First, create a folder for your NFT project and open it in VSC:
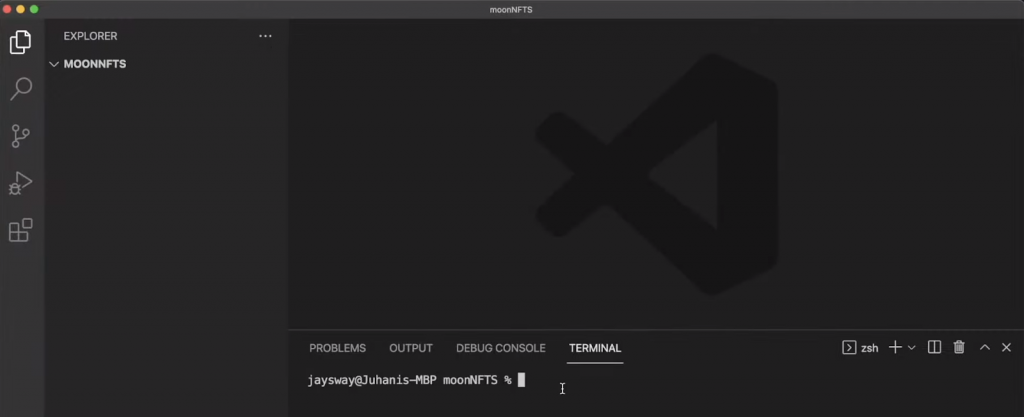
As you can see in the above screenshot, we named our folder “MOONNFTS”. Moreover, also make sure to have your terminal ready. Next, initialize a NodeJS project by entering the following command:
npm init
Then, you just need to press “enter” a couple of times to complete the setup steps. As a result, you should get a “package.json” file inside your project folder:

Moving on, create an “index.js” file. You can do it manually or with the “touch index.js” command. With the “index.js” file in place, it’s time to install the required dependencies. Hence, use your terminal and enter the following:
npm i firebase-admin uuid
The above command will create a “node_modules” folder and a “package-lock.json” file. Your project explorer should look as follows:

Finally, you also want to add the JSON file you downloaded from Firebase (from previously when you clicked on the “Generate key” button). You can simply drag-and-drop it from your browser:
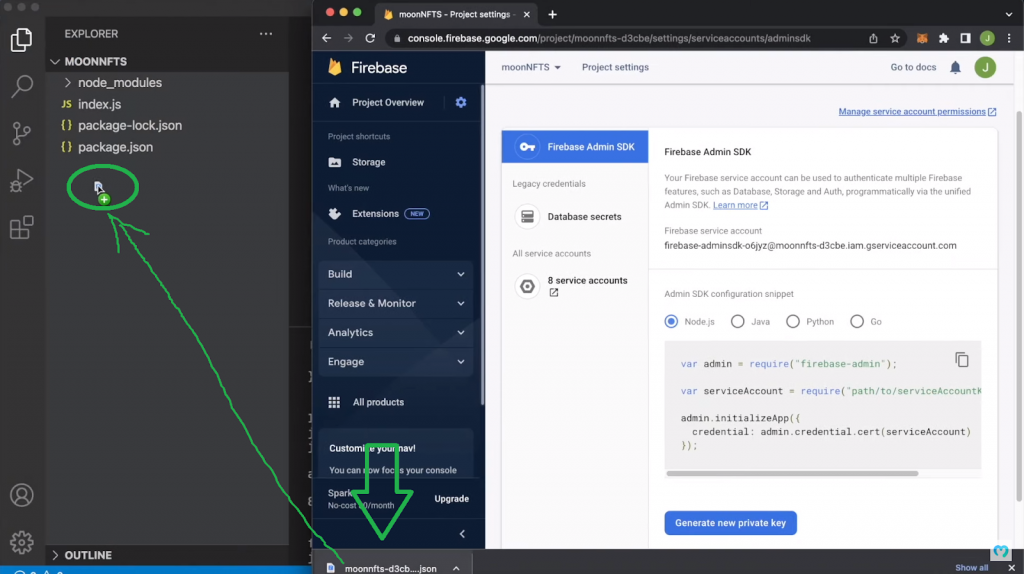
Also, make sure to rename your file into something more user-friendly (our example: “serviceAccount.json”). By renaming that file, you’ve successfully completed both parts of the initial setup. Hence, it’s time to start coding the “index.js” file so it will store NFT metadata to Firebase properly.
Code to Store NFT Metadata to the Firebase Storage Bucket
If you haven’t done so yet, open your “index.js” file. At the top, require your dependencies with the following lines of code:
const firebaseAdmin = require("firebase-admin");
const { v4: uuidv4 } = require("uuid");
const serviceAccount = require("./serviceAccount.json");
Then, create an admin variable to use your credentials that are in the “serviceAccount.json” file:
const admin = firebaseAdmin.initializeApp({
    credential: firebaseAdmin.credential.cert(serviceAccount),
  });
The above lines of code will provide you with access to your Firebase project. Next, you also want to ensure access to your storage bucket:
const storageRef = admin.storage().bucket("REPLACE_WITH_YOUR_BUCKET_NAME");
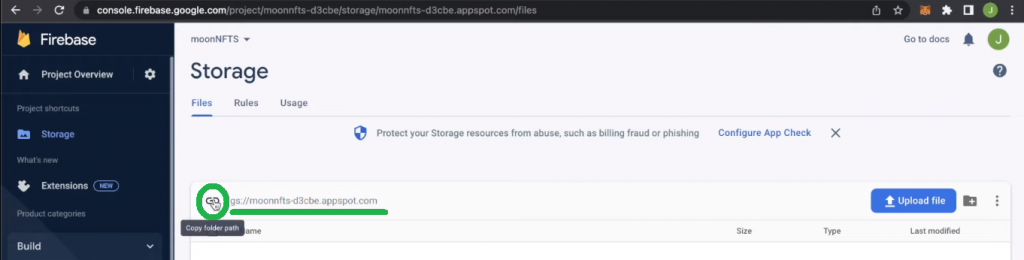
To get your bucket name, return to the “Storage” page of your Firebase project:
With your Firebase project and storage bucket access in place, you need to create a function that will import files from your folder to Firebase.
Uploading the NFT Files
If you remember, the NFT metadata includes the NFT file URL. As such, you need to first upload the image files. To do this, create the following function:
async function uploadFile(path, filename) {

    const storage = storageRef.upload(path, {
        public: true,
        destination: `image/${filename}`,
        metadata: {
          metadata: {
            firebaseStorageDownloadTokens: uuidv4(),
          },
        },
    });

    return storage
}
You also want to call the above-created function:
(async () => {
    for (let i = 1; i < 11; i++) {
    await uploadFile(`./images/${i}.png`, `${i}.png`);
    console.log("Uploaded image number " + i);
    }
})();
As you can see, the above “for” loop ensures that all ten example files in your folder get uploaded to Firebase and properly named. Moreover, before you actually run the above “uploadFile” async function, make sure to add folders with images to your project’s folder:

Note: Remember that you can use our example image files that await you on GitHub.
With your example files in place, you can run the following command to start uploading them:
node index.js
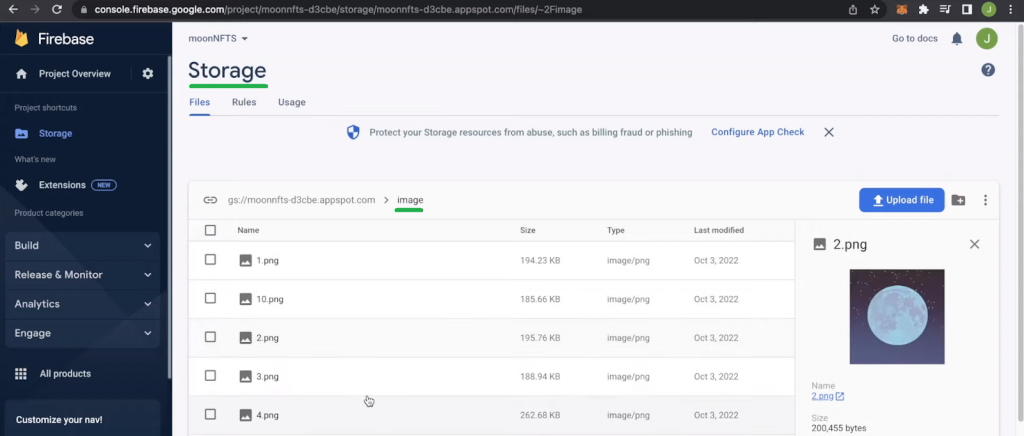
After running the above command, you’ll see the upload progress in your terminal:

Moreover, your Firebase’s “Storage” page should reflect your progress:
For a more detailed demonstration, use the video below (8:48). With the image files successfully uploaded, you can also create and upload metadata files.
Creating and Uploading the Metadata Files
Note: For the sake of this tutorial, you don’t have to create your JSON files. Instead, you can use our metadata files. Just make sure to use your addresses (video below, starting at 9:30).
Start by creating a “metadata” folder and populate it with ten JSON files:
With your metadata files ready, you can use the “index.js” file to upload them to your Firebase Storage bucket, which will serve as an NFT metadata storage. To do this, just replace “image” with “metadata” and “png” with “json” (10:40):
async function uploadFile(path, filename) {

    const storage = storageRef.upload(path, {
        public: true,
        destination: `metadata/${filename}`,
        metadata: {
          metadata: {
            firebaseStorageDownloadTokens: uuidv4(),
          },
        },
    });

    return storage

}

(async () => {
    for (let i = 1; i < 11; i++) {
    await uploadFile(`./metadata/${i}.json`, `${i}.json`);
    console.log("Uploaded meta number " + i);
    }
})();
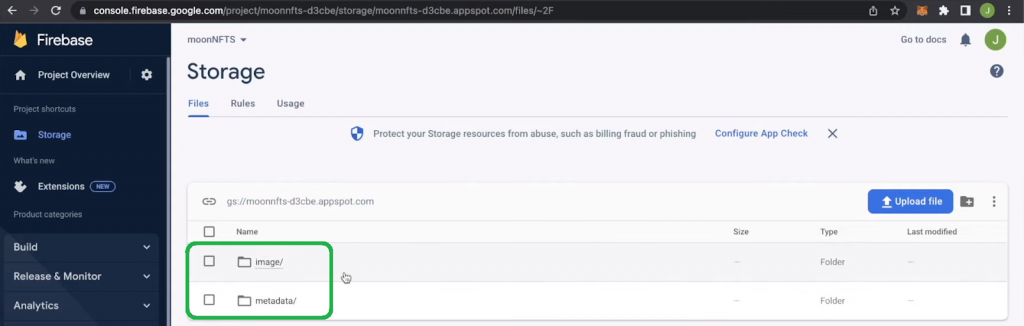
Last but not least, run the “node index.js” command again. As a result, you should now have your NFT image files and the corresponding metadata successfully uploaded:
Creating Example NFTs
Now that you have properly stored all the ingredients, for example, NFTs, it’s time to create actual NFTs. To do that, we’re handing you over to the video tutorial below, starting at 12:12. This is where you’ll have a chance to follow one of our in-house experts’ lead as he uses Remix to mint example NFTs on Polygon’s testnet. Essentially, you will get to create a simple NFT smart contract and deploy it to mint your own NFTs. To do this, you will need your MetaMask wallet and some test MATIC.
Moreover, starting at 17:43, you’ll also see how to use the Moralis documentation to see the power of Moralis’ NFT API. Last but not least, you’ll also be able to view your example NFTs on OpenSea (18:40).
Here’s the video tutorial that we’ve been referencing throughout the article:
NFT Metadata Storage – How to Store NFT Metadata – Summary
We started today’s discussion by explaining what NFT metadata is. We then looked at where the metadata for NFTs is stored. That’s where you learned about different NFT metadata storage options. Moreover, you learned about the Moralis NFT API and how it can help you easily create all sorts of NFT dapps. Finally, we took on an example project where you had a chance to see firsthand how to store NFT metadata in the Firebase Storage bucket. As a bonus, you also had an opportunity to mint example NFTs by following the above video tutorial.
If you enjoyed today’s tutorial, we recommend you explore the Moralis documentation, the Moralis YouTube channel, and the Moralis blog. There you can find other dapp and NFT development tutorials, and these outlets are great places to become Web3-educated. For instance, some of the latest topics focus on explaining what the Aptos blockchain and Sui blockchain are, building Ethereum dapps, creating a Web3 Firebase login with MetaMask, how to create an NFT project, and much more.
On the other hand, you can take a more professional approach to your crypto education. By enrolling in Moralis Academy, you can become blockchain certified and significantly increase your chances of going full-time crypto sooner rather than later. If NFTs are your favorite cup of tea, you might want to start by learning how to build an NFT marketplace.
