Although NFTs (non-fungible tokens) are still primarily used as digital art, one industry that’s quite ripe for the NFT revolution is Web3 gaming. If you play or have played any type of video game, you are well aware that in-game items can have specific abilities attached to them. In the same way, NFTs can have attributes added to them, which can bring even more depth to the blockchain gaming experience. Furthermore, attributes expand NFTs’ use cases and make them highly suitable for all sorts of Web3 games. For game developers, knowing how to add attributes to NFT metadata is pivotal when it comes to advancing the next generation of blockchain games.
In this article, we explore how to accomplish this easily with the help of a simple Unity app. Also, by cloning our code, you can use our Unity IPFS uploader v2 feature to get metadata URLs. But, we’re going to start off this article by covering what NFT metadata attributes are!
Then, we will show you how to add attributes to NFT metadata with our Unity IPFS uploader v2. After looking at a demo of our application, we’ll guide you through the setup process that will enable you to use this application yourself. We will also look at the most critical parts of the code of our uploader app. Along the way, you will learn how to complete the initial Moralis setup, which will be your gateway to Web3 development. Knowing how to get going with Moralis and access its full power will enable you to create all sorts of dapps (decentralized applications). This means you’ll be able to take your Unity skills and create an excellent Web3 game. So, to learn how to add attributes to NFT metadata easily, make sure to create your free Moralis account!

What are NFT Metadata Attributes?
Many of you probably know about “NFT attributes”. These are various visual aspects that profile picture (PFP) NFTs have. From different backgrounds to different clothes, facial features, and accessories. However, “NFT metadata attributes” are something different. These are the attributes that are normally not visible. Instead, they are coded into NFTs metadata. Moreover, since there are various NFT standards, it’s important to note that we are focusing on the ERC-721 token standard herein.
Given the fact that OpenSea is one the most popular platform to view NFTs and their details, it can be helpful to look at their docs for this standard. Of course, you can also look at the official ERC-721 metadata standard on GitHub.

NFT Metadata Attributes Array Example
Here’s an example of the ERC-721 metadata:

As you can see, metadata attributes come in the form of an array. Aside from adding functionality, these attributes enable you to add additional uniqueness to NFTs. Furthermore, here is an example of a metadata attributes array:
{
"attributes": [
    {
      "trait_type": "Base",
      "value": "Starfish"
    },
    {
      "trait_type": "Eyes",
      "value": "Big"
    },
    {
      "trait_type": "Mouth",
      "value": "Surprised"
    },
    {
      "trait_type": "Level",
      "value": 5
    },
    {
      "trait_type": "Stamina",
      "value": 1.4
    },
    {
      "trait_type": "Personality",
      "value": "Sad"
    },
    {
      "display_type": "boost_number",
      "trait_type": "Aqua Power",
      "value": 40
    },
    {
      "display_type": "boost_percentage",
      "trait_type": "Stamina Increase",
      "value": 10
    },
    {
      "display_type": "number",
      "trait_type": "Generation",
      "value": 2
    }
  ]
}
Looking at the example code above, you can see that the ERC-721 attributes come in pairs of trait types and values. In addition, attributes can also have an optional display type, which we can specify or leave out. Moreover, this is how OpenSea would display the above attributes:

This simple example of metadata attributes clearly shows that when you add attributes to NFT metadata, you can add a lot of value to NFTs and expand their functionality. In the case of Web3 games, this can make a huge difference.
How to Add Attributes to NFT Metadata with Our Unity IPFS Uploader
Let’s first look at a demo of our Unity IPFS uploader application. Despite the fact that our application doesn’t execute any on-chain transactions, it starts with Web3 authentication:

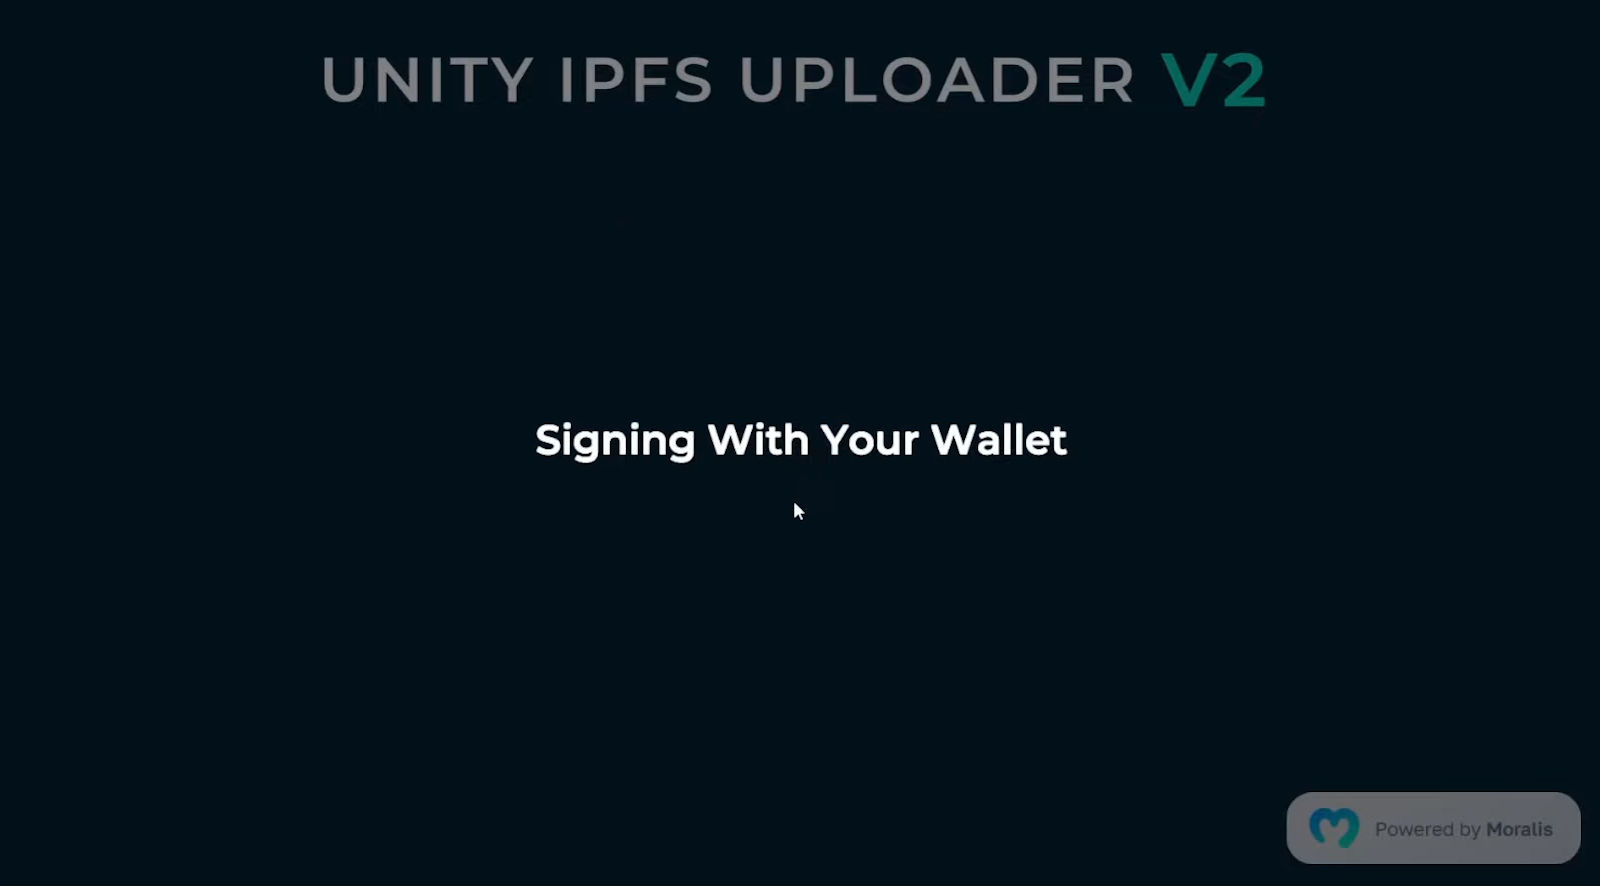
So, we must first click the “Connect” button to log in. By doing so, a QR code appears. Next, we need to scan that code using our favorite mobile crypto wallet:

The “Signing With Your Wallet” message lets us know that we’ve successfully scanned the code:
After successfully signing in, we land on our uploader app’s dashboard:
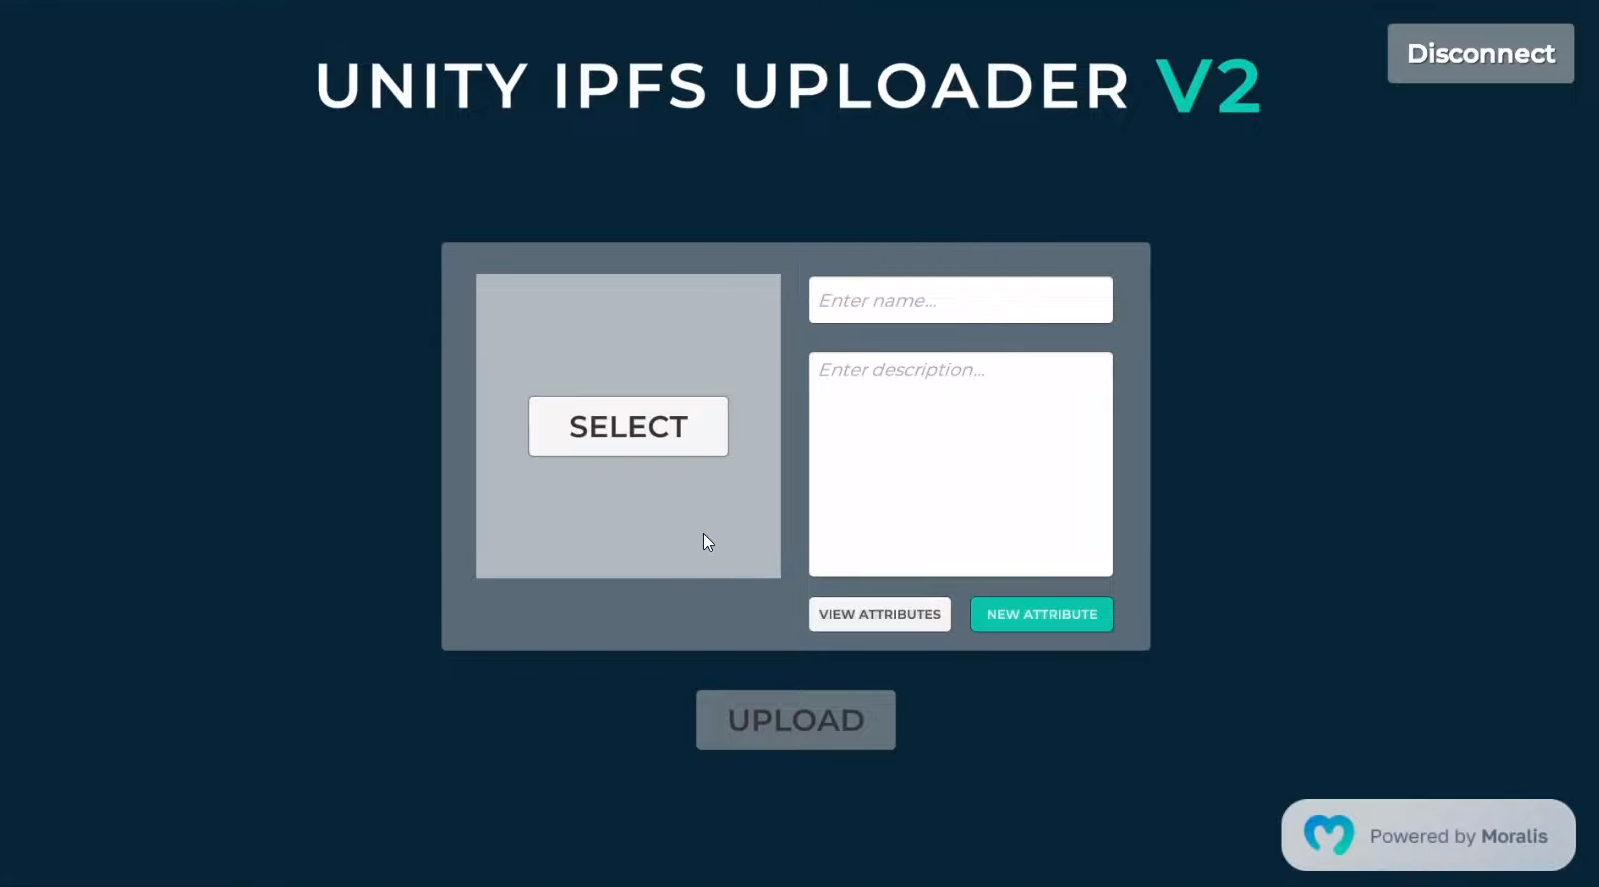
Looking at the screenshot above, you can see that the application includes four buttons. In the top-right corner, we can click on “Disconnect” if we decide to sign out. Then, the “select” button lets us choose an image file we want to use as an NFT’s visual part. The application will upload the selected image to IPFS and include the corresponding image URL in the metadata. Furthermore, besides the image, the NFT’s name and description are also important. This is what we get to enter on the right side of our app’s panel. These are the features that our Unity IPFS uploader v1 already included. However, the updated version of our IPFS uploader also allows us to add attributes to NFT metadata. This is where the “view attributes” and “new attributes” buttons come to play.
Add Attributes to NFT Metadata without Coding – Demo
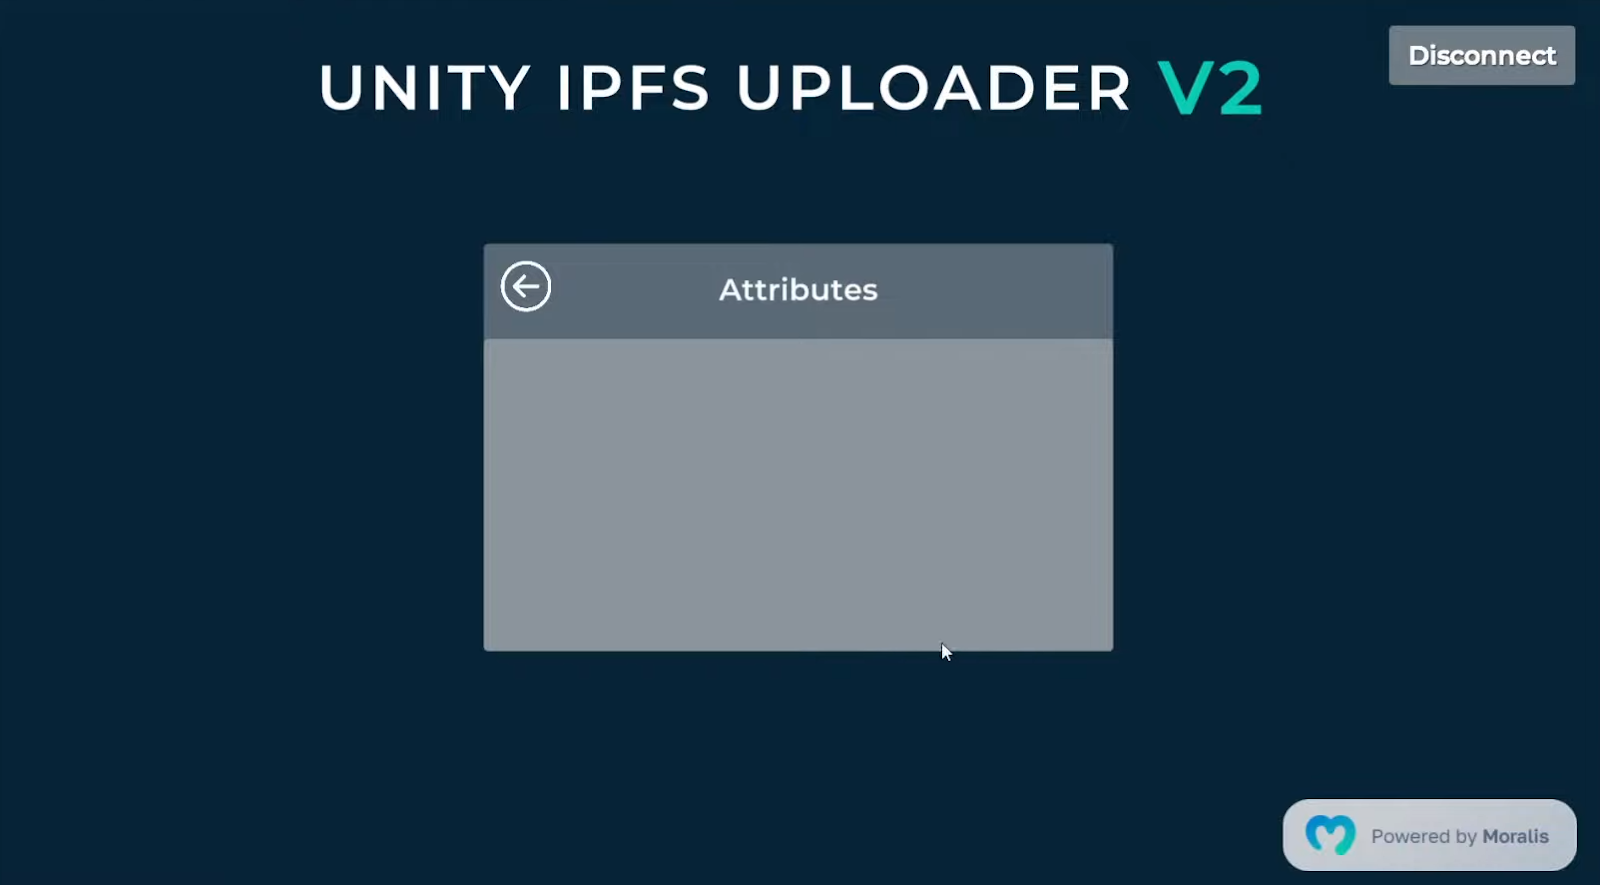
When we click on the “view attributes” button, we will see added attributes; however, since we haven’t added anything yet, the list is currently empty:
As such, let’s use the “new attributes” button to add attributes to the NFT metadata example:

As you can see in the screenshot above, the “submit” button is initially disabled. That’s because we must first add essential attributes to our NFT metadata. Moreover, if you remember, “trait type” and “value” are essential, while “display type” is optional. So, filling out the bottom two entry fields already activates the “submit” button:

However, for the sake of this demonstration, let’s also include a display type:

After populating the entry fields, we need to click on the submit button. Then, we can already view this particular attribute via the “view attributes” button:

Furthermore, as you can see in the above screenshot, we can also delete attributes before uploading them to IPFS. On the other hand, we can use the “new attributes” button again to add more attributes:

By doing so, the list of our attributes expands:

Of course, we could add more attributes if we wanted. However, let’s now upload our metadata to IPFS. As such, we need to return to the main panel.
Uploading Metadata to IPFS – Demo
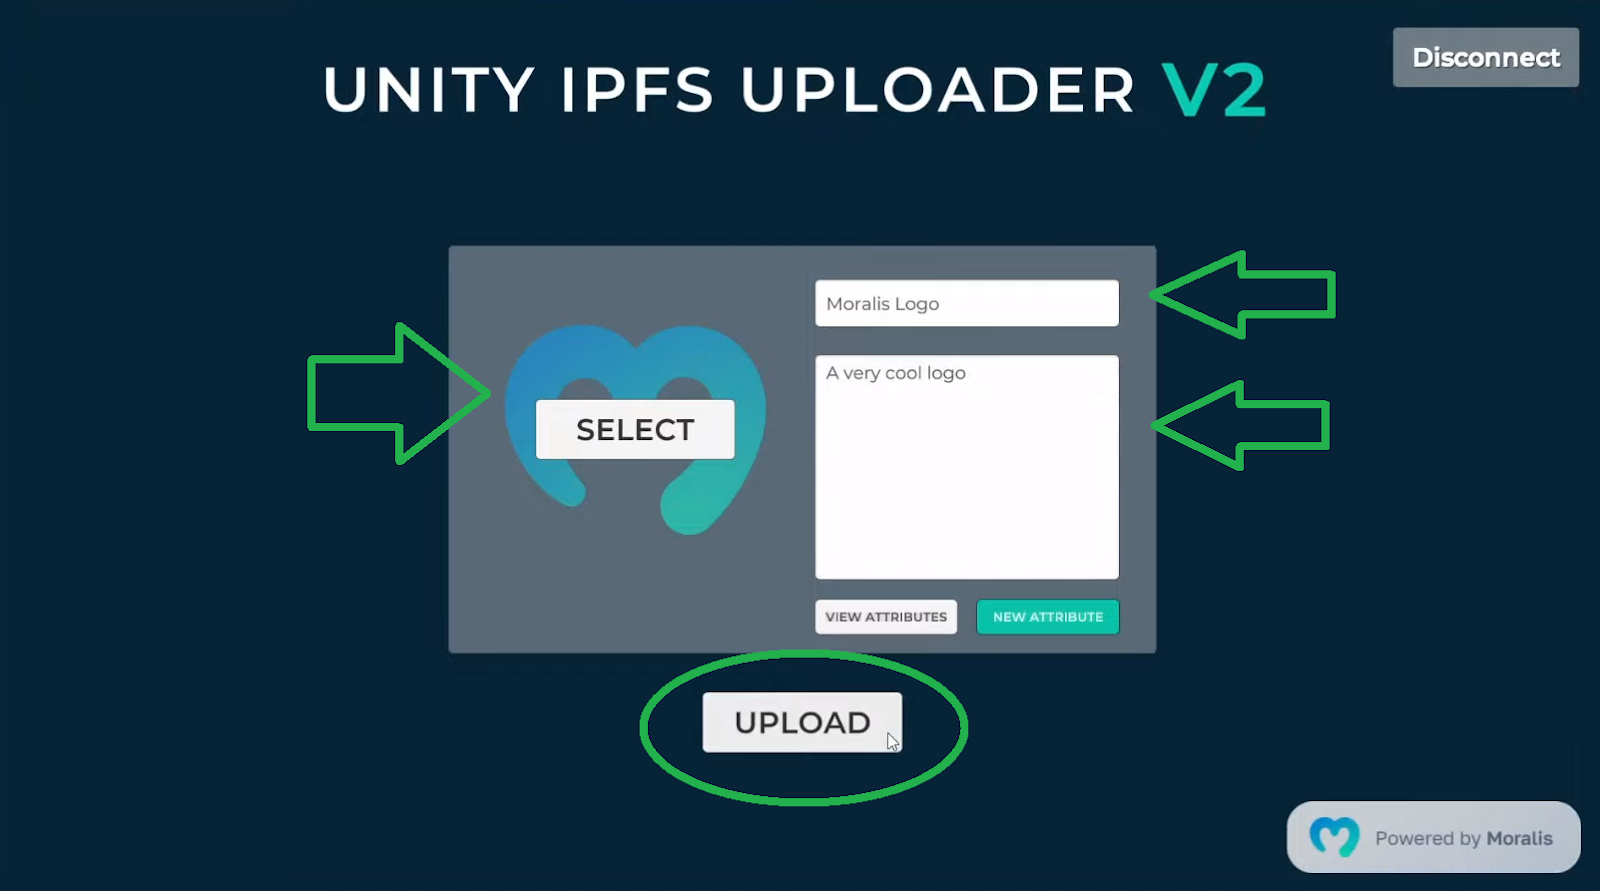
With our attributes in place, we need to select an image file and give it a name and description before we can upload our metadata to IPFS. First, we select a PNG file from our computer:

Then, we add our NFT’s name and description, which activates the “upload” button:
After clicking on the “upload” button, you will get the “Image file saved successfully to IPFS!” message displayed, followed by “Metadata saved successfully to IPFS!”:

If we open the Unity console, we can see the URL containing the JSON file for our example metadata:

We can copy the above URL into any browser to view our metadata:

We can also use format-altering tools (e.g., the “JSON formatter”) to view our example data in a more neat format:

How to Use Our Unity IPFS Uploader
Now that you’ve seen our IPFS uploader app in action, you might be eager to use it to add attributes to NFT metadata. Fortunately, it only takes a couple of minutes to complete the initial setup. Essentially, you just need to download the project from our GitHub page, open it in Unity, and enter your Moralis dapp’s credentials. While this is a relatively simple process, it might be quite useful to follow this step-by-step guide:
- Use the above “GitHub page” link to download the ZIP file or clone the code:

- Open your Unity hub and then open the project:

- Use the “create your free Moralis account” link in the intro or visit Moralis’ official website:

Note: As you can see above, this is also the place to register for challenging hackathons with impressive price pools.
- After creating your free Moralis account, you’ll access your admin panel. This is where you’ll get to create your new dapp:

- On the first step of the dapp setup, select “Mainnet”:

- Next, you can choose one of the leading networks that Moralis supports. For the sake of this example, let’s go with Cronos:

- Moving forward, you need to select your region. Use the drop-down menu and choose the city closest to your physical location:

- As the final step of your Moralis dapp setup, you need to name your dapp and click on the “Create Your Dapp” button:

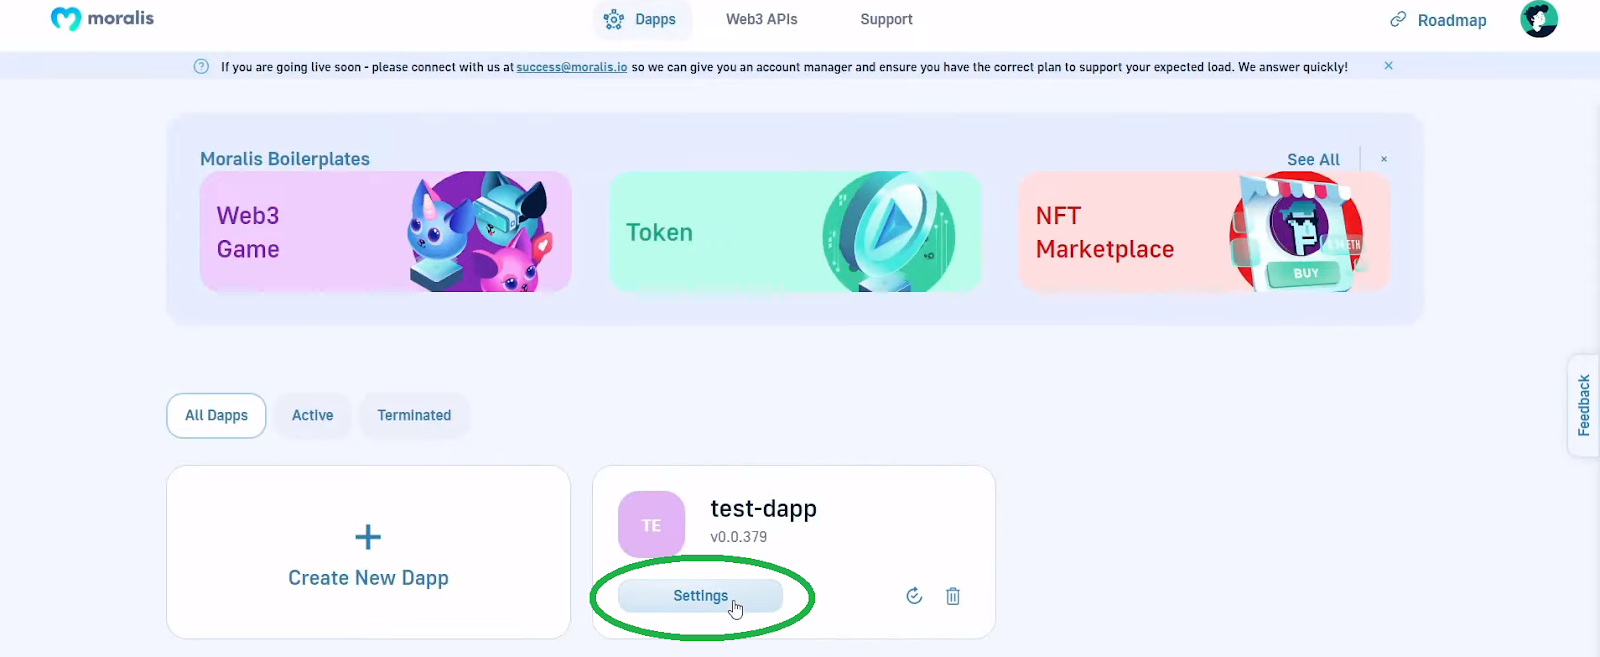
- Once your dapp is up and running, you can click on the “Settings” button:
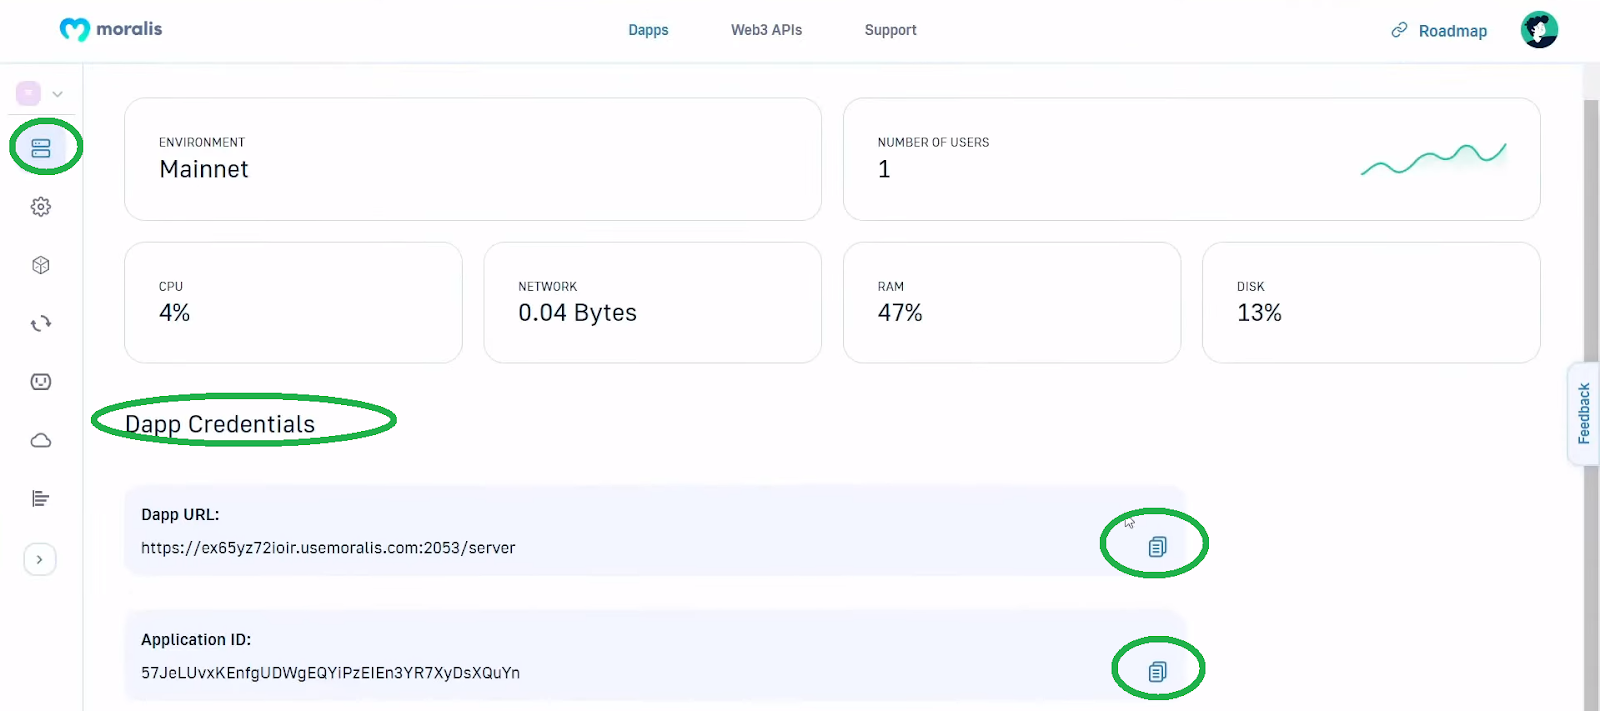
- To access your dapp’s credentials, you’ll need to scroll down a bit. Then, use the “copy” icons to copy your dapp URL and ID:
- Return to Unity and open the Moralis Web3 setup module:

- Paste your dapp’s credentials into the designated entry fields:

Now you can hit play to add attributes to NFT metadata:

The Code Enabling Our App to Add Attributes to NFT Metadata
At this point, you know how to use our Unity IPFS uploader v2 to add attributes to NFT metadata. As such, you can start using it to get your metadata ready. However, we encourage you to also take a couple of minutes to ensure that you properly understand the code that makes this possible. Hence, use the video below, starting at 9:46.
In the video, you will first take a look at “AppManager”, which contains our application’s states. These are “Main”, “NewAttribute”, and “ViewAttributes”, which you saw in the demo above:

Inside the “NewAttribute” script, you’ll first see the lines of code capturing the text from the entry fields. At 11:21, you’ll take a closer look at the “AttributeObject” class, which is triggered once you click on the “Submit” button on the “NewAttribute” state. Moreover, there are also lines of code ensuring that the “submit” button is active only when all the necessary data is provided. In addition, the “SubmitButtonPressed()” function triggers the “OnSubmittedAttribute” event. It’s the app manager that listens to that event and adds a new attribute object to a private list.
However, the essential function is “UploadToIpfs” (12:35), which you call by clicking on the “upload” button. This is where the “BuildMetadata” constructs the attributes array of objects. Nonetheless, starting at 14:01, you will also look at the “ViewAttributes” script. The latter create prefabs with the details of the attributes and displays them in a user-friendly manner.
Finally, this is the video tutorial that will walk you through the code behind our Unity IPFS uploader app:
How to Add Attributes to NFT Metadata – Summary
Throughout the above sections, you learned how to add attributes to NFT metadata and upload that metadata to IPFS. Using our IPFS uploader application, it takes just a couple of minutes to complete that essential part of NFT creation. Along the way, you also learned how to complete the initial Moralis setup, which includes creating your new Moralis dapp and obtaining its credentials. You must paste the latter into Unity to gain access to Moralis’ Unity Web3 SDK. The latter includes IPFS integration.
Creating metadata is an essential part of minting NFTs, but it’s only a part of the journey. You still need to execute an actual on-chain transaction to convert your metadata into NFTs. Again, there are several options to mint NFTs. However, if you want to take the path of the least resistance, using our Unity NFT minter dapp is the way to go. You can learn all you need to know about how to mint a Unity NFT on the Moralis blog. This is also a great place to learn more about a full range of dapp development. Of course, you should also visit the Moralis YouTube channel, where you’ll find a ton of excellent tutorials. Ultimately, these are the two outlets that can help you become a Web3 developer for free.
We hope you’ll put the IPFS uploader and the Unity NFT minter tools to good use and create some killer Web3 games. However, if you are not yet confident enough to tackle your own projects, make sure to practice by completing our example projects. Nonetheless, you might be eager to go full-time crypto sooner rather than later. If so, becoming blockchain-certified is the way to go, and this is where Moralis Academy has your back.
