Avalanche is a prominent blockchain network hosting a vast ecosystem of dapps and other interesting Web3 projects. Furthermore, the network is a great alternative to other EVM-compatible chains such as Polygon, BNB Smart Chain, and Ethereum. Are you interested in utilizing Avalanche as a blockchain for dapp development? If so, you’ve come to the right place. With Moralis, learning how to build an Avalanche dapp is straightforward. What’s more, building an Avalanche dapp can be done in only three steps! Read on as we take you through the entire process!
Boilerplate Documentation – https://github.com/ethereum-boilerplate/ethereum-boilerplate
If you do not wish to follow along during this brief tutorial, you have the option to explore the code in further detail using the link above. Otherwise, join us as we explain the entire process and show you how to build an Avalanche dapp in three steps. So, how is it possible to build an Avalanche dapp this easily? The answer to this question is Moralis’ Ethereum boilerplate, which supports EVM chains, including Avalanche! Thus, we will use this template to create a simple application where users can sign in with their Web3 wallets. Once they authenticate their Web3 identity, they will have access to user information such as their transaction history, wallet balances, and more.
So, if you want to build an Avalanche dapp, follow along as we showcase the fastest way to build a Web3 app. However, before we get going, sign up with Moralis, as you will need an account during this tutorial. Joining Moralis is free, and you can set up your account in seconds!
What is an Avalanche Dapp?
To answer the question, “what is an Avalanche dapp?” it might be a good idea to break down what both Avalanche and dapps are. Hence, we will initiate this section to briefly explore the Avalanche network in further detail.

Avalanche was created in 2020 and is a programmable smart contract platform. Avalanche set out to solve some of the congestion issues of the Ethereum network, driving up Ethereum gas fees to outrageous numbers. As such, Avalanche focuses on speed and keeping transaction costs at a minimum. Furthermore, Avalanche facilitates a platform for building fast, low-cost, Solidity-compatible applications. Moreover, the network brands itself as the fastest smart contract platform in terms of time-to-finality.
Now, with an understanding of the Avalanche network, we can easily answer the question, “what is an Avalanche dapp?”. In short, an Avalanche dapp is an application built on the Avalanche network. That said, it might be more interesting to explore the intricacies of dapps and what they entail.
So, dapps (decentralized applications) essentially fulfill the same function as traditional Web2 applications. The key difference is that dapps come equipped with Web3 functionality since developers build these apps on P2P (peer-to-peer) networks such as Avalanche or Ethereum. As such, dapps are essentially traditional applications built on top of blockchain networks.
With a somewhat better understanding of what Avalanche dapps are, we can move on to the central part of this tutorial. As such, we will take the following sections to demonstrate how to build an Avalanche dapp in three steps!
How to Build an Avalanche Dapp in 3 Steps
With a better understanding of the intricacies of Avalanche dapps, it is now time to demonstrate how you can build one. Since we will be using the Ethereum boilerplate code from Moralis, it is possible to break down the process into the following three steps:
- Cloning the GitHub Repository
- Configuring Variables
- Starting the Avalanche Dapp
The Ethereum boilerplate features a simple dapp in which users can sign in with their MetaMask Web3 wallets. Once authenticated, users will be able to browse the application freely. For example, users will receive access to their transaction history featuring both ERC-20 tokens and NFTs. What’s more, the dapp will additionally display users’ balances. However, you’ll learn more about how the dapp works in the following section, where we take a closer look at the intricacies of the Ethereum boilerplate.
Moreover, if you prefer watching video tutorials to educate yourself, feel free to check out the following clip from Moralis’ YouTube channel:
The video above is a short clip explaining how to build an Avalanche dapp. As such, it covers the steps of this tutorial in further detail. Nevertheless, you can also follow along here as this guide features a complete breakdown of how you can build an Avalanche dapp in only three steps!
Ethereum Boilerplate – How Does it Work?
Before we illustrate how you can build an Avalanche dapp, we will explore Moralis’ Ethereum boilerplate to show you what we are working towards. As seen in the following image, this is the landing page for the Avalanche application you are about to create:

You can see that you have many options as soon as the application launches. For instance, you will find four tabs at the top of the application:

These feature options such as “Transactions”, “Transfers”, and “Balances”. However, before you authenticate yourself, you will not find much information if you click any of these options. You must initially connect your Web3 wallet using the “Connect Wallet” button at the top right:

Clicking on this button will prompt your MetaMask wallet and allow you to sign a message. Furthermore, MetaMask is the default option of this template, and you can easily implement additional Web3 authentication methods when working with Moralis. For example, the Web3 Auth API allows you to easily add Coinbase Wallet login functionality or add a sign in with RainbowKit.
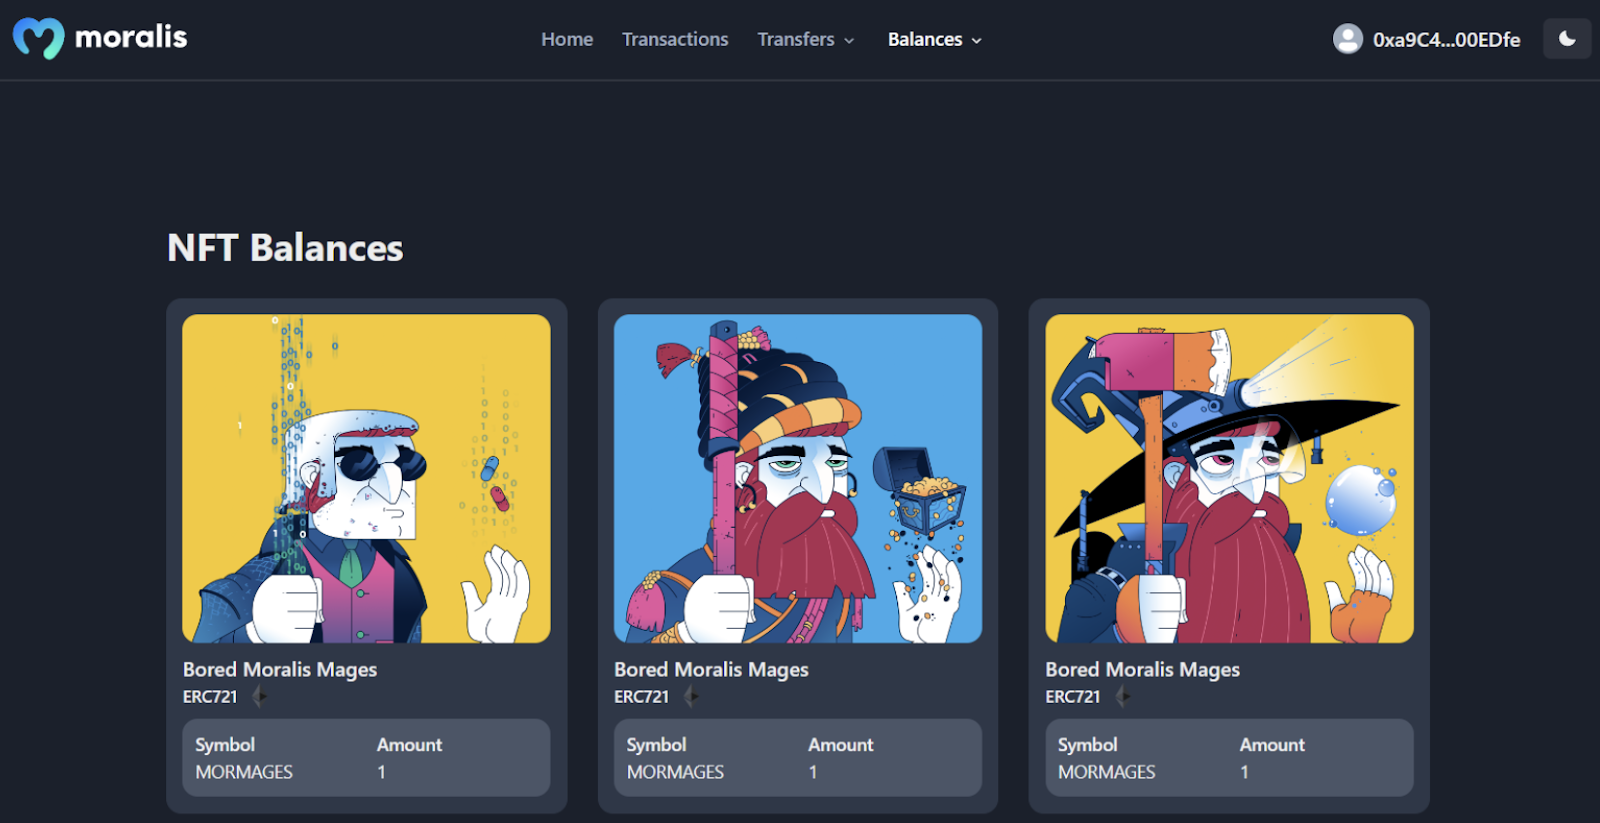
Once authenticated, you can now explore the tabs of the Avalanche dapp. For example, the “Balances” tab will show you the balance of the wallet used to sign the message. As such, clicking on this button will allow you to choose either NFTs or ERC-20 tokens:

As such, clicking on the “NFTs” option, for instance, will display all of the NFTs the wallet contain neatly:
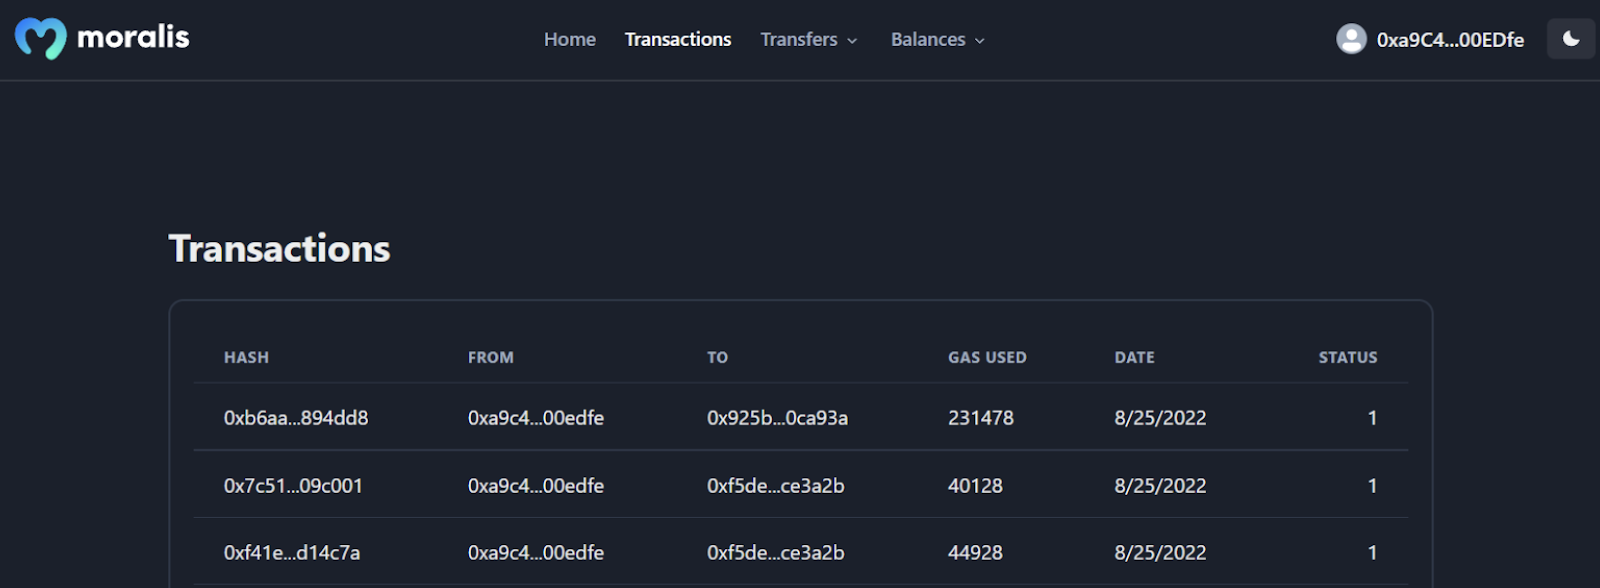
Moreover, if you were to click on the “Transactions” tab, it would display the wallet’s transaction history in a clean table:
Now that’s it! You can click on the link in the introduction and scroll down to the boilerplate documentation for a more detailed breakdown of the app’s functionality!
Build an Avalanche Dapp – 3-Step Breakdown
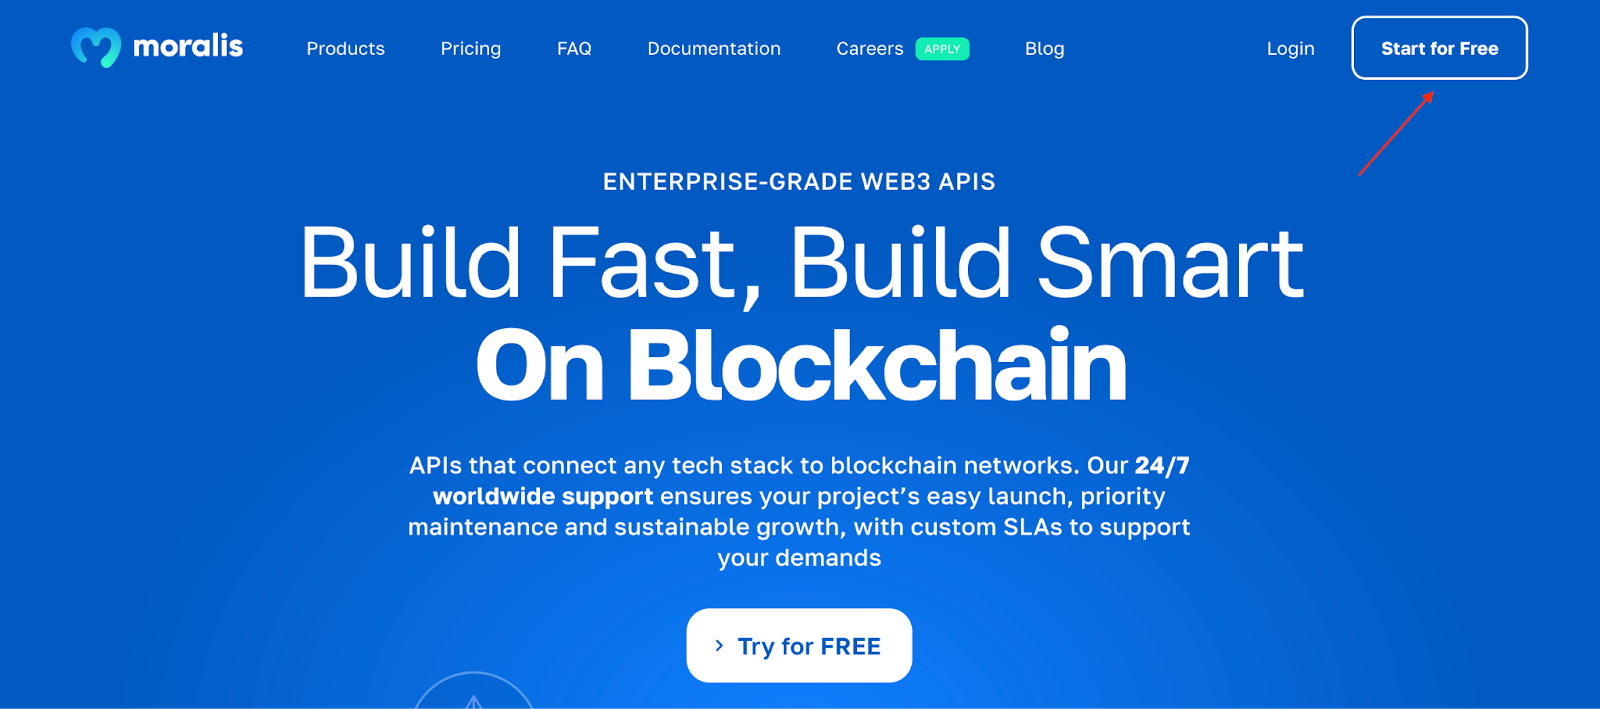
With a better idea of what we are working towards, it is time to illustrate how to build an Avalanche dapp in three steps. However, before doing so, you need to create a Moralis account. As such, if you have not already, you need to visit the Moralis website and click on the “Start for Free” button at the top right:
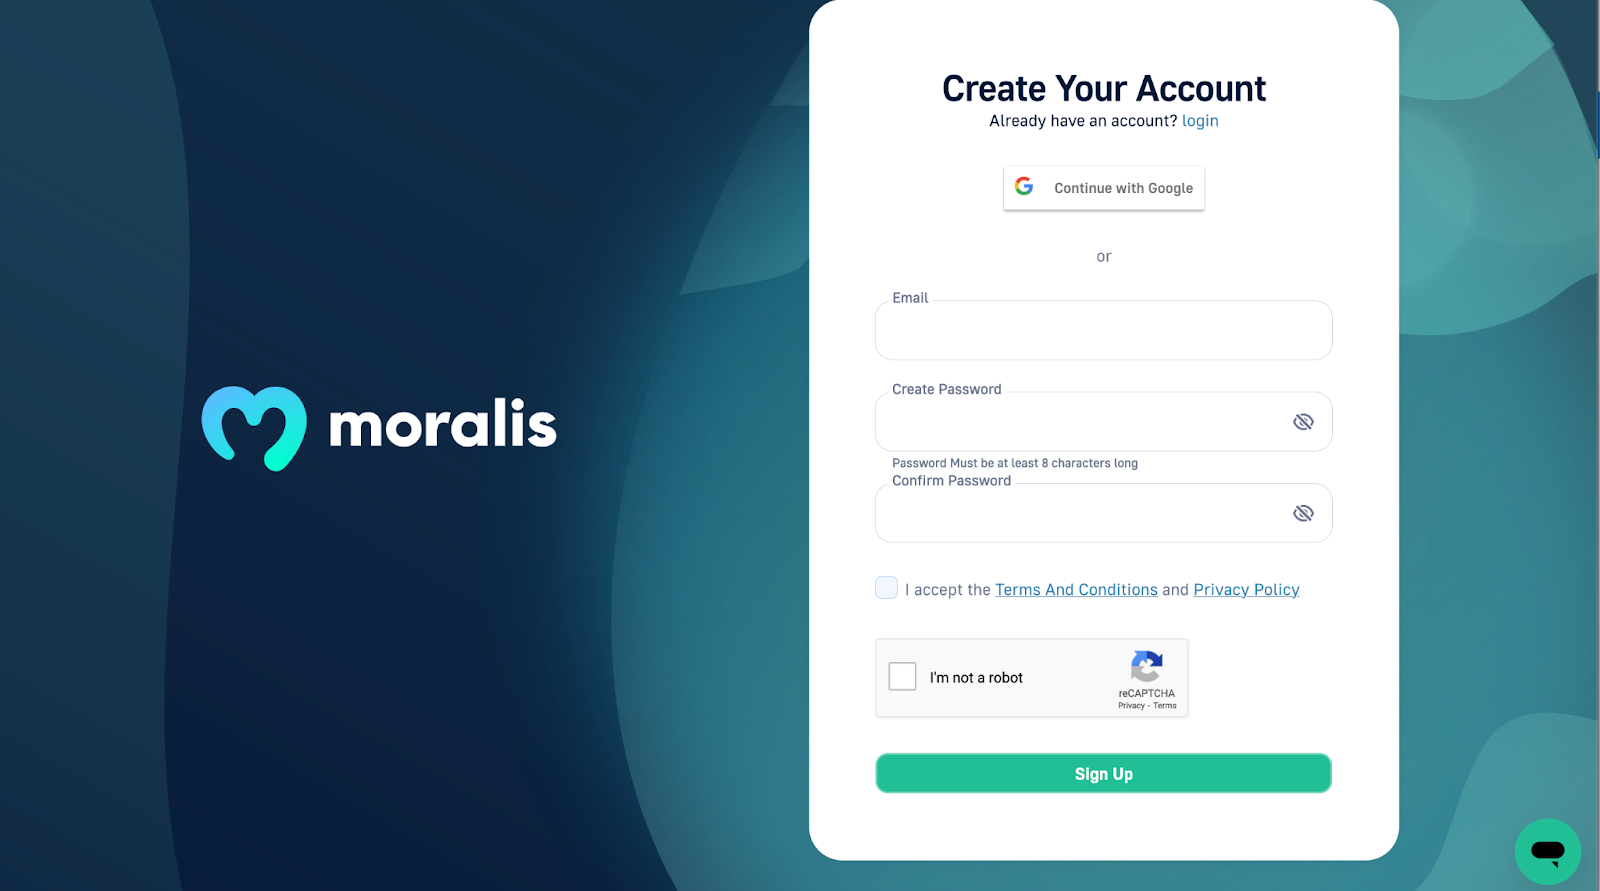
From there, you need to input the necessary information, checkmark the “I accept…” box, and click on “Sign Up”:
With an account at your disposal, we can move on to the first step of this tutorial and start to build an Avalanche dapp! So, follow along as we demonstrate how you can clone the Ethereum boilerplate to your local repository!
Step 1: Cloning the GitHub Repository
The first part of this initial step is to open your preferred IDE (integrated development environment). In our case, we will be using VSC (Visual Studio Code). If you decide to use another environment, some of the parts of this tutorial might differ slightly. However, worry not, as there will not be any significant differences to throw you off.
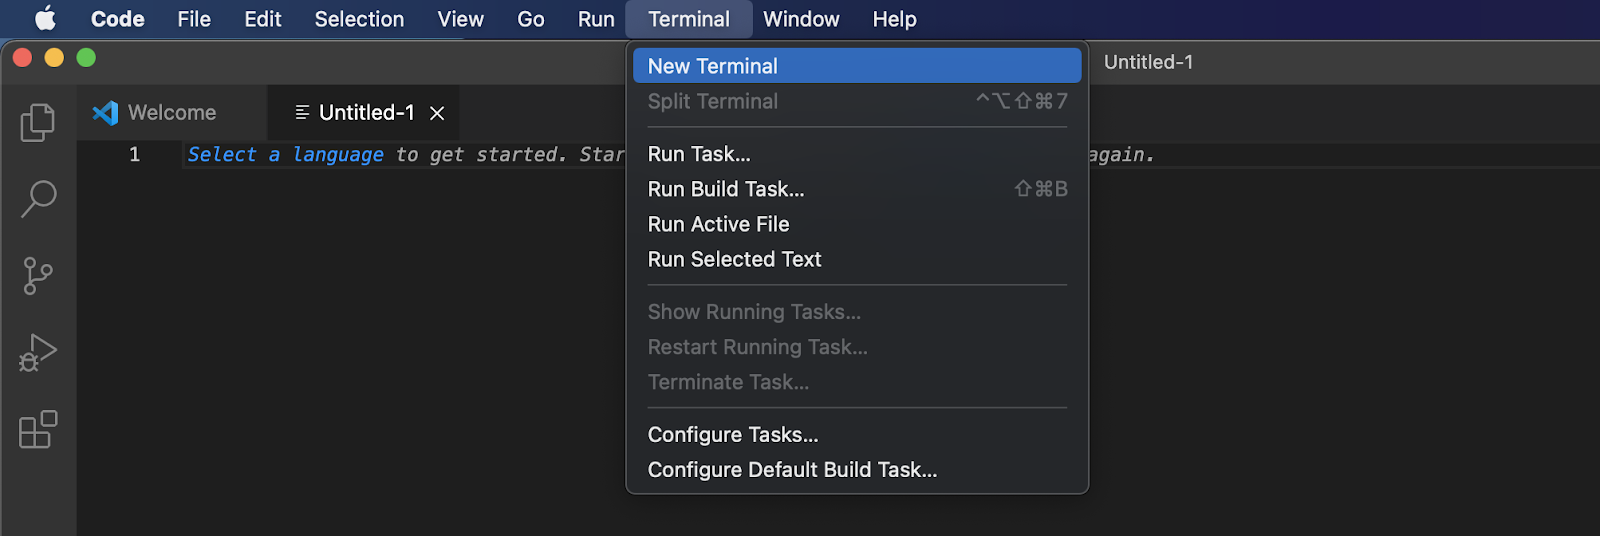
With your preferred IDE open, you can proceed by creating a new folder. We have decided to call our folder “BOILERPLATE”, but you can call it whatever you like. Next up, you need to open a new terminal. If you are working with VSC, you can do so by hitting the “Terminal” tab at the top and clicking on “New Terminal”:
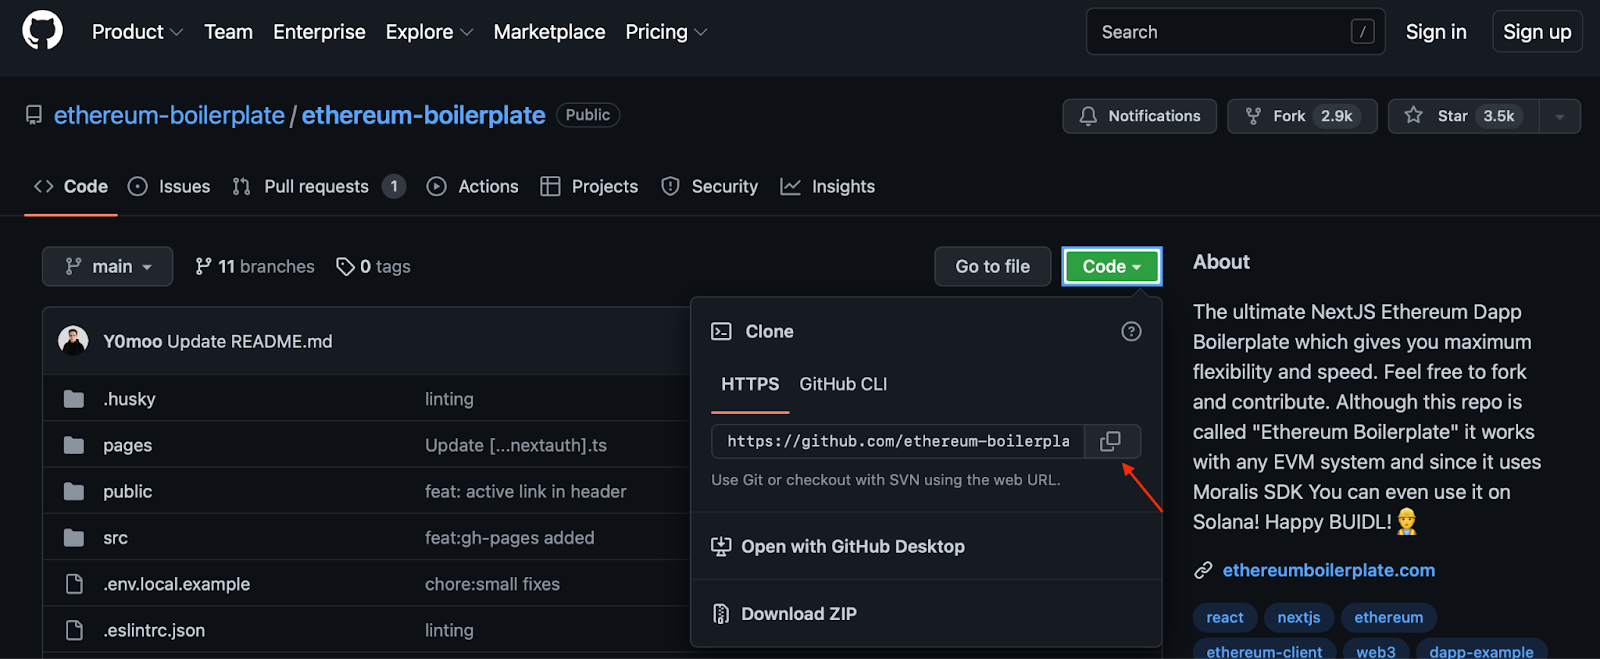
Next up, you need to navigate to the GitHub repository to which we initially linked. Once you click on this link, you can proceed and press the “Code” button to the right and copy the URL:
From there, navigate back to your IDE and input the following command into the terminal using the URL you just fetched (before running the command, make sure you are in the correct folder, which should be the one you created just now):
git clone “BOILERPLATE_URL”
Next up, you can jump into the Ethereum boilerplate folder using the following command:
cd ethereum-boilerplate
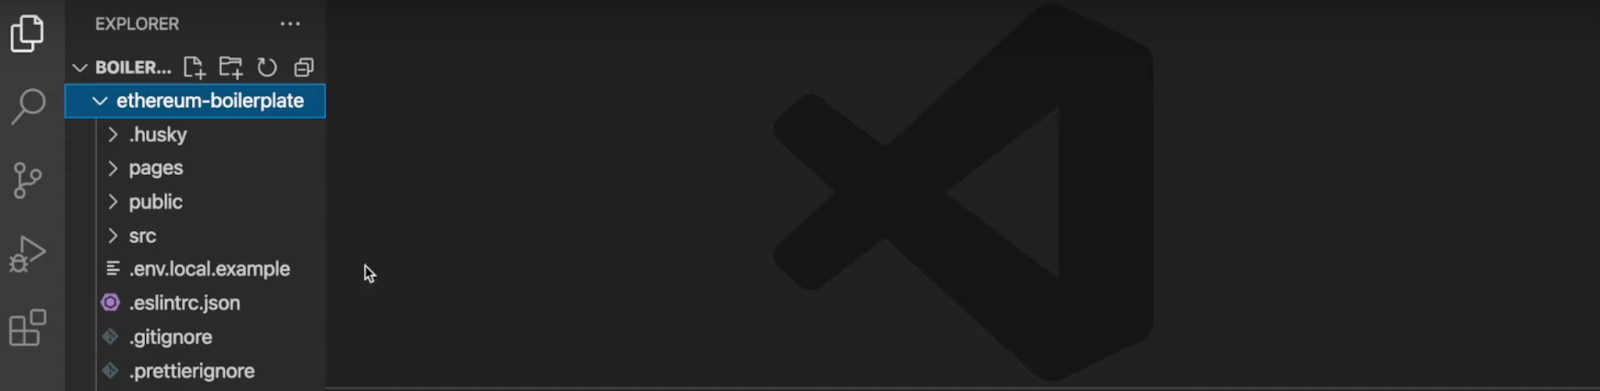
As such, if you follow the instructions above, it should provide you with the following structure in your local directory:
Step 2: Configuring Variables
In the second step, we need to make a few configurations for five environment variables. As such, you can go ahead and navigate to the ”.env.local.example” file:
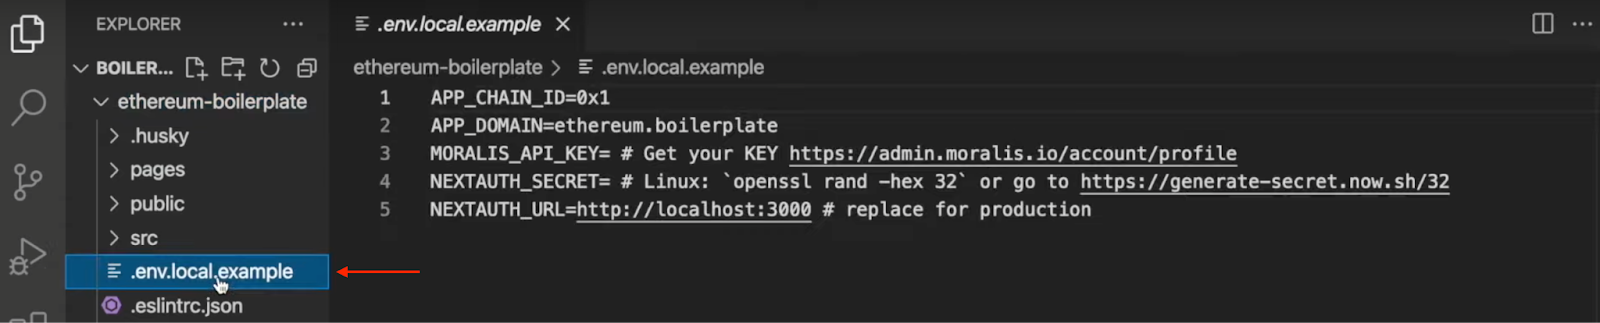
We will take you through the necessary configurations for all environment variables. So, let’s start with “APP_CHAIN_ID“. Initially, the chain ID corresponds to the Ethereum network, and since you are looking to build an Avalanche dapp, you need to configure this value. Hence, you can go ahead and change the value from “0x1” to “0xA869“, which is the ID for the Avalanche testnet.
Next, you have the “APP_DOMAIN” variable, which you can leave as is. Following this, you must add your API key to “MORALIS_API_KEY“. To get the API key, you need a Moralis account. As such, if you do not already have one, make sure to sign up with Moralis right now.
Once you have an account, you must navigate to the Moralis admin panel by logging in. From there, click on “Account”, the “Keys” tab, and then copy “Web3 API Key”:

With the value at hand, you can ensure that ”MORALIS_API_KEY” equals the API key.
Following this, you need to generate a secret value for the ”NEXTAUTH_SECRET” variable. If you need help doing so, use the following link: https://generate-secret.now.sh/32.
Finally, the last variable you need to consider is “NEXTAUTH_URL“, which is currently set to “http://localhost:3000“. Moreover, you can leave this as is since you remain in the development stages. By doing so, you will have the ability to use a local host to test the dapp in a secure environment. However, when you plan on launching the dapp, you need to change this value to the URL of your dapp.
With the configurations done, you must change the file’s name to ”.env.local”.
Final Configurations
This is what the final code for the ”.env.local” file should look like:
APP_CHAIN_ID=0xA869
APP_DOMAIN=ethereum.boilerplate
MORALIS_API_KEY= "YOUR_API_KEY"
NEXTAUTH_SECRET= b8e786967d7bcbc0f920d35bcc3f891c
NEXTAUTH_URL=http://localhost:3000
Step 3: Starting the Avalanche Dapp
Now that you have finalized the configurations to the “.env.local” file, all that remains is to start the application. However, to do so, you must first install the necessary dependencies. Moreover, depending on if you are using “npm” or “yarn”, you can use either command and input them into the terminal:
npm i
yarn
Once the dependencies are installed, you can go ahead and run a local development server with either of these:
npm run dev
yarn run dev
This should get your application running on localhost 3000. As such, you can launch the application using the following URL: http://localhost:3000.
Now that’s it for this tutorial on how to build an Avalanche dapp in three steps! All that remains from here is for you to ensure the dapp fits your targeted segment’s needs. As such, you can add any additional features or remove the ones you deem unnecessary.
If you had trouble during the tutorial, please check out the GitHub repository from the introduction. Furthermore, you can also learn more about Avalanche programming by checking out the official Moralis EVM API documentation!
Build an Avalanche Dapp in 3 Steps – Summary
During this tutorial, we briefly showcased how to build an Avalanche dapp in minutes. Thanks to the accessibility of the Moralis platform, you were able to build your Avalanche dapp through the following three steps:
- Cloning the GitHub Repository
- Configuring Variables
- Starting the Avalanche Dapp
Most of the accessibility originates from Moralis’ Ethereum boilerplate and the excellent enterprise-grade APIs the platform features. So, if you found this article interesting, you can, for example, check out our guide on how to build a Polygon dapp on Moralis’ Web3 blog!

In addition to providing great content regarding dapp development, Moralis also features other interesting guides. For example, you can read up on different types of DAOs or how to set up a self-hosted Parse Server. So, if Web3 development interests you, make sure to explore the blog further!
Nevertheless, if you are looking to build an Avalanche dapp or dapps for any EVM chain, sign up with Moralis. You can create your account immediately and begin your Web3 development journey in seconds. What’s more, setting up Moralis is entirely free, so you have nothing to lose!
