Developing dApps (decentralized applications) with the functionality to transfer ETH assets requires both complex data structures and APIs. Developing such a structure takes both time and money, making the process of sending ETH or any other cryptocurrency a cumbersome task. However, with the proper tools, it is possible to disregard the development of an underlying structure, allowing programmers to implement the functionality with less effort. The best solution for this is Moralis’ Web3 development platform which provides everything needed to develop and deploy dApps. Therefore, we’ll take a closer look in this article at how to send ETH with just one single line of code using the Moralis platform.
The power of Moralis enables developers to transfer ETH assets with just one line of code, and it is primarily due to the already developed backend infrastructure along with the Moralis SDK (Software Development Kit). As users have access to a fully managed infrastructure, it is possible to significantly cut down on the development time for all kinds of dApps.
Furthermore, the platforms offer various development tools for you to use throughout the complete development process. A few examples are the Moralis NFT API, Price API, cross-chain compatibility, and native support for IPFS. Moreover, Moralis’ blog supplies new articles daily for you to read up on. For example, there are guides on how to build a crypto wallet and information about the DuckDAO Moralis collaboration.
So, sign up with Moralis right away, and we can get going by taking a closer look at how you can send ETH with just one simple line of code!
What are Ethereum and ETH?
In this section, we’ll provide a brief summary of Ethereum and ETH before we dive deeper into the process of how to transfer ETH assets. Ethereum is the number one blockchain for dApp development, and the ecosystem is host to a vast selection of applications. Furthermore, Ethereum is the second-largest cryptocurrency, just behind the Bitcoin giant.

Ethereum is based on a proof-of-work (PoW) consensus mechanism. This means that the blocks in the chain are verified based on a trial and error process of who can find the correct hash for a block. This is also the same consensus mechanism that Bitcoin uses. However, as Ethereum is a development chain, it has proven to be somewhat flawed for its purpose. The main drawback of this has been a congested network resulting in immense gas prices, making it expensive to make on-chain transactions. As this has been problematic from a traditional perspective, Ethereum plans to change to a proof-of-stake (PoS) mechanism with the launch of Ethereum 2.0. However, even with these setbacks, Ethereum has remained the most prominent chain for development and is widely used.
We mentioned gas prices in the previous paragraph, and this is an essential concept for Ethereum. Whenever a transaction is made on the chain, there’s a need to pay a gas fee. This fee varies, but it’s always paid in the native token of Ethereum: Ether (ETH). As of now, the current price of one ETH is around $3,300, and as we mentioned, it is the second-largest cryptocurrency in terms of market cap.
How to Send ETH with One Line of Code Using Moralis
From a conventional perspective, it has been a relatively bothersome task to add the ability to send ETH directly through dApps. The process required the development of complex data structures, and developers would need to find working APIs. However, with the help of the premier Web3 middleware Moralis, we can avoid this entirely and significantly shorten the process. In fact, we can add this functionality to any of our dApps with just one line of code!

To showcase the power of Moralis, we are in the following few sections going to create a straightforward web application that we can use to transfer ETH assets. The project that we are about to make will consist of a single HTML file with imports, a button, and a simple function for sending ETH. However, if you’d rather watch a video explaining the complete process, check out the following video from Moralis’ YouTube channel. There you can follow along as Ivan walks you through the process of creating the application from scratch:
Furthermore, prior to developing the application itself, we need to have a MetaMask account ready. The main reason for this is that your MetaMask account will be the address from where you’ll send the ETH. As such, we will begin by creating an entirely new MetaMask account in the following section. This further means that any users of our application will also need a MetaMask to utilize this feature.
What is MetaMask?
So, one necessary element to test our application is a MetaMask account. As such, we’re going to briefly go over what MetaMask is and how you can create an account quickly.
First and foremost, MetaMask is the number one crypto wallet on the market, with over ten million active users. The wallet allows users to fully manage their assets and perform tasks such as transfer, purchase, and sell tokens/coins.
The MetaMask platform is highly incorporated with Ethereum making this wallet a gateway to Ethereum’s ecosystem of dApps. This means that, with a MetaMask account, it’s possible to access DeFi platforms, DEXes (Decentralized Exchanges), and crypto games on the Ethereum blockchain. As such, a MetaMask account won’t only be beneficial for this tutorial but for getting into crypto in general.
Setting up an account is fairly easy, and all you need to do to initiate the process is download MetaMask from their official website. It’s possible to get the wallet as either a browser extension or a mobile application; however, we recommend using the extension for this tutorial.
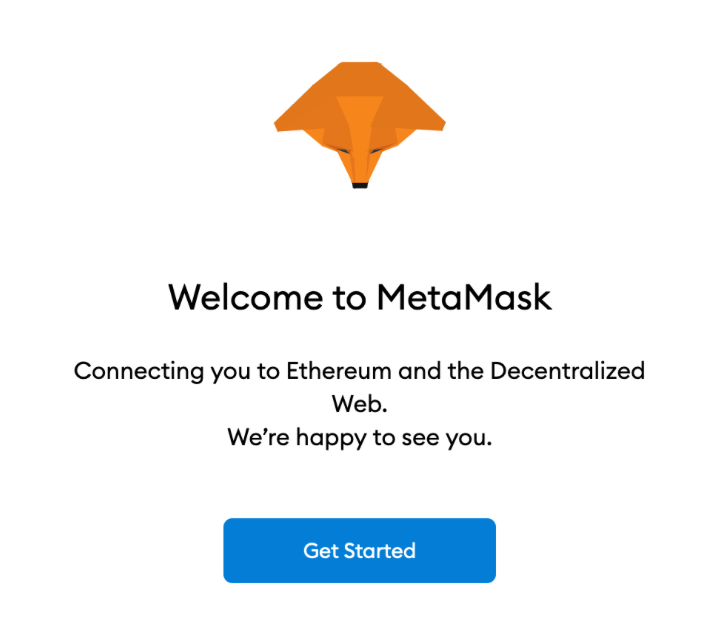
Once the extension is added, you can simply click the ”Get Started” button, which will provide you with two options. This will allow you to either create a new wallet from scratch or import an already existing one. For the import option, you’ll need the seed phrase of your already existing wallet. If you create a new one from scratch, you’ll receive a new seed phrase afterward. Keeping track of this phrase is vital because if something happens to your device, it will be the only way to get back into your wallet. So, once done selecting your options, all that remains is to follow the instructions provided by MetaMask.
How to Send ETH — Create a New Project
Now that you presumably have a MetaMask account, we can go ahead and dive deeper into the process of how to transfer ETH assets. As we mentioned in an earlier section, we’re going to create a web application to which we are going to add the functionality to transfer ETH. So, the first thing that we want to do is create a new project and an HTML file. We can basically name this file whatever we prefer, but we decided to name it ”index.html” for this example project.
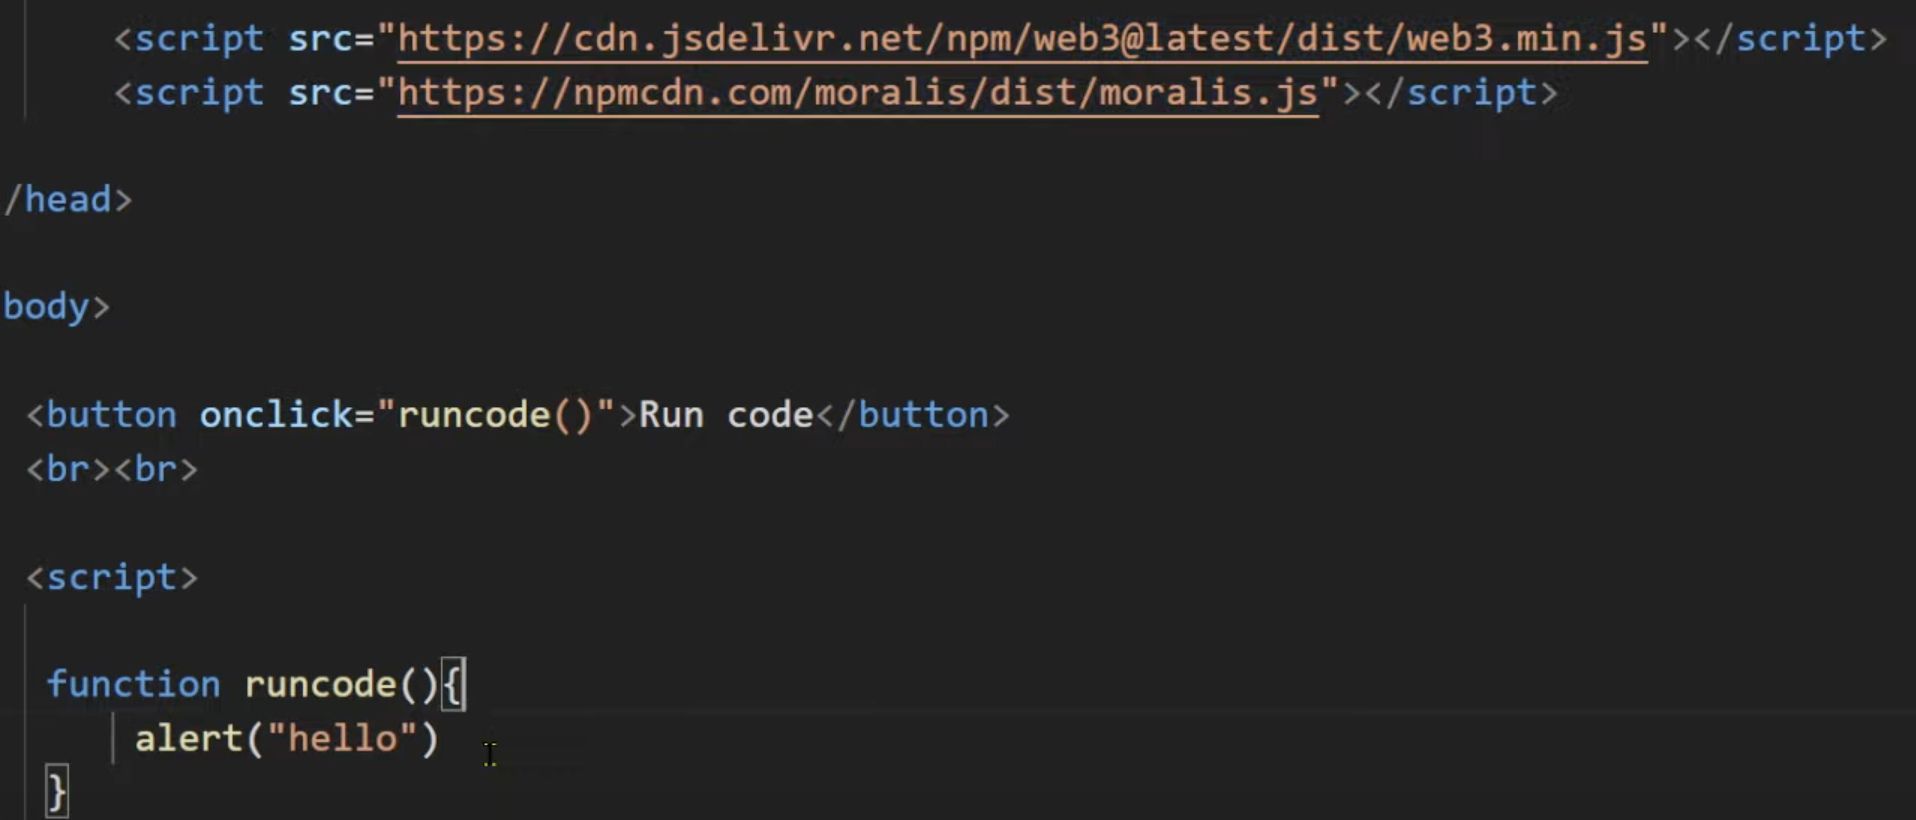
Prior to adding the feature allowing us to transfer ETH assets, we need to make a few imports. So, let’s initiate the process by importing both Web3 and Moralis. These imports will look something like this:

With both Moralis and Web3 imported, we can move on to create a button for our website. We call this button ”Run code”, and it will have an ”onclick” event. This means that we can connect a function to the button, and once it’s clicked, the function will trigger. In this example, we are going to run the function ”runcode()”. So, with the imports, button, and function implemented into our file, it will look something like this:
How to Send ETH — Creating the Function
Looking at the final image in the previous section, you can see that the function only prints ”hello”. This means that our application doesn’t do much for now. However, we are about to add some logic to the function enabling us to transfer ETH assets.
The first thing that we want to do is navigate ourselves to the Moralis documentation. There you’ll find information regarding how to send ERC-20 tokens, how to transfer NFTs, etc. However, for this tutorial, the heading that you need to look for is the one for sending native assets. The code directly from the documentation looks like this:

The most critical line of the code snippet from above is the absolute last one. This is the Moralis transfer function, and it is actually this single line that allows us to send ETH. However, you might have noticed that an argument in the form of ”options” is passed when calling this function. As such, the first thing we do is create a new “options” object and add a few properties.
The first thing that we declare is the type of token that we would like to send. As you can see from the snippet, the type is equal to ”native”. This is precisely what we want as we plan on sending the native token of Ethereum: ETH. After this, we utilize a helper function that allows us to specify the amount we’d like to send without having to input the number in Wei. To finalize the code, all we need to add is the address to where we would like to send the tokens. With all the properties specified, we now pass the object as an argument when calling the ”Moralis.transfer()” function.
Using the Web Application
Now that all the code is finalized, we can ensure that everything is working as intended by trying out the application. Once the application launches, all that will be displayed is a single button that says ”Run code”, which we specified earlier. To initiate the application, all the user needs to do is click the button, and the ”runcode()” function will execute. This will create the ”options” object and pass it as an argument when calling the transfer function.
As soon as this function triggers, the users will receive a pop-up window from their MetaMask extension. This will provide specific details regarding the transfer. As such, the users are able to see the transaction amount along with the gas fee. This is what it will look like for the users:
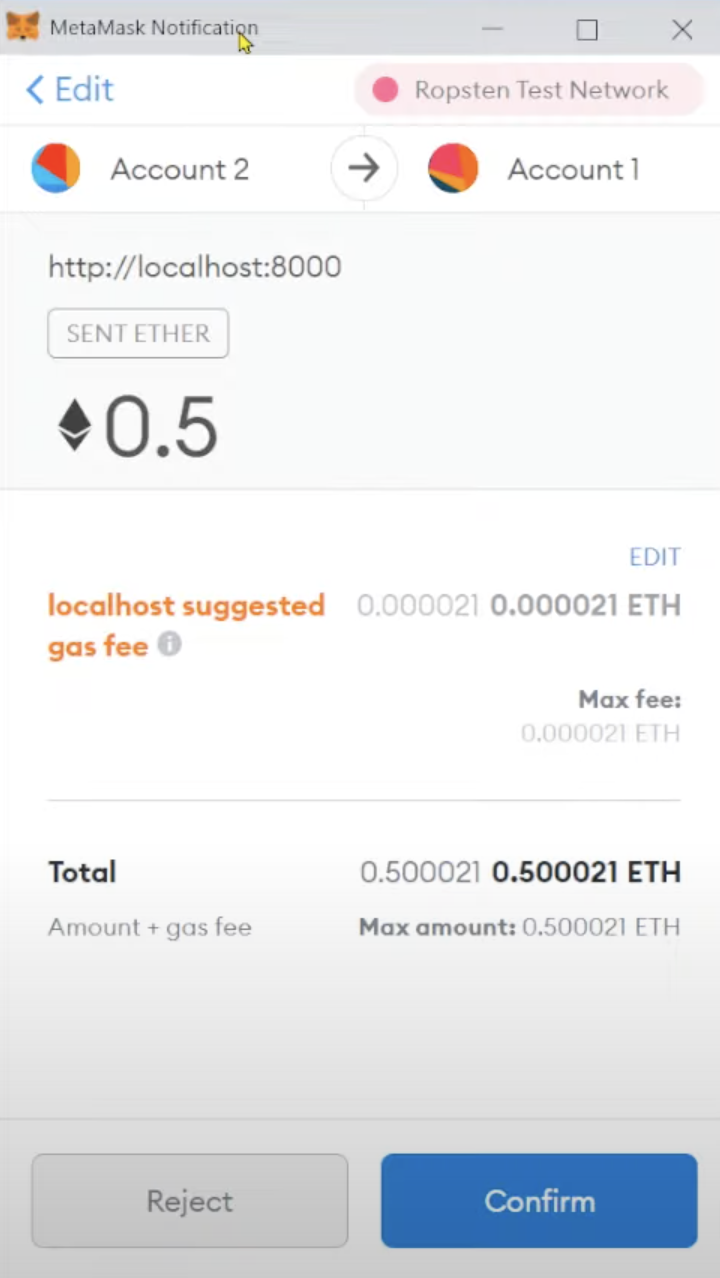
It is important to note that every transaction made will be subject to a gas fee as all transactions on the Ethereum blockchain. Furthermore, it can be interesting to keep track of this information as the gas prices might fluctuate between a relatively broad interval in some instances.
Once you confirm that the transaction went through, you are all done! If the application works as intended, then you’ve just created your own web application allowing you to make ETH transactions with just a single line of code!
How to Send ETH — Summary
Sending ETH or any other tokens for that matter is a relatively easy task through platforms such as MetaMask or Coinbase. However, these platforms are based on complex backend infrastructures allowing for this type of feature. Adding this functionality to our own application has, at least from a traditional perspective, been quite a problematic endeavor. The main reason for this is that this feature usually needs a complex data structure to function correctly. However, we can now avoid this process by simply utilizing Moralis, which will allow us to send ETH with a single line of code.
Moralis is the number one middleware for Web3 development, and the platform comes with an already managed backend infrastructure. This allows users to utilize functions that are ready to use ”out of the box”. For this reason, we were able to create a simple application in this tutorial, allowing users to transfer ETH assets with a single line of code. All that was necessary were a few imports, a button, and the Moralis transfer function.
However, this is only one of the many instances in which the Moralis platform comes in handy. The platform provides a selection of development tools helpful in all blockchain development. One example is Moralis Speedy Nodes which provides some of the fastest, most reliable nodes currently available. Furthermore, if you are interested in developing dApps, then check out the following article from the Moralis blog explaining how to build ETH dApps: “How to Build ETH dApps Quickly”.
So, if you want to become a developer, then join Moralis right away! Signing up with the platform is entirely free, and you’ll receive access to both the backend infrastructure and the platform’s highly useful tools.
