Learn how to set up and connect dapps to Ethereum in a simple way! This tutorial lets you set up a fully functional Web3 application and connect your dapp to the Ethereum network in record time. All you need to get going is Moralis (leading enterprise-grade API provider) and our Ethereum boilerplate. However, since our primary focus will be on the backend, we encourage you to stick around to the end of this article, where you’ll get to use a Web3 website template. Moreover, before rolling up your sleeves, you must understand the basics. Thus, we’ll start this article off by explaining what decentralized applications are. Next, we’ll look at the components needed to build and connect dapp to Ethereum. In addition, we’ll examine the fundamentals of the Ethereum network!
Once you’re up to speed, we’ll take you through the steps of building a dapp from scratch with NodeJS and Moralis. The former is an open-source, cross-platform, backend JavaScript (JS) runtime environment that executes JS code outside a web browser. On the other hand, Moralis is the definitive Web3 API provider. It enables you to incorporate Web3 functionalities with single lines of code. Furthermore, Moralis is cross-chain interoperable and supports all leading blockchains. As a result, by learning how to connect to Ethereum, you also learn how to connect to other EVM-compatible chains. So, if you want to join the Web3 revolution, create your free Moralis account and start “BUIDLing.” With Moralis, you can easily connect dapp to Ethereum or any other leading chains.
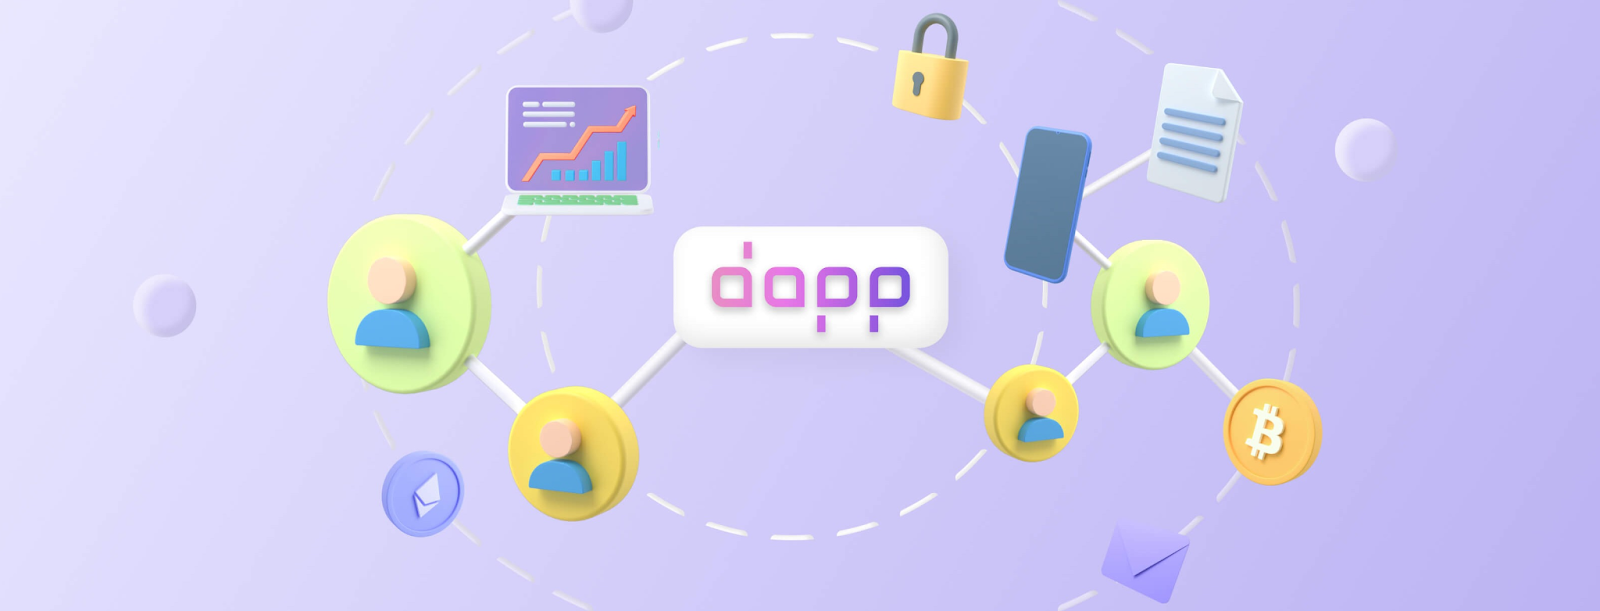
What are Decentralized Applications?
Decentralized applications, or dapps, are applications enabling users to interact with blockchains in some way. On the one hand, dapps can be simple explorers, where users get to browse on-chain data or explore the contents of their wallets. On the other hand, dapps can be more advanced and can interact with smart contracts. Speaking of smart contracts, these “Web3 contracts” are essentially on-chain programs. They ensure that predefined actions execute once predefined conditions have been met.
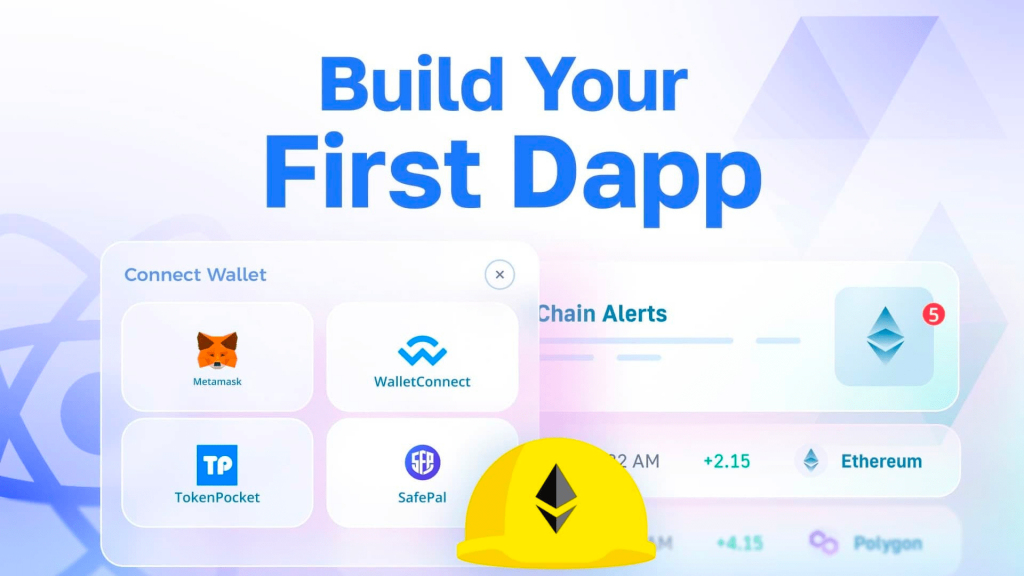
It’s important to point out that many current dapps are some sort of Web2-Web3 hybrids. Hence, the level of decentralization may vary. However, all dapps have one thing in common – they offer users a way to connect their Web3 wallets to the chain(s) that the dapp supports. This process is known as Web3 authentication. Moreover, besides authentication, when it comes to Web3 functionality, most dapps focus on the same features. This is why a set of leading Web3 APIs works so well. Ultimately, such APIs enable you to connect dapp to Ethereum and other EVM-compatible chains.
Components to Build and Connect a Dapp to Ethereum
If you want to build and connect a dapp to Ethereum the easy way, you need to use the right tools. Fortunately, the Web3 tech stack has come a long way in recent years. As such, you no longer need to deal with all the limitations of RPC nodes. Instead, you can use node and Web3 API providers. Furthermore, thanks to Moralis, you can use your Web2 dev skills to start implementing Web3 functionality. Of course, the components to build and connect a dapp to Ethereum can vary; however, in general, you need the following:
- Backend – A server side of your application (e.g., NodeJS and an Express server).
- Frontend – A client side of your application (e.g., ReactJS or NextJS).
- Web3 APIs – These APIs are needed to query on-chain data.
- Smart Contracts – If you want to incorporate more advanced Web3 features, Web3 contracts are essential.
- Data Storage – The goal should be to use decentralized solutions (e.g., IPFS).
- Web3 Wallet – A blockchain or Web3 wallet is essential to execute on-chain transactions and test your dapps.
It’s important to point out that Web3 wallets are not dapp components per se. Instead, they are third-party solutions (e.g., MetaMask) that devs and users can utilize.

What is the Ethereum Network?
Ethereum was the first programmable blockchain, and it continues to be the largest blockchain for dapp development. Furthermore, the Ethereum network includes its own native coin/token, ETH (ether). The latter is a crypto asset with the second largest market cap. Moreover, Ethereum provides access to digital money and data-friendly services for anyone with internet access, regardless of their physical location. Ultimately, the Ethereum network is a community-built technology that consists of countless decentralized applications in various sectors (financial, gaming, marketing, etc.). All these dapps operate and interact with the Ethereum chain thanks to the network’s EVM (Ethereum Virtual Machine). Interestingly, most of the other programmable chains also rely on EVM.
In addition, thanks to the Ethereum network, users can send ETH and other EVM-compatible tokens to anyone with an active ETH address. However, the main advantage of Ethereum is its programmability and support of smart contracts, which is the backbone of dapp development. Of course, today, we have several other programmable blockchains; however, Ethereum remains the most popular. The fact that Ethereum was the first of its kind created an extensive worldwide community. This decentralized community gives the Ethereum network a lot of value. Hence, it’s important to know how to connect to Ethereum as developers. If you want to learn more about Ethereum, we recommend enrolling in the “Ethereum Fundamentals” course at Moralis Academy.

Connect Dapp to Ethereum with Moralis and NodeJS
These are the five steps that you need to complete to connect dapp to Ethereum using NodeJS and Moralis:
- Create a NodeJS Dapp
- Import and Set Up the Latest Moralis NodeJS SDK
- Set Up a Simple Express Server
- Integrate Moralis APIs into Your Dapp
- Fetch Any Blockchain Data from Ethereum and Other Networks
Before you tackle the above steps, make sure you have registered a free Moralis account. Also, have your favorite code editor – we use Visual Studio Code (VSC) – installed and set up. Last but not least, you should also install NodeJS before continuing. With these prerequisites in place, you are ready to connect to Ethereum.
Create a NodeJS Dapp
Start the process of creating a NodeJS dapp by opening a new folder in VSC. To avoid confusion, we encourage you to follow our lead and name your folder “Simple-NodeJS”. Then, open a new VSC terminal:

Next, enter the “npm init” command to initialize a new project. Also, give your project a name and fill in the details according to your preferences. The simplest way is to stick to the default options (just press enter several times). After successfully initializing your NodeJS project, you should see a new “package.json” file.
Import and Set Up the Latest Moralis NodeJS SDK
In order to use Moralis, you need to install the “moralis” dependency. Since you’ll focus on setting up an Express server in the next step, it also makes sense to install the “express” dependency. Accordingly, use the terminal to execute the “npm install moralis express” command.
Set Up a Simple Express Server
Now that you have the “express” dependency in place, you can set up your Express server. So, create an “index.js” file and add the following lines of code:
const express = require('express')
const app = express()
const port = 3000

app.get('/', (req, res) => {
  res.send('Hello World!')
})

app.listen(port, () => {
  console.log(`Example app listening on port ${port}`)
})
Next, open the “package.json” file and add the “start” script:
"scripts": {
  "start": "node index.js"
},
With the above lines of code in place, you can run your Express server using the “npm run start” command. Then, you can use your browser to visit “http://localhost:3000″, where you should see the “Hello World!” greeting.
Integrate Your App with Moralis Services
Now, in order to integrate your NodeJS app with Moralis’ services, use the above-created “index.js” file. This is where you’ll import Moralis and its EVM API. Also, this is where you’ll provide your Moralis Web3 API key. So, add the following import lines at the top of the “index.js” file:
// Import Moralis
const Moralis = require('moralis').default
// Import the EvmChain dataType
const { EvmChain } = require("@moralisweb3/evm-utils")
Then, add these variables:
const MORALIS_API_KEY = "replace_me"
const address = "replace_me"
const chain = EvmChain.ETHEREUM
Looking at the above variables, you can see that you need to enter certain values. Specifically, you must provide your Moralis Web3 API key and a blockchain address (the chain you want blockchain data from). Since our goal is to connect dapp to Ethereum, “ETHEREUM” indicates that we are going with this leading chain. However, you could also focus on other EVM-compatible chains by replacing “ETHEREUM” with any of the supported chains.
Obtain Your Moralis Web3 API Key
In case you haven’t created your free Moralis account yet, do so now. You can use the “create your free Moralis account” link in the introduction or the “Start for Free” button on Moralis’ homepage:

After creating and confirming your account, you’ll be able to access your admin area. From there, you’ll be able to get your Moralis Web3 API key in two simple steps:

Nonetheless, you also need the following lines of code inside “index.js” to initialize Moralis:
const startServer = async () => {
  await Moralis.start({
    apiKey: MORALIS_API_KEY,
  })
Note: Don’t forget to replace “replace_me” with your Moralis Web3 API key and an actual Ethereum address.
Connect Dapp to Ethereum and Fetch Blockchain Data
With your NodeJS app ready and Moralis integrated, you can fetch all sorts of on-chain data using the Moralis EVM API. However, for the sake of this tutorial, we will focus on fetching native balance, ERC-20 balances, and NFTs. However, we encourage you to explore other endpoints of the ultimate EVM API.

Fetch Native Balance
If you connect dapp to Ethereum via our instructions, you can use Moralis’ “getNativeBalance” endpoint to fetch the native balance. To do this, create the “getDemoData” function inside the “index.js” file:
async function getDemoData() {
  // Get native balance
  const nativeBalance = await Moralis.EvmApi.balance.getNativeBalance({
    address,
    chain,
  })

  // Format the native balance formatted in ether via the .ether getter
  const native = nativeBalance.result.balance.ether

  return { native }
}
As you can see above, the “getNativeBalance” EVM API endpoint accepts an address and a chain as parameters. Since we already defined those two parameters inside “index.js”, we can use them herein. In addition, you also need to add the “/crypto-data” endpoint to return the results of the “getDemoData” function:
app.get("/demo", async (req, res) => {
  try {
    // Get and return the crypto data
    const data = await getDemoData()
    res.status(200)
    res.json(data)
  } catch (error) {
    // Handle errors
    console.error(error)
    res.status(500)
    res.json({ error: error.message })
  }
})
With the above lines of code in place, you get to call the “/crypto-data” endpoint using “http://localhost:3000/demo“. Moreover, this is what the response should look like:
{
    "native": "0.169421625822962794"
}
Fetch ERC-20 Balance
As you probably know, there are many ERC-20 tokens. Hence, it’s quite important to be able to display their balances. Fortunately, Moralis offers the “getWalletTokenBalances” endpoint that does the trick. So, here are the lines of code you can add to the “getDemoData” function to fetch ERC-20 balances:
    // Get token balances
  const tokenBalances = await Moralis.EvmApi.token.getWalletTokenBalances({
    address,
    chain,
  })

  // Format the balances to a readable output with the .display() method
  const tokens = tokenBalances.result.map((token) => token.display())

  // Add tokens to the output
  return { native, tokens }
}

Fetch NFTs
When you know how to connect a dapp to Ethereum, you can also fetch NFTs. For the sake of this tutorial, we’ll fetch the first ten NFTs for a given address using our “getDemoData” function. In addition, we must also format the output accordingly – add “nfts” to “return“. Nonetheless, these are the lines of code that will fetch NFTs and return their metadata:
   const nftsBalances = await Moralis.EvmApi.nft.getWalletNFTs({
    address,
    chain,
    limit: 10,
  })

  // Format the output to return name, amount and metadata
  const nfts = nftsBalances.result.map((nft) => ({
    name: nft.result.name,
    amount: nft.result.amount,
    metadata: nft.result.metadata,
  }))

  // Add nfts to the output
  return { native, tokens, nfts }
}
Note: You can view the final and complete code for the “index.js” file at the bottom of the “Using NodeJS” documentation page.

Using the Ethereum Boilerplate
The above tutorial was all about the backend. However, you might be interested in “frontend” shortcuts as well. If so, make sure to watch the video tutorial below. In it, you’ll have a chance to follow one of our in-house experts’ lead as he utilizes the ultimate Ethereum boilerplate, which acts as a Web3 template. The latter enables you to create a decentralized app in just three steps:
- Clone the Ethereum boilerplate code that awaits you on GitHub.
- Customize specific environment variables.
- Start your instance of this Web3 template dapp.
Using our Ethereum boilerplate is the fastest way to connect dapp to Ethereum. After all, it takes no more than six minutes to complete the required steps.
Set Up and Connect Dapp to Ethereum Network – Summary
Today’s article taught you how to set up and connect dapp to Ethereum. We mainly focused on setting up a backend dapp using NodeJS and Moralis’ EVM API. For example, we demonstrated how to fetch the native balance, ERC-20 balance, and NFTs. You also had a chance to learn what dapps are. Also, we informed you about the components needed to build dapps and connect to Ethereum. Furthermore, we provided you with a simple explanation of the Ethereum network. Last but not least, you had an opportunity to use the ultimate Ethereum boilerplate and have a neat dapp ready in six minutes.
With the skills and knowledge obtained herein, you are ready to take your Web3 development to the next level. If you have your own ideas, by all means, focus on achieving them. However, you might appreciate some additional practice. If so, make sure to visit the Moralis docs, Web3 YouTube channel, and the Moralis blog. Some of the latest topics focus on how to build a Web3 app and how to connect MetaMask to website. Additionally, you can explore the top blockchain APIs, how to build a Web3 FIFA clone, and much more. Essentially, with these three outlets, you can become a confident Web3 developer for free.
On the other hand, you might be interested in landing an excellent job in the blockchain industry as soon as possible. In that case, becoming blockchain certified can significantly improve your chances. So, if you dream of going full-time crypto, consider enrolling in Moralis Academy. Aside from the above-mentioned “Ethereum Fundamentals” course, this is where you can attend a wide range of blockchain development courses. Nonetheless, this is also the place to join one of the most advancing communities in the industry.

