In today’s article, we’ll dive into the intricacies of Moralis’ ETH API. This industry-leading interface allows you to effortlessly query tokens, transactions, metadata, NFTs, prices, and much more from the Ethereum blockchain. Consequently, with the ETH API, you can build crypto wallets, decentralized exchanges (DEXs), NFT marketplaces, or any other Web3 platforms without breaking a sweat!
For a little sneak peek, here are three endpoints showcasing how easy it is to get on-chain data with the ETH API:
getNativeBalance()– Query the native balance of any wallet:
const response = await Moralis.EvmApi.balance.getNativeBalance({
  "chain": "0x1",
  "address": "0xDC24316b9AE028F1497c275EB9192a3Ea0f67022"
});
getWalletNFTs()– Get an array of all NFTs held by a wallet:
const response = await Moralis.EvmApi.nft.getWalletNFTs({
  "chain": "0x1",
  "address": "0xff3879b8a363aed92a6eaba8f61f1a96a9ec3c1e"
});
getNFTMetadata()– Fetch the metadata of any NFT:
const response = await Moralis.EvmApi.nft.getNFTMetadata({
  "chain": "0x1",
  "address": "0xb47e3cd837dDF8e4c57F05d70Ab865de6e193BBB",
  "tokenId": "1"
});
The endpoints above only scratch the surface of what’s possible with the ETH API. If you want to learn more, join us in this article as we cover the ins and outs of this industry-leading development tool!
Also, did you know that you can access the ETH API for free? You simply need to sign up with Moralis, and you’re ready to go!
Overview
We’ll kickstart today’s article by exploring the ins and outs of ETH APIs. From there, we’ll immediately jump into Moralis’ ETH API, as this interface stands out as the industry’s premier tool for building Web3 projects. Next, we’ll cover a comprehensive tutorial on how you can use the ETH API to fetch on-chain data in three straightforward steps.
- Get a Moralis API Key
- Write a Script Calling the ETH API
- Run the Code
Lastly, to top things off, we’ll briefly cover some prominent use cases of this industry-leading tool!
If this sounds exciting, join us as we kick things off by answering the question, ”What is an ETH API?”
What is an ETH API?
An ETH API – short for ”Ethereum API” – is essentially a set of protocols, methods, and rules allowing you to effortlessly interact with the Ethereum blockchain so you can integrate on-chain data and Web3 features into your decentralized applications (dapps) with ease!
One of the most challenging parts of Web3 development is setting up the infrastructure required for communicating with Ethereum and other blockchains. Doing it from scratch demands a lot of development time, resources, and technical proficiency within the space. Fortunately, this is where tools like ETH APIs enter the equation.
An ETH API is a tool that allows you to effortlessly integrate wallet functionality, get NFT balances, fetch transactions in real-time, query token prices, and much more with ease. And since you can leverage already premade protocols and methods, you don’t have to reinvent the wheel when building dapps.
All in all, ETH APIs are tools that allow you to build Web3 projects faster, smarter, and more efficiently on the Ethereum network. And using one will allow you to save a lot of time and resources in your development endeavors!
Now, with an overview of what an ETH API is, let’s take the following section to explore the industry’s leading interface: Moralis’ ETH API!
What is the Best ETH API? – Introducing Moralis
Moralis is an industry-leading Web3 API provider, and in our suite of premier interfaces, you’ll find the ETH API – the ultimate tool for anyone looking to build dapps and other Web3 projects on the Ethereum blockchain!
Moralis’ ETH API is a versatile tool providing a wide range of prominent features. With this interface, you can effortlessly fetch and integrate wallet data, NFTs, tokens, prices, and much more with only single lines of code. Consequently, the ETH API allows you to build everything from crypto wallets to DEXs without breaking a sweat.
But what makes Moralis’ ETH API the best tool for Web3 development?
To answer this query, let’s look at three benefits of working with Moralis:
- Top Performance: The ETH API offers top performance. As such, it doesn’t matter if you want to measure by reliability, speed, or other metrics; Moralis continues to blow the competition out of the water.
- Shorter Go-To-Market Time: With the ETH API, you can simply copy, paste, and implement code in a heartbeat. This allows you to save about 83% of the average go-to-market time when building Web3 projects.
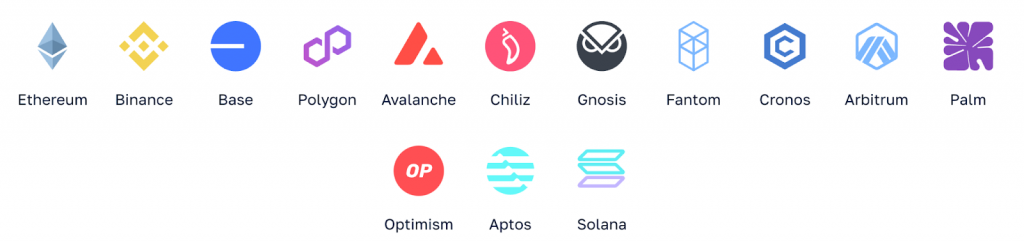
- Cross-Chain Compatability: The ETH API is part of Moralis’ EVM API, meaning it’s cross-chain compatible. Consequently, you can use the same tools to build and deploy dapps across all the biggest blockchains, including Ethereum, BNB Smart Chain (BSC), Polygon, and many others.
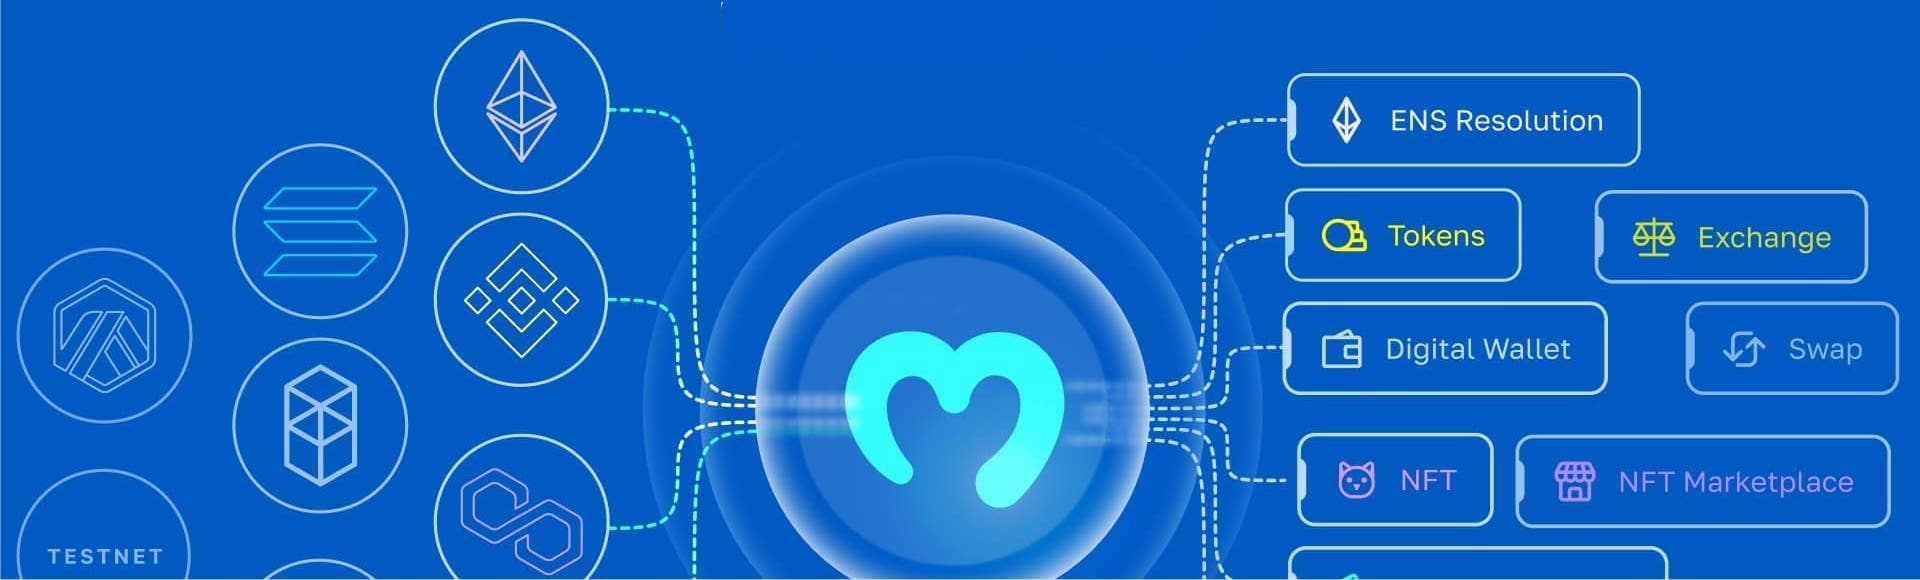
Nevertheless, that gives you an overview of the industry’s premier tool for Ethereum development. In the following section, we’ll dive deeper into Moralis’ ETH API suite, which comprises multiple interfaces, including the Wallet API, NFT API, Token API, etc. Doing so will give you a better understanding of what you can do when working with Moralis!
Wallet API
Moralis’ Wallet API is the ultimate tool if you’re looking to build Web3 wallets or integrate wallet functionality into your dapps. This interface boasts a wide range of features, unparalleled scalability, and high flexibility. And it supports over 500 million addresses across all major EVM blockchain networks!
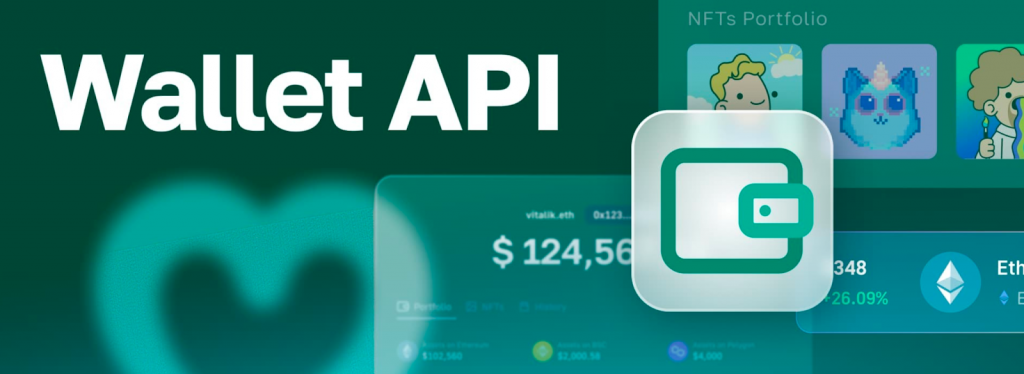
What’s more, with only single lines of code, you can effortlessly use the Wallet API to get the native balance, NFT balance, transaction history, USD net worth, etc., of any wallet. To showcase this accessibility, here are three examples of prominent endpoints:
getNativeBalance()– Get the native balance of any wallet:
const response = await Moralis.EvmApi.balance.getNativeBalance({
  "chain": "0x1",
  "address": "0xDC24316b9AE028F1497c275EB9192a3Ea0f67022"
});
getWalletTokenBalances()– Fetch the ERC-20 token balances of any wallet:
const response = await Moralis.EvmApi.token.getWalletTokenBalances({
  "chain": "0x1",
  "address": "0x1f9090aaE28b8a3dCeaDf281B0F12828e676c326"
});
getWalletNFTs()– Query an array of all NFTs held by any wallet:
const response = await Moralis.EvmApi.nft.getWalletNFTs({
  "chain": "0x1",
  "address": "0xff3879b8a363aed92a6eaba8f61f1a96a9ec3c1e"
});
Moreover, if you wish to explore the various endpoints of this tool further, check out the Wallet API documentation page!
NFT API
The NFT API is the ultimate interface for fetching and integrating NFT data into your dapps. And it supports over three million NFT collections across all major blockchain networks. This includes everything from tokens that dropped just seconds ago to established collections like CryptoPunks and Pudgy Penguins!
With this tool, you can seamlessly fetch NFT transfers, metadata, prices, etc., with only single API calls. What’s more, the NFT API also provides features like advanced spam detection, address labels, and optimized image previews.
Moreover, to briefly show you how it works, here are three prominent examples of endpoints you’ll likely find helpful:
getNFTMetadata()– Fetch the metadata for any NFT:
const response = await Moralis.EvmApi.nft.getNFTMetadata({
  "chain": "0x1",
  "address": "0xb47e3cd837dDF8e4c57F05d70Ab865de6e193BBB",
  "tokenId": "1"
});
getWalletNFTTransfers()– Query all NFT transfers of any wallet:
const response = await Moralis.EvmApi.nft.getWalletNFTTransfers({
  "chain": "0x1",
  "address": "0x1f9090aaE28b8a3dCeaDf281B0F12828e676c326"
});
getNFTLowestPrice()– Get the lowest sold-for price of any NFT contract:
const response = await Moralis.EvmApi.nft.getNFTLowestPrice({
  "chain": "0x1",
  "address": "0xBC4CA0EdA7647A8aB7C2061c2E118A18a936f13D"
});
Furthermore, check out the official NFT API documentation page to explore all other endpoints!
Streams API
With Moralis’ Streams API, you can effortlessly set up streams and get alerts sent directly to the backend of your Web3 projects via webhooks. As such, this is the ultimate tool for automatically getting notified about Web3 events in real-time!
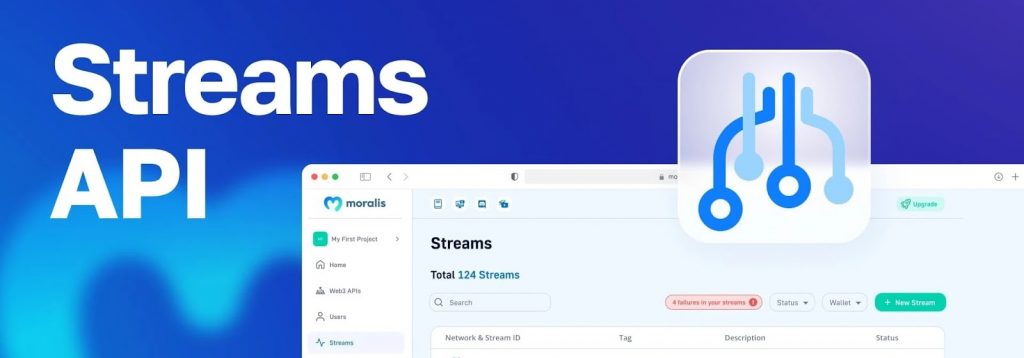
Moreover, the Streams API supports over 44 million addresses across all major chains. And you can use this tool to set up customizable alerts for all types of events, smart contracts, wallets, and more.
So, how does it work?
Well, you can set up a stream in three easy steps:
- Step 1: Configure your stream by choosing blockchain networks, specifying the events you want to listen to, and adding a webhook destination.
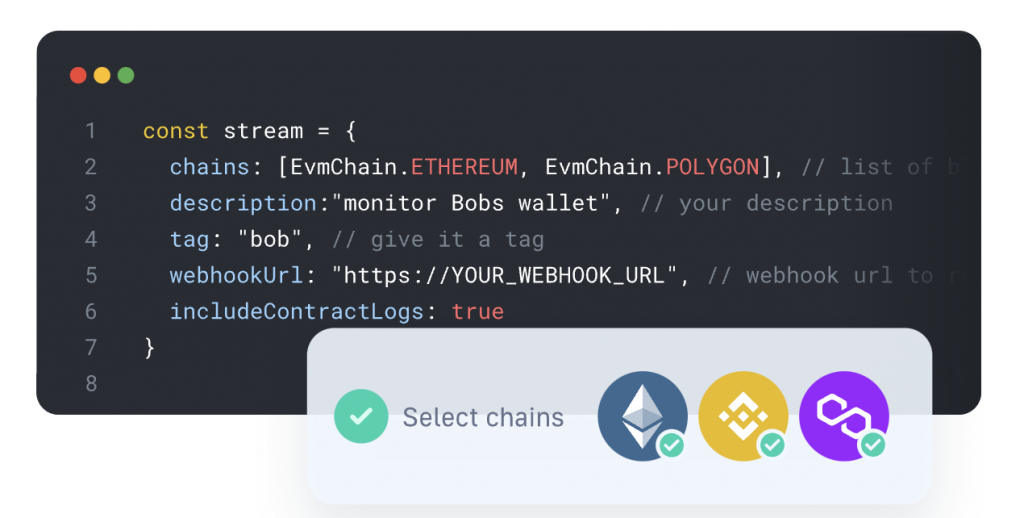
- Step 2: Create your stream and get a test webhook in return.
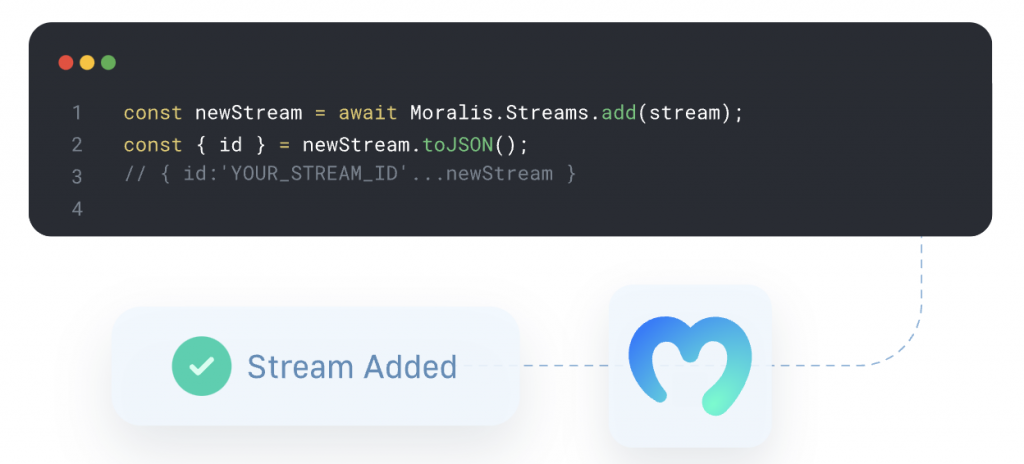
- Step 3: Add the addresses you wish to monitor to your stream.
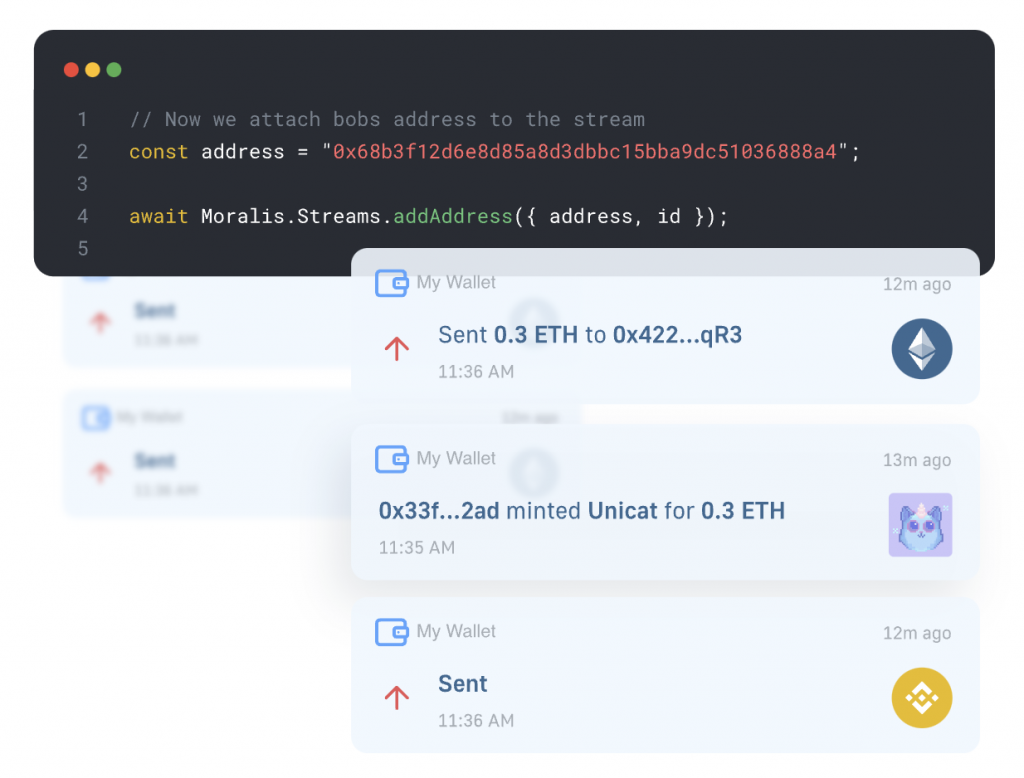
That’s it; this is how easy it is to get real-time alerts when working with the Streams API!
Moreover, to learn more about how this works, check out the official Streams API documentation page!
3-Step Tutorial: How to Get On-Chain Data with Moralis’ ETH API
Now that you have a better understanding of what Moralis’ ETH API is, we’ll take this section to show you how it works in practice. To do so, we’ll cover a three-step tutorial on how you can get on-chain data with industry-leading tool:
- Get a Moralis API Key
- Write a Script Calling the ETH API
- Run the Code
However, before we can dive into the first step of the tutorial, you’ll need to take care of a few prerequisites!
Prerequisites
The ETH API and Moralis work perfectly fine with programming languages like Python, TypeScript, etc. However, for this tutorial, we’ll focus on JavaScript. As such, you need to have the following ready before you can continue:
- Node.js v14+
- NPM/Yarn
Step 1: Get a Moralis API Key
To use the ETH API, you need a Moralis API key. As such, if you haven’t already, start by signing up with Moralis!
From there, head on over to the admin panel, click the ”Settings” tab, scroll down to the ”Api Keys” section, and copy your key:
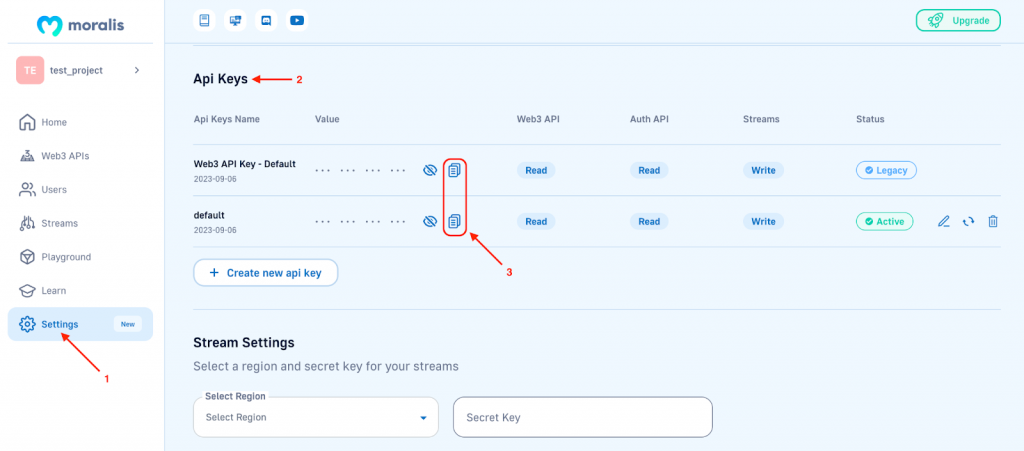
Save the key for now, as you’ll need it in the next step to initialize the Moralis SDK.
Step 2: Write a Script Calling the ETH API
For the second step, start by setting up a new project in your IDE. From there, open a new terminal, ”cd” into the root folder of the project, and run this command to install the Moralis SDK:
npm install moralis @moralisweb3/common-evm-utils
Next, create a new ”index.js” file and add the following code:
const Moralis = require("moralis").default;
const { EvmChain } = require("@moralisweb3/common-evm-utils");

const runApp = async() => {
  await Moralis.start({
    apiKey: "YOUR_API_KEY",
    // ...and any other configuration
  });

 //Add the code for calling one of the ETH API endpoints here

}

runApp();
From here, you now need to configure the code slightly, and you can start by replacing YOUR_API_KEY with the key you copied in the previous step:

Now, you also need to add the code for calling one of the endpoints of the ETH API. In our case, we’ll use getNativeBalance() as an example. As such, we’ll add the following code below the initialization of Moralis:
//…

const address = '0x26fcbd3afebbe28d0a8684f790c48368d21665b5';

const chain = EvmChain.ETHEREUM;

const response = await Moralis.EvmApi.balance.getNativeBalance({
  address,
  chain,
});

   console.log(response.toJSON());

//…
All in all, your ”index.js” should now look something like this:
const Moralis = require("moralis").default;
const { EvmChain } = require("@moralisweb3/common-evm-utils");

const runApp = async() => {
  await Moralis.start({
    apiKey: "m9D1...",
    // ...and any other configuration
  });

  const address = '0x26fcbd3afebbe28d0a8684f790c48368d21665b5';

  const chain = EvmChain.ETHEREUM;

  const response = await Moralis.EvmApi.balance.getNativeBalance({
    address,
    chain,
  });

    console.log(response.toJSON());
}

runApp();
If you wish to query any other piece of data, simply replace the code specifying the parameters and calling the endpoint.
That’s it; all that remains now is running the script!
Step 3: Run the Code
For the final step, open a new terminal and run this command in the root folder of your project:
node index.js
In return, you should receive a response in your terminal with the requested data. In our case – since we queried the native balance of a crypto wallet – it will look something like this:
{
 "balance": "50930089151337467803762"
}
That’s it. Querying on-chain data doesn’t have to be more challenging than that when working with Moralis’ ETH API!
Moreover, if you want to learn more about how this works and explore all available endpoints, please check out the official Moralis documentation page!
ETH API Use Cases
Moralis’ ETH API allows you to fetch a bunch of on-chain data, ranging from wallet balances to token prices. Consequently, with this dynamic and versatile tool, you can build multiple different platforms, and in this section, we’ll look at three prominent use cases:
- Web3 Wallets: With the ETH API, you can effortlessly get wallet balances, transfers, native transactions, and more. As such, with our premier interface, you get much of what you need to build your own Web3 wallet. If you want to learn more about this, check out our guide on crypto wallet development.
- DeFi Dapps: You can use the ETH API to build powerful DeFi dapps like DEXs, lending platforms, etc. To learn more about this, read our article on DeFi dapp development.
- On-Chain Wallet Tracker: With features like the Streams API, you can effortlessly build platforms like an on-chain wallet tracker that relies on real-time updates.
Nevertheless, that only covers three prominent examples of ETH API use cases. In reality, you can do a lot more with this premier interface. In fact, the only thing limiting you is your imagination!
Summary: Exploring Moralis’ Industry-Leading ETH API
In today’s article, we explored the ins and outs of Moralis’ ETH API – the ultimate tool for Ethereum development. With this leading interface, you can get everything from wallet balances to NFT data with only single lines of code. As such, the ETH API provides the tools you need to build NFT marketplaces, Web3 wallets, or any other platforms!
What’s more, in addition to introducing you to the ETH API, we also showed you how to use this tool to get on-chain data in three steps:
- Get a Moralis API Key
- Write a Script Calling the ETH API
- Run the Code
As such, if you have followed along this far, you now know how to get on-chain data from the Ethereum blockchain!
Moreover, if you have further interest in the Web3 space, consider checking out Moralis’ dapp store: Web3 Wiki. With the Web3 Wiki, you can effortlessly explore new Web3 projects, including everything from the best Web3 developer tools to the most exciting Web3 games.
Also, if you want to use the ETH API yourself, don’t forget to sign up with Moralis. You can set up your Moralis account for free, and you’ll gain immediate access to all our development tools!
