The popularity of non-fungible tokens (NFTs) has already shown us that people love owning digital assets. However, when it comes to NFT utility, we are just getting started. We dare to predict that in the upcoming years NFTs will revolutionize many industries. And, gaming is definitely one of them. Moreover, as you may know, NFTs play a very important part in Web3 games. As such, we want to show you how to convert an NFT to an in-game item. We will do this by taking on an example project, where we will mint an NFT and then use that NFT as a power-up. While this may sound like an extremely complicated feat, we assure you that it’s a lot simpler than you may think. You see, the Web3 stack came a long way in the last couple of years. Thus, there are now many useful Web3 development tools.
Moving forward, you’ll get to convert an NFT to an in-game item using Unity, Hardhat, and Moralis. Hardhat is a development environment that makes creating, compiling, and deploying smart contracts very easy. As such, it also simplifies minting NFTs. After all, we need smart contracts for that. However, it is Moralis (a.k.a. Firebase for crypto) that enables you to use Unity to create killer dapps (decentralized applications). Thanks to the Moralis’ SDK, you get to incorporate Web3 authentication effortlessly. Furthermore, using the ultimate NFT API that Moralis provides, you also convert an NFT to an in-game item without breaking a sweat.
If that sounds interesting to you, make sure to create your free Moralis account and follow our lead. Though, before we give you a chance to get your hands dirty, let’s do a quick demo of our example Web3 game.

Our Example Web3 Game with Power-Ups – Demo
As with most dapps, our example Web3 game, in which we convert an NFT to an in-game item, starts with authentication:

Hence, users need to click the “connect” button first. After clicking the button, our example game displays a QR code. Thus, players get to use their favorite mobile Web3 wallets, e.g. MetaMask, to proceed:
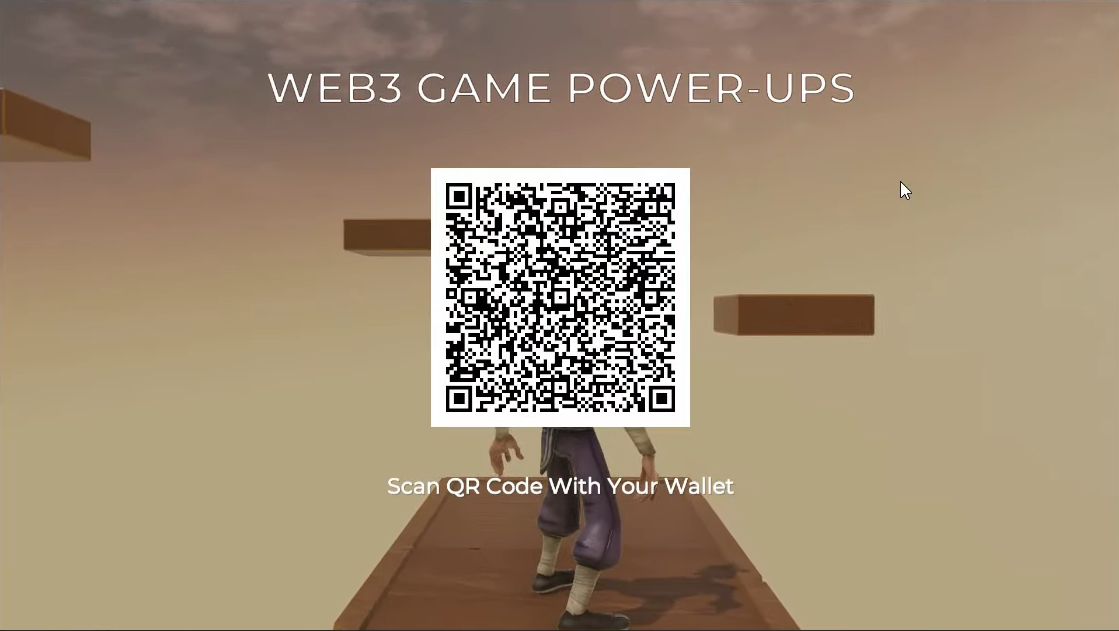
Once the players scan the code, they also need to confirm their authentication in their wallets:
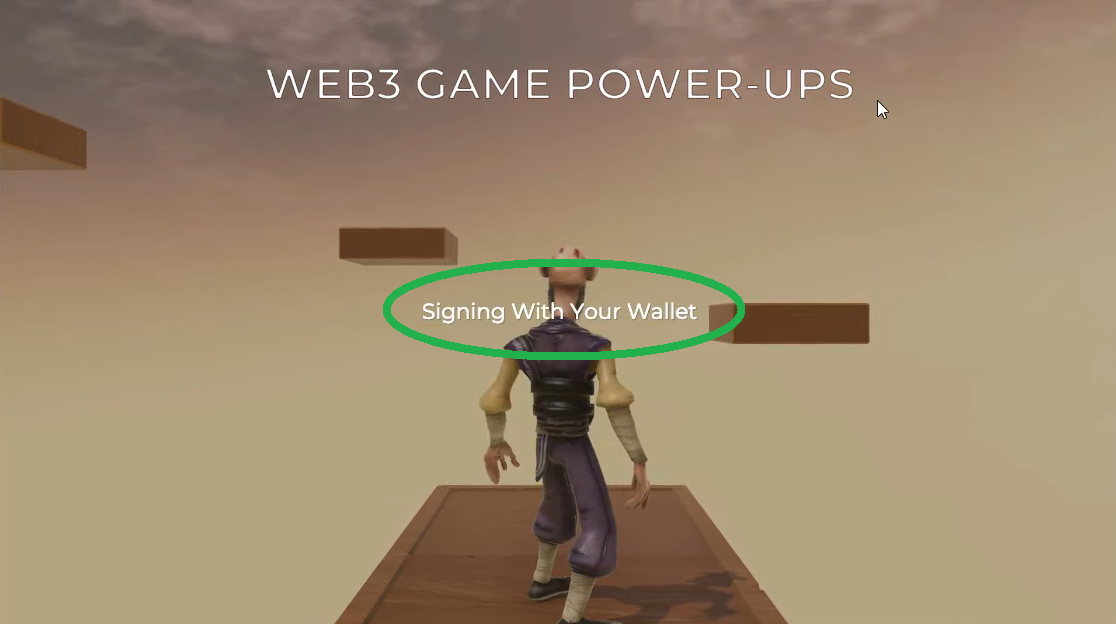
Then, they finally get to control the game character. Moreover, as you can see in the screenshot above, there are some platforms in front of the character. And, the goal is to jump to those platforms. However, in its regular state, the character doesn’t have enough power to make the jump:
So, this is where power-ups come to play. If you ever played Super Mario, you know how awesome power-ups are.
Convert an NFT to an In-Game Item – On-Chain Power-Up
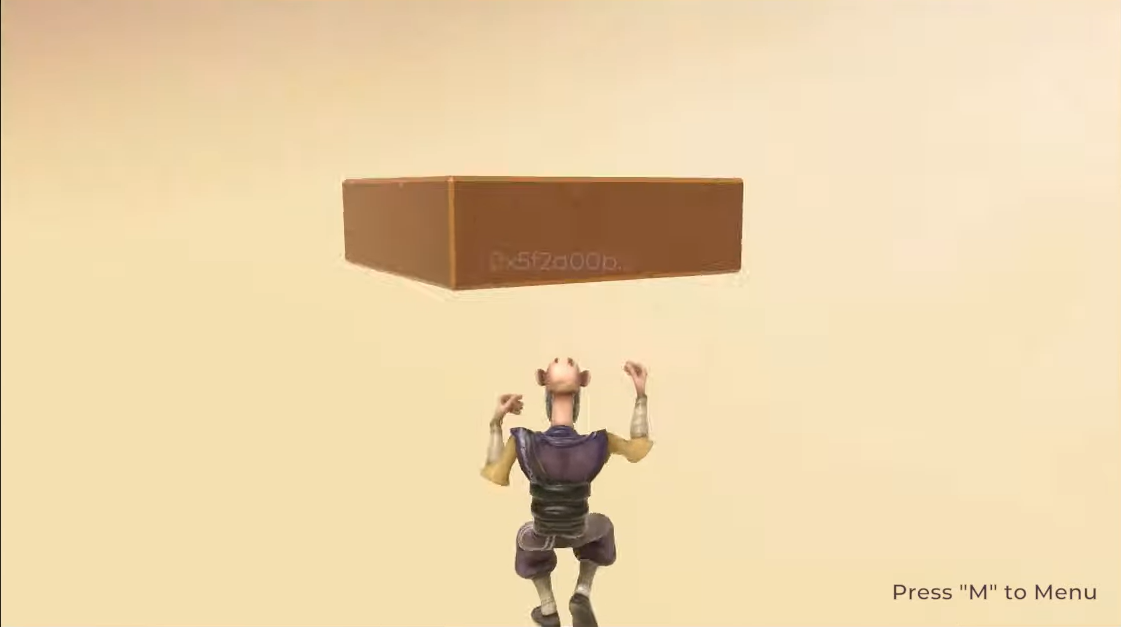
On that note, players can hit “M”, where they have one power-up. However, this is no regular power-up – in our case, it is an NFT. This is an NFT that we will convert into an in-game asset. Once inside the menu, players need to click on the power up item:
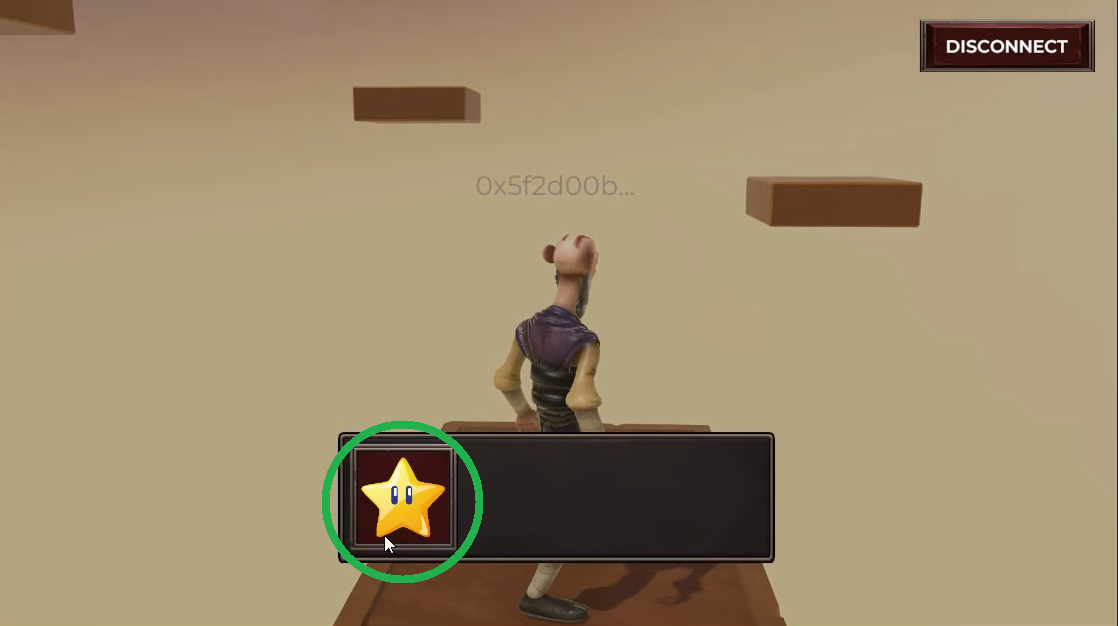
And, since the item is an NFT, after clicking it, players also need to confirm an on-chain transaction using their wallets:
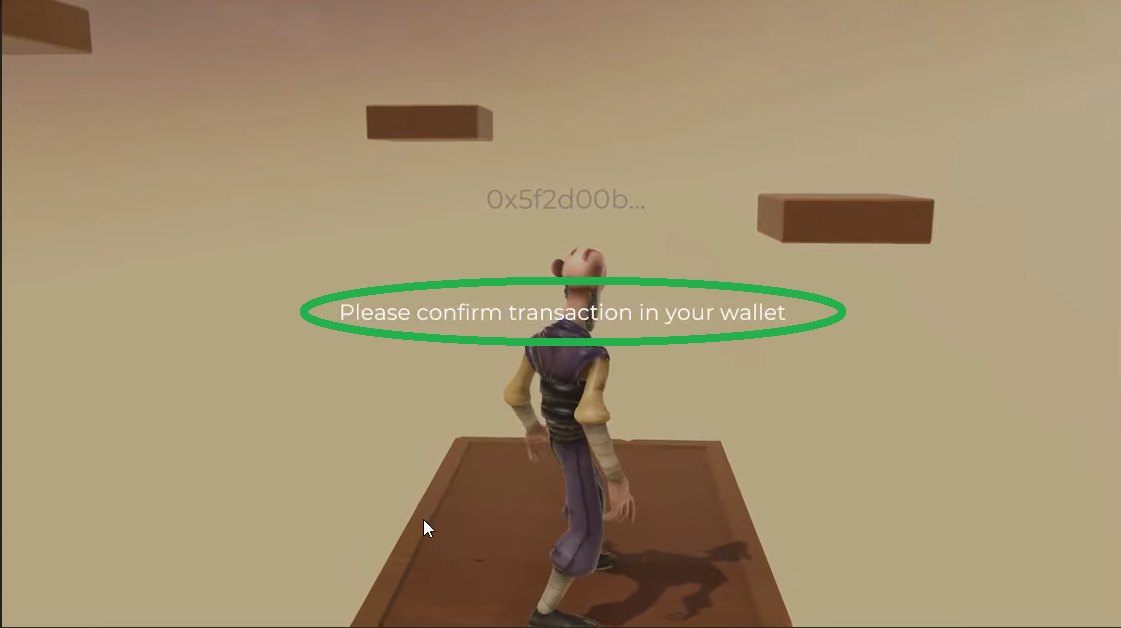
This transaction is where we convert an NFT to an in-game item. Once players confirm the above transaction, their character automatically gets upgraded for twelve seconds:
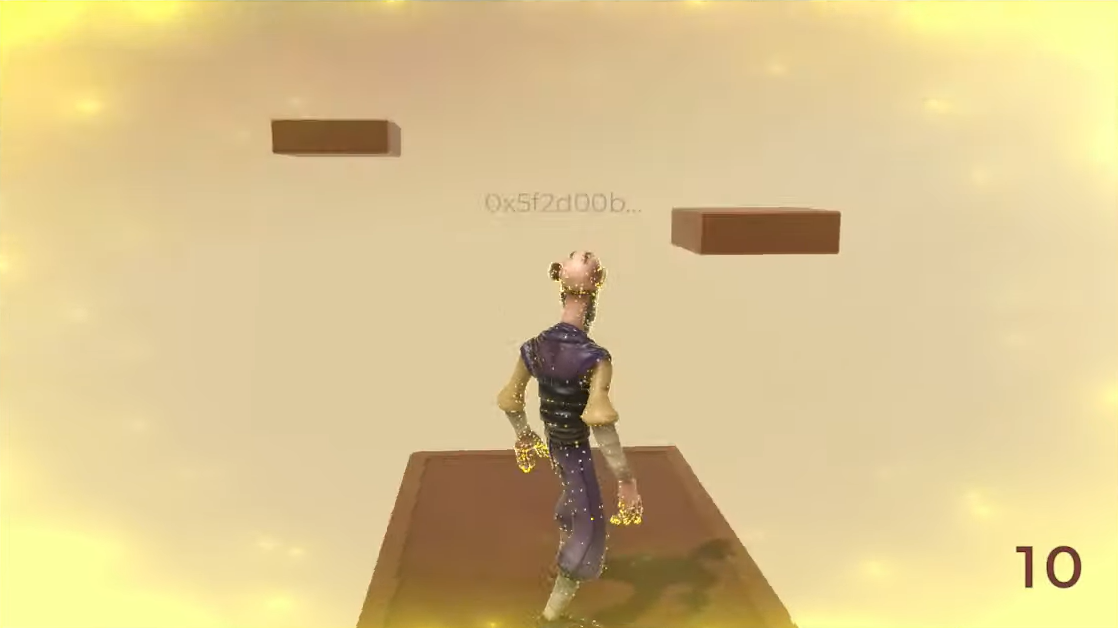
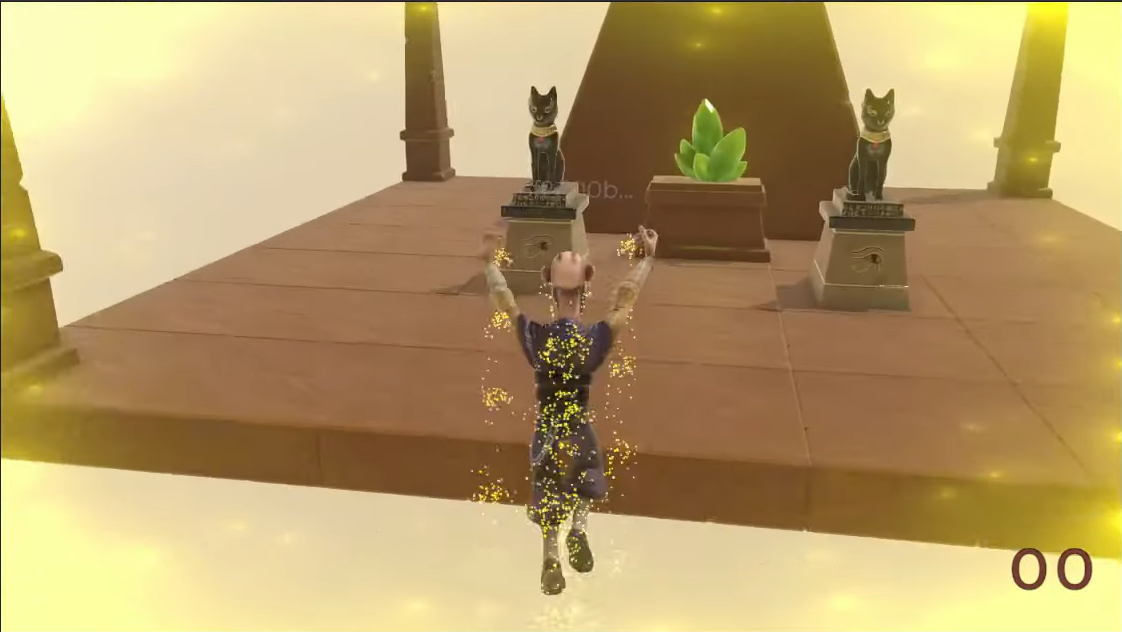
Furthermore, as you can see in the above image, our example game also has some visual effects, which indicate that the power-up has been applied. Moreover, there is a counter in the bottom-right corner, which shows the number of seconds remaining on the power-up. As such, this is the time that players have to jump between the platforms. Hence, skilled players can get all the way to the top, which is the goal of our example game:
Of course, there are a lot more features we could include in our example game. However, the purpose of this tutorial is to teach you how to convert an NFT to an in-game item. And, the above-presented features cover that aspect. So, if you find our example dapp interesting, make sure to roll up your sleeves and create your own instance of it.
How to Convert an NFT to an In-Game Item with Unity, Hardhat, and Moralis
In the following sections, we will tackle today’s example project in six stages. First, we will look at the project structure to provide you with a broader vision before focusing on specific features. Second, we will show you how to complete the initial Moralis setup. This is where you’ll obtain your Moralis dapp’s credentials, which will be your gateway to Web3 functionality. Third, we will show you how to use Hardhat to deploy a rather simple ERC721 contract. Then, we will mint an example NFT using our “NFT Unity Minter”. Next, you’ll learn how to get the NFT attributes in Unity. Finally, we will show you how to use those attributes as a power-up.
Project Structure Overview
Start by visiting our project’s GitHub page, where you get to clone the code or download the ZIP file:

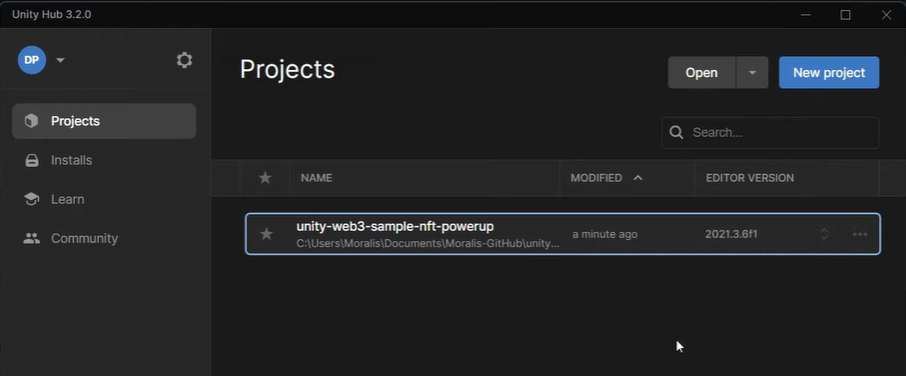
Next, open your Unity hub and open the folder with the project, and then open the project:
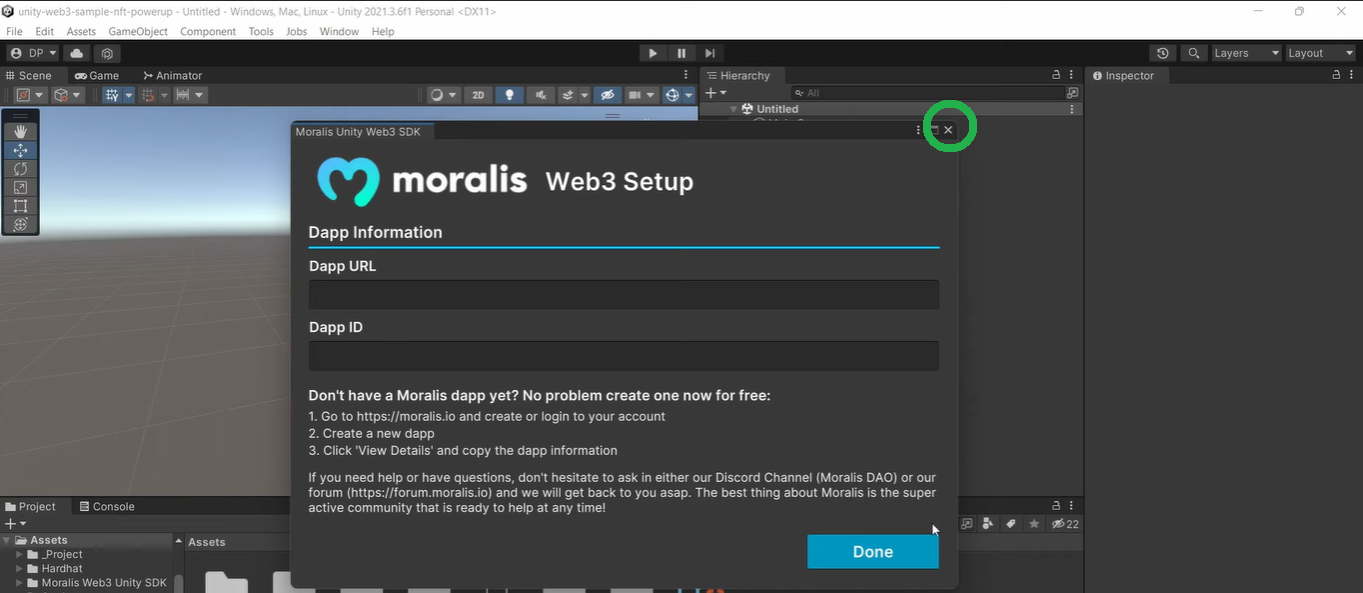
When you open the project, you will see the “Moralis Web3 Setup” window by default. You can close that window for now, as we will first take a look at the structure of the project:
Note: For a more detailed project structure overview, use the video at the bottom of the article, starting at 5:15. This is also where you get to learn more about the special effect during power-up (as presented in the demo above).
Inside the “_Project” folder, are all the assets involved in this example Web3 game. This is also where you can find the “Scenes” folder:

Moreover, inside the “Scenes” folder, you will find the “Game” scene. Open it:
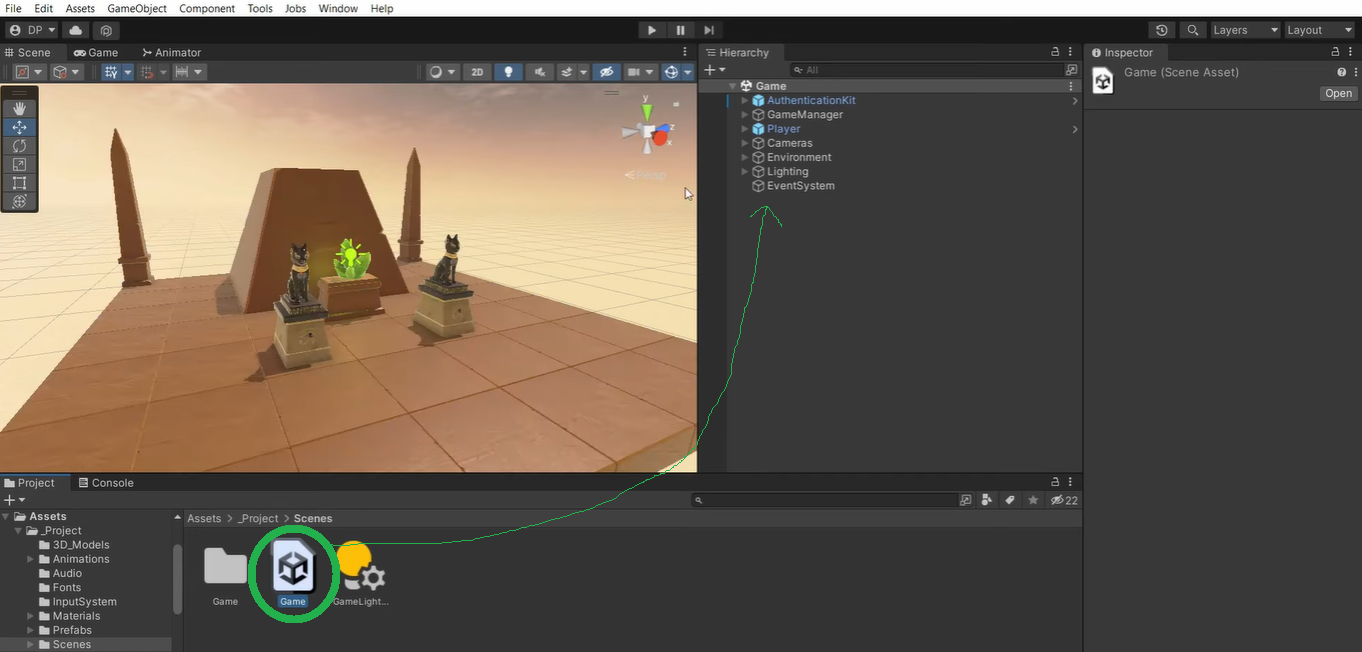
Looking at the “Game” scene hierarchy, you can see “AuthenticationKit” on top. The latter takes care of Web3 authentication. Next, there’s “GameManager”, in which we use a state machine to go through all the game states:
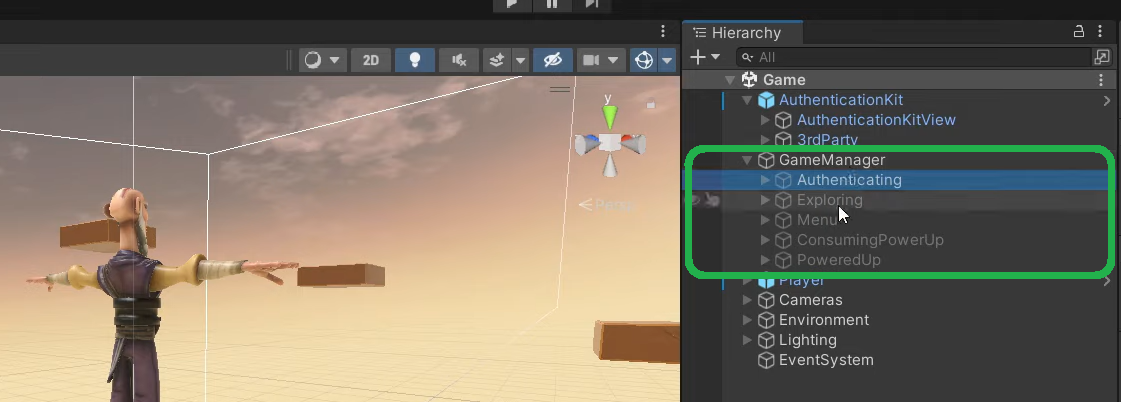
As you can see in the screenshot above, once players authenticate with their wallets, the game activates the “Exploring” game state. When the players press the “M” button, they activate the “Menu” state. Moreover, if the players click the item, the “Consuming PowerUp” state takes things over. This is where the game obtains the NFT’s attributes. And, once the players confirm the transaction, the “PoweredUp” game state takes place.
Initial Moralis and Unity Setup
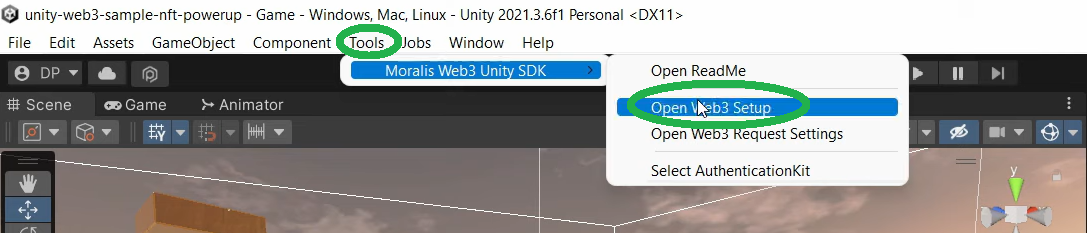
Now that you know the gist of our example project, it’s time to complete the initial setup. As such, you need to create your Moralis dapp and copy its credentials into the “Moralis Web3 Setup” window in Unity. However, since we closed that window above, we need to first reopen it:
The “Moralis Web3 Setup” window provides you with simple three-step instructions. Though, to assist you further, follow these steps:
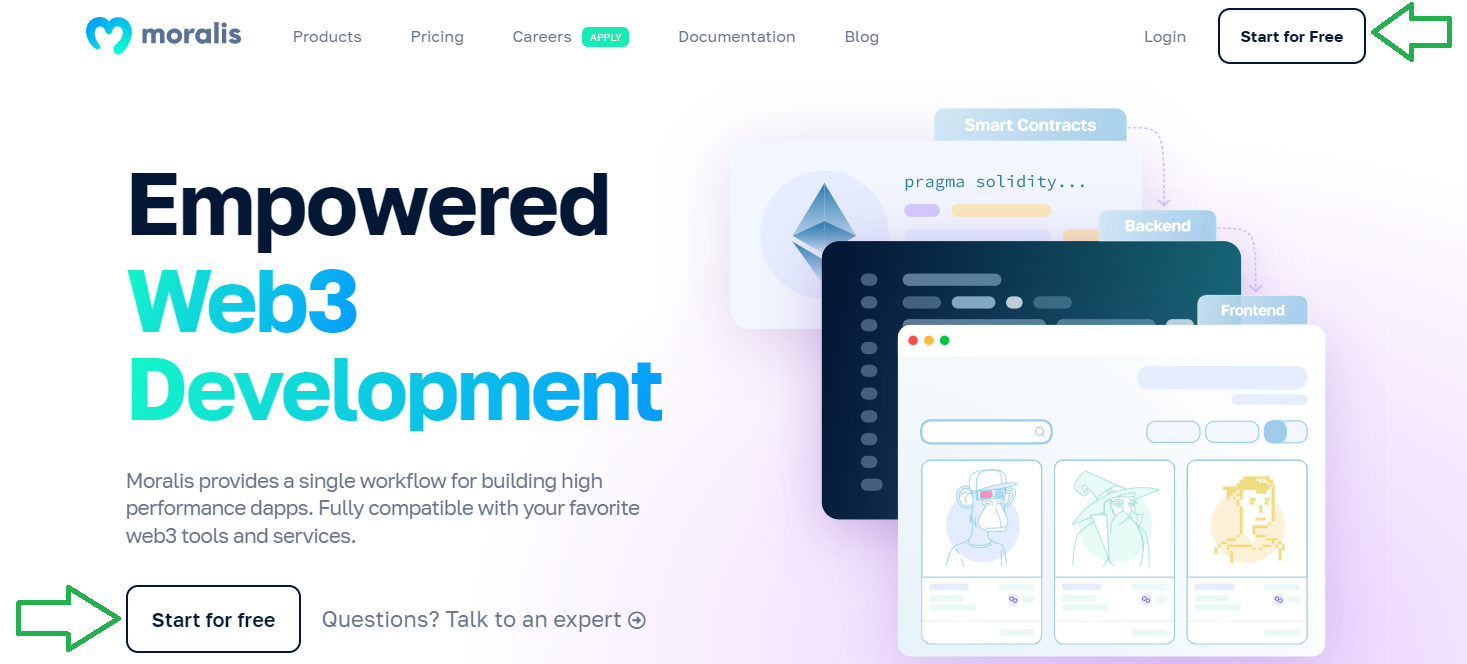
- Create your free Moralis account or log in to your existing one:
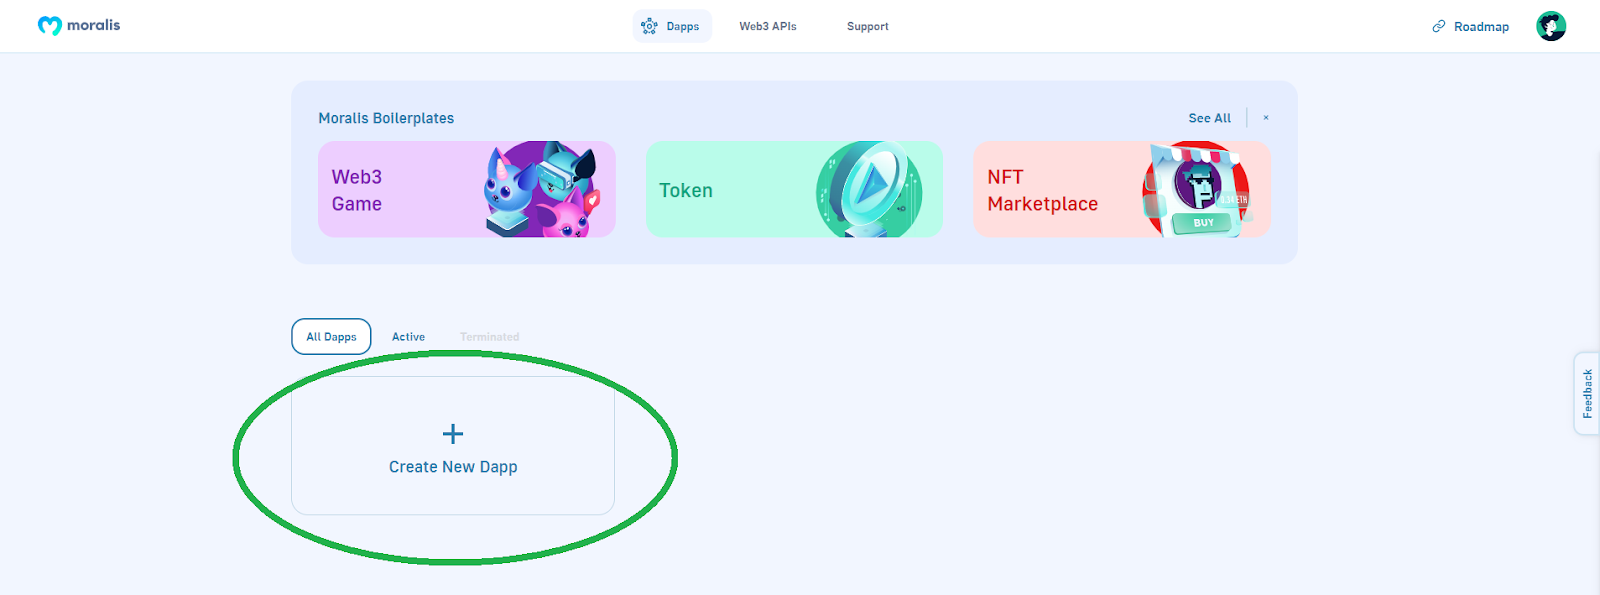
- Inside your Moralis admin area, you need to create a new dapp. You do this by clicking the “Create New Dapp” button:
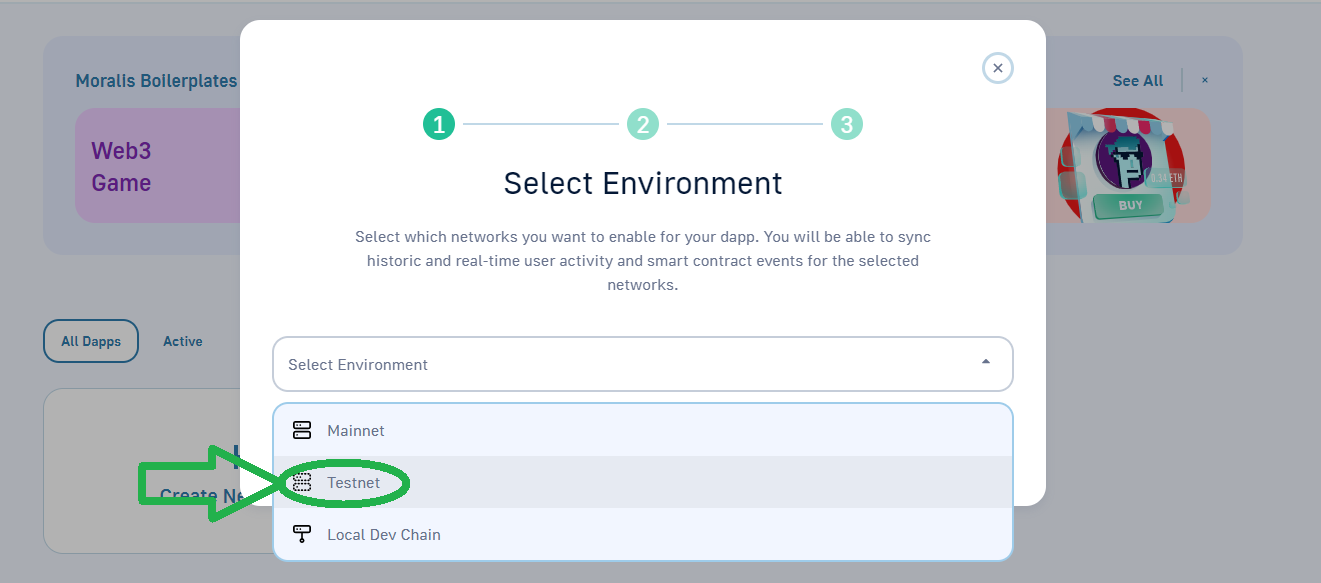
- In the pop-up window, select your environment. When working on example projects, use the “Testnet” option:
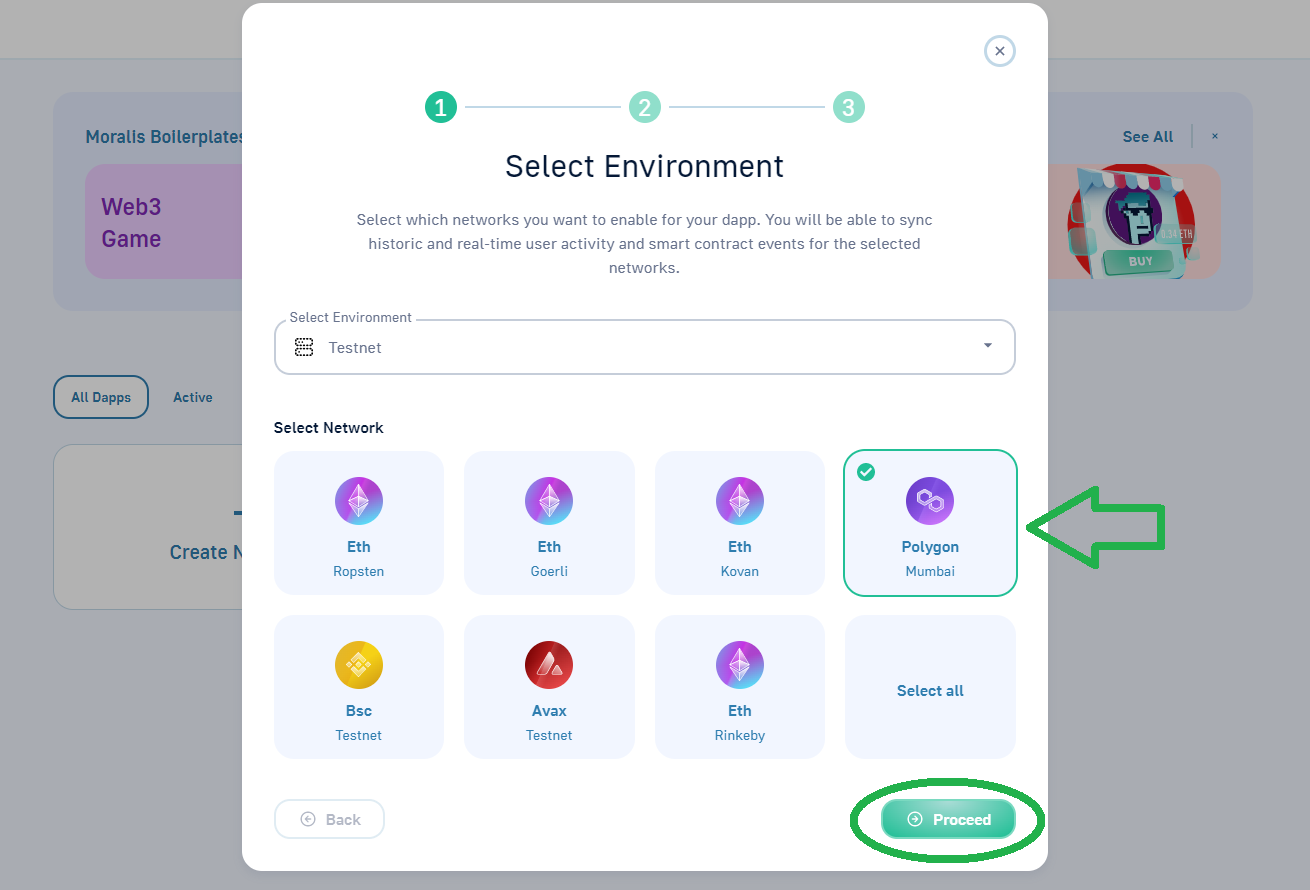
- Next, you need to select the chain you want to focus on. We recommend using “Polygon Mumbai”. To move on, click the “Proceed” button:
- Now you need to select your region. You do this by choosing the city from the given options that is closest to your actual location:
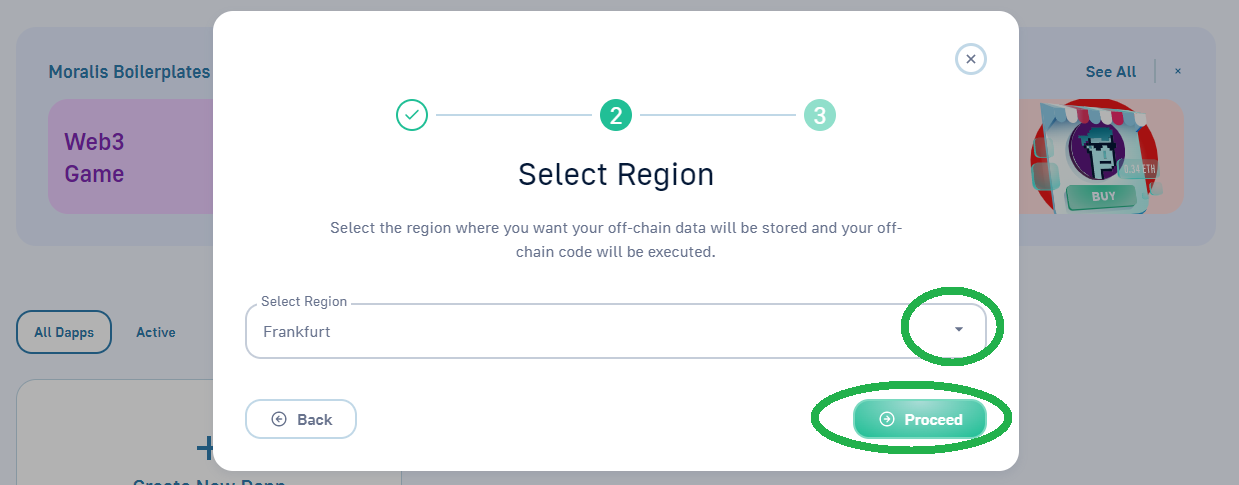
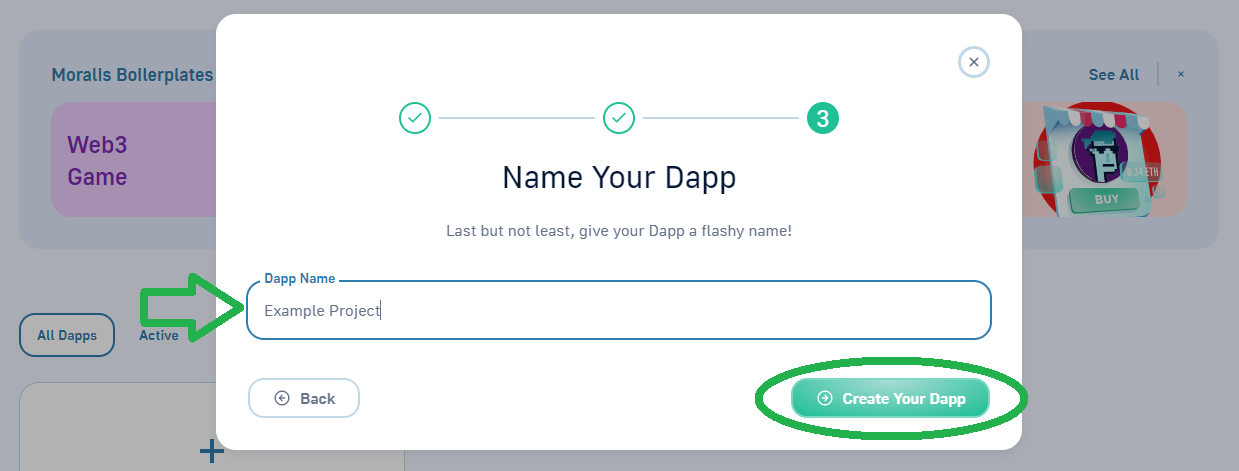
- Next, you get to name your dapp. This can be anything you want. With the name in place, spin your dapp by clicking the “Create Your Dapp” button:
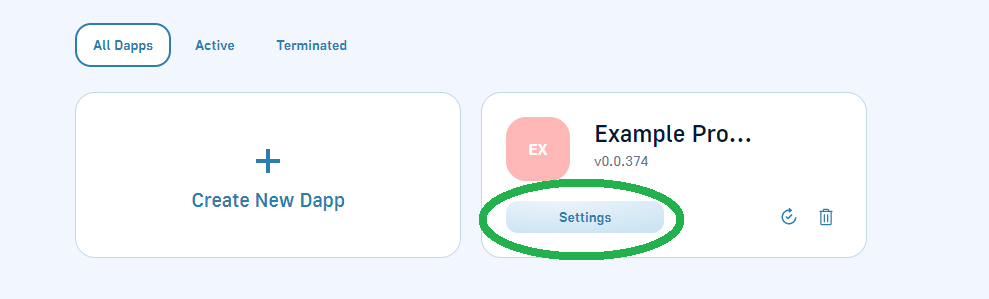
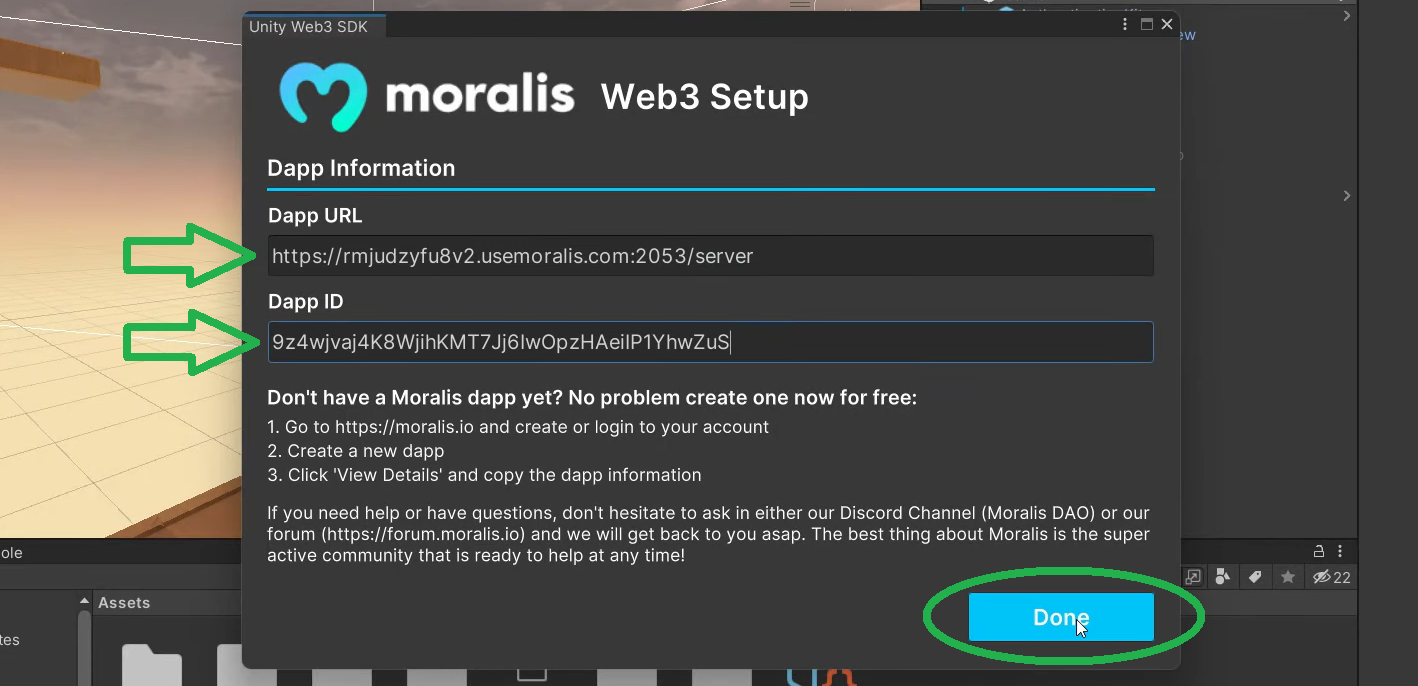
- Once your dapp is live, you get to obtain its credentials (URL and ID) via the “Settings” button:
- Use the “copy” icons to copy your dapp URL and ID:
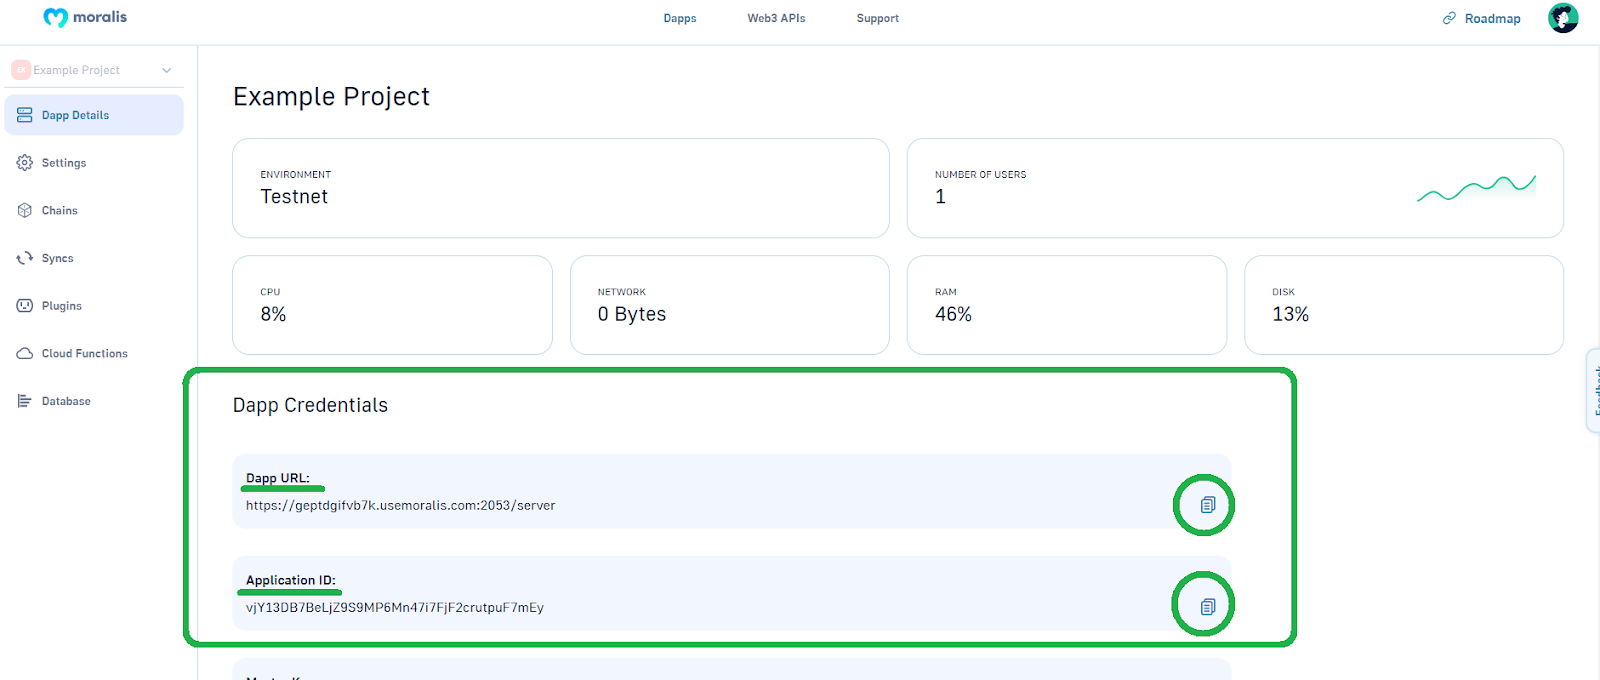
- Finally, paste the above-copied credential into Unity and click “Done”:
With the initial setup under your belt, it’s time to learn how to use Hardhat to deploy smart contracts.
Using Hardhat to Deploy an ERC721 Smart Contract
By this point, you already know that smart contracts are responsible for minting NFTs. As such, if we want to convert an NFT to an in-game item, we need to deploy a smart contract. To make this as straightforward for you as possible, we created a set of instructions that cover all the steps you need to complete. You can locate this file inside “Assets > Hardhat”:
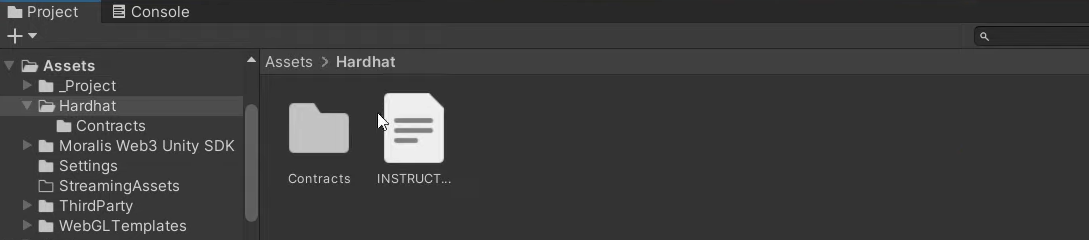
Aside from the instructions, this is also where you’ll find our contract (inside the “Contracts” folder). If you want to follow along with our in-house expert as he goes through all the steps, use the video below, starting at 12:28. He will show you how to install Hardhat, create a new Hardhat project, and how to apply the necessary tweaks to the template files. Moreover, you’ll also learn how to obtain the Mumbai network URL, your Polygonscan API key, and your private key (21:00). You will need these details inside the “hardhat.config.js” file.
Furthermore, to cover the transaction fees related to the deployment of your smart contract, you’ll need some “test” MATIC. Luckily, you can get MATIC for the Mumbai network for free using Polygon Faucet (22:53). With everything in place, you will get to deploy your smart contract using “npx hardhat run scripts/deploy.js –network mumbai” command. Your terminal will provide you with your smart contract address, which you can use with Polygonscan (testnet). There, you can get all the details regarding your ERC721 smart contract, including its ABI (25:02).
Mint an Example NFT
As promised above, we will use our NFT Unity minter to easily mint an example NFT. For details on how to use this useful tool, use our “mint a Unity NFT” guide or the video below, starting at 25:50. Of course, there are other ways to mint NFTs; however, using our minter dapp is very easy. All-in-all, you will end up with an NFT that has “duration” and “movement” attributes:
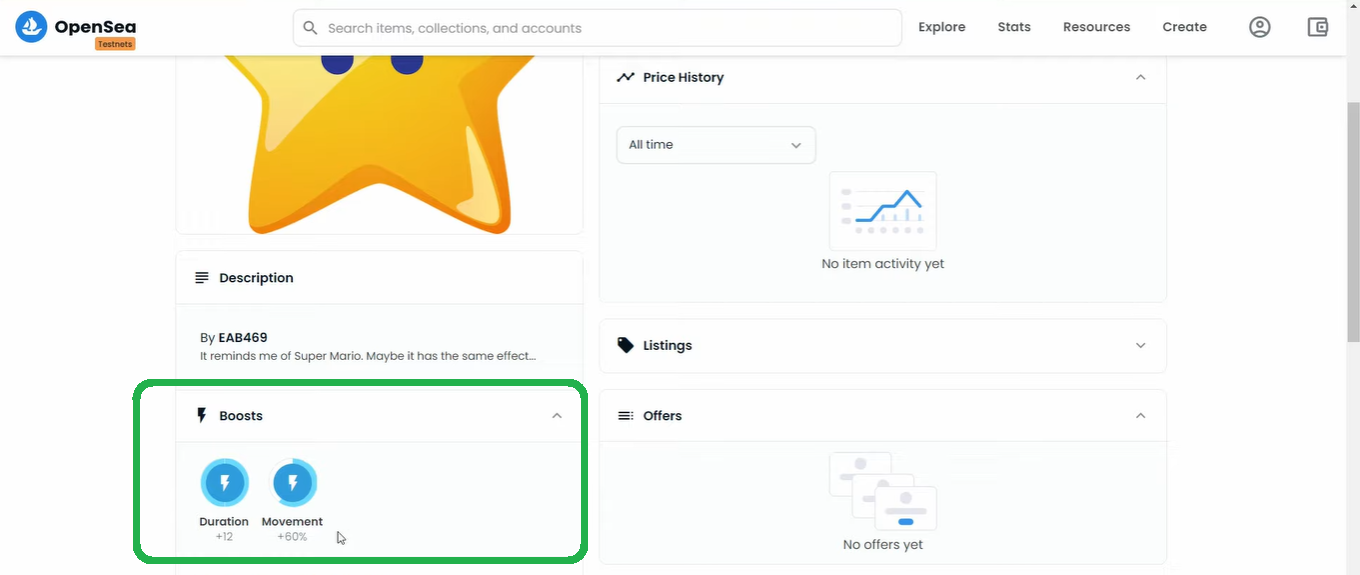
We will now use those attributes in Unity, to give our in-game character a boost. As such, the NFT attributes play an important role when it comes to using NFTs as power-ups.
Convert an NFT to an In-Game Item – Code Walkthrough
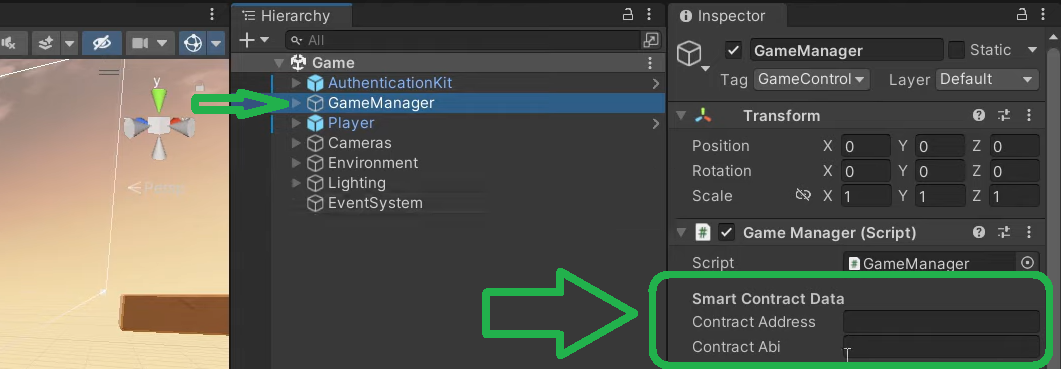
If you’ve followed the above instructions, you now have everything in place to complete the final two stages. So, to convert an NFT to an in-game item, you need to get the above-minted NFT’s attributes first. As such, return to the “Unity Web3 Sample NFT Powerup” project in Unity. Use “GameManage” and paste the smart contract details (33:51):
Starting at 35:30, you’ll have a chance to take a closer look at the “Menu” script. This is where the code obtains and utilizes the NFT attributes via other scripts. Moreover, it is the “InventoryItem” script that assigns NFT attributes to the in-game power-up values.
Use NFT Attributes as a Power-Up
To get your NFT’s attributes, you only had to paste in your smart contract’s details. Moreover, you also had a chance to learn about the code that ensures everything runs smoothly. However, to use NFT attributes as a power-up, we need to convert an NFT to an in-game item. We’ve already done a big part of this conversion above. Though we still need to execute the on-chain transaction, which will also trigger the “GoToConsumingPowerUp” function.
You can find the details in the “ConsumingPowerUp” script (46:22), which is in charge of covering the interaction with our smart contract. This is where the “ExecuteConsiming” takes in the token ID and does its trick. Thanks to the Moralis’ SDK and “ExecuteContractFunction”, a single line of code does most of the heavy lifting. Moreover, this is also where we call the “consume” function from our smart contract, which triggers the burning of the NFT in question. As such, the on-chain transaction that takes place after players click the item in their inventory burns the token. Thus, it also deletes the item from the menu and activates the “PoweredUp” game state. Hence, it is the “PoweredUp” script that finally utilizes our NFT’s attributes.
Last but not least, here’s the video tutorial we’ve been referencing through the article:
How to Convert an NFT to an In-Game Item – Summary
Using today’s example project you had a chance to learn how to convert an NFT to an in-game item. You were able to use our example project to do this very easily. Furthermore, you also had a chance to use Hardhat to deploy your own smart contract. This part was rather important as it enabled you to learn about the functions that let you add attributes to NFTs and even burn NFTs. Nonetheless, you also had a chance to learn about the lines of code that convert an NFT to an in-game item. As such, you can now tweak our example project to add more features and use other NFTs as power-ups. Of course, you can also create your own Web3 games with that sort of NFT functionality.
If you enjoyed this example project, we encourage you to visit Moralis’ Web3 YouTube channel and Moralis’ Web3 blog. These outlets offer a ton of tutorials and on-point explanations of various crypto aspects. In fact, they are the platforms that can help you become a Web3 developer for free. However, if you want to go full-time crypto sooner rather than later, then you ought to consider taking a more professional approach. In that case, enrolling in Moralis Academy might be the right path for you.
